How to create a website using WordPress/How to use plugins/No-code construction blog


")
How to create an English WordPress homepage using the multilingual plugin "Polylang"
At HanamiWEB Online School,
●Ask questions in real-time in the virtual study room!
●Ask as many questions as you want via chat!
●E-learning materials that you can learn as much as you want, 24 hours a day!
All included for just 2,500 yen/month!
We will explain how to use Polylang, a multilingual plugin that can be used when you want to create an English website for overseas audiences in addition to a Japanese website using WordPress.
The explanation is based on the assumption that you are creating an English website in addition to a Japanese website.
We also recommend TranslatePress, a free automatic translation plugin that works with the Google Translate API!
▼▼
https://hanami-web.tokyo.jp/blog/website-running/wordpress/google-translate-api/
Installing Polylang plugin
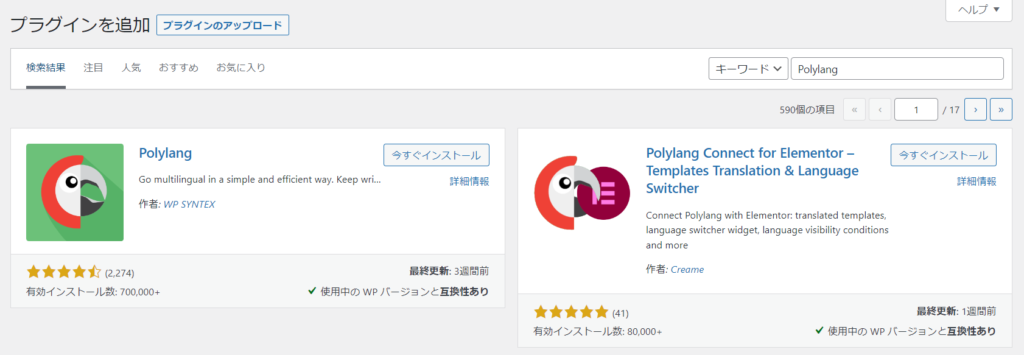
First, install the Polylang plugin.
- Plugin
- New additions
- Enter the keyword "Polylang"
- Install now
- activation
This is a plugin created by someone called WP SYNTEX.
WordPress multilingual plugin Polylang initial settings
Multilingual language settings
This is the most important setting in the initial settings of Polylang. Set the base language first. If Japanese is the main language, select "Japanese" first, then "English" and add the language you want to make the site multilingual.
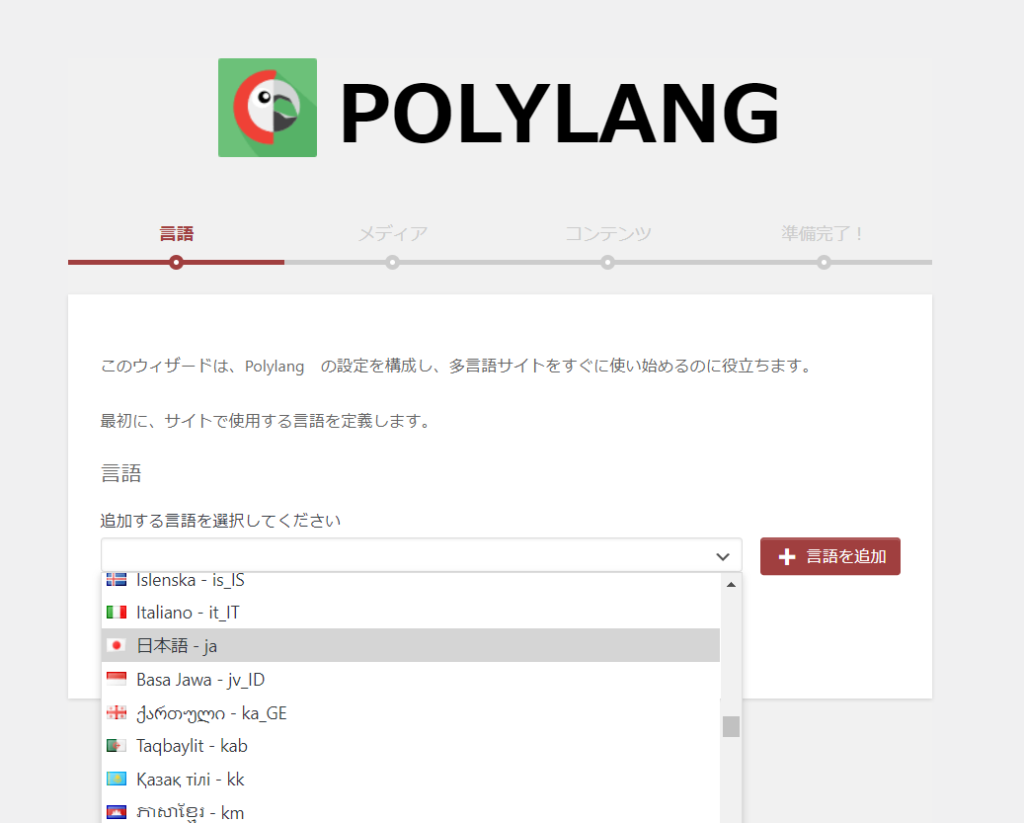
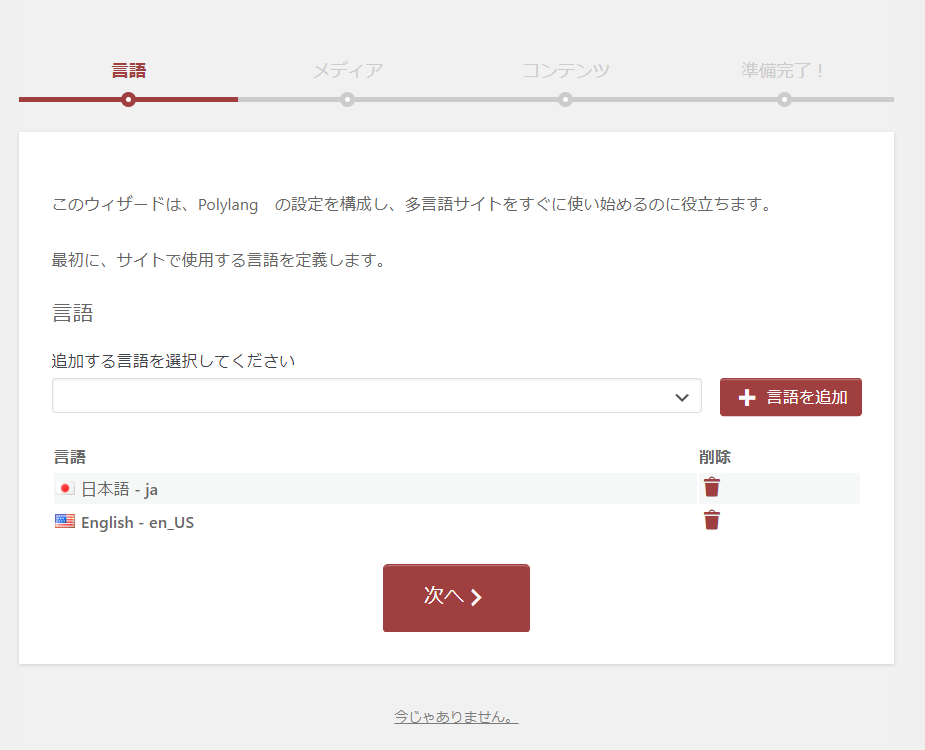
Click [Add Language] to add as many languages as you want to create a multilingual website.
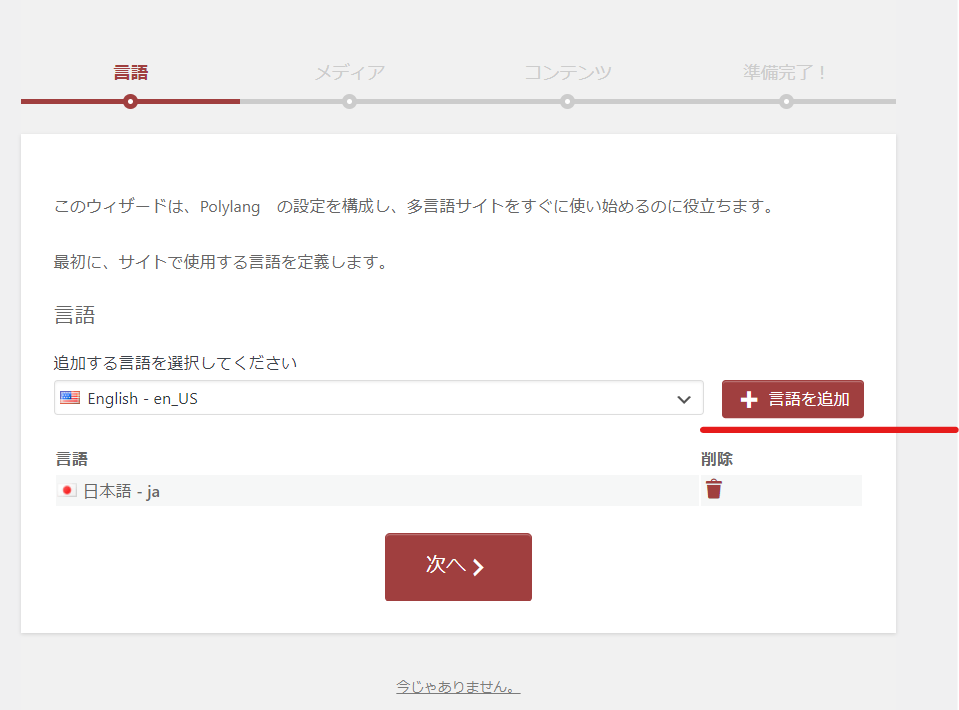
Once set, click "Next" to proceed.
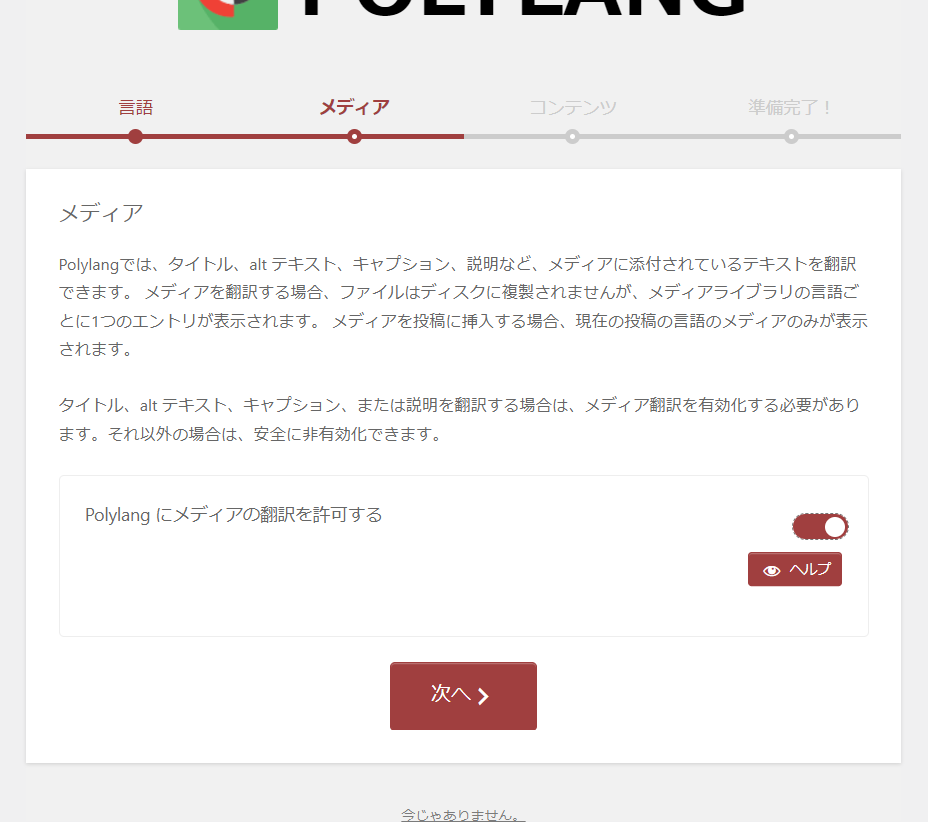
Setting whether to translate images
Polylang also allows you to translate images into multiple languages. Image titles, descriptions, and other information can be translated and displayed differently for each multilingual site.
The recommended setting is ON.
If no language is set
In Polylang, you need to specify the default language when no language is set. It is recommended to set the language you have chosen as your main language.

Polylang initial setup complete! That's it for the initial setup.
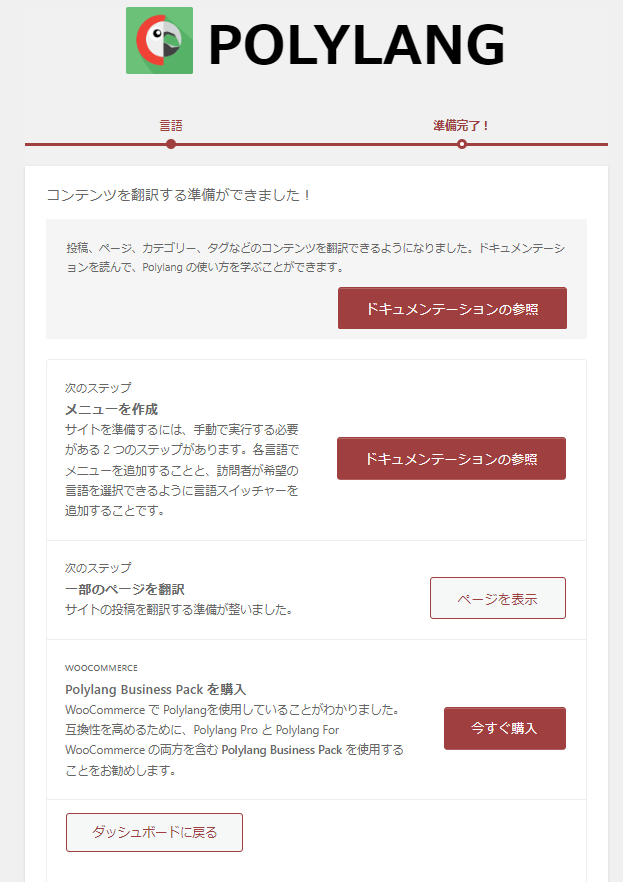
How to create an English static page with Polylang
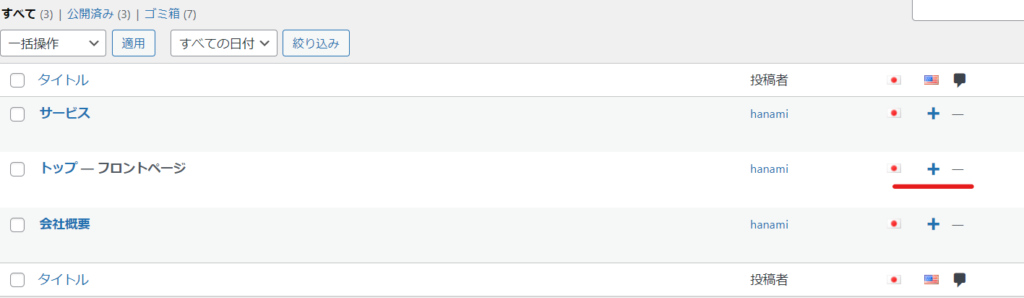
First, let's open a static page.
Polylang has an English flag and a "+" button. When creating an English page that corresponds to Japanese, click this "+" icon to add a new page.
How to tell if a page is in English or Japanese
When you click on the "+" icon, you will see a part called "Language" in the bottom right corner.
In this
- language
- Companion page
You can check the following.
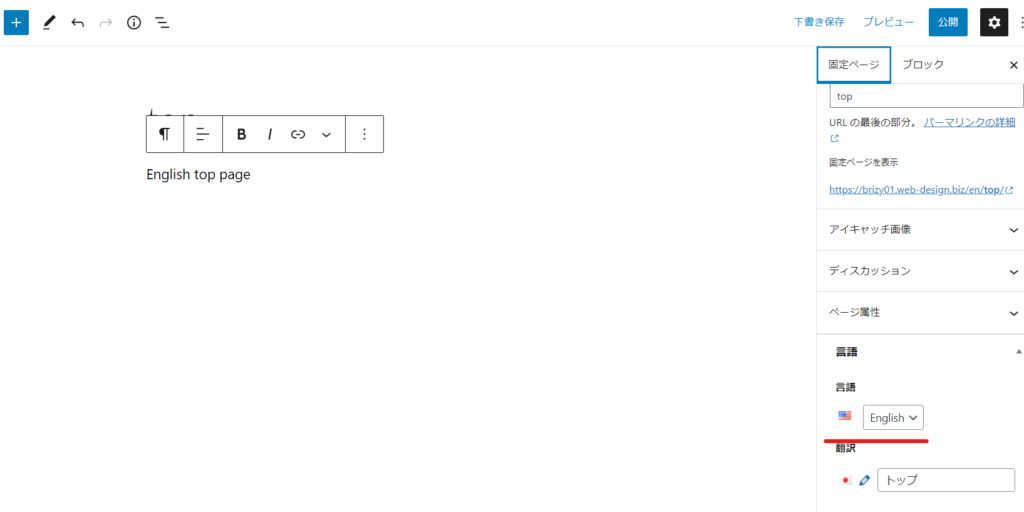
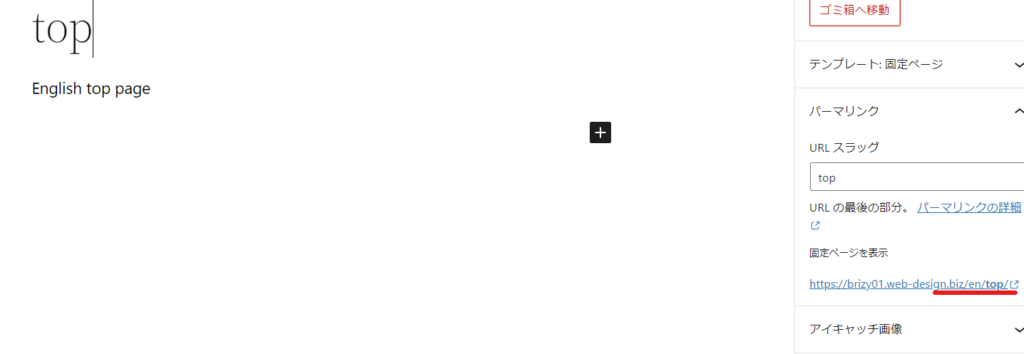
English page URL
For English pages, the "/en/" hierarchy is automatically generated. The URL after that is the same as the Japanese URL.
When creating a static page in Japanese, it will be smoother if you change the slug to English.
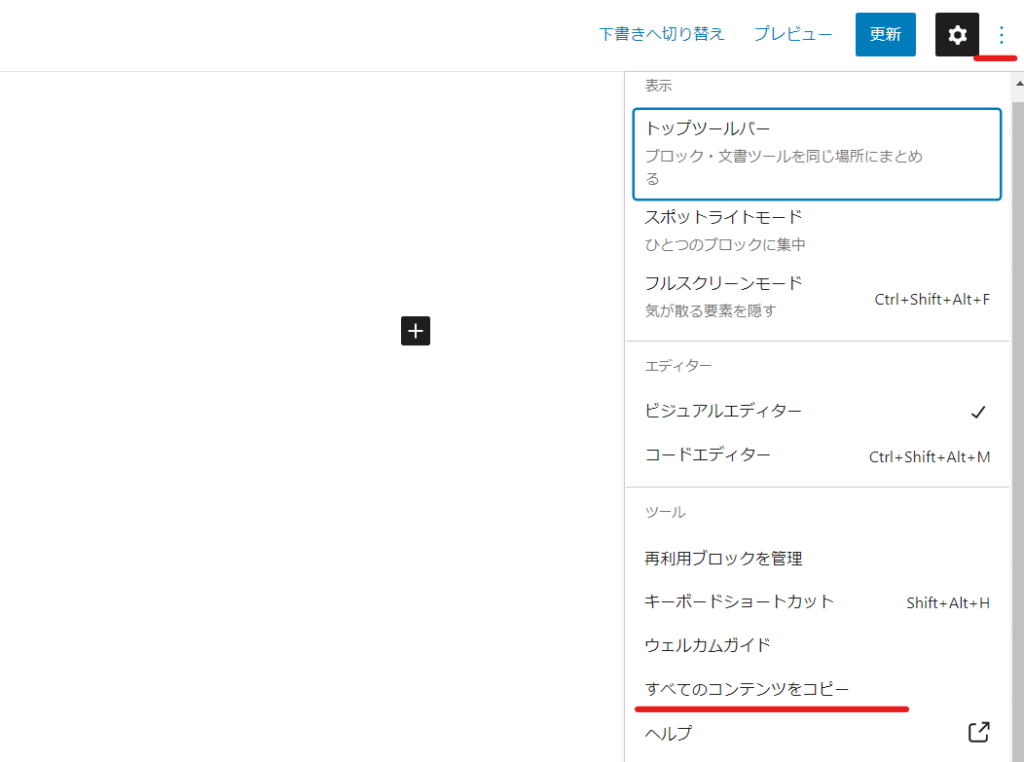
If you want to translate Japanese content into English
Since a blank page is generated, you may want to create a Japanese design as a base. In that case, click the three dots in the upper right corner, click "Copy all content", paste it on the English page, and then translate it into English.
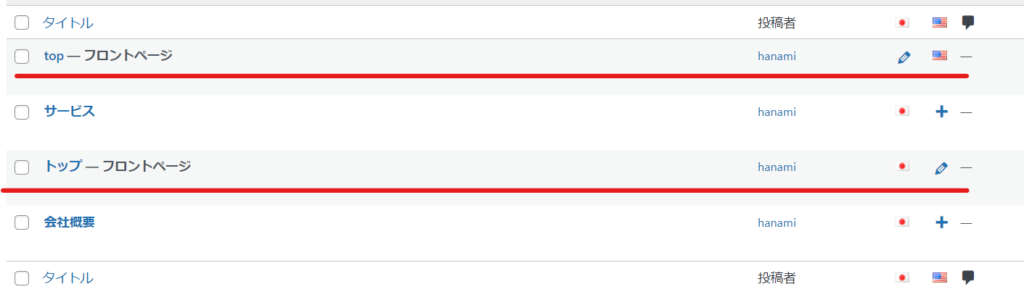
The Japanese and English top pages are complete.
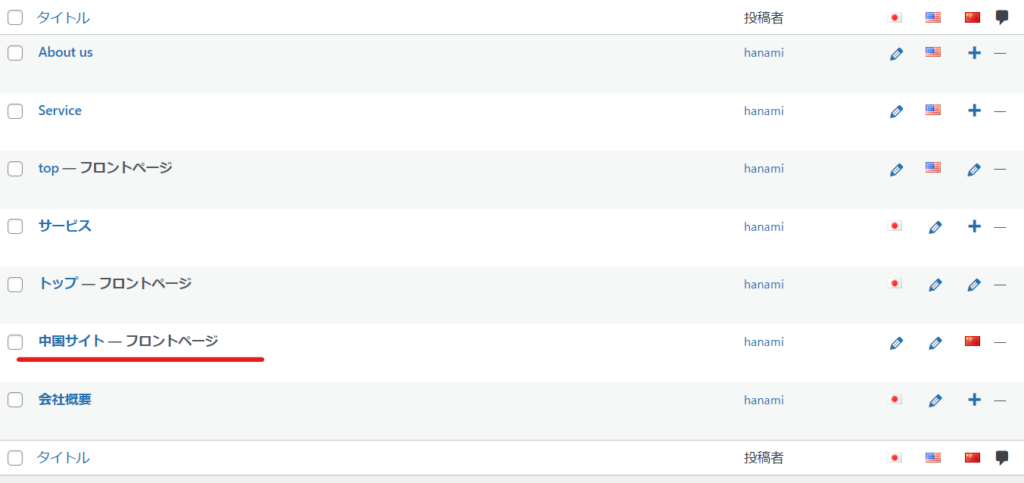
If you return to the list of static pages, you will see that two pages have been created: a Japanese page and an English page, linked to the front page.
Similarly, we will create English pages for other Japanese pages.
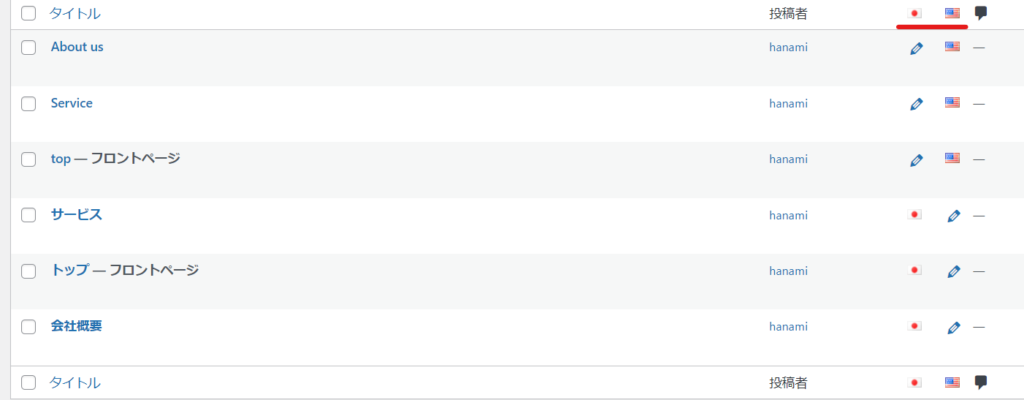
Once all pages have their corresponding language pages, they will be displayed like this without the "+" icon.
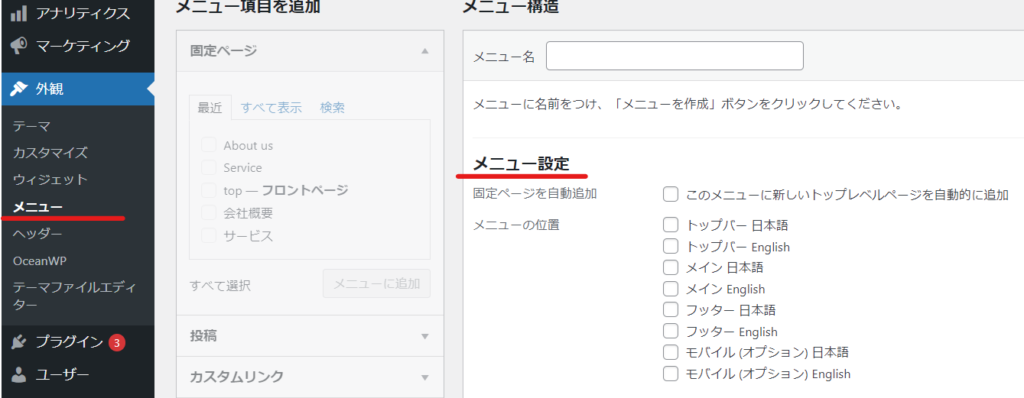
Creating a Menu
Once the page is created, you can create the menu.
- exterior
- menu
Please go to.
As you can see from the menu settings, there are twice as many menu items as usual.
The menus can be configured separately for Japanese and English.
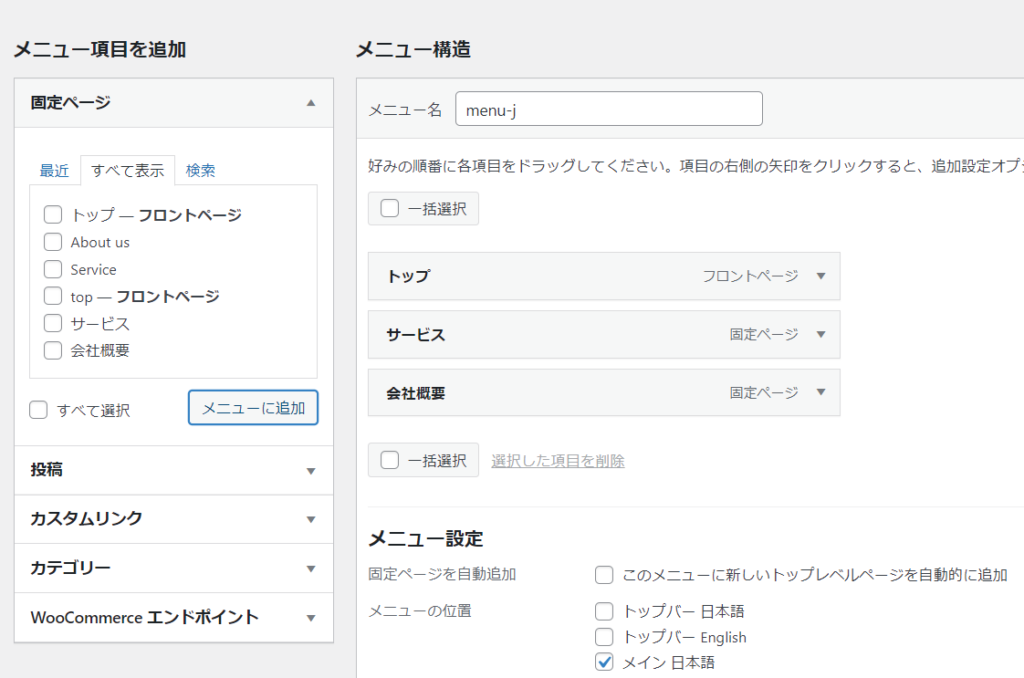
For example, the menu for a Japanese site can be set up like this.
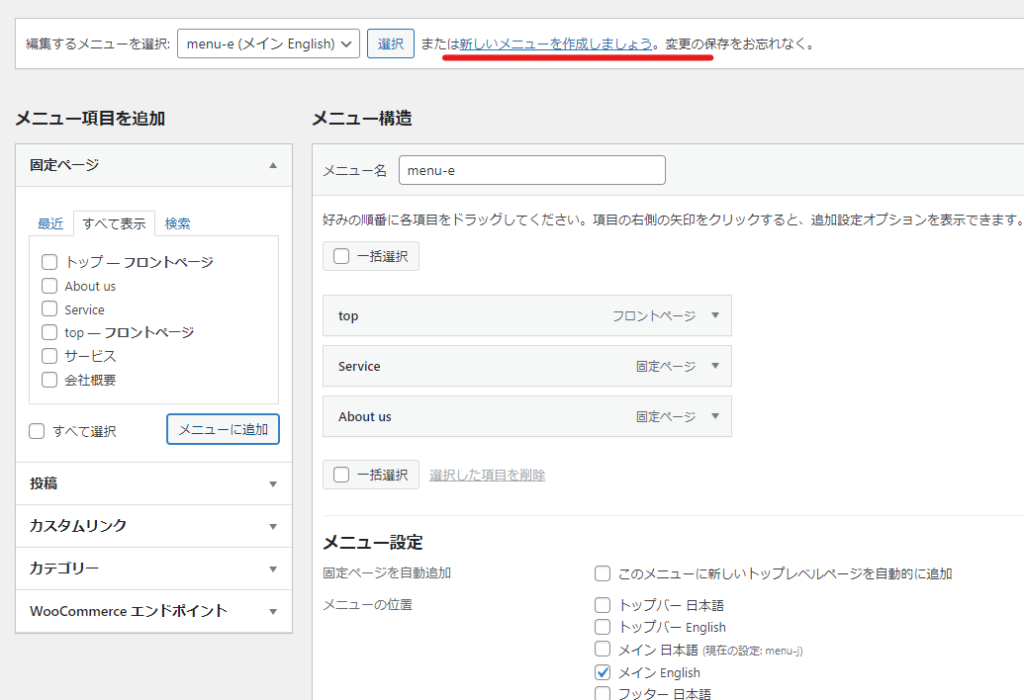
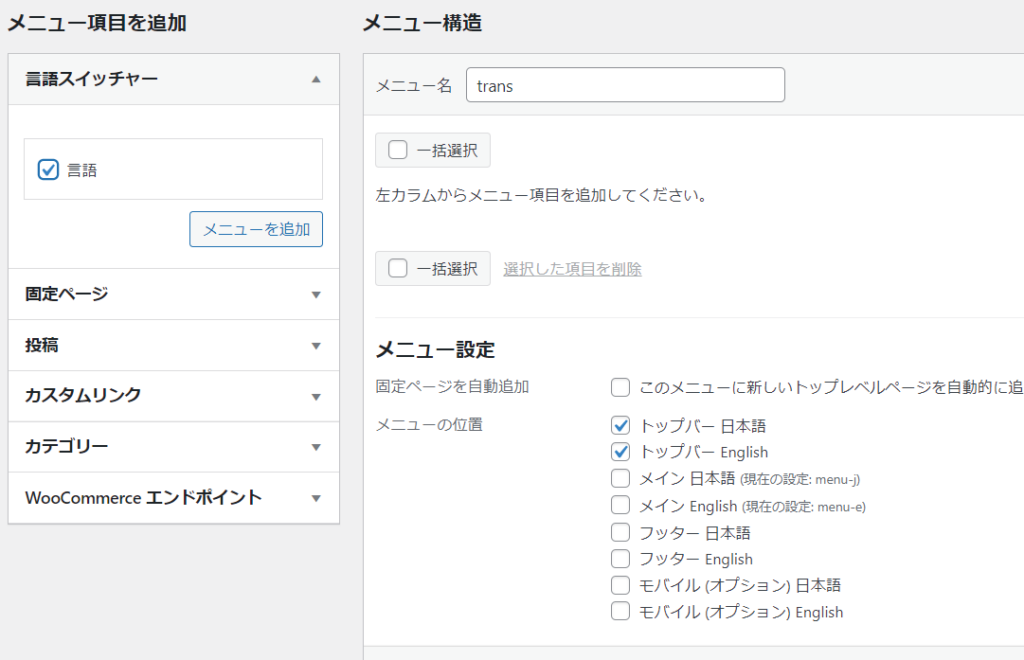
Let's create a new menu for the English site. Make sure the menu name is clear so that it is for the English site. I set up an English static page.
Language Switcher
If the menu bar only contains Japanese pages on the Japanese site and only contains English pages on the English site, it will not be possible to switch between Japanese and English pages, so we will install a language switcher.
Click [Display Options] in the upper right and check [Language Switcher]. There is no save button or anything, so once you check it, it will be reflected as it is.
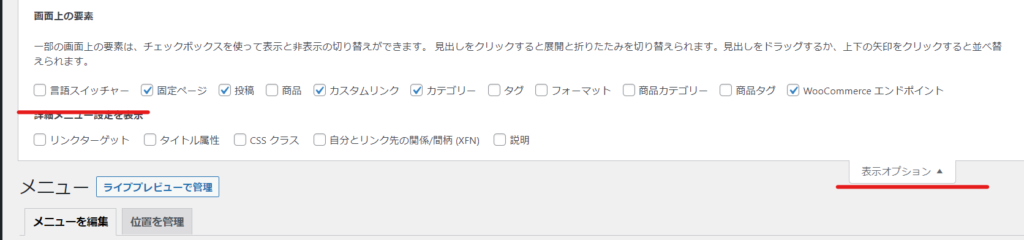
A new item called Language Switcher has been added, so add it to the menu bar.
You can place it wherever you like, but since I'm using the OceanWP theme this time, there is a space above the menu bar to insert the menu. This is where I'll put the language switcher for Japanese and English speakers.
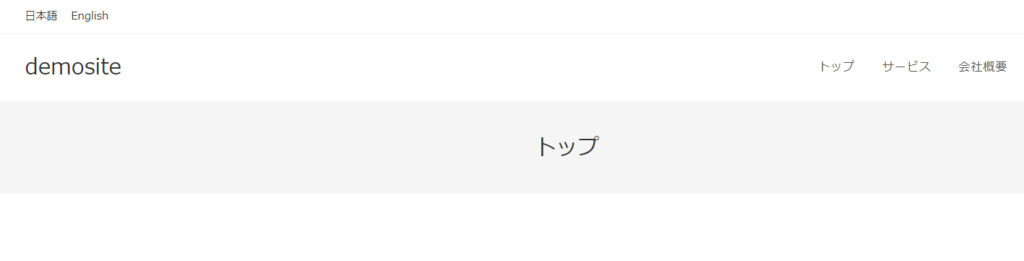
Menu for Japanese site
I was able to create a Japanese menu using Polylang. The menu to switch to the English site is displayed in the upper left.
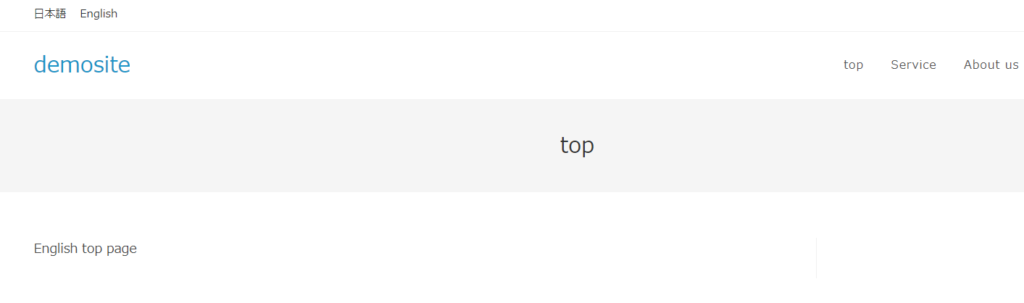
Menu for English site
This is the top page for the English site. There is a language switcher in the upper left, and the menu bar displays the English site menu we created earlier.
Customizing the Language Switcher
By default, Japanese English and the language text for that country are displayed.
When you add the language switcher in Appearance > Menus you can customize it a bit.
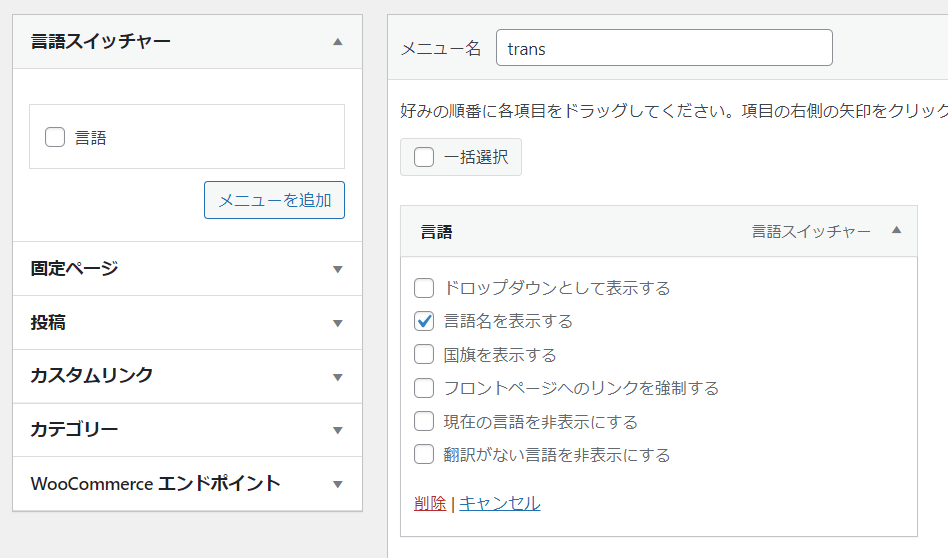
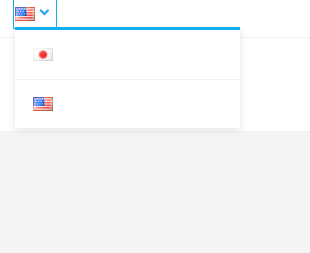
Display as a dropdown
Either Show language names or Show country flags must be selected.
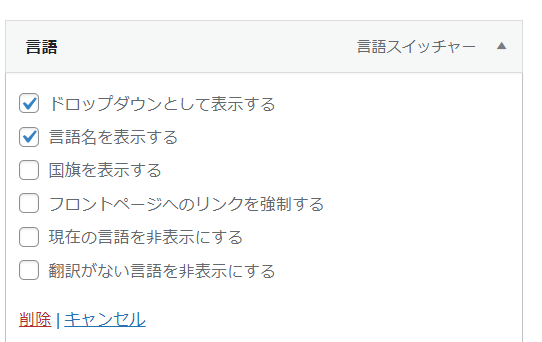
This setting allows you to switch between English and Japanese using a drop-down list, making it ideal for creating websites in multiple languages.

Flag + Language Name

Only the national flag
Other Customizations
- Force link to front page - Link to the home page of the language switcher site instead of the corresponding page
- Hide current language - If you are viewing an English site, this function will display only Japanese on the switch.
- Hide languages with no translations - This function prevents you from switching to a language that has no translation for the page.
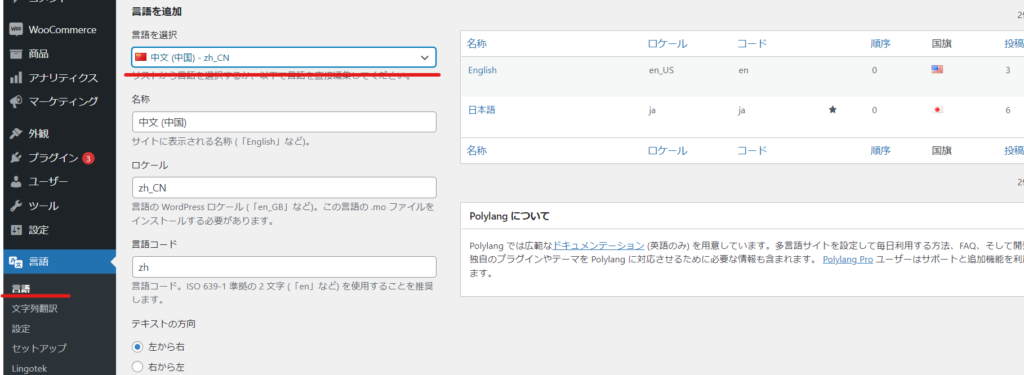
Adding a language later with Polylang
In the initial settings of Polylang, you will be setting up two languages, with the intention of creating a Japanese and English website, but this is a method to add languages later, for example, to create a Chinese website.
Click on "Language" on the left sidebar of the dashboard.
Simply select the language of the site you want to add and the name, locale, and language code will be entered automatically.
Create the top page of the additional language site
Just like when creating static pages for a multilingual site, go to the list of static pages and first create a top page for the language you added.
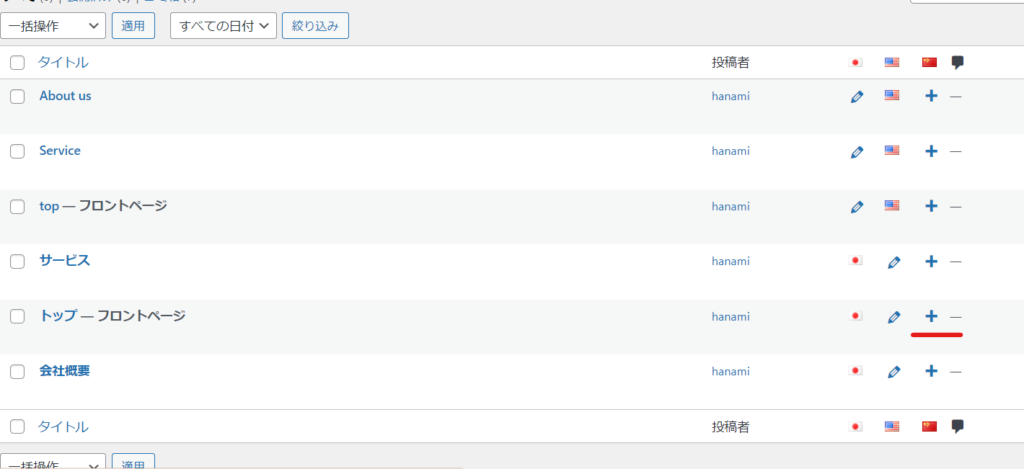
It will end up looking something like this.
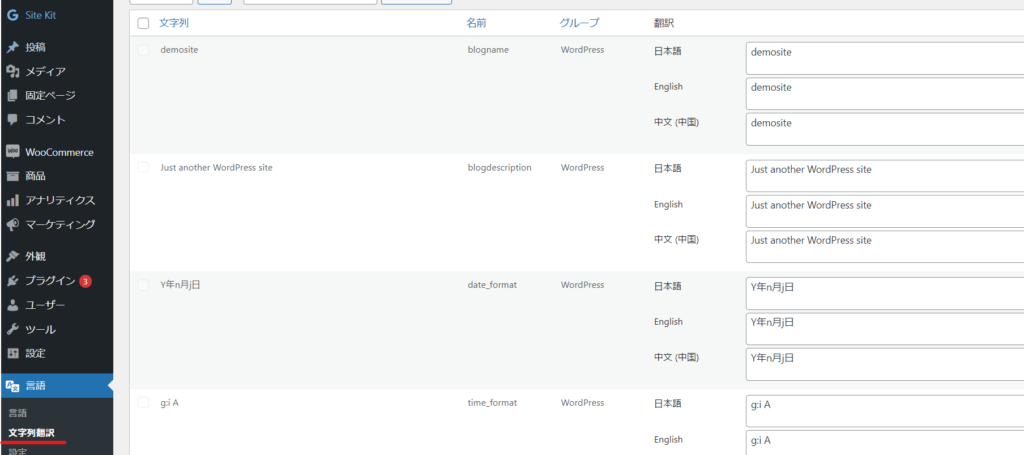
Translation column correction
There is a place to set translations, so don't forget to enter translations here too. There are only a few.
Media Settings
We will explain the media settings that are turned on in the initial settings of Polylang.
Open the media library and click on the image. Click on [Edit more details].
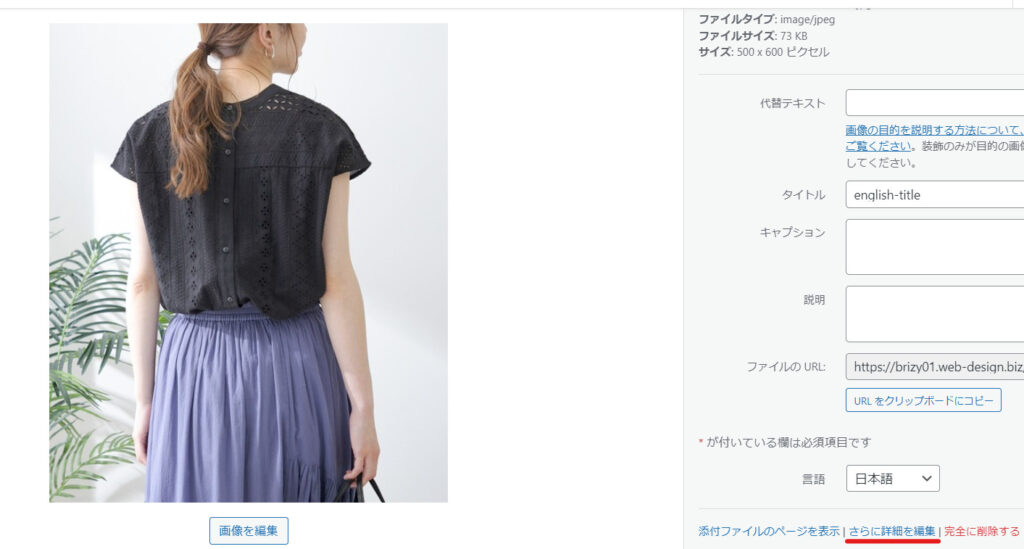
As with static pages, there is a "+" icon that allows you to set images for multiple languages.
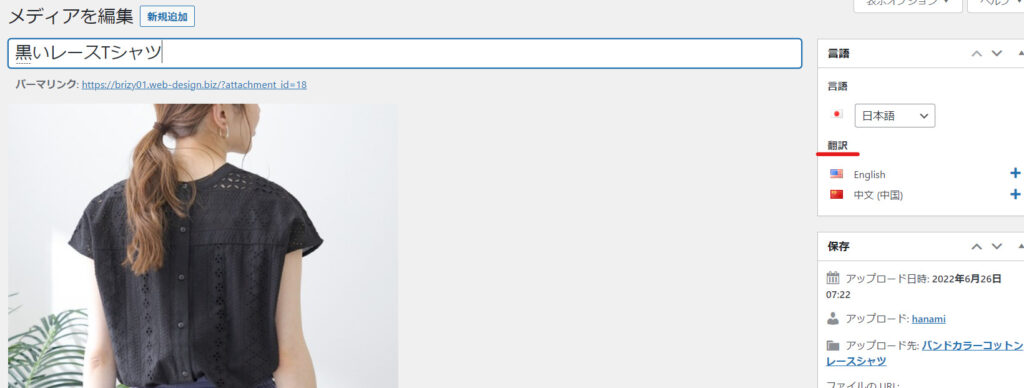
- title
- Alternative text
- caption
- explanation
can be added for each language.
summary
Using Polylang, you can easily build multilingual websites even with WordPress.
If you are considering multilingual support or WordPress site development, please feel free to contact us.
For WordPress website creation in Nerima Ward, contact HanamiWEB Co., Ltd.
→https://hanami-web.tokyo.jp/

We are available on weekends and holidays!
Please contact us if you have any problems with your website!

- Unable to log in to WordPress
Malware infection?
- The homepage suddenly stopped displaying!
- A PHP error is occurring.
We also offer support on weekends and holidays for those who need assistance.
If you are in a hurry, please call us now at 03-6694-7024.
Latest Articles
Timing and Process for Renewing Your Recruitment Website | Key Points to Review to Increase the Number of Applications
7 Key Points for Creating a Recruitment Website | How to Create a Recruitment Site That Job Seekers Will Choose
What is the average cost of a recruitment website? A thorough explanation of pricing by production method.
5 Benefits of Creating a Recruitment Website with WordPress | Explaining Why It's Easy for the Person in Charge to Update