How to create a website using WordPress/How to use plugins/No-code construction blog
A video explanation of how to set up the customer panel of the paid version of the WordPress reservation system plugin Amelia and how to set customer permissions!
At HanamiWEB Online School,
●Ask questions in real-time in the virtual study room!
●Ask as many questions as you want via chat!
●E-learning materials that you can learn as much as you want, 24 hours a day!
All included for just 2,500 yen/month!
WordPress booking system pluginAmelia(Link to the Amelia official website) This video explains how to set up the customer panel and customer permissions for the paid version.
A video explanation of how to set up the customer panel of the paid version of the WordPress reservation system plugin Amelia and how to set customer permissions!
How to set up the customer panel and customer permissions (illustrated)
Now, with the WordPress reservation system plugin Amelia, you can create a member-only page and use the reservation list to change dates, cancel, check events you will be attending, and change your profile. We will illustrate how to set up customer permissions to create a member-only page.
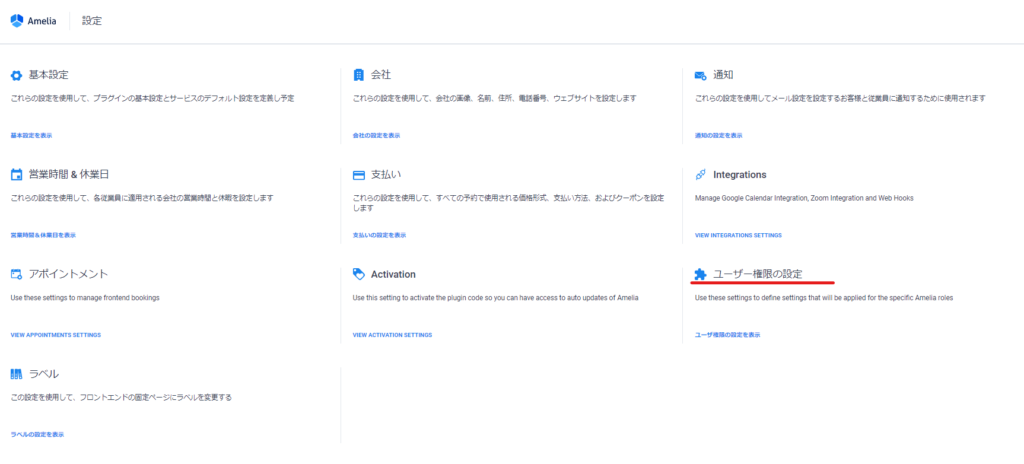
The setting is in [User Permissions Settings]
[Amelia] > [Settings] > [User permission settings]
Check customer email address
If you turn on Check customer's name for existing email when booking, an error will be displayed if you enter a different name than the email address used when making a previous reservation when entering an email address when making a reservation. This is an effective function when you want to strictly manage one customer per email address.
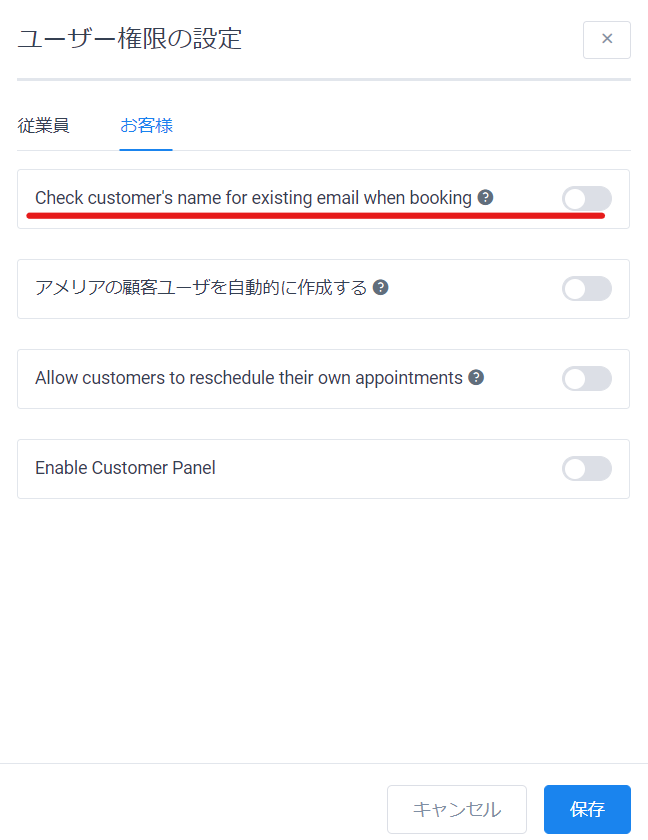
If you want to make a reservation for two people with one email address, such as making a reservation for two children, turn this function off. You can confirm the reservation by each name in the appointment on the dashboard, but the information for only one person per email address will be displayed in the customer section of the dashboard. The name of the person who made the reservation first will remain as the member information.
How to set up the member panel
Now, let's explain how to actually display and function the member panel.
[Required] Add as a wordpress user
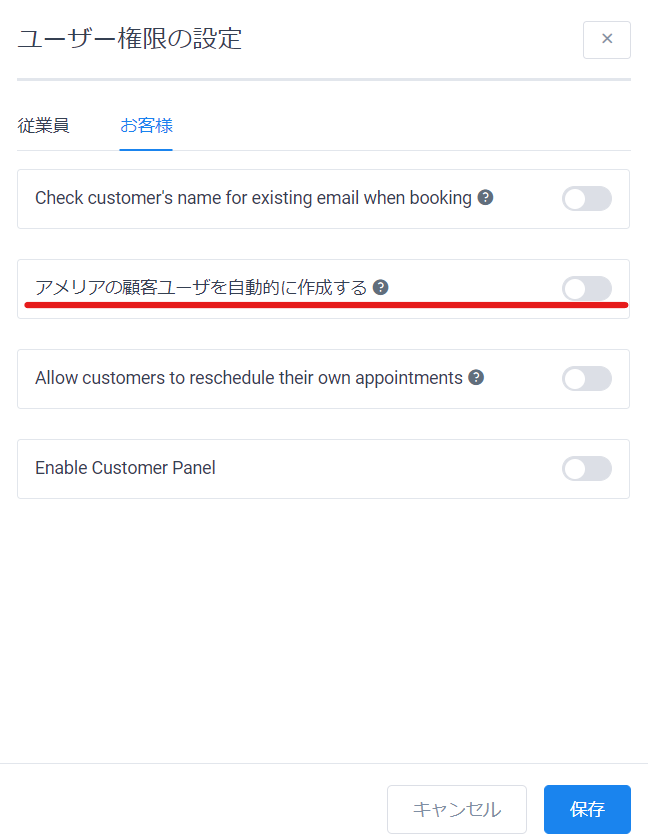
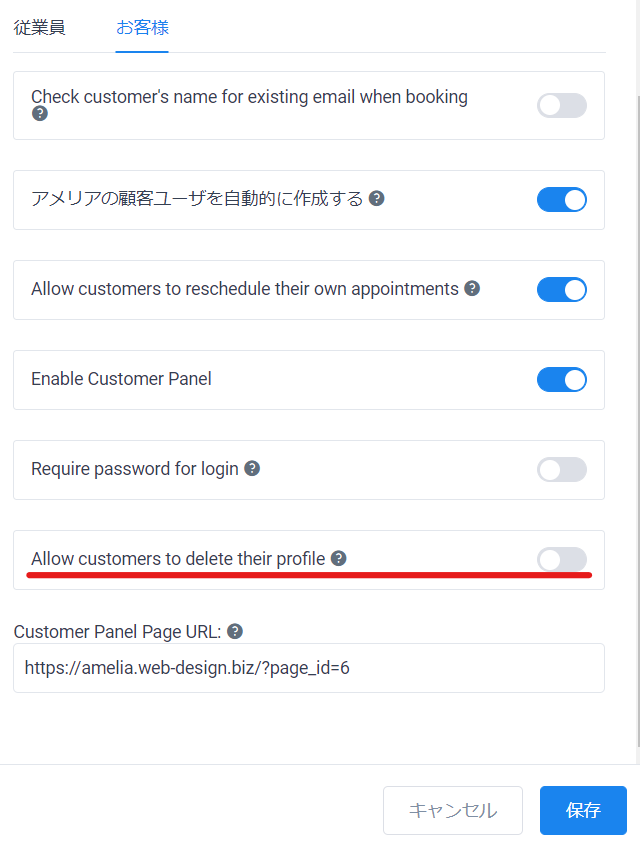
You need to turn on [Automatically create Amelia customer users] and register customers as WordPress users.
This is a required field if you want to use the member panel.
Allow customers to reschedule
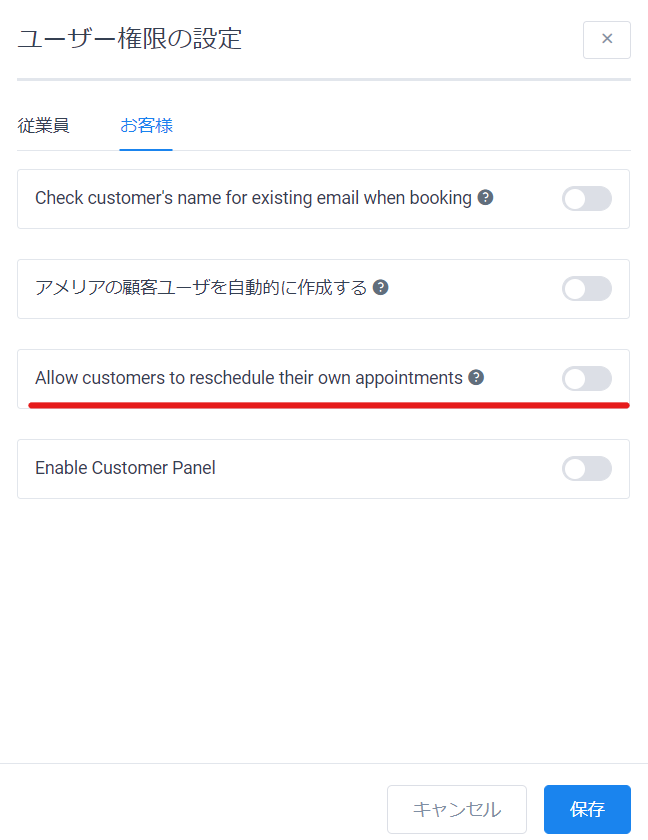
When giving the customer the authority to change the schedule
Turn on [Allow customers to reschedule their own appointments].
Enable Customer Panel
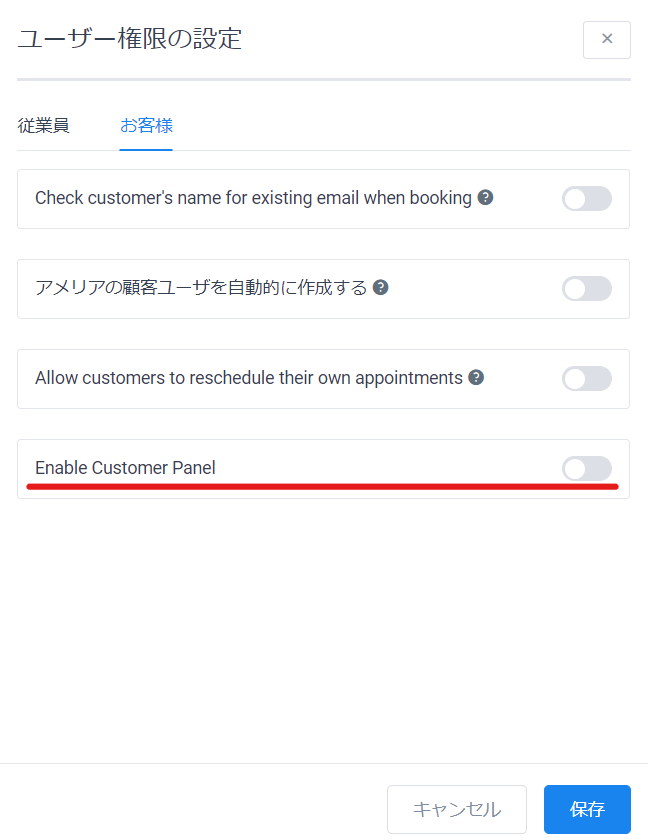
To use a customer panel for each customer
Turn ON [Enable Customer Panel].
Set Password
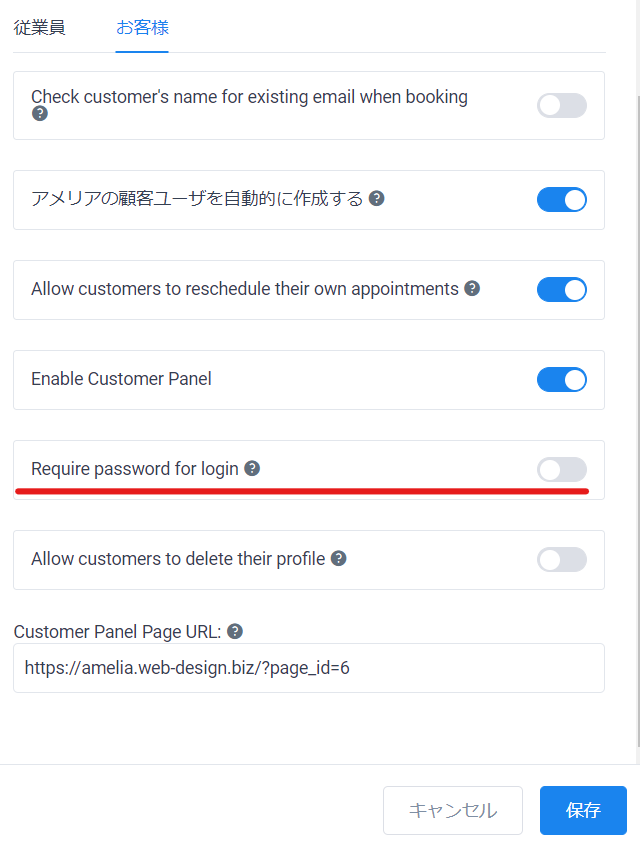
Turn on [Require password for login] and set it up so that you must enter your password to log in to the member panel.
Allowing you to delete your profile yourself
Since you will be added as a WordPress user, a profile page for each user, which is a standard feature of WordPress, will be automatically generated. You can set whether or not you want to be able to delete this profile yourself.
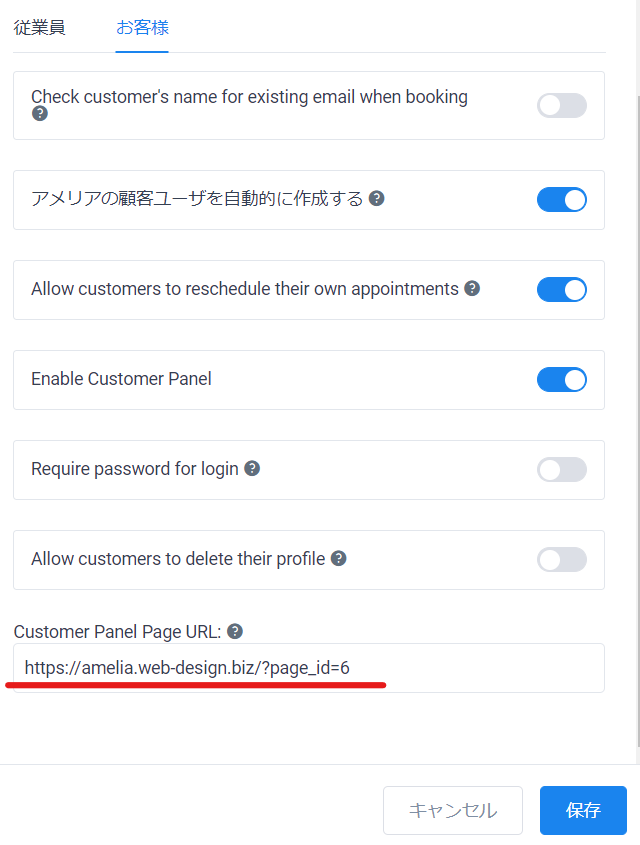
Enter the URL of the customer panel
You will need to link the customer panel to which page it will be output.
We will show you how to create a customer panel page in the next section.
Customer Panel Page Creation
Click [Static Page] > [Create New].
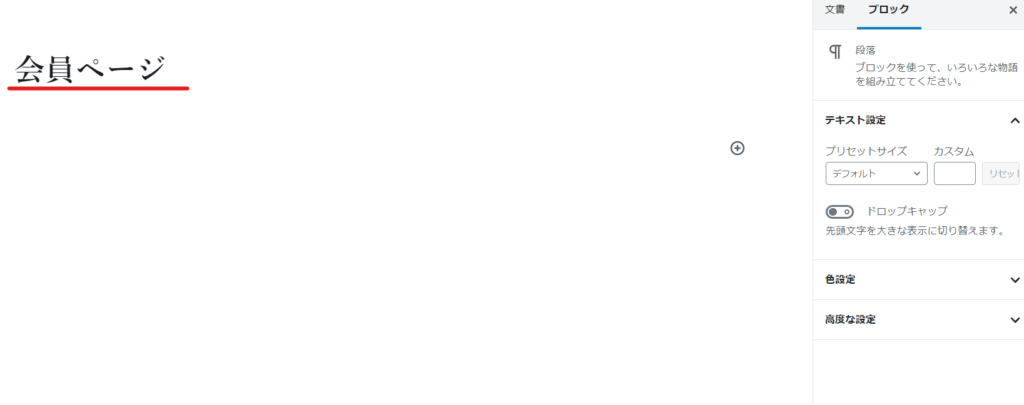
Give it a title of your choice, such as "Member Page."
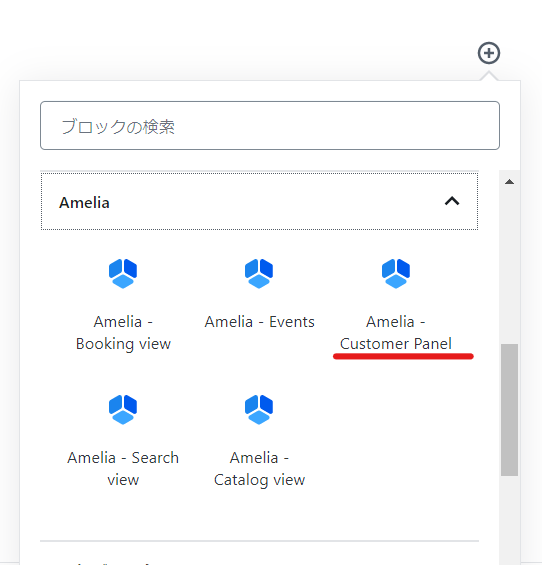
(Block Editor) Select Amelia-Customer Panel
The shortcode will be automatically inserted, and you can set the items to be displayed in the customer panel in the fields on the right.
- Viewing a list of appointments
- View the list of events

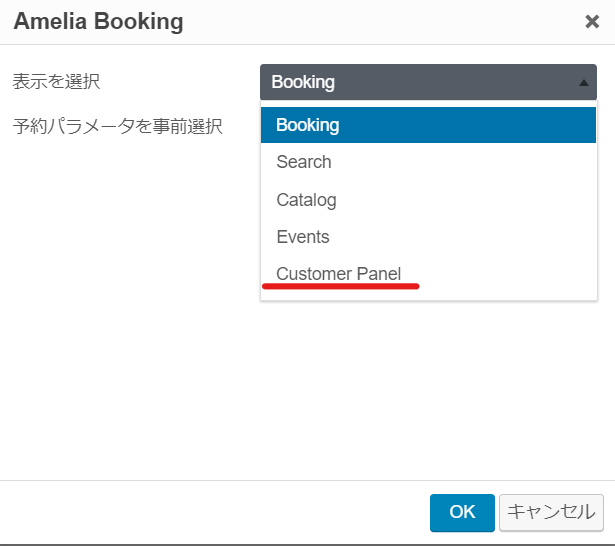
(In Classic Editor) Click the icon

Select 【Customer Panel】
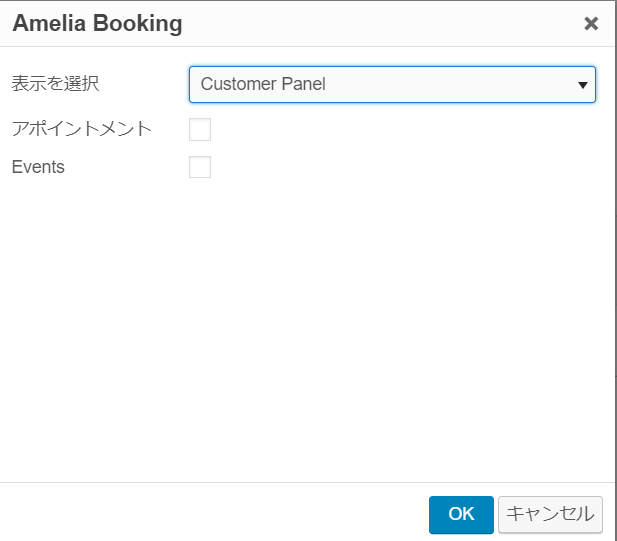
Select the items to display on the customer panel
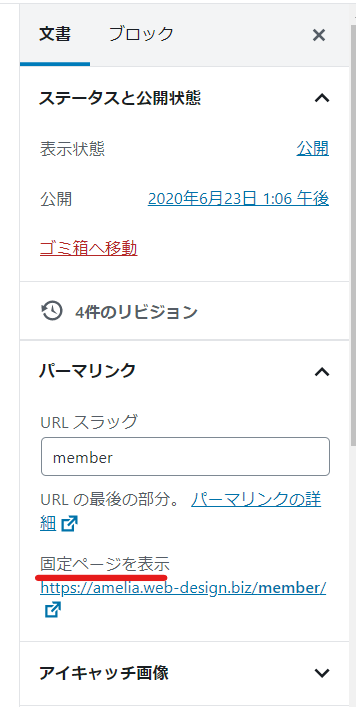
Get the URL of the Customer Panel page
As an example, copy the URL where the newly created customer panel is set.
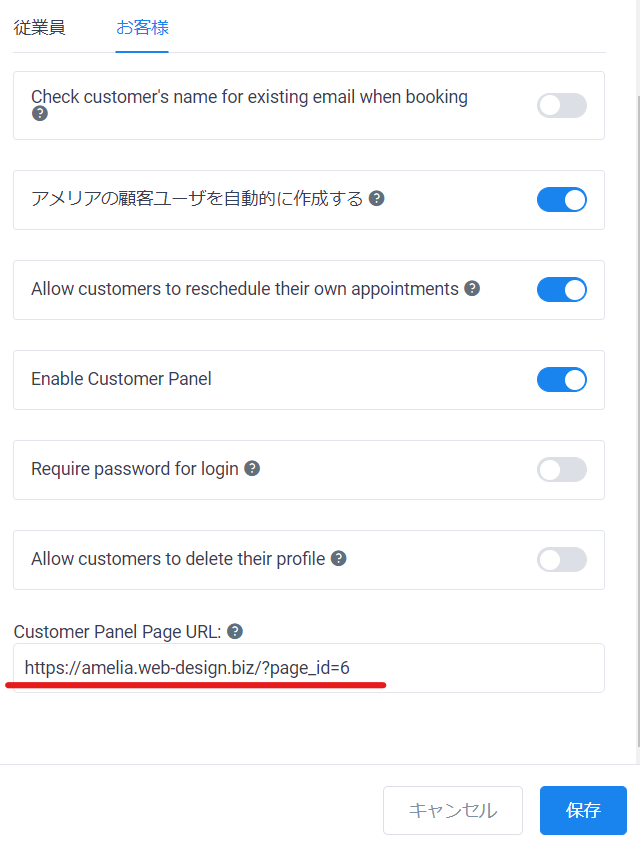
Paste into permission settings
As mentioned earlier, go to [Amelia] > [Settings] > [User Permissions Settings]
Paste it into [Customer Panel Page URL].
Finally, click [Save] to complete the settings.
Inform your customers of the customer panel URL
Even if you create a customer panel page, your customers will not be able to log in unless you provide them with the login URL.
[Notifications] Email settings
In [Amelia] > [Notifications], find the variable for the customer panel in the email body under Show Email Placeholders.
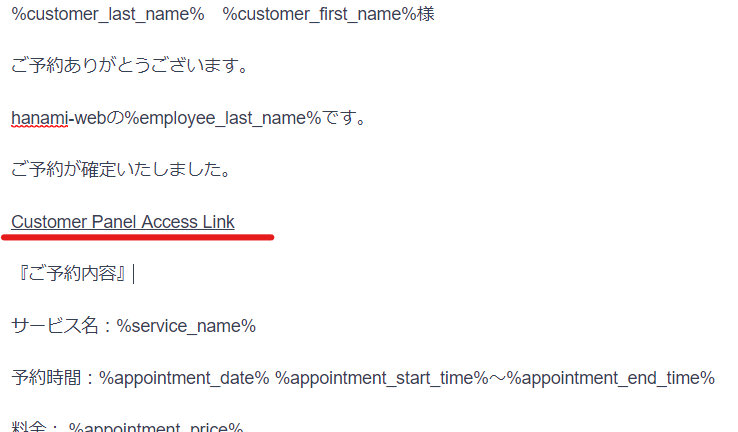
%customer_panel_url%
This is the variable to paste the customer panel login URL into the body of the email.
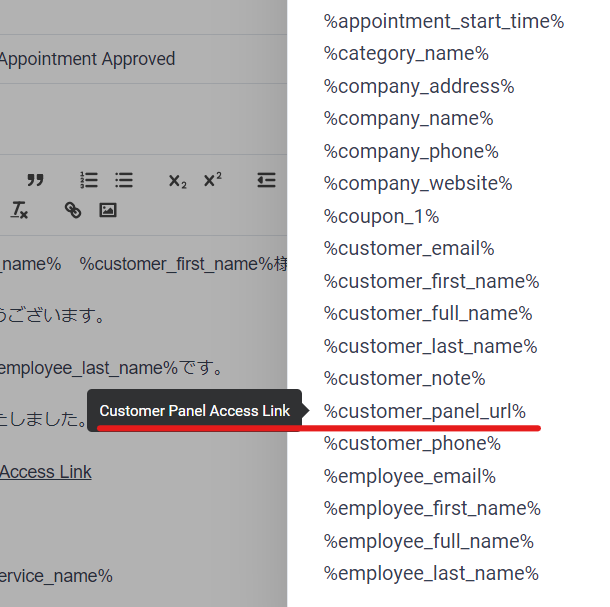
When you paste it into the body of an email, it will be converted to the words Customer Panel Access Link and a link will be added.
Customer side flow
We will now explain how you can access your member panel.
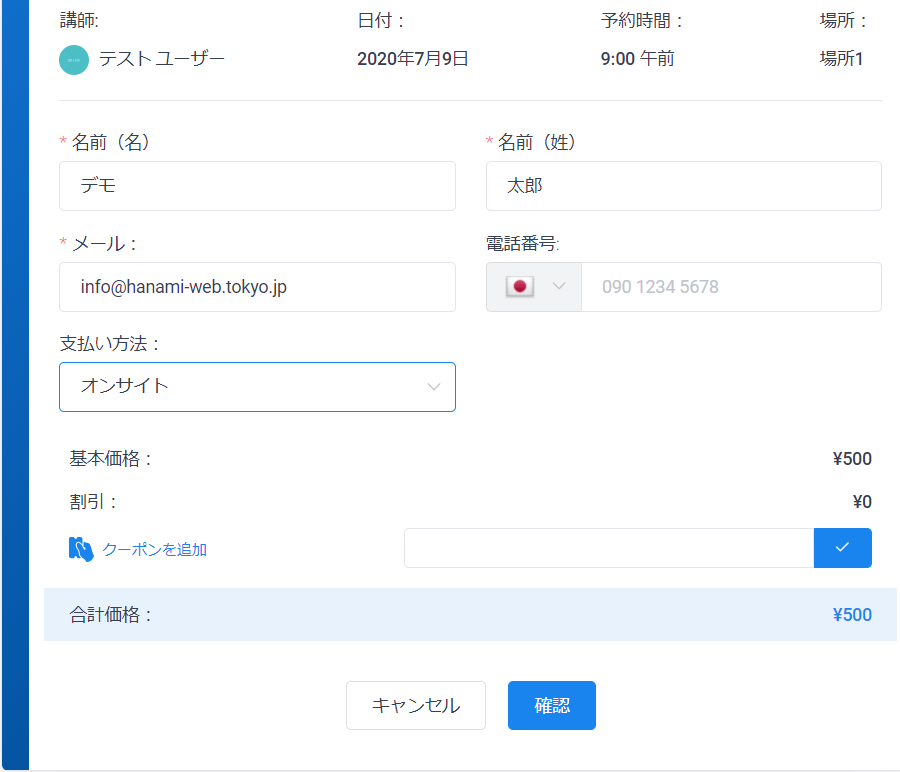
New reservation
First, customers enter their name and email address to make a reservation for a service or event. When they press the [Confirm] button,
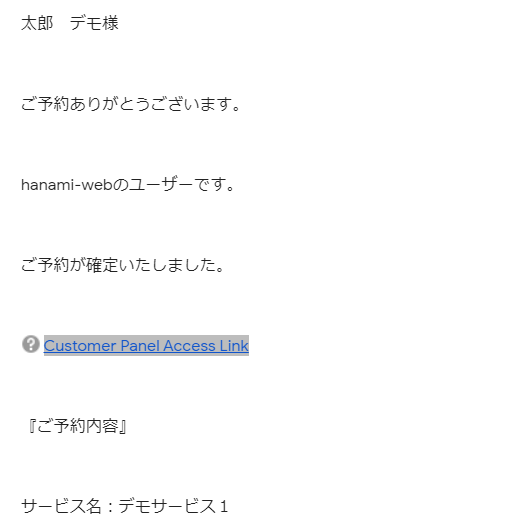
Login URL included in confirmation email
Click on the Customer Panel link in the confirmation email.
If you have set a password
Customer Panel
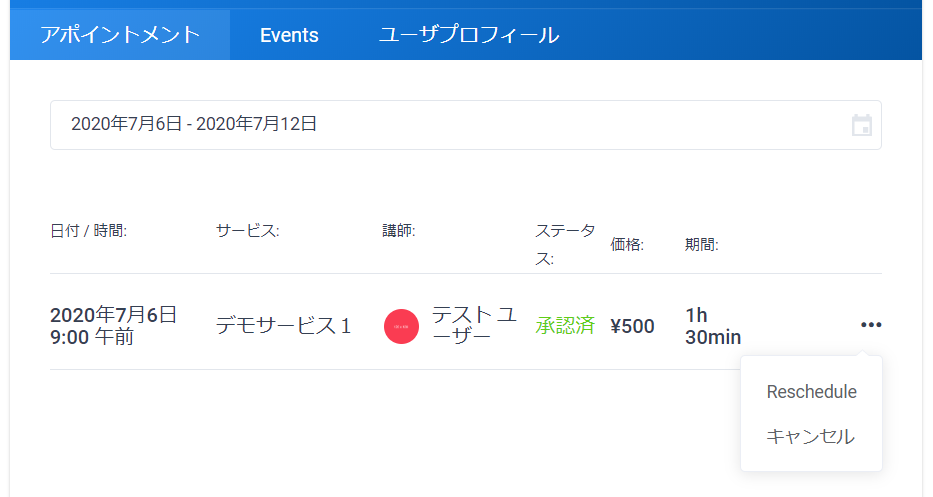
Customers will be able to reschedule, cancel, view reservation status and view a list of reservations in their customer panel.
You can also switch tabs to change the Events you have registered to attend and your profile.
Released as soon as the next morning! Weekends and holidays are also available!
Super rush website creation plan
We offer a rush website creation plan for those who need a website in a hurry!
We can publish your content as soon as the next morning, even on weekends and holidays! If you have any questions, please check the details below!
Latest Articles


