How to create a website using WordPress/How to use plugins/No-code construction blog


Explains how to add courses to the LMS plugin TutorLMS
At HanamiWEB Online School,
●Ask questions in real-time in the virtual study room!
●Ask as many questions as you want via chat!
●E-learning materials that you can learn as much as you want, 24 hours a day!
All included for just 2,500 yen/month!
I am researching LMS plugins to create an e-learning system using WordPress. I am introducing the paid version of the TutorLMS plugin. Since I want to create a full-fledged system, I am comparing the features of the paid version.
This time, we will explain how to add a course to TutorLMS.
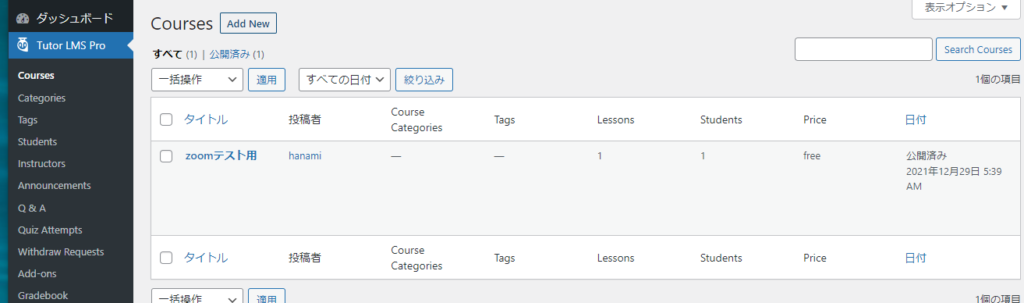
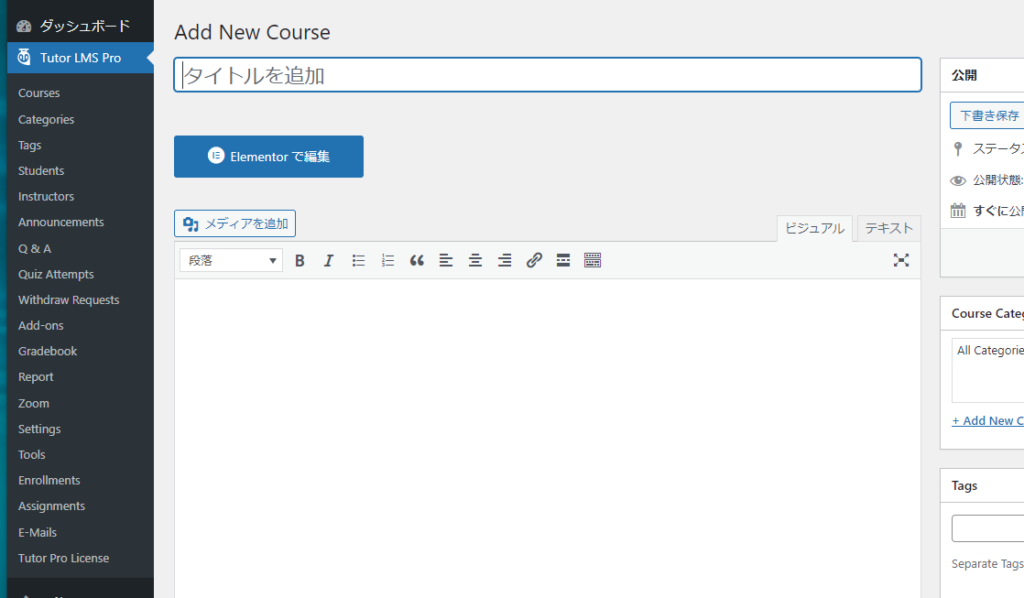
Add Course
- TutorLMS
- Courses
- Add New
Click.
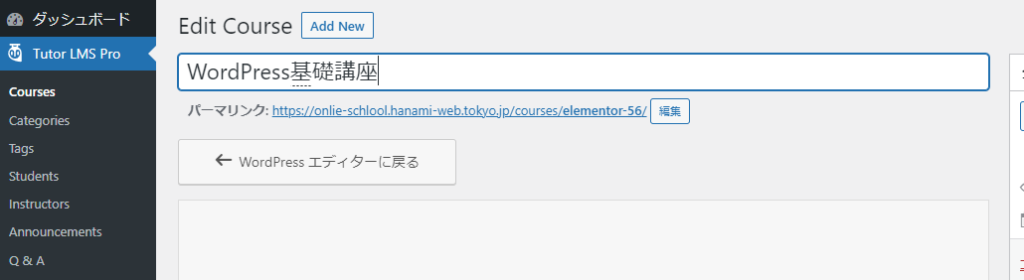
Decide on a course title
Once you have entered the course title, save it.
Launch Elementor
Click the Edit with Elementor button to launch Elementor.
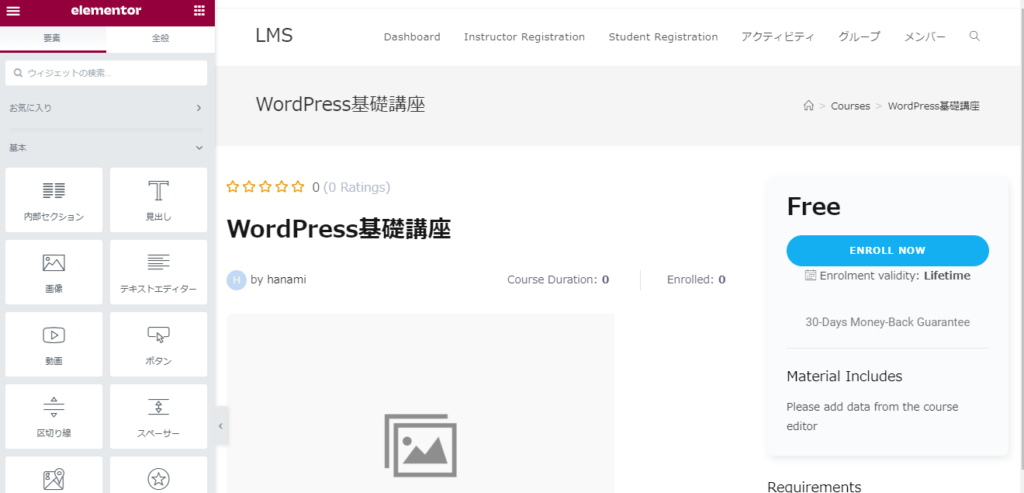
Course Title
The title is automatically generated.
Course Description
Enter your course description in the regular text widget in Elementor.

Course Author Settings
This is the [Course Author] widget, which is displayed by default.

- Profile photo ON/OFF
- Name display ON/OFF
- Link Settings
- Layout Settings
This can be done.
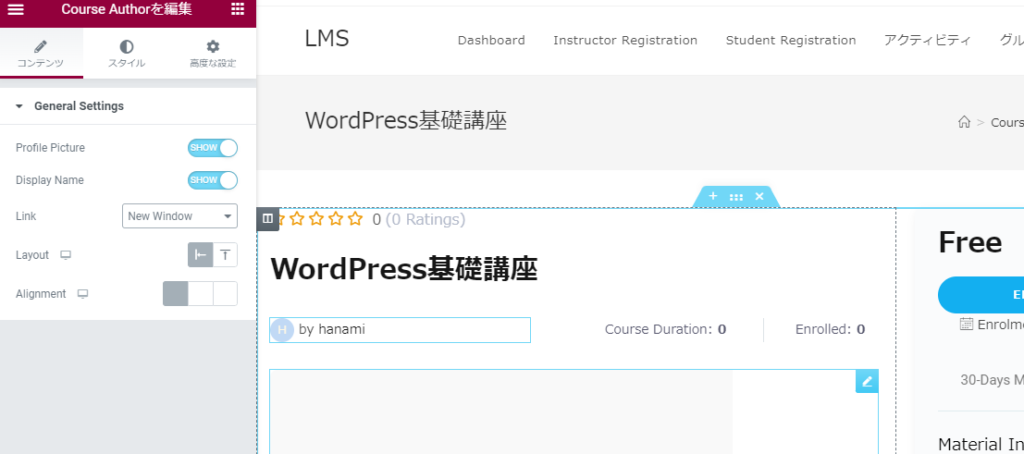
You can also change the color by changing the style.
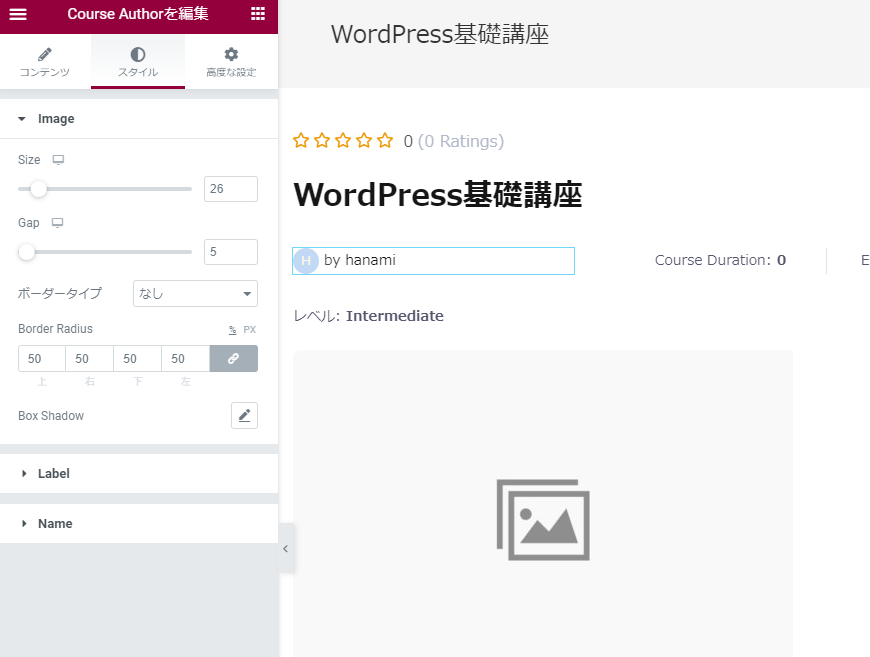
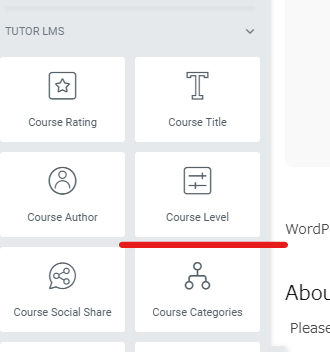
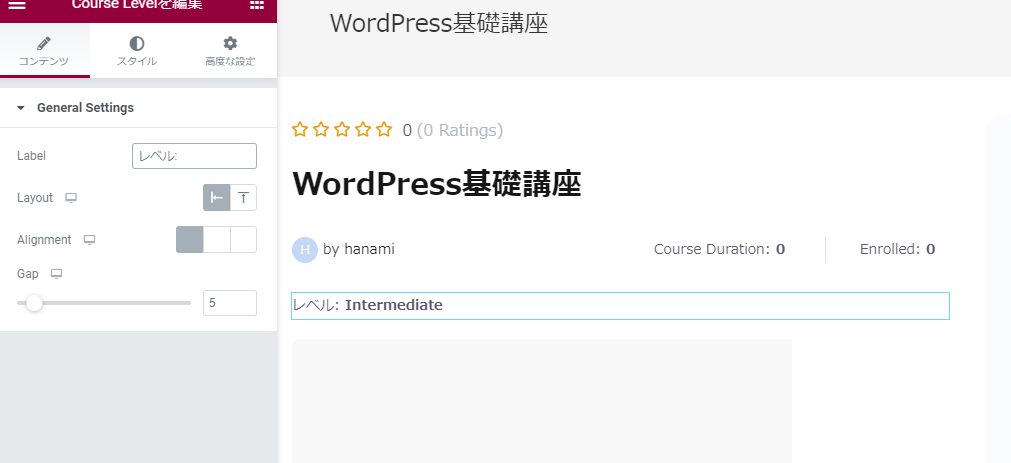
Course level display
Displays the course level. The widget will be [Course Level].
- label
- Layout
You can set the following.
You can also set the color by switching to Style.
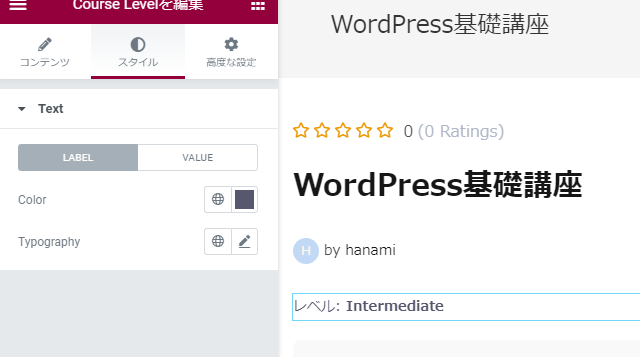
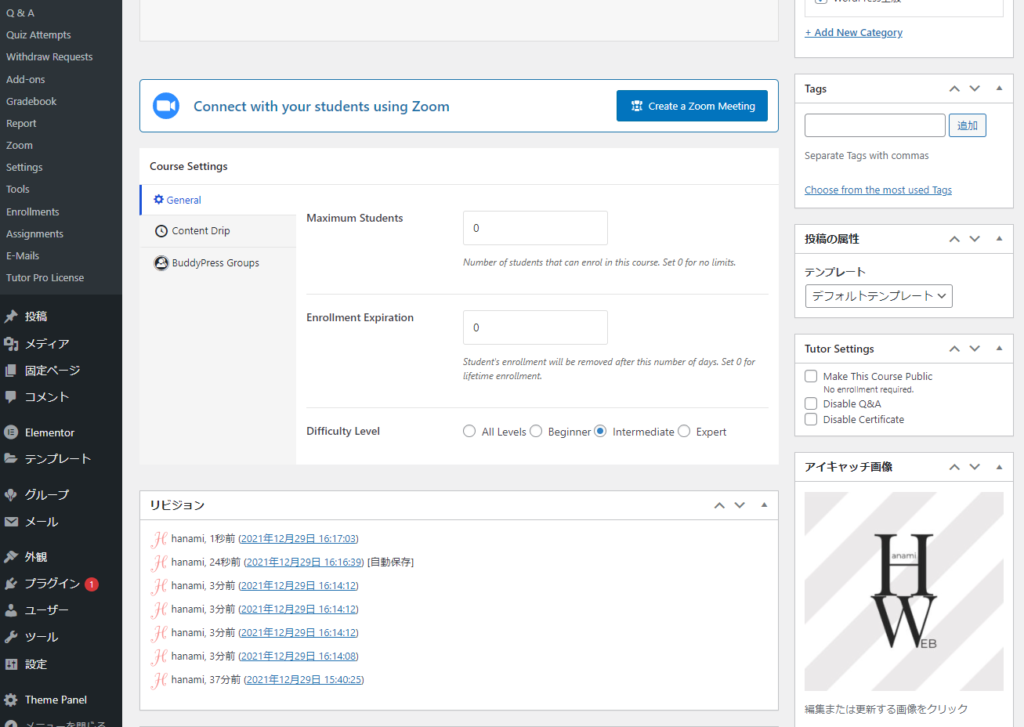
The level is set on the editing screen before launching Elementor.

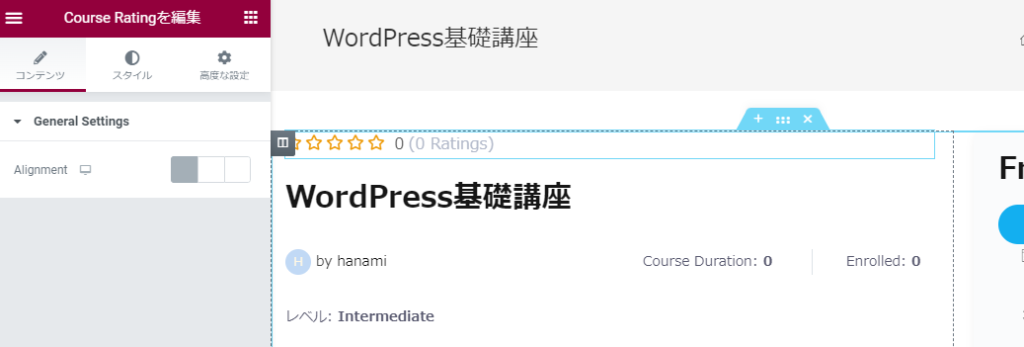
Course Evaluation
I used the Course Rating widget, which was displayed by default.

You can set the color by switching to the Position and Style tabs.
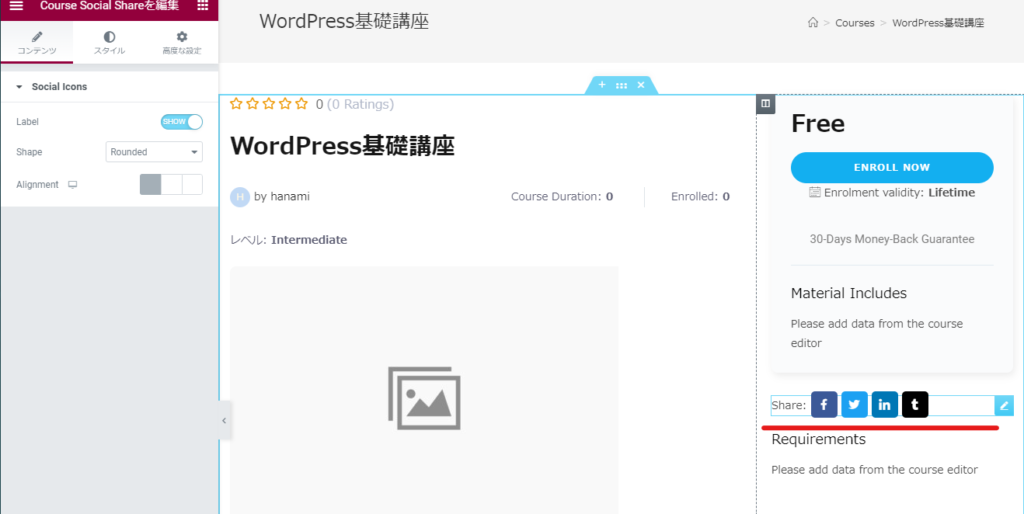
Share the course on social media
Use the [Course Social Share] widget.
Added to the right sidebar.
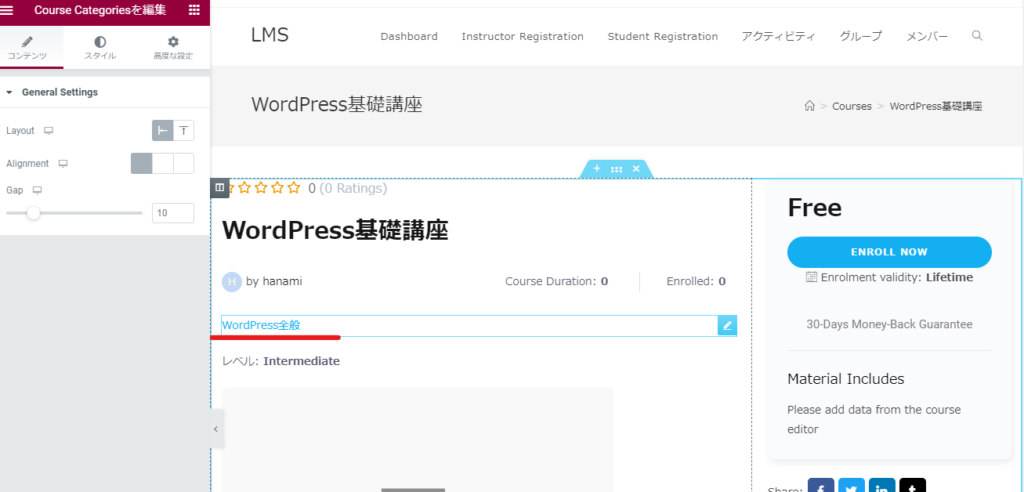
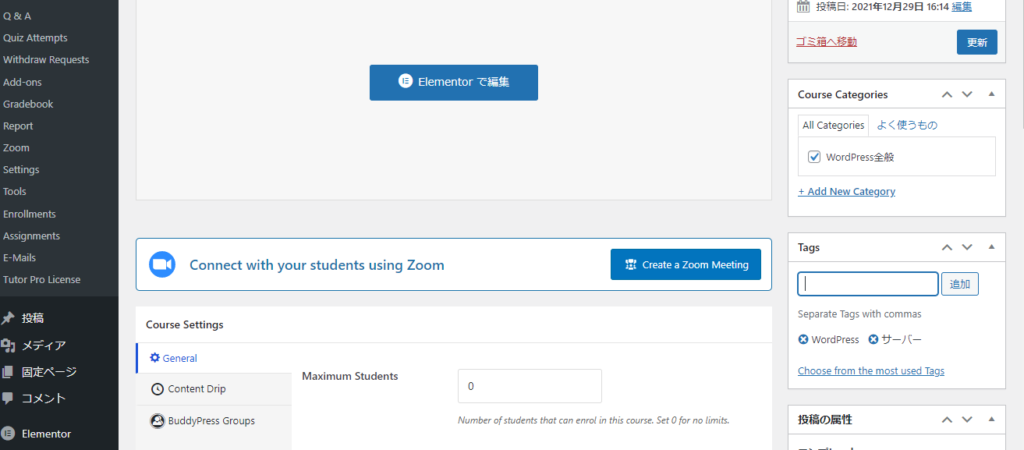
Course Categories
Use the [Course Categories] widget.
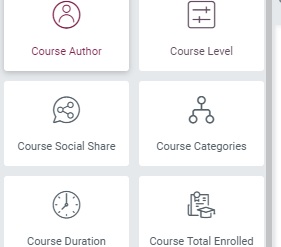
A category has been added. In addition to position, you can set the color by style.
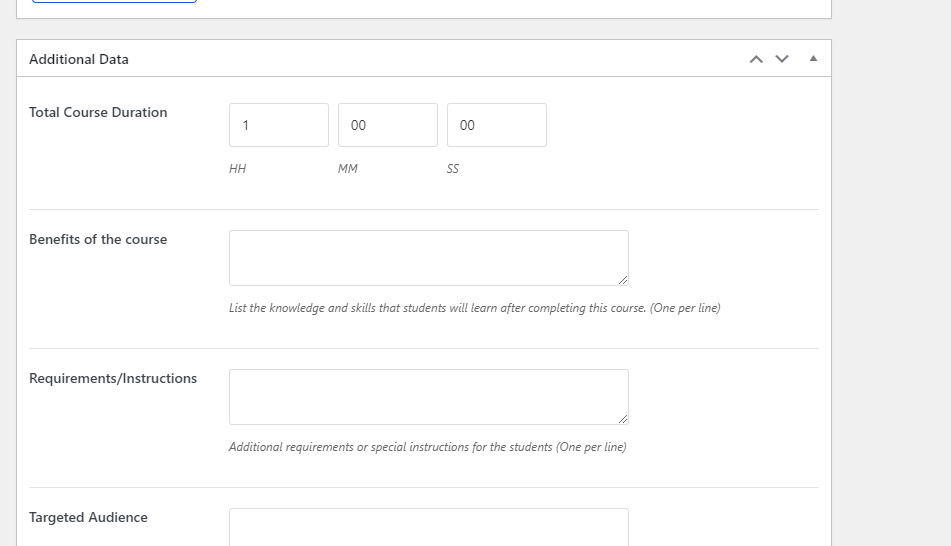
Estimated attendance time
Use the [Course Duration] widget.
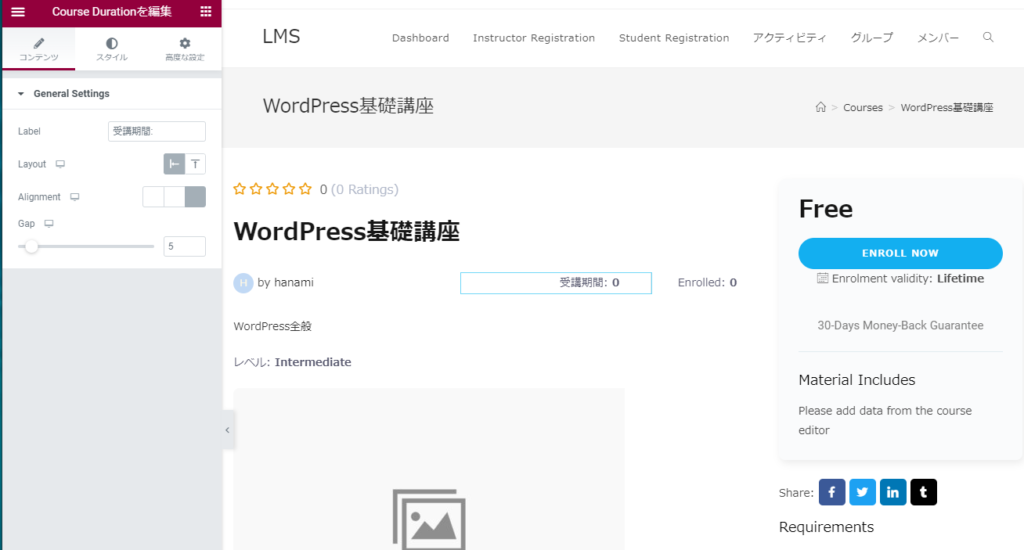
The Course Duration setting that you set at the level above before launching Elementor will be displayed.
In particular, if the time is not set and it is set to 0, there is no need to display it on the course page.
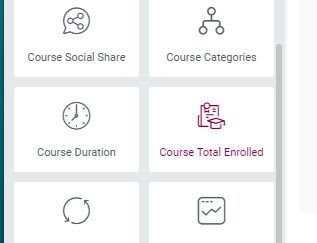
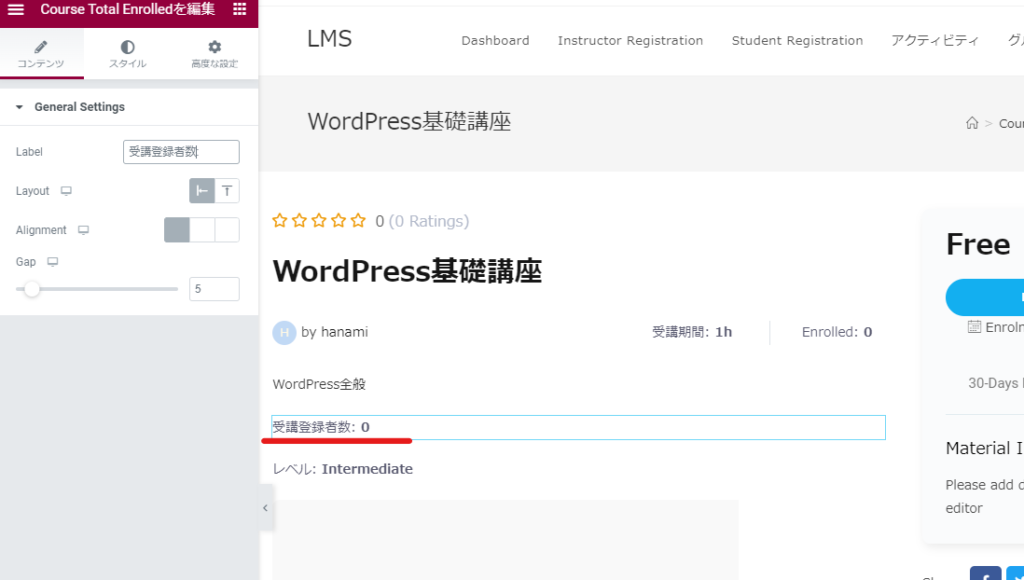
Total number registered
You can display the number of students enrolled in your course.
Use the [Course Totla Enrollment] widget.

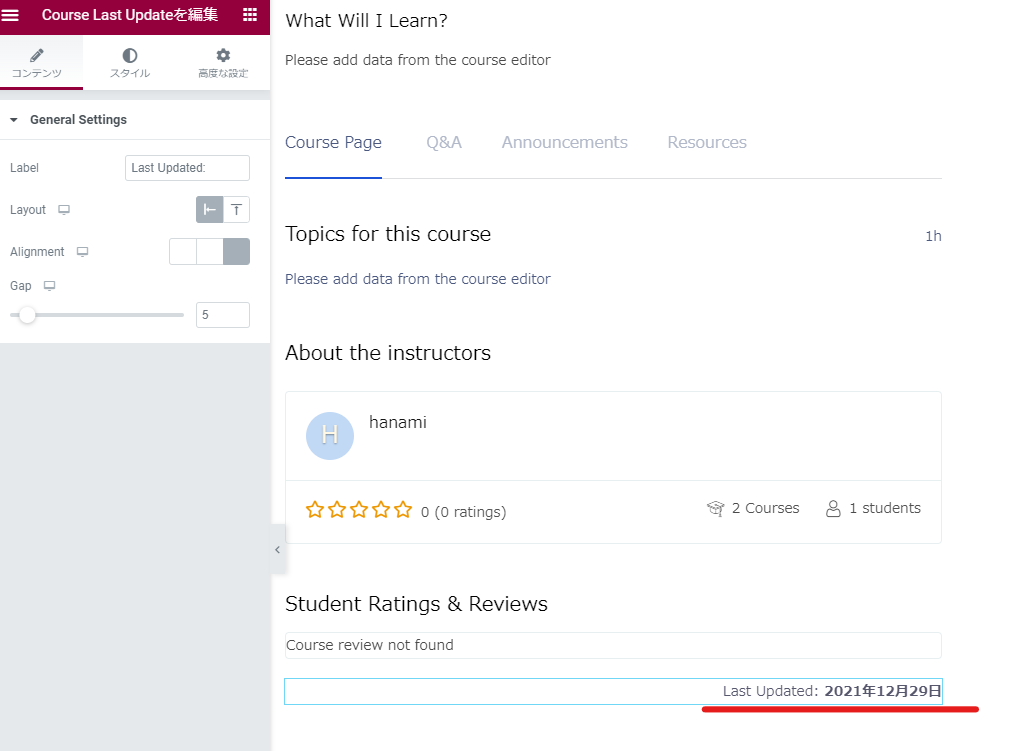
Course last updated
Use the [Course Last Updater] widget.
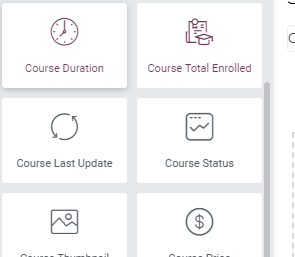
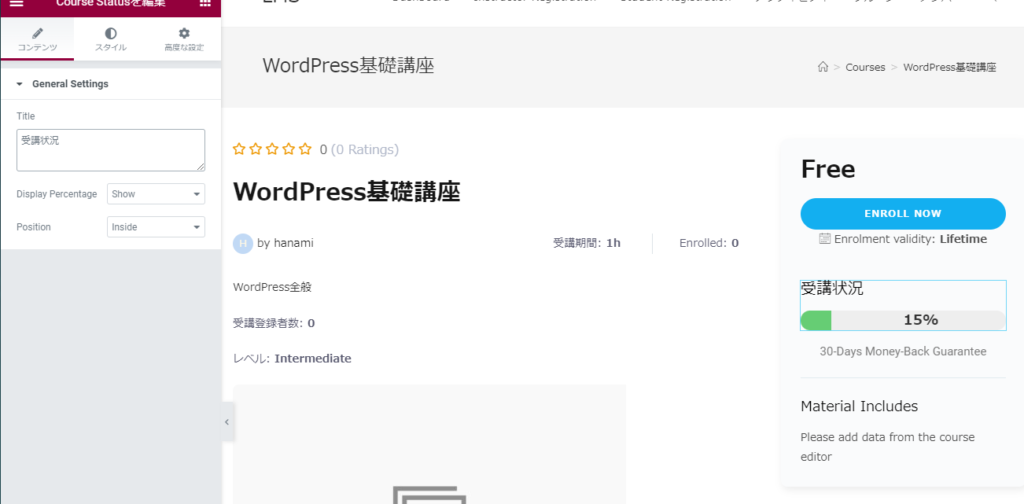
Course Status
This refers to the progress of the course. Progress bar
Use the [Course Status] widget.

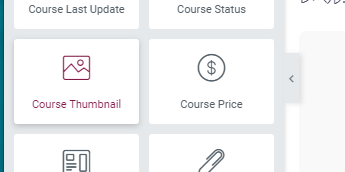
Course thumbnail
Displays thumbnails of the course.
Use the [Course Thumbnail] widget.

The image you set as the featured image will be displayed on the editing screen before launching Elementor.
Course Fee
Use the [Course Price] widget.
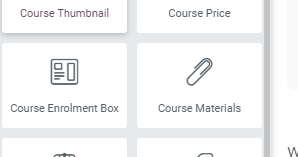
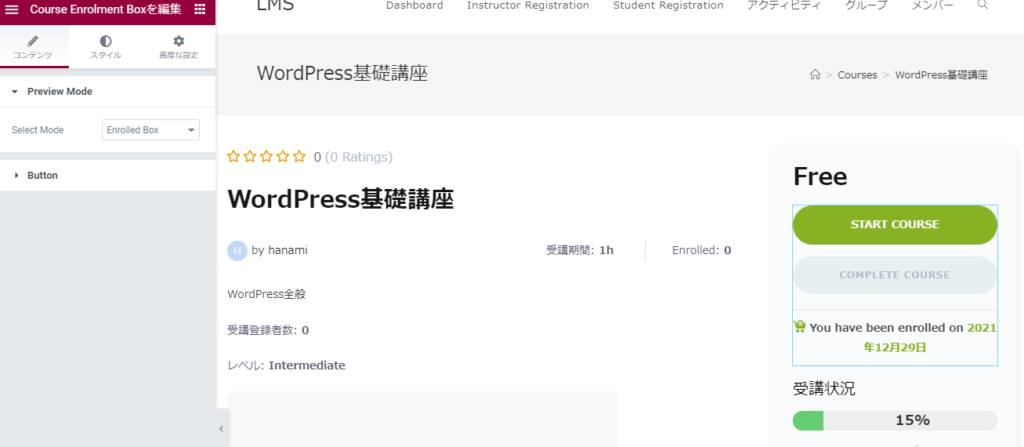
Course registration button
Use the [Course Enrollment Box] widget.
This is the Enrollment Box.
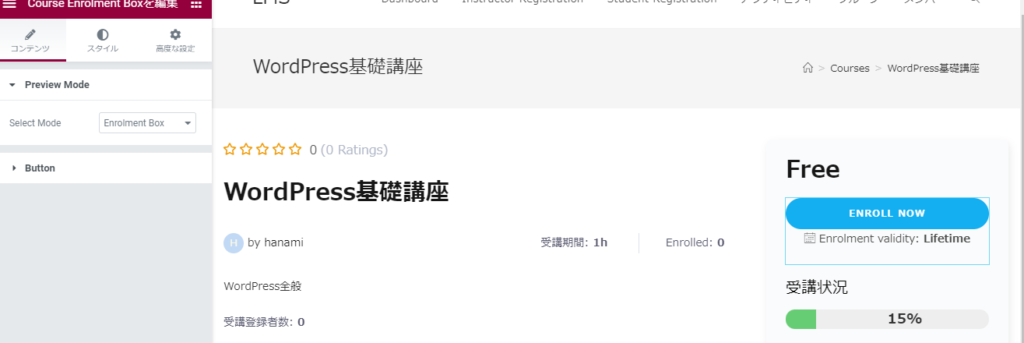
The Enrolled Box is the course start button after registration.
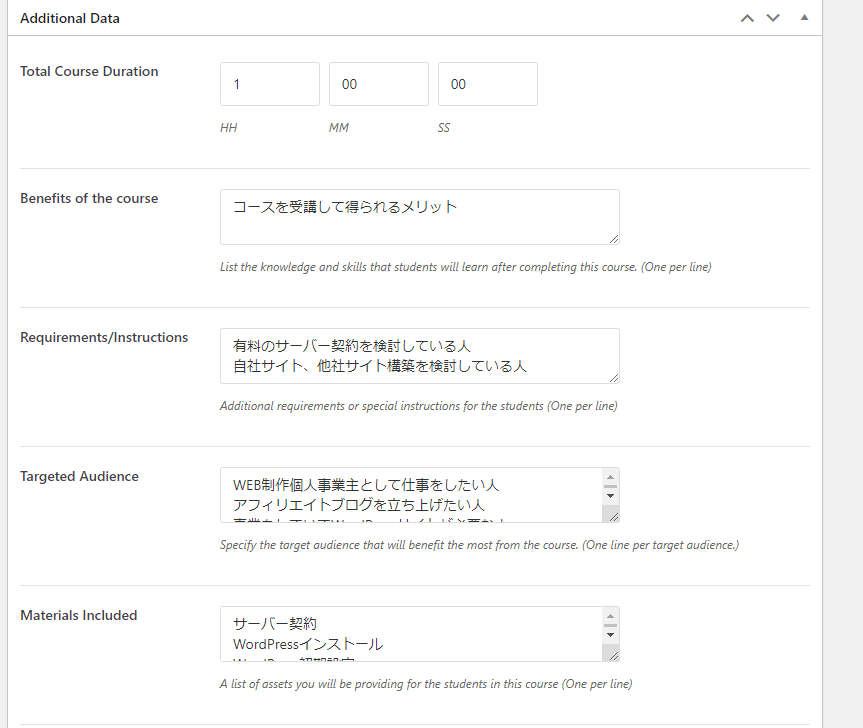
List of course materials
Use the [Course Materials] widget.
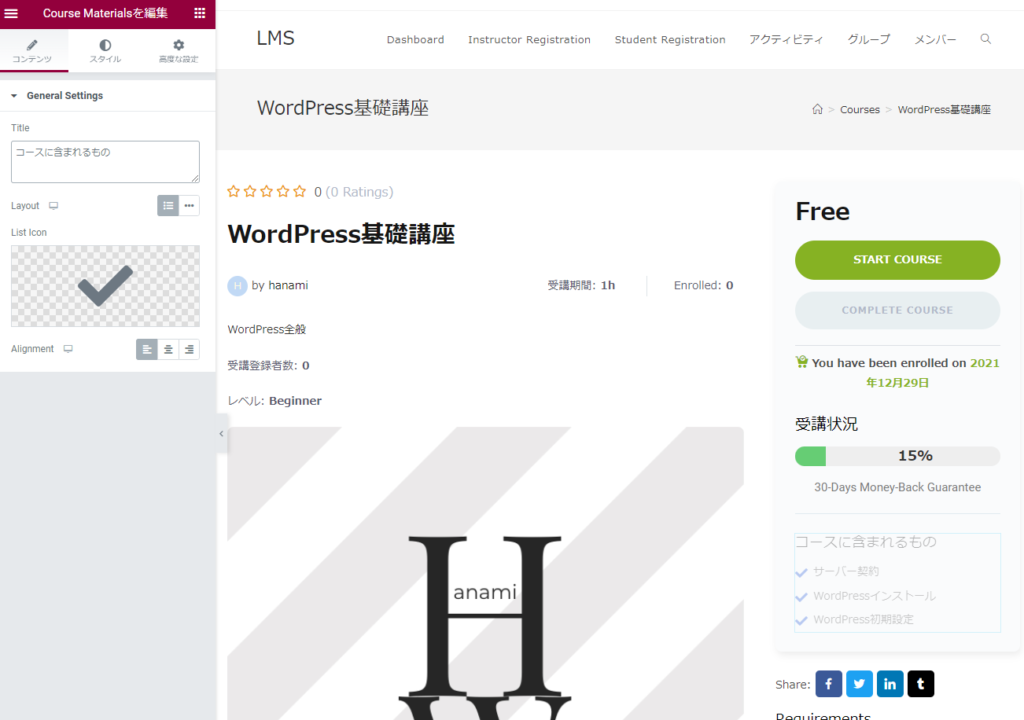
The settings you made on the course editing screen before launching Elementor will be displayed.

Course Requirements
Use the [Course Requirements] widget.
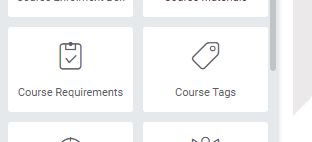
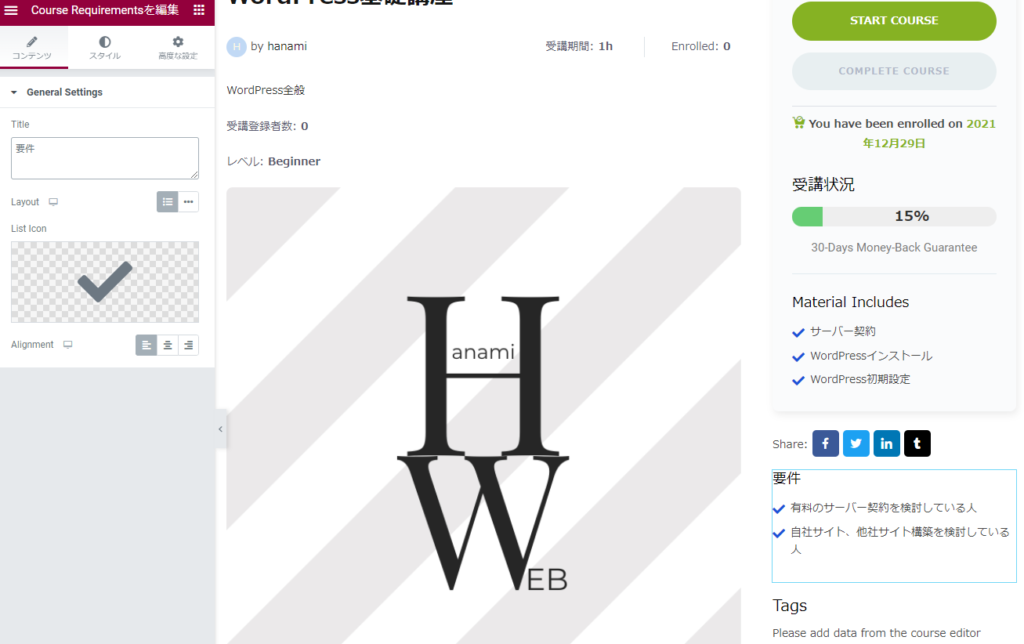
The settings you made on the course editing screen before launching Elementor will be displayed.

Course Tags
Use the [Course Tags] widget.


The settings you made on the course editing screen before launching Elementor will be displayed.
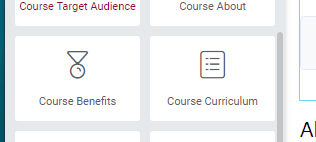
Target Users
Use the [Course Target Audience] widget.
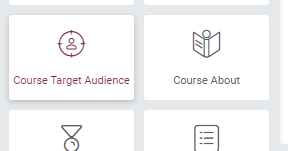
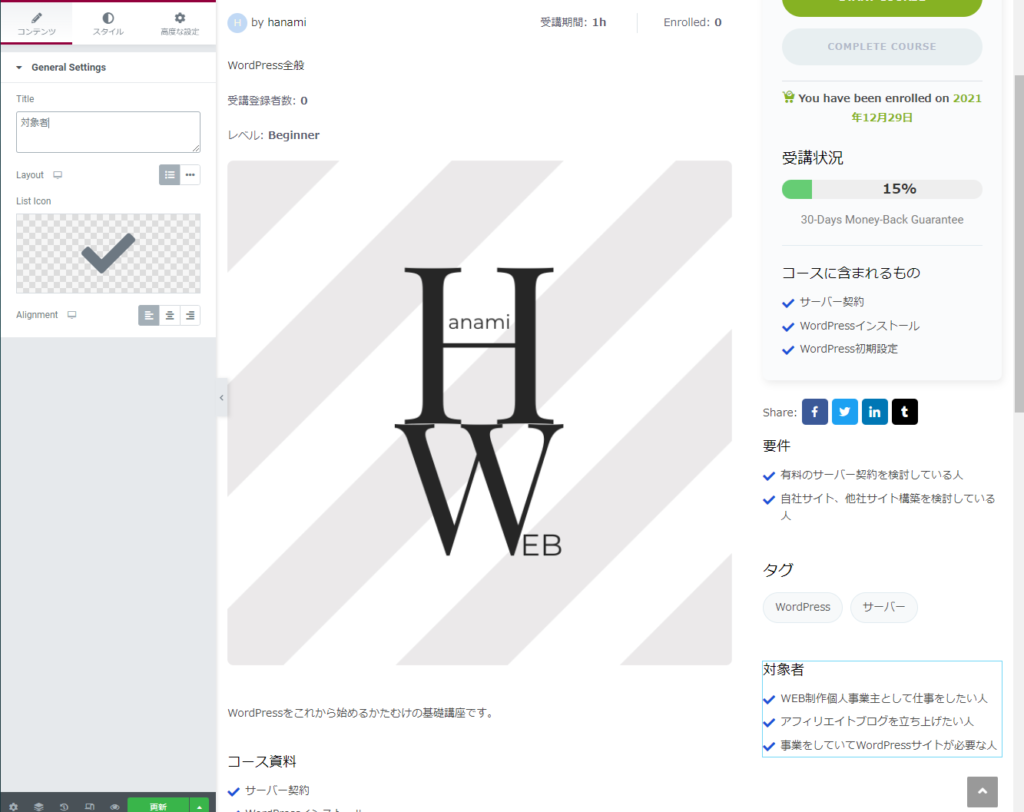
The settings you made on the course editing screen before launching Elementor will be displayed.

Course Description
Use the [Course About] widget.
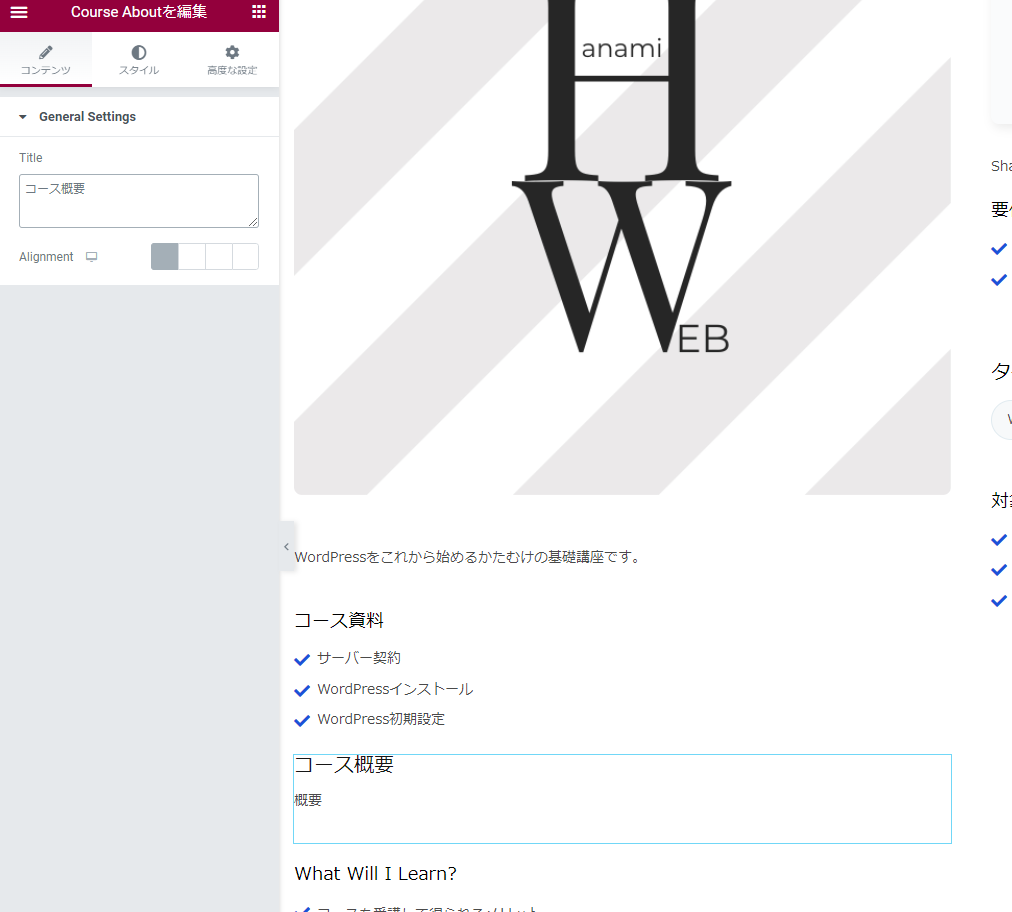
The settings you made on the course editing screen before launching Elementor will be displayed.

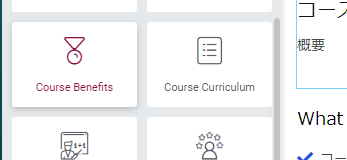
Benefits of the course
Use the [Course Benefits] widget.
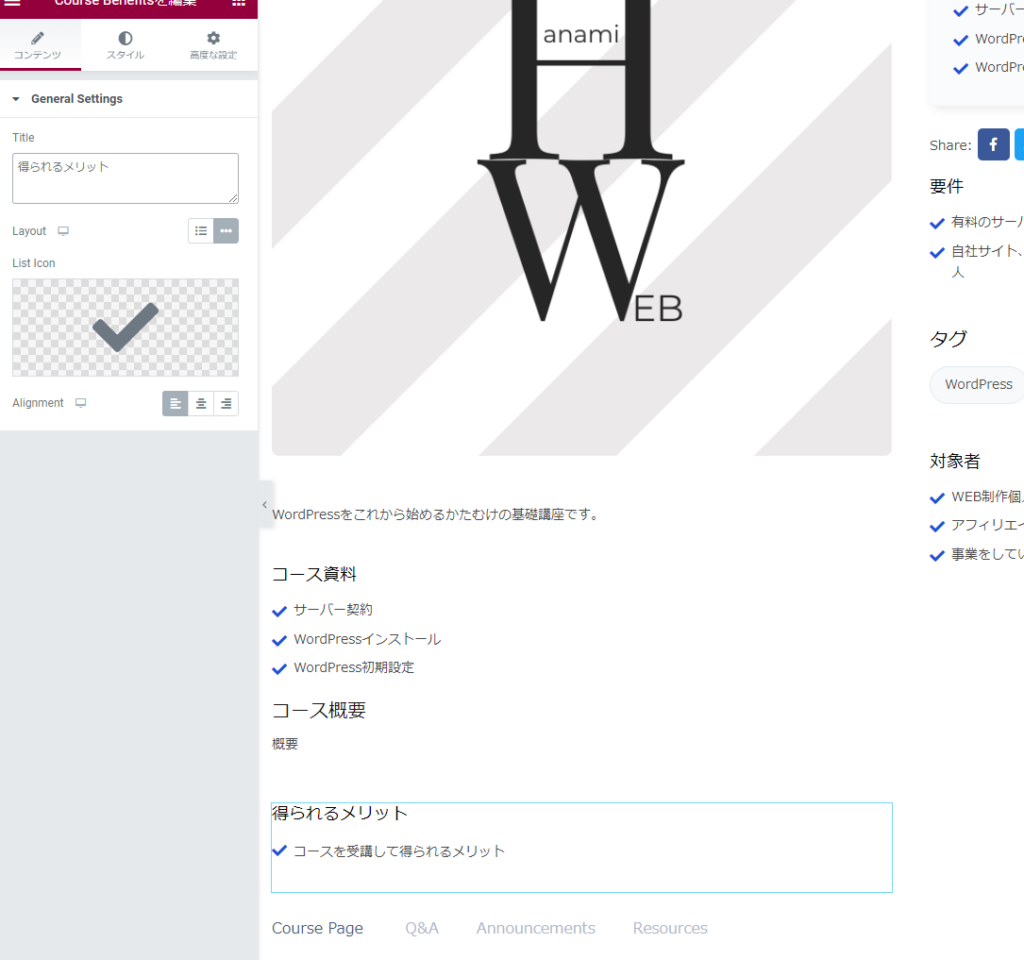
The settings you made on the course editing screen before launching Elementor will be displayed.
Course Curriculum
Use the [Course Curriculum] widget.
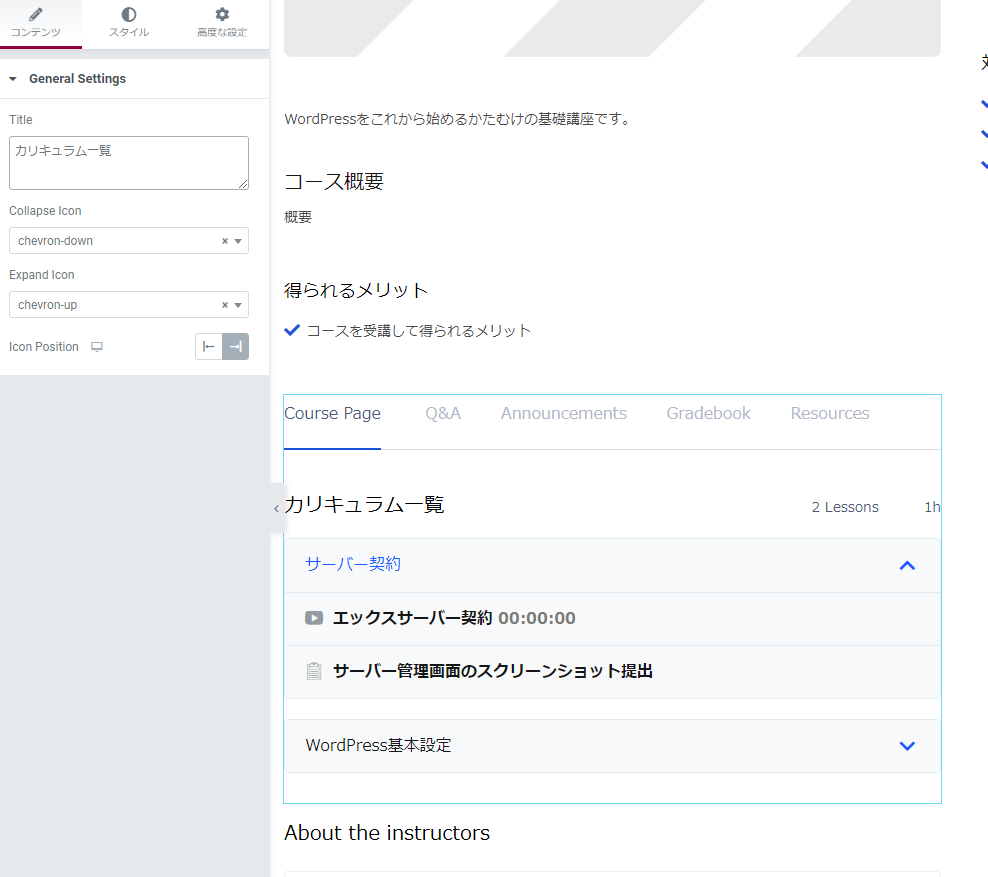
The settings you made on the course editing screen before launching Elementor will be displayed.

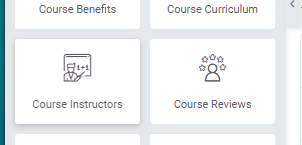
Course Instructor
Use the [Course Instructors] widget.

The settings you made on the course editing screen before launching Elementor will be displayed.

Course Review
Use the [Course Reviews] widget.

Complete
I checked the functions as I set it up, and ended up with a course page like this.
I was able to create a page easily by dragging.

Released as soon as the next morning! Weekends and holidays are also available!
Super rush website creation plan
We offer a rush website creation plan for those who need a website in a hurry!
We can publish your content as soon as the next morning, even on weekends and holidays! If you have any questions, please check the details below!

Latest Articles
How to Enhance EEAT with WordPress | Settings and Design Improvements Necessary for AI-Driven Traffic
[2026 Latest] How to check the number of visits from generated AI using GA4's exploration function
Error message: Allowed memory size of 268435456 bytes exhausted (tried to allocate 14684160 bytes) Error: On Lollipop