How to create a website using WordPress/How to use plugins/No-code construction blog


")
Set up your eLearning courses with Lifter LMS
At HanamiWEB Online School,
●Ask questions in real-time in the virtual study room!
●Ask as many questions as you want via chat!
●E-learning materials that you can learn as much as you want, 24 hours a day!
All included for just 2,500 yen/month!
I am a WordPress instructor, and I often have the opportunity to teach the same content, such as how to get started with WordPress and how to use WordPress. I came to know about the Learning Management System (LMS) because I thought it would be nice if my customers could learn through e-learning.
I also learned that you can get started for free by using a WordPress plugin, and this time I will explain how to install a plugin called Lifter LMS.
The benefit of creating an LMS is the automation of revenue.
They can take courses at their own discretion and collect fees at their own discretion.
We recommend building an LMS as one of the new non-face-to-face business ventures!
The installation method and initial settings are explained in the following article.
This time, I will introduce how to create an LMS using Amelia, a plugin that allows you to build a reservation management system using WordPress.
Where do I set up my courses in Lifeter LMS?
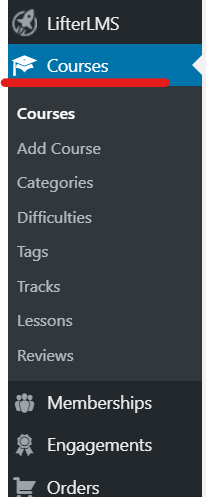
When you activate the Lifter LMS plugin, you will see the following in the left sidebar:
- LifterLMS
- Courses
- Memberships
- Engagements
- Order
The following item will be added. You can set your course in [Courses].
If you automatically added courses during the introductory course, one sample course will be included.
This time, we will introduce the process of creating a new course.
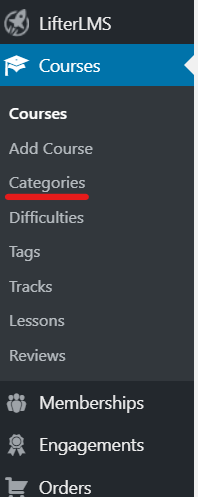
Create categories for your LMS courses
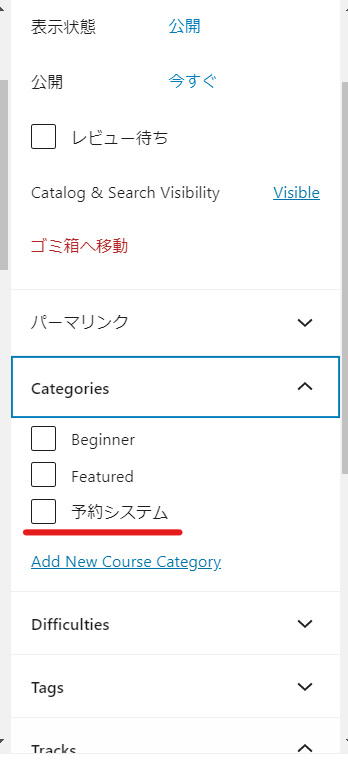
Click [Categories].
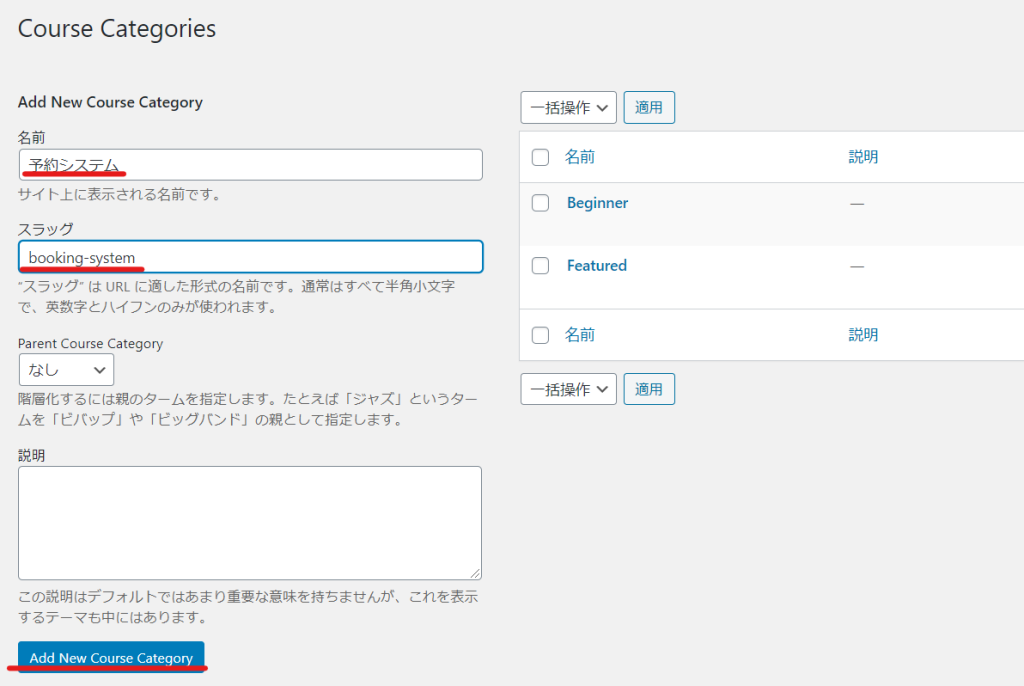
Add a category for your booking system
Beginner and Featured are included by default.
- Name: Name of the category
- Slug: The part that becomes the URL
- Click Add New Course Category
Create a new category called [Reservation System].
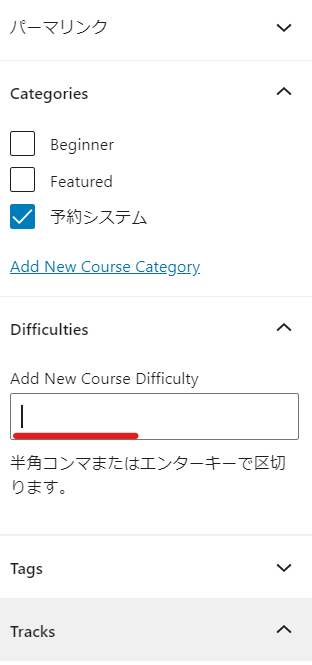
LMS course difficulty settings
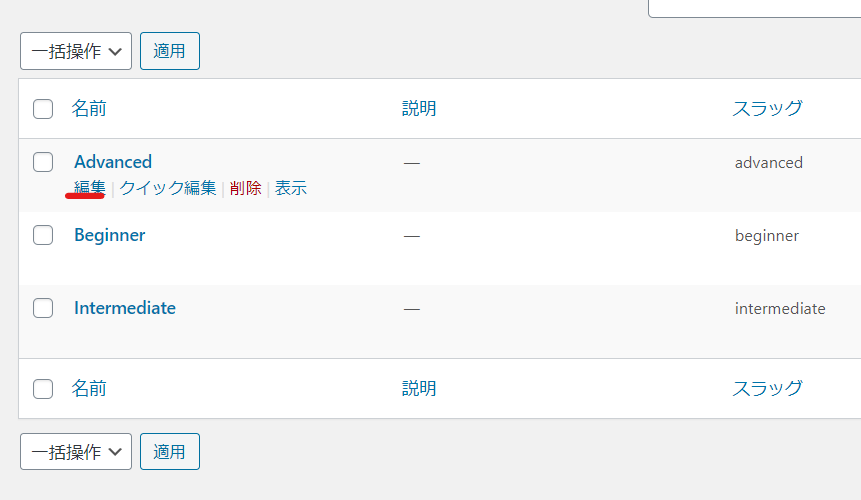
Decide the name of the difficulty in the [Difficulties] section.
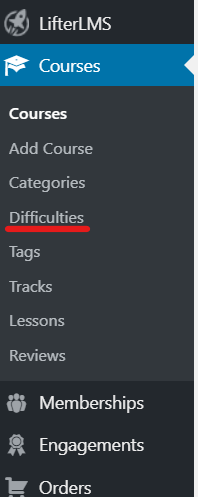
It is set to English by default, so let's edit it to Japanese.
When you hover your mouse over the name you want to change, the [Edit] text will appear, so click Edit to change the name part to Japanese.
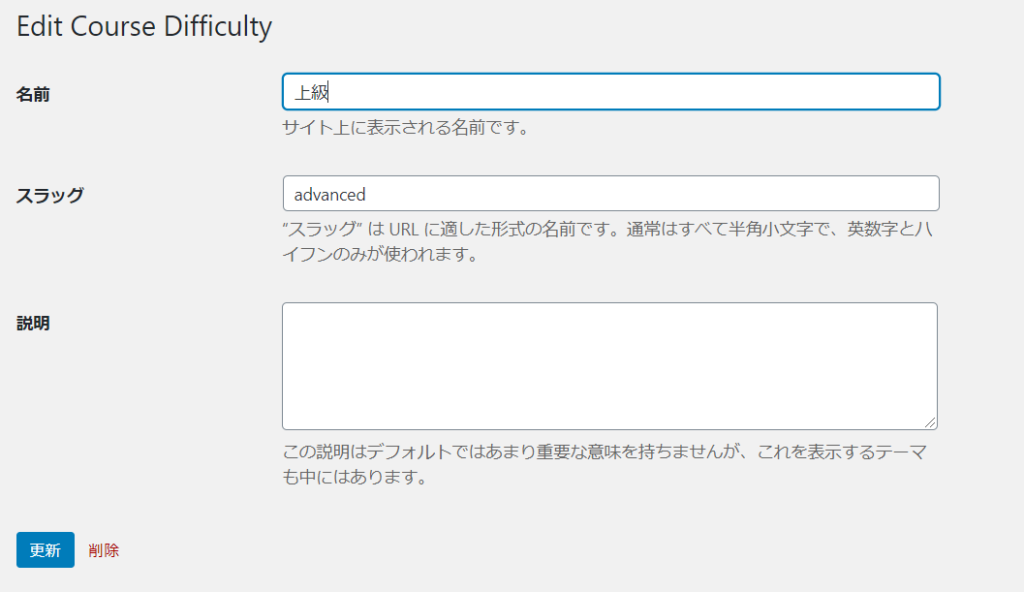
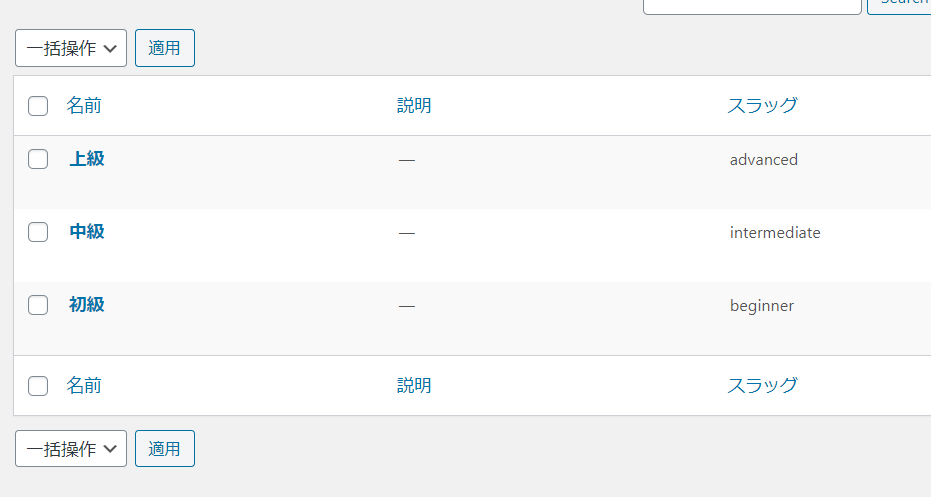
All the names have been changed to Japanese.
Register your instructor with Lifter LMS
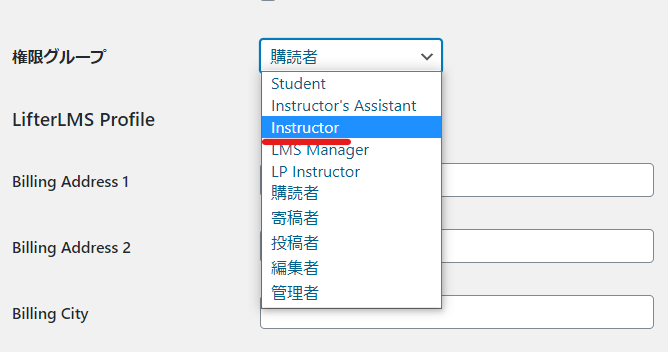
Register an instructor by going to [User] > [Add New] in WordPress.
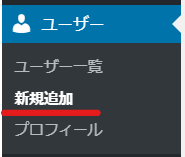
Enter the required information and select [Instructor] in the authority section.
If you want to make the user an LMS administrator instead of an instructor, please change the administrator privileges.
Create your course outline with Lifter LMS
First, create a course outline and a list of courses.
Click 【Add Course】.

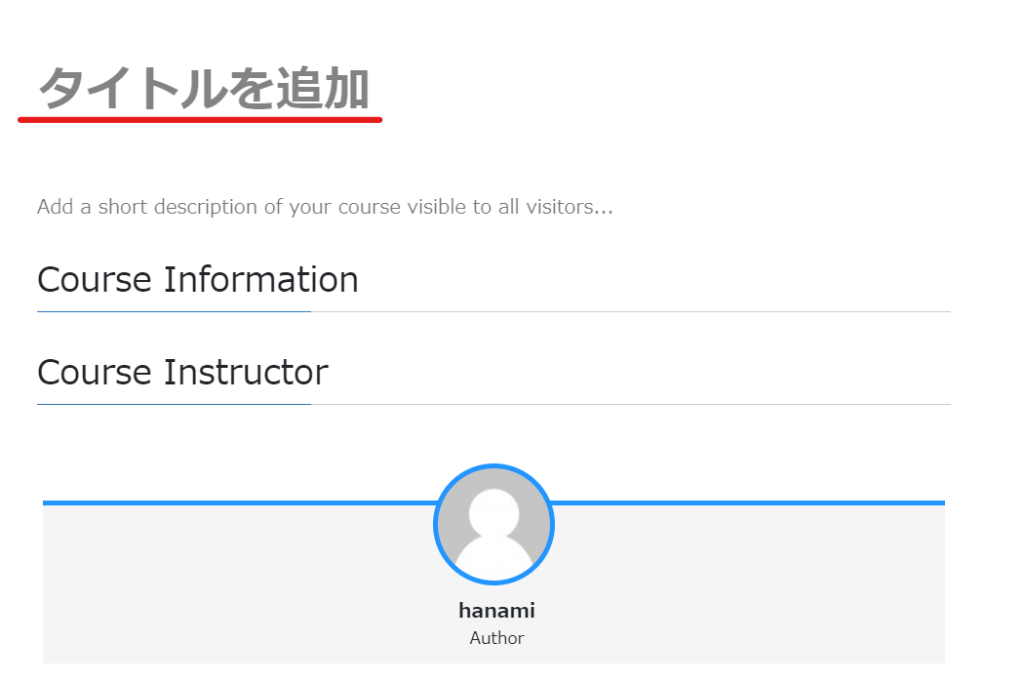
Give your course a title
First, the title. This time, I will explain how to build a reservation system.
Set the course category
This time we will check the reservation system.
Set the difficulty level
Enter the name you set in Difficulties and press Enter.
Enter your course description
Since it is the same as a normal text editor, you can configure it however you like.
The structure shown here is just an example. Enter the course summary after the title.
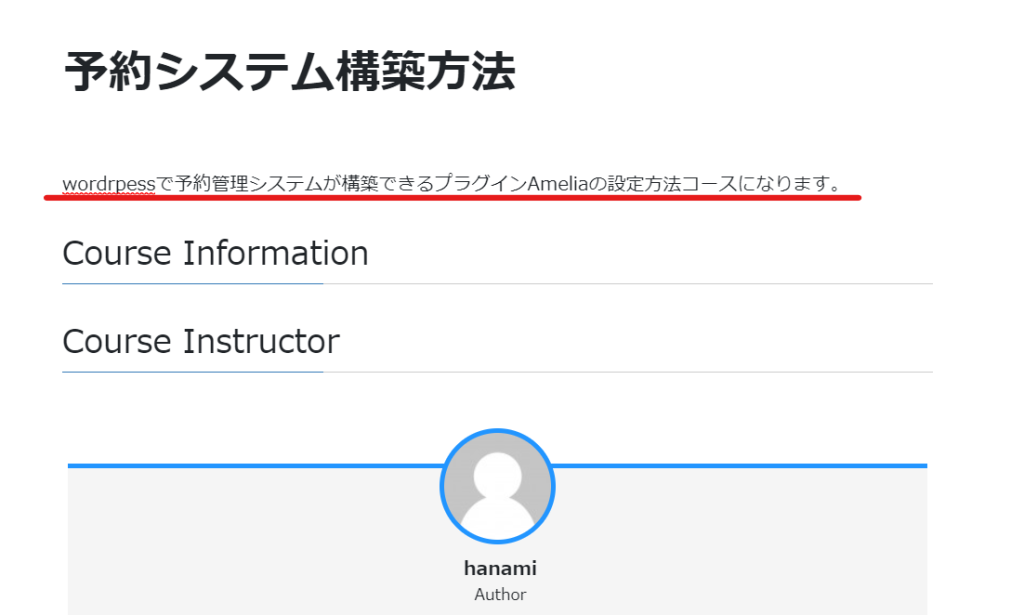
Course Information block fix
This is the Coursee Information block provided by Lifter LMS.
The course outline and name have been changed. On the right side
- Title Headline Size – Determine the hierarchy of headings
- Estimated Completion Time - Enter the estimated duration of your course
- Display Estimated Time - Display course period
- Display Difficulty
- Display Tracks
- Display Categories
- Display Tags
You can set the.
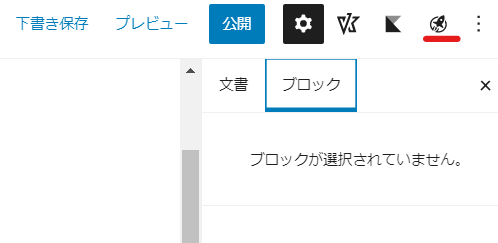
Set up a teacher
Click the rocket icon in the top right.
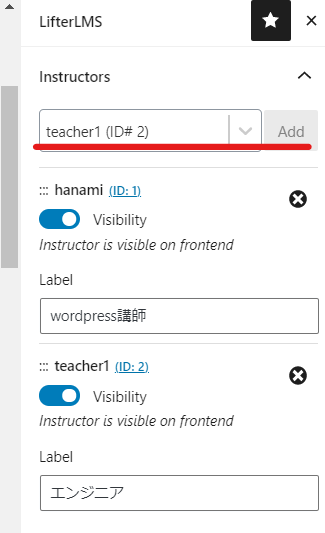
- Select an instructor from Instructors [Add]
- Enter the title or other information you want to display in Label instead of your name.
You can register multiple instructors.
Once you have added the instructor, return using the gear icon.
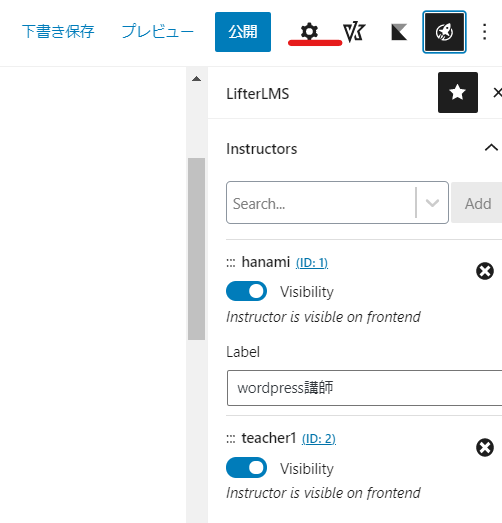
Click the [Update] button to perform a redirect and update the editor to the latest version.
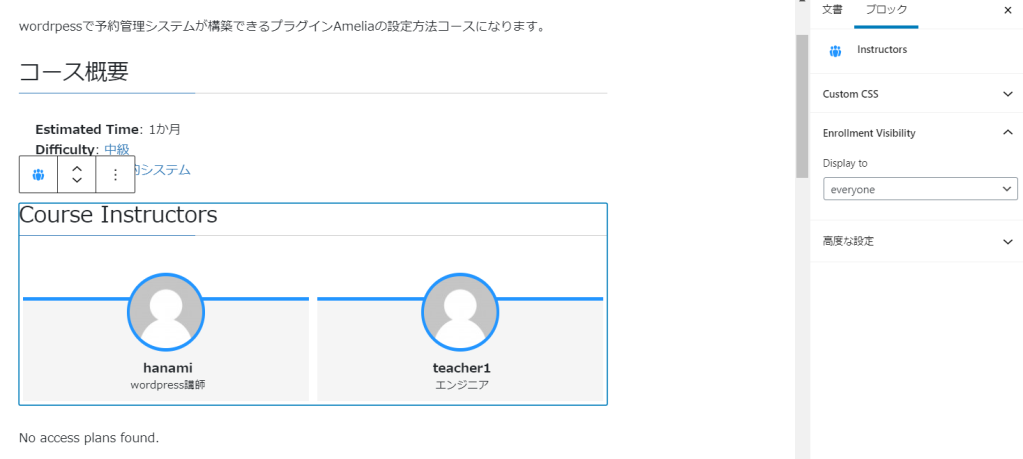
Fixed Course Instructors block
Modify the Course Instructors block. Set the display settings in Display to.
If you want to set an image, you can register it by editing the [User] in WordPress.
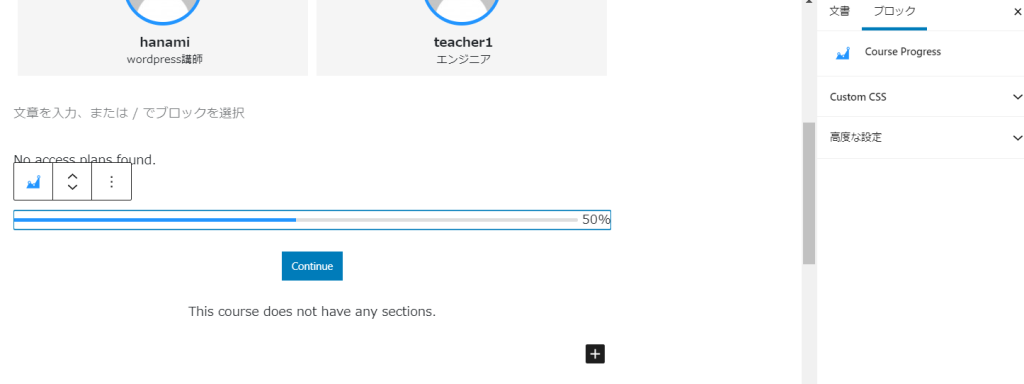
Progress bar settings
The Course Progress block will help you track your progress.
Blocks that can be used in text editors
The blocks explained above are built by default and are contained within the blocks. Even if you accidentally delete a block, you can add it again.
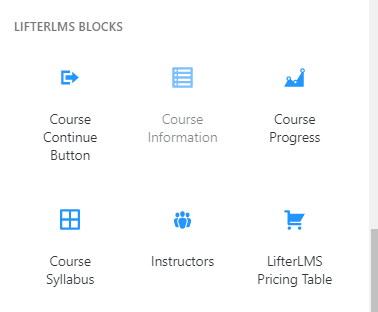
The LifterLMS Pricing Table requires pricing settings, so I will introduce it in a separate article.
summary
Now that the Lifter LMS course introduction page setup is complete, let's continue by preparing the content for each course.
Also, since this is a plugin that is not translated, there are some parts where the English notation cannot be corrected by the automatic output. If you use the translation plugin, you can easily set up your own translation!
Released as soon as the next morning! Weekends and holidays are also available!
Super rush website creation plan
We offer a rush website creation plan for those who need a website in a hurry!
We can publish your content as soon as the next morning, even on weekends and holidays! If you have any questions, please check the details below!

Latest Articles
How to Enhance EEAT with WordPress | Settings and Design Improvements Necessary for AI-Driven Traffic
[2026 Latest] How to check the number of visits from generated AI using GA4's exploration function
Error message: Allowed memory size of 268435456 bytes exhausted (tried to allocate 14684160 bytes) Error: On Lollipop