How to create a website using WordPress/How to use plugins/No-code construction blog


Set up lesson content with Lifter LMS
At HanamiWEB Online School,
●Ask questions in real-time in the virtual study room!
●Ask as many questions as you want via chat!
●E-learning materials that you can learn as much as you want, 24 hours a day!
All included for just 2,500 yen/month!
We explain how to use LifterLMS, an e-learning system plugin that is useful when creating online salons and membership sites using WordPress.
LifterLMS's system for managing students' course status is different from that of online salons that use ordinary membership site plugins.
This time, we will explain how to set up the lesson content that students will actually take.
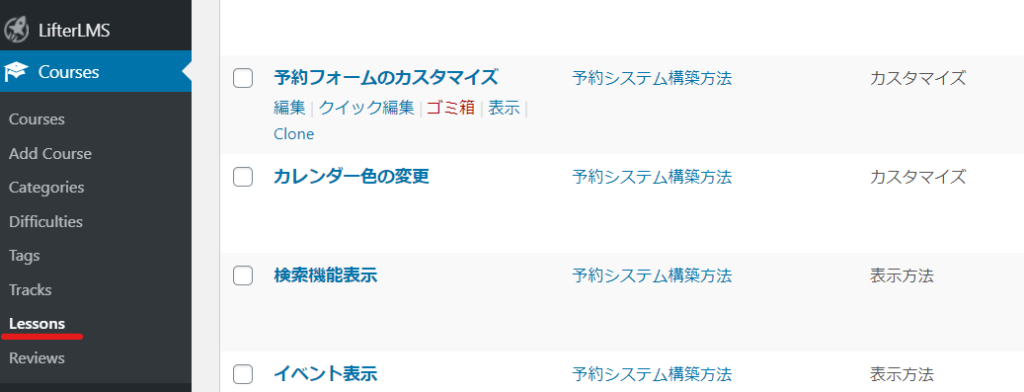
Check the contents you created with the LifterLMS table of contents
All the content you created in the table of contents is included in [Courses] > [Lessons]. Edit this list to create the text for your course.
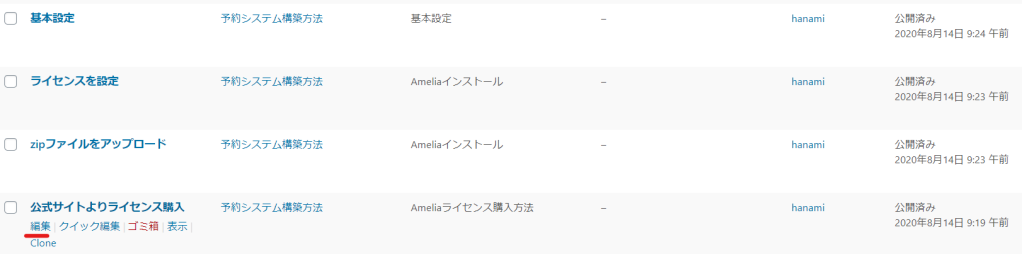
Create the text for each course using LifterLMS
First, select the course you want to create a textbook for. Click [Edit].
Lesson Default Settings
Progress Bar
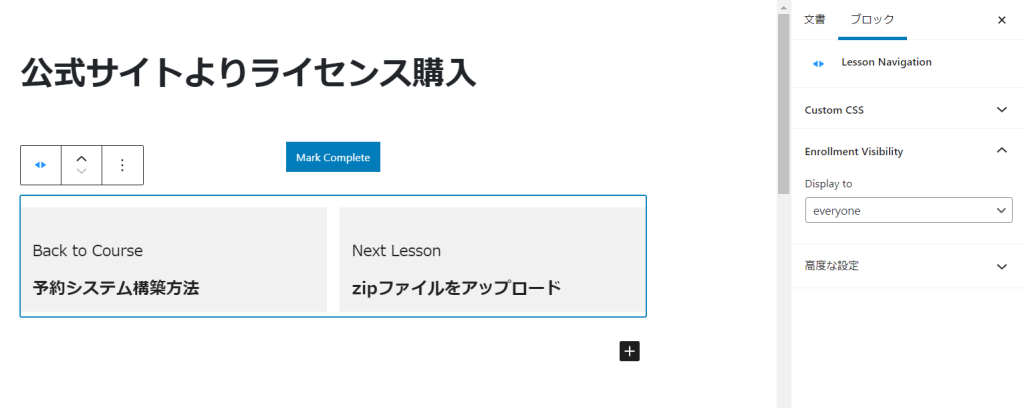
There is a [Lesson Progression (Mark Complete)] block and a button that allows you to record that you have completed taking this course in your progress.
Students can click this button to see their progress on the progress bar.
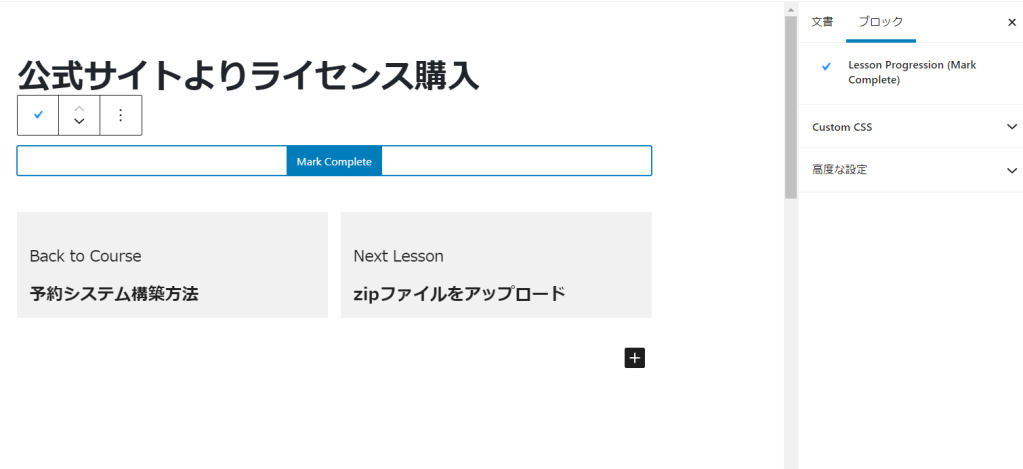
Previous lesson, next lesson
The [Lesson Navigation] block automatically displays the previous and next lessons. If you don't need this item, you can delete it. If you accidentally delete it, you can add the [Lesson Navigation] block back to add a new block.
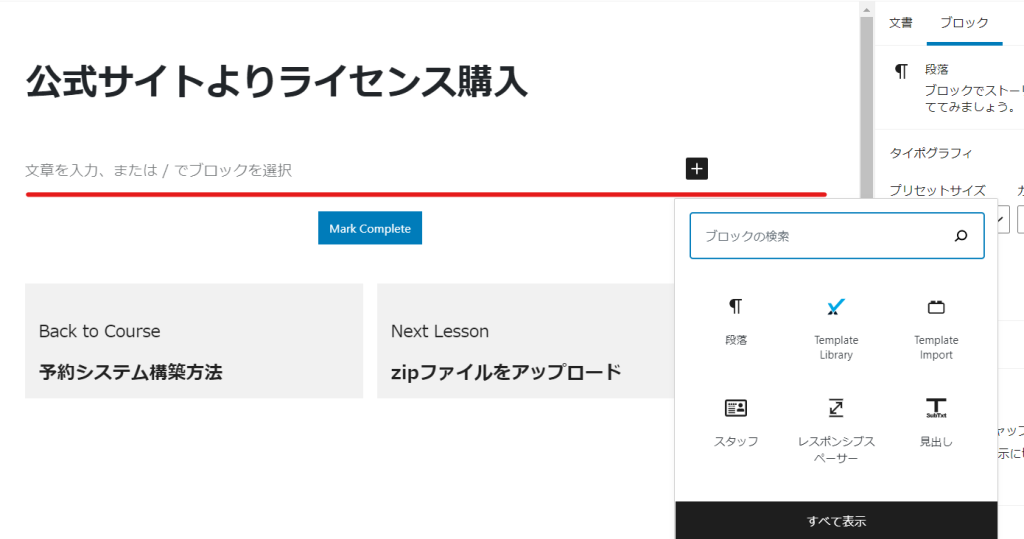
Add your own text
You can add your original content/text anywhere you like, but a good place to do so is before the progress bar.
Just like writing a regular blog, you can place YouTube videos, text, and images using the block editor.
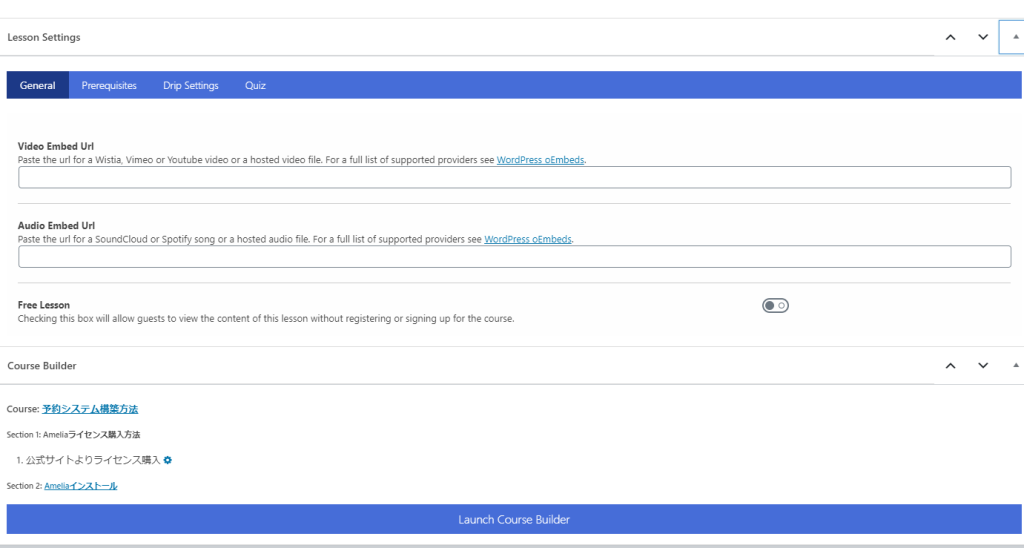
Lesson Settings (Basic)
- Video Embed Url - Enter the video URL from YouTube, etc.
- Audio Embed Url - Insert the URL of the audio etc.
- Free Lesson - Turn it ON if the lesson is available for free without membership registration.
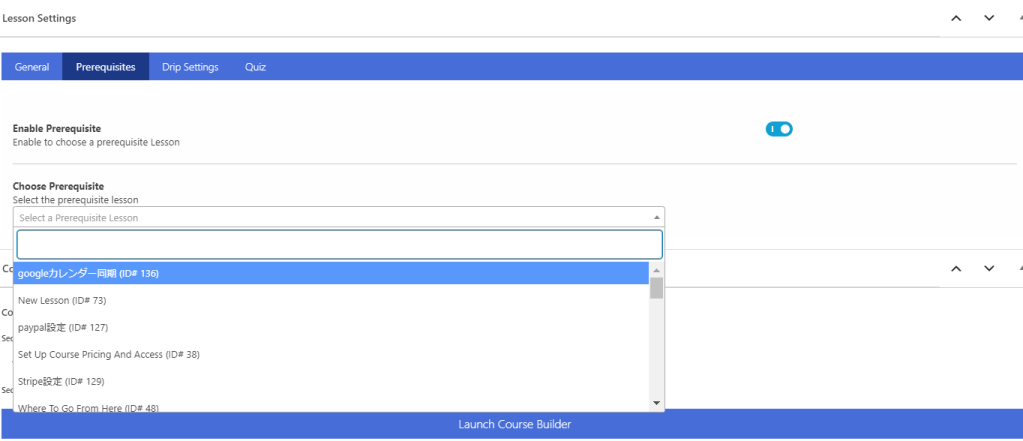
Lesson Settings (Prerequisites)
You can set lessons that must be taken in advance.
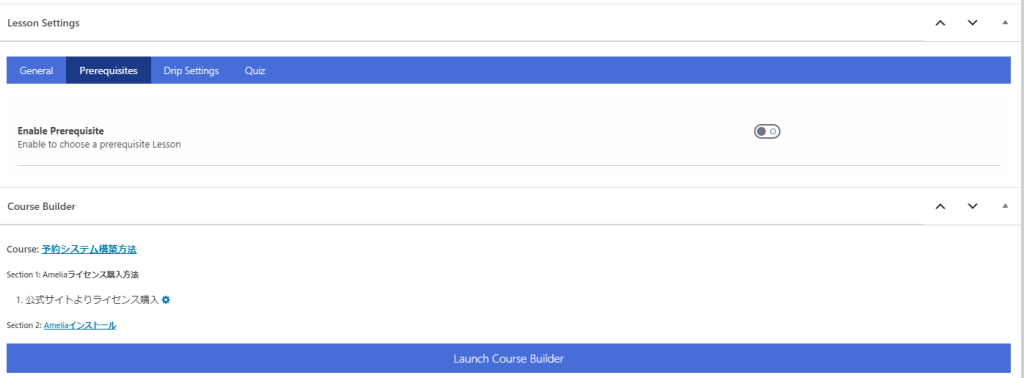
When this is turned on, you will be able to select lessons that require prior attendance.
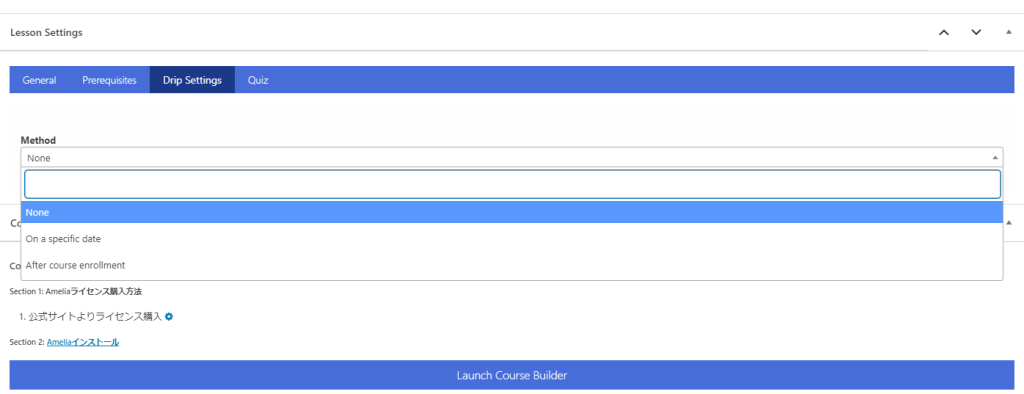
Lesson settings (adjusting lesson release dates)
You can set the date when you will be able to take the course.
- On a specific date – A specific date (date and time can be specified)
- days from enrollment date
- After course enrollment - number of days from course start date
Register lesson content in another way
Screen showing the course table of contents
You can also register the lesson contents by clicking [builder] of the course you want to modify in [Course].
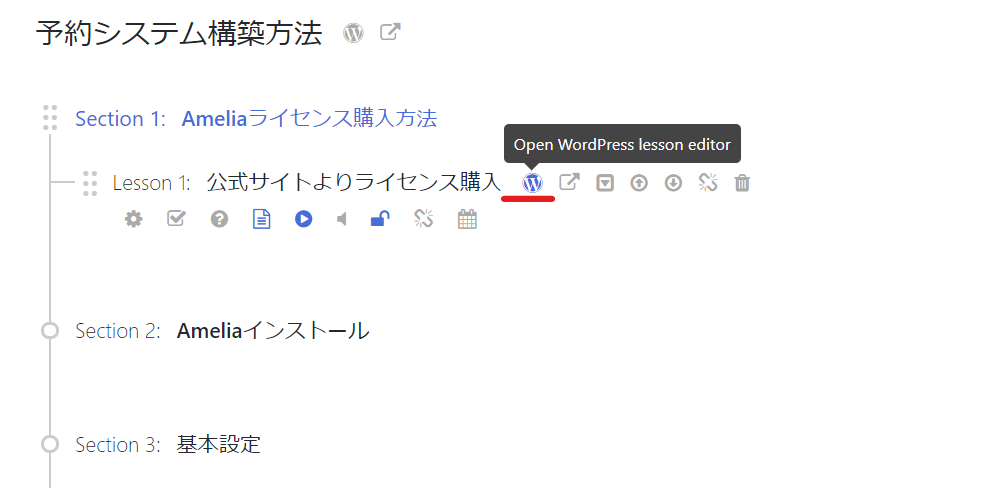
Open WordPress Lesson editor
Clicking on this W icon will open the same lesson editing screen that I have been explaining so far.
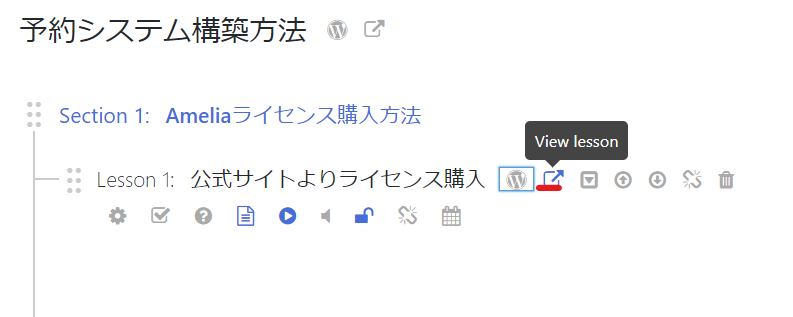
View Lesson
You can see a preview of the lesson content that has been created.
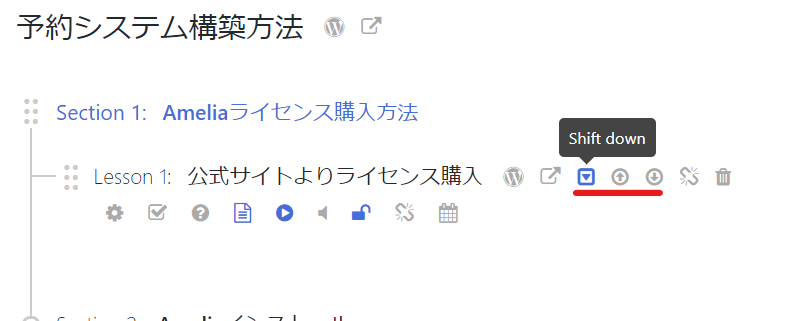
Move to section
You can move to a different section or change the order of the lessons.
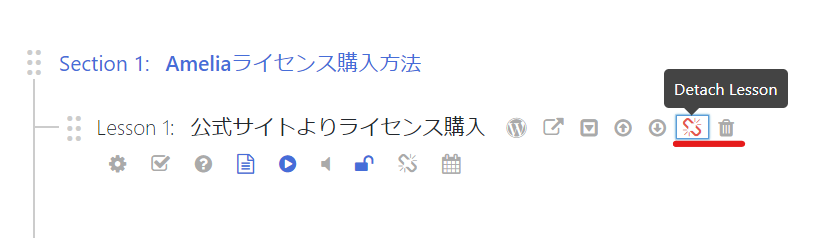
Detach Lesson/Draft
Detach Lesson will detach the lesson from the current lesson, and the trash icon will delete it.
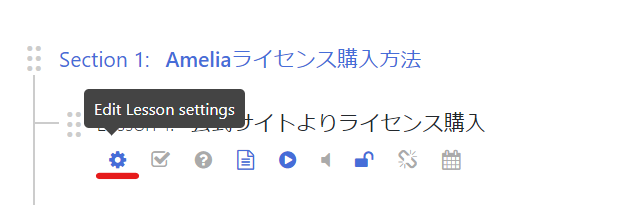
Edit Lesson Settings
You can edit the settings made in the Lesson settings.
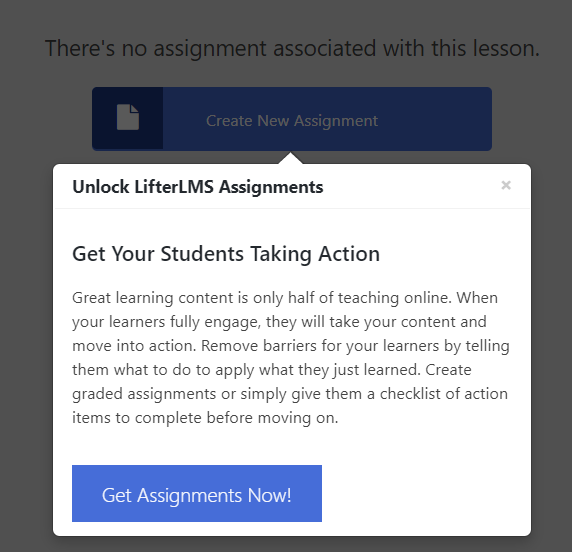
Set the assignment
You can set the assignment.
Edit Lesson Setting screen [Assignment]
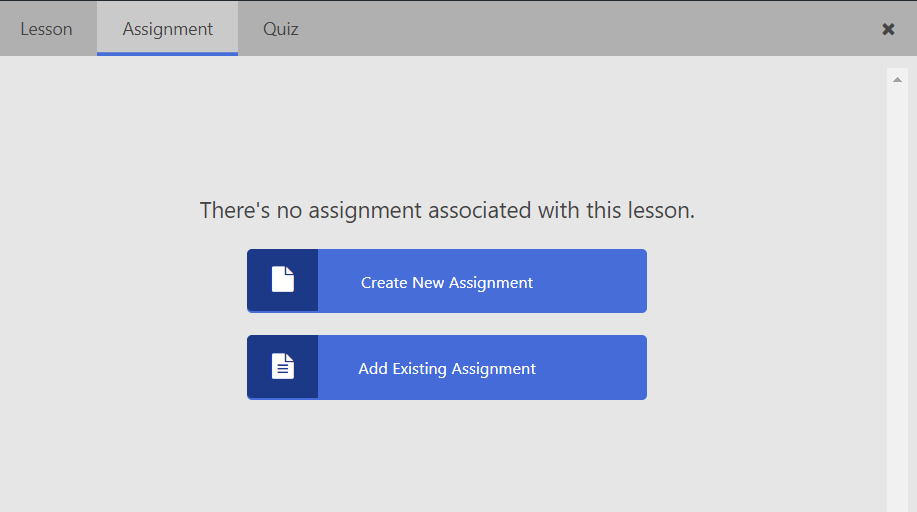
This setting is available with a paid plan.
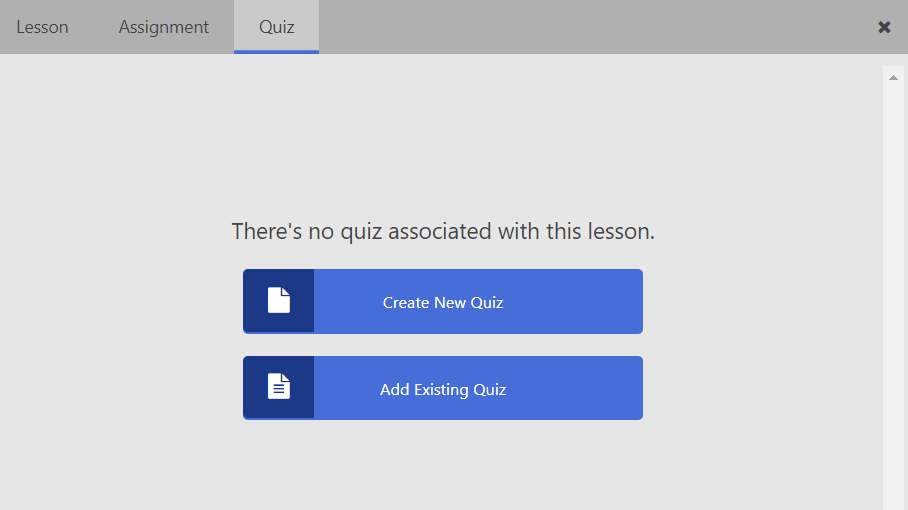
Set up a quiz
You can set up tests called quizzes.
- Create New Quiz
- Add Existing Quiz
Choose one. This time, Create New Quiz
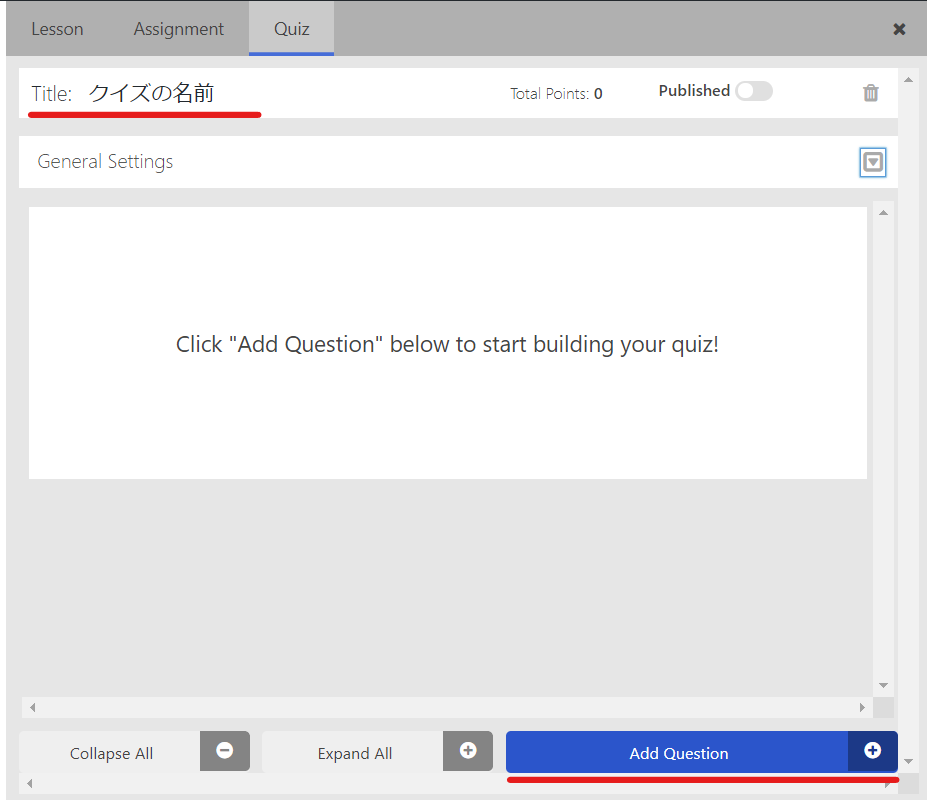
Name your quiz
Give your quiz a name in Title. Then click [Add Question] to create your quiz.
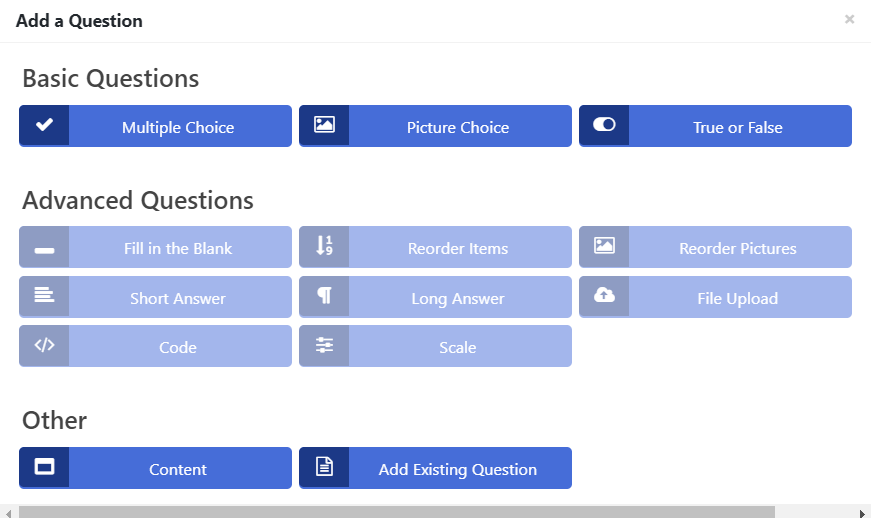
Choose a quiz type
What is included in the free plan?
- Multiple Choice
- Picture Choice
- True or False - Yes or No
- Content - Text input
- Add Existing Question – Select an existing quiz
It will be.
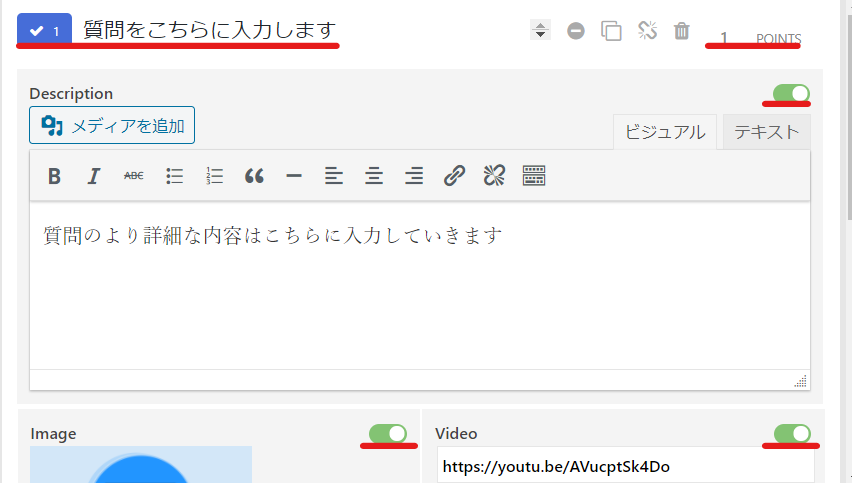
If you select Multiple Choice
- Enter your question
- POINTS - Set how many points you will get for clearing this question
- Description – If you want to enter a more detailed description, turn it ON and enter
- Image - If you want to insert an image, set it to ON.
- Video - If you want to include a video, turn it on and enter the URL.
- Multiple Correct Choices - ON if you want multiple correct answers
- A, B, C... Click the correct answer to change it to green
- +--Remove or add an item
- Result Clafications - If you want to include an explanation for your answer, turn it ON and enter text.
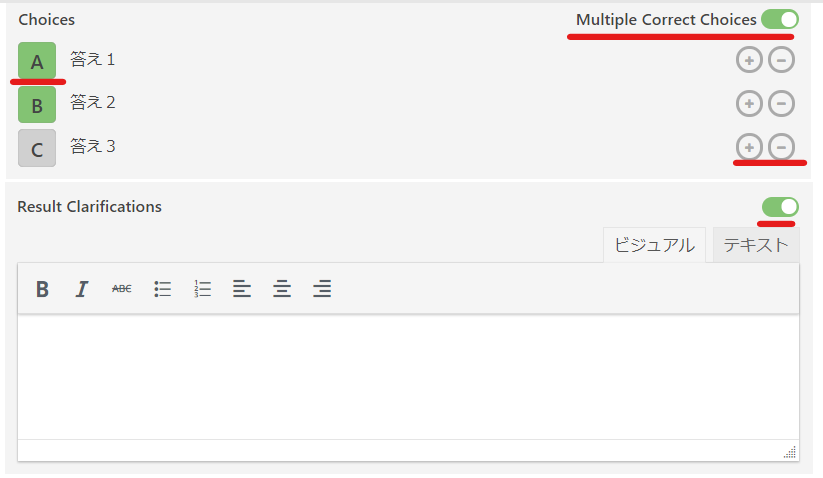
Finally, click [Save Changes].
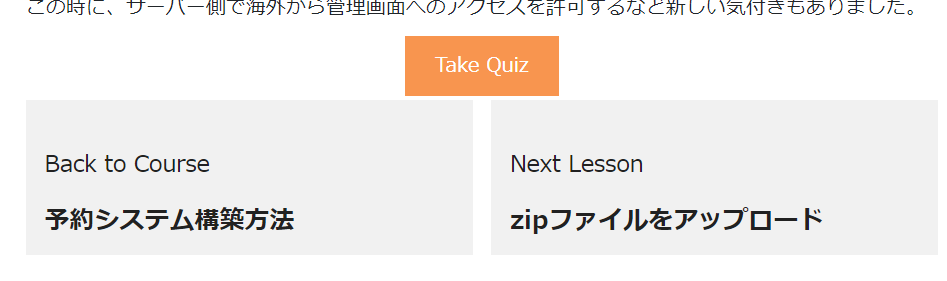
Lessons that have quizzes set will have a [Take Quiz] button.
If you want to include PowerPoint or documents in your lesson
Use the free plugin [Document Embedder].
Install and activate the new plugin.
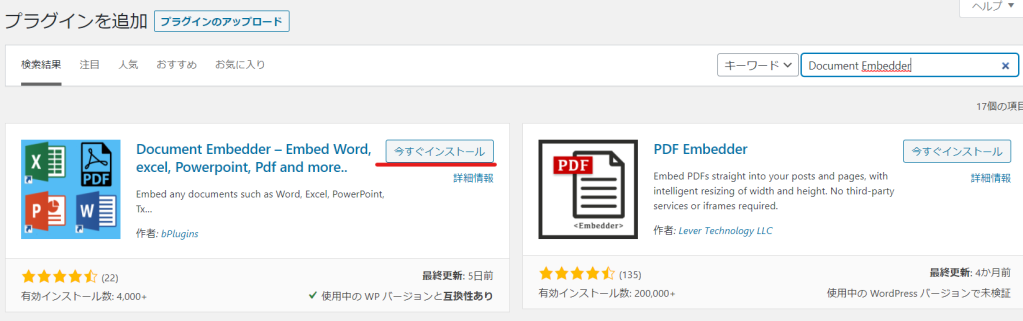
I will skip the explanation this time. I will share the link below on how to use it!
https://www.hiskip.com/wp/plugin/post/embedded/15946.html
summary
We were even able to create the content of the lessons that would serve as text.
If you want to release e-learning for free, you're all set.
Finally, issue a certificate of completion!
Released as soon as the next morning! Weekends and holidays are also available!
Super rush website creation plan
We offer a rush website creation plan for those who need a website in a hurry!
We can publish your content as soon as the next morning, even on weekends and holidays! If you have any questions, please check the details below!
Latest Articles
How to Enhance EEAT with WordPress | Settings and Design Improvements Necessary for AI-Driven Traffic


[2026 Latest] How to check the number of visits from generated AI using GA4's exploration function

Error message: Allowed memory size of 268435456 bytes exhausted (tried to allocate 14684160 bytes) Error: On Lollipop