How to create a website using WordPress/How to use plugins/No-code construction blog


Opening an online school with WordPress Part 2: Creating a course
At HanamiWEB Online School,
●Ask questions in real-time in the virtual study room!
●Ask as many questions as you want via chat!
●E-learning materials that you can learn as much as you want, 24 hours a day!
All included for just 2,500 yen/month!
We are launching an online school that will teach you how to create WordPress without coding.
The plugin we will use is Lifter LMS, an e-learning system called Learn Management System (LMS).
In Part 1 of Opening an Online School with WordPress, I wrote a memo about installing plugins, installing the theme, and setting up the initial settings.
This time we will continue with that.
Importing a course template
Lifter LMS is a plugin made overseas, so the documentation is in English.
So, first I'll import the course template and then customize it!
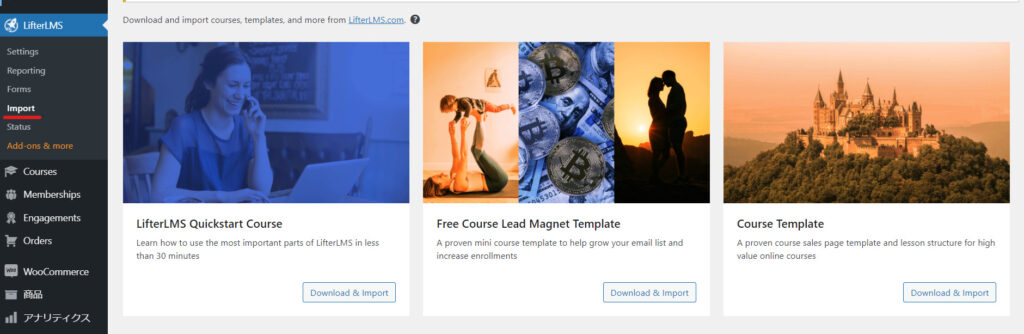
[Lifter LMS] > [Import]
Import the [Course Template] in the box.
- LifterLMS Quickstart Course - Import Basic Settings
- Free Course Lead Magnet Template – A template for those who want to create mini-courses
- Course Template – A template for those who want to create professional courses
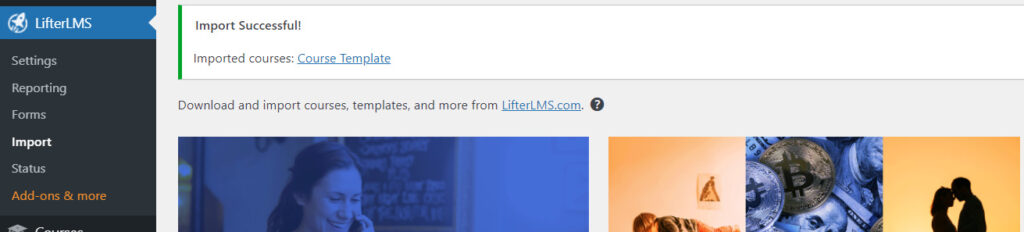
Import successful!
Add a course template
[Course Template] has been added under [Course] > [Course].
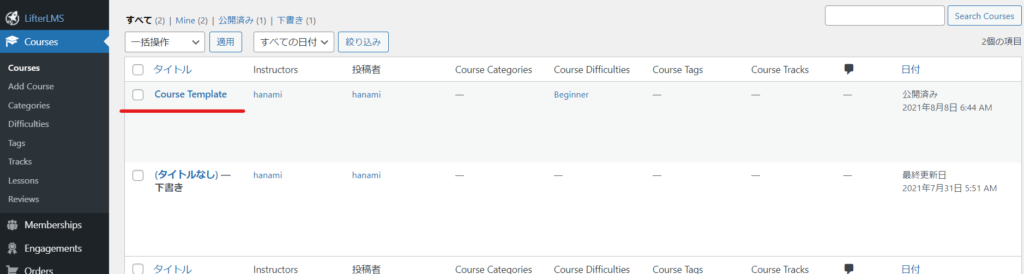
When you click on it, you will see a course template.
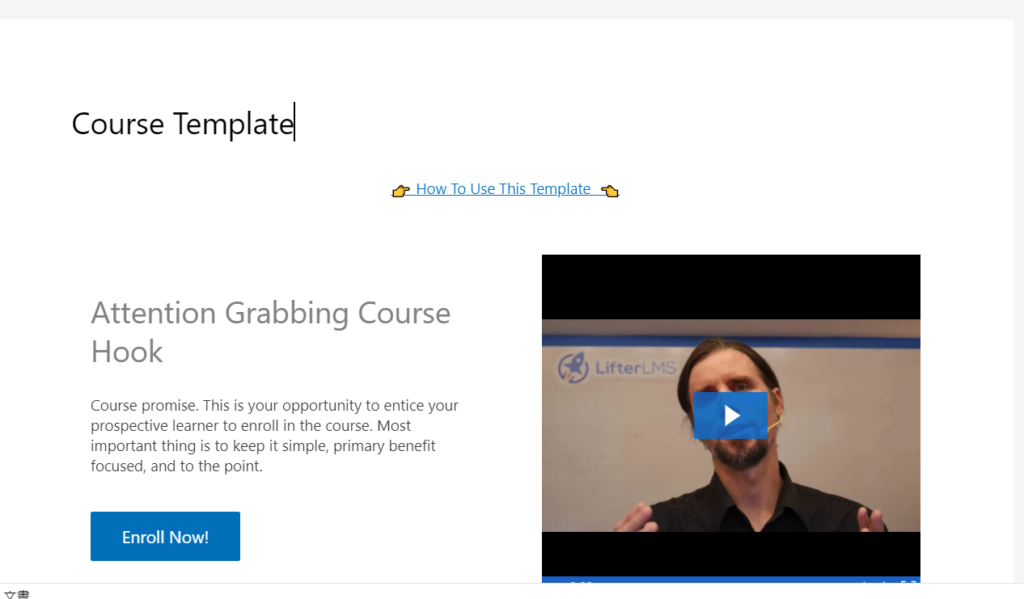
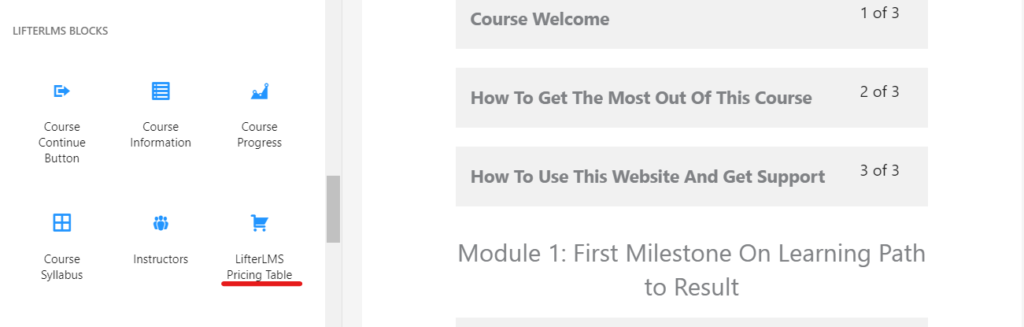
Block Editor Parts of Lifter LMS
This course template also uses Lifter LMS parts that have been added to the block editor.
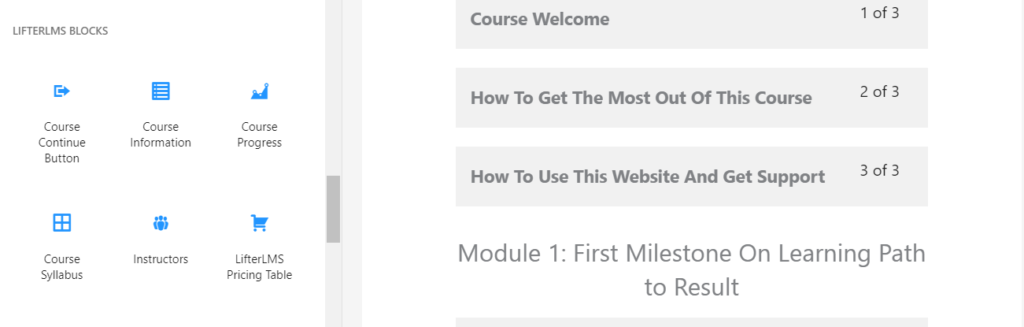
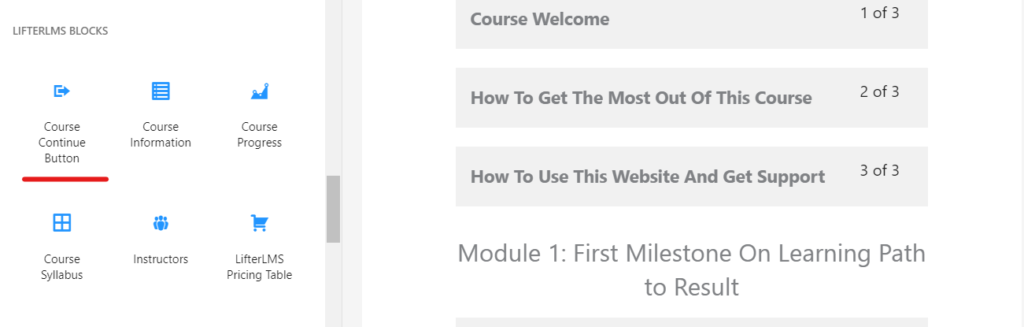
Continue Course button

Course Overview
View the course overview.
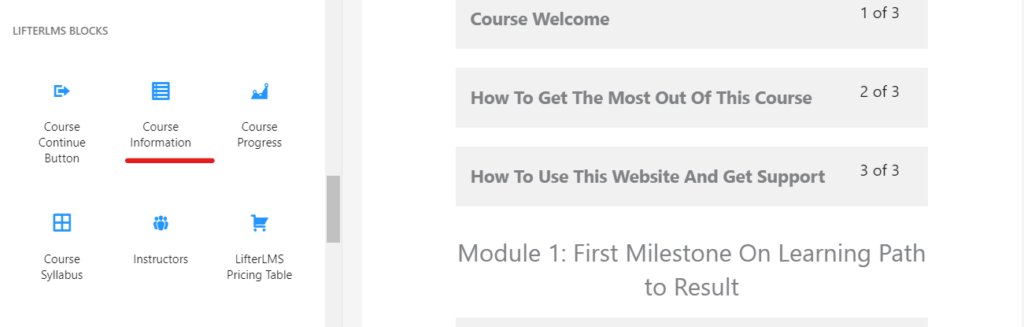
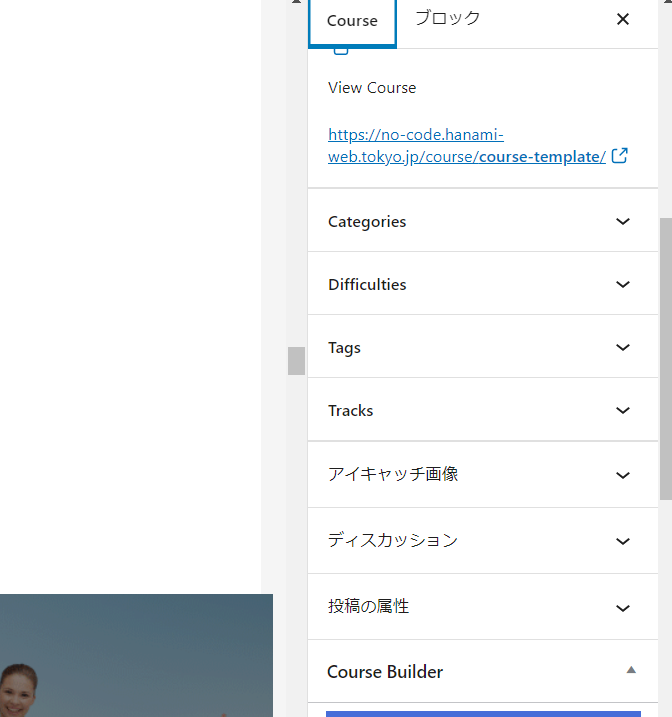
When creating a course, in the right sidebar
- Categories
- difficulty
- tag
- truck
This function displays the set value.

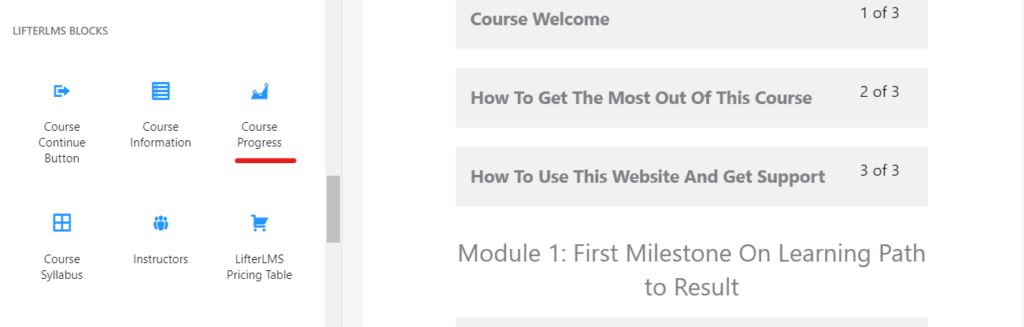
Course Progress
A progress bar shows each student's progress in the course.
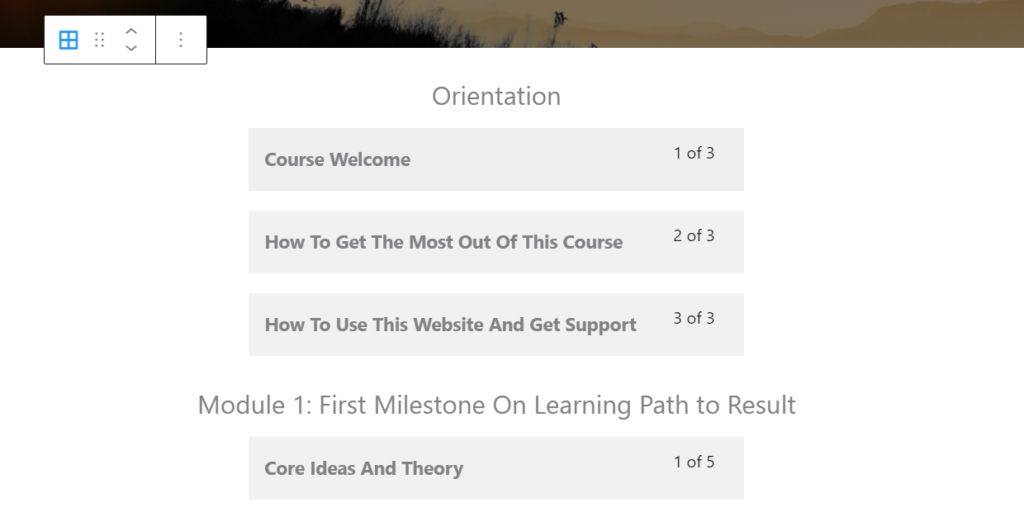
Course Syllabus
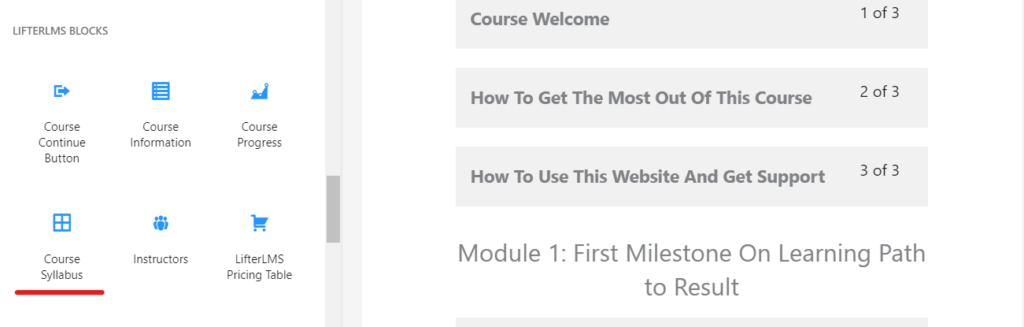
Lists the course contents.
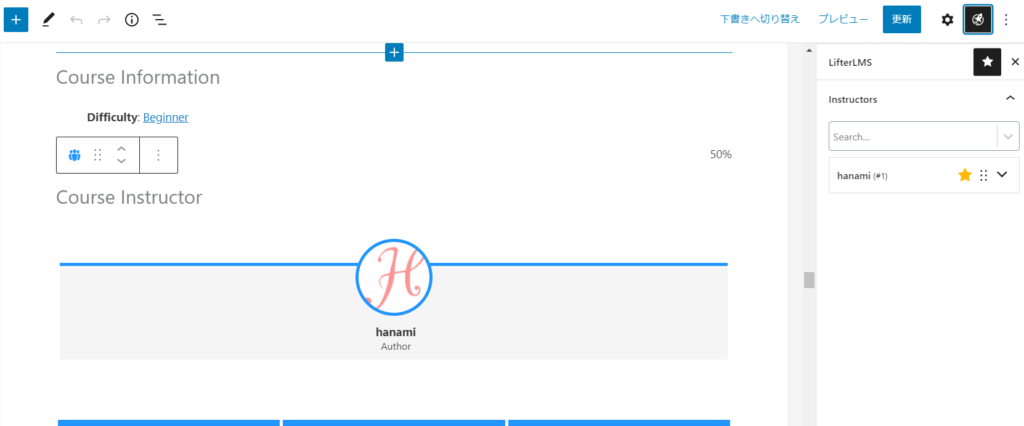
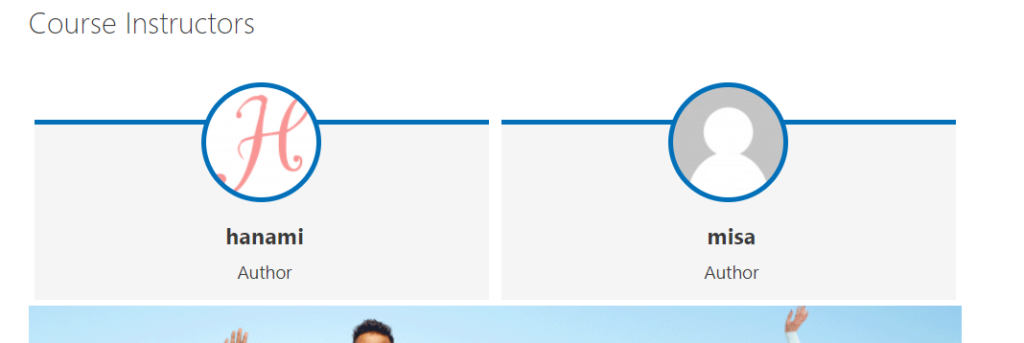
instructor
The instructor who set it will be displayed.

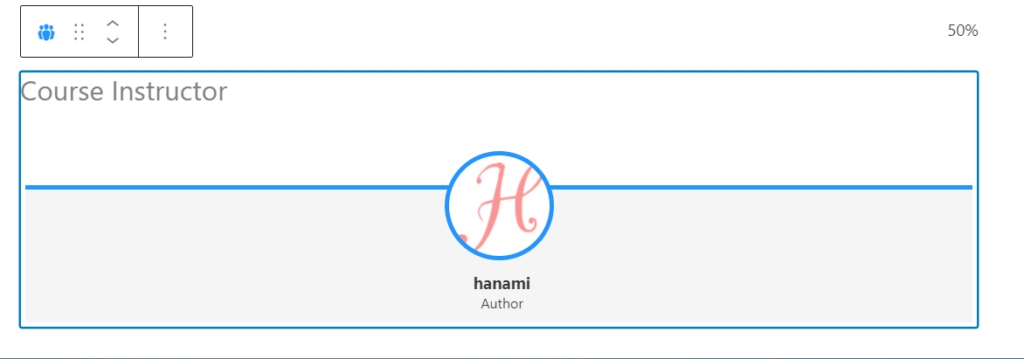
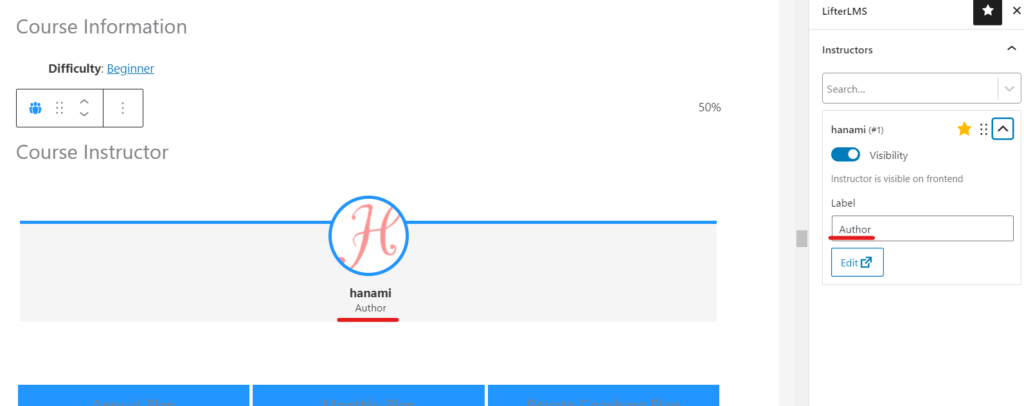
With the Instructors part selected, you can add instructors to the course you are editing by clicking the LMS icon on the right sidebar.
By changing the label you can edit the Author part of the instructor's name.
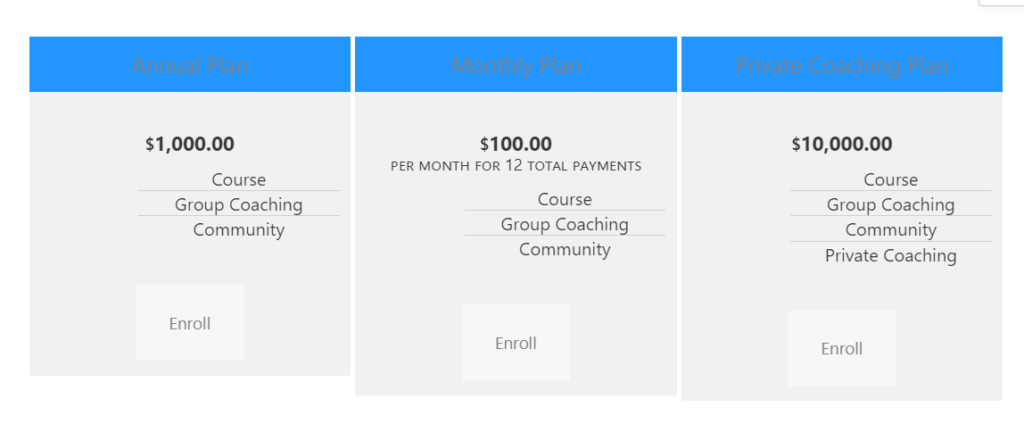
price list
Displays the price list set for the course.
Course Creation
Create a course that was displayed in the course syllabus.
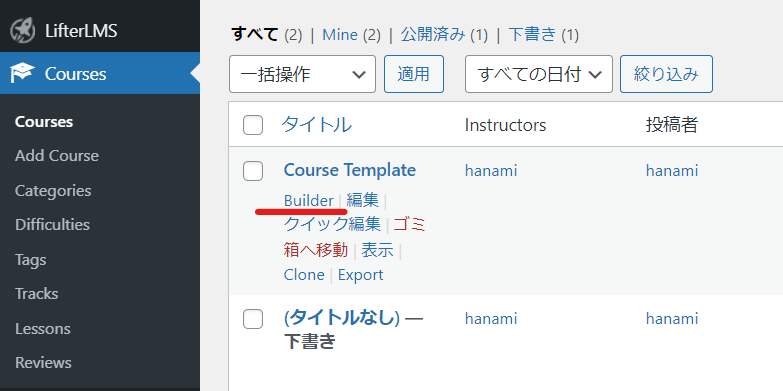
There are course templates in [Course] > [Course] on the dashboard. Previously, we looked at the part that was displayed on the front side by clicking or editing the title. This time,Click 【Builder】To do.
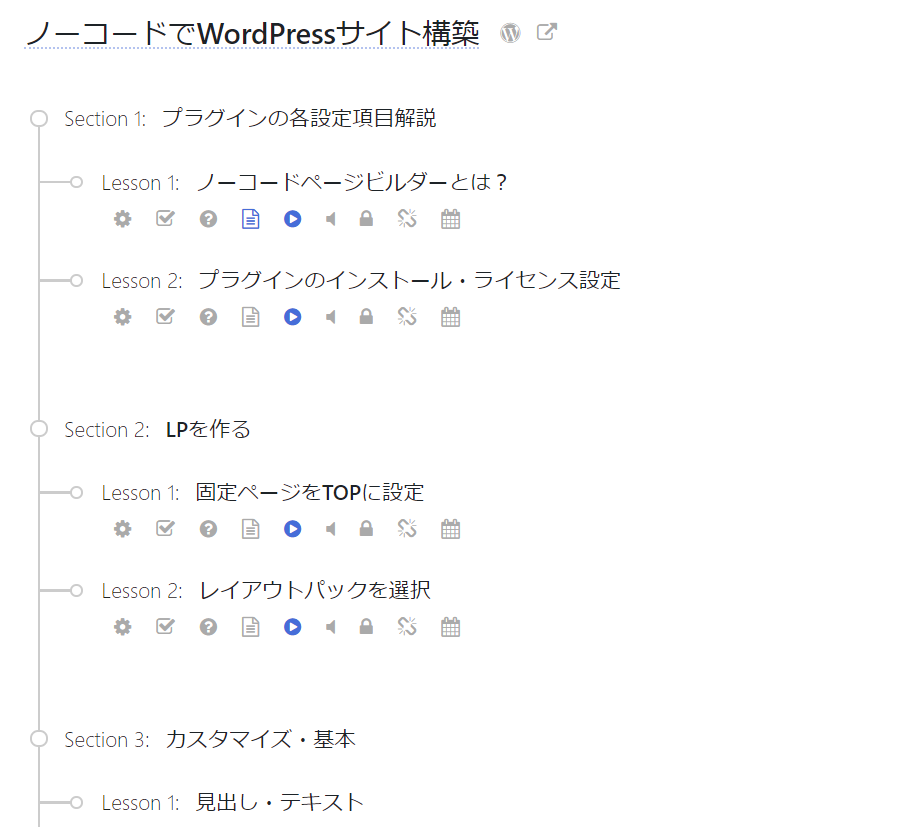
As you can see in the attachment, the course is here.
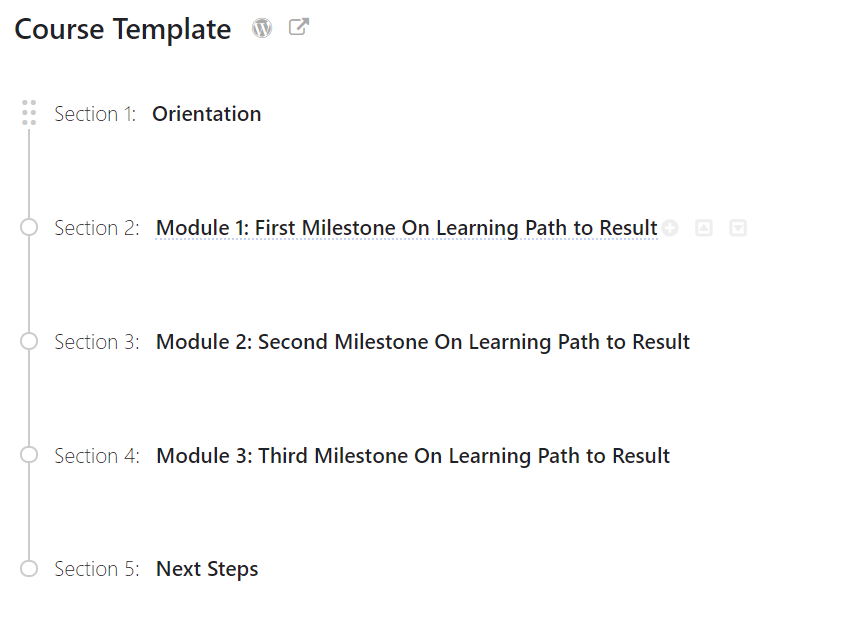
Click the + icon to add more courses to Section 1.
On the front it looks like this:
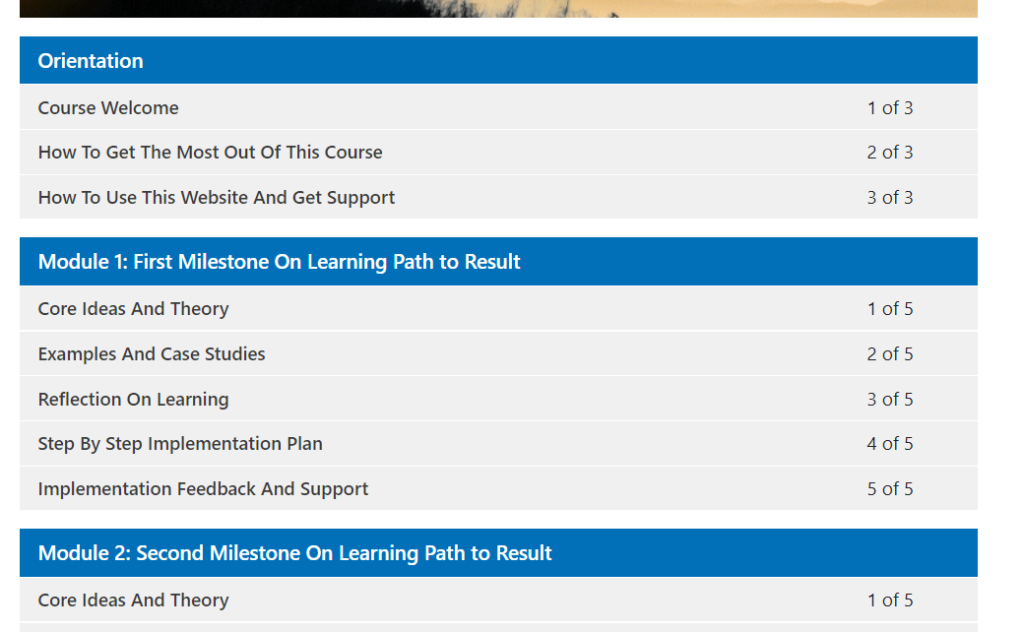
The titles of each lesson were decided in advance.
The content of the online school I want to build this time is mainly building WordPress sites with no coding. In addition to that, I would like to support those who want to earn money from home by actually doing things like server contracts, initial WordPress setup, building membership sites, building reservation systems, etc.
First of all, I want to create an e-learning system using a no-code WordPress site.
- Course title ⇒ No-code WordPress site construction
- Section ⇒ Main heading
- Lesson ⇒ Detailed steps
has been set.
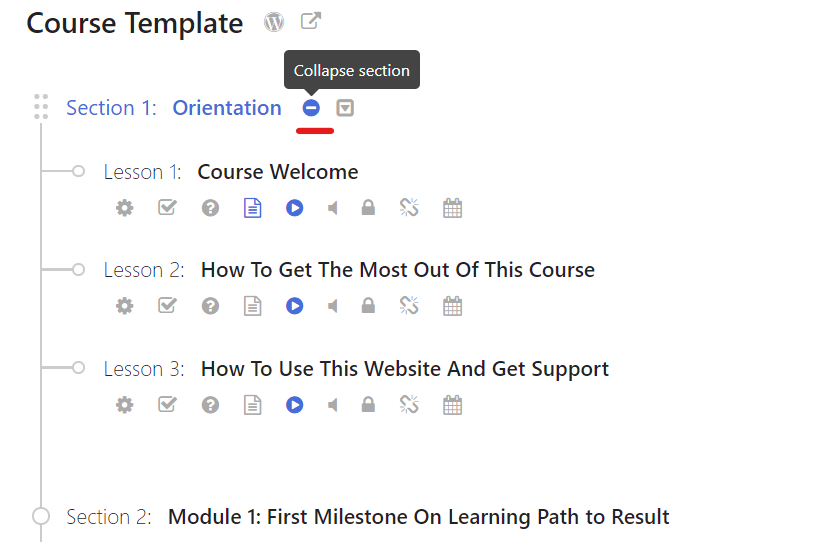
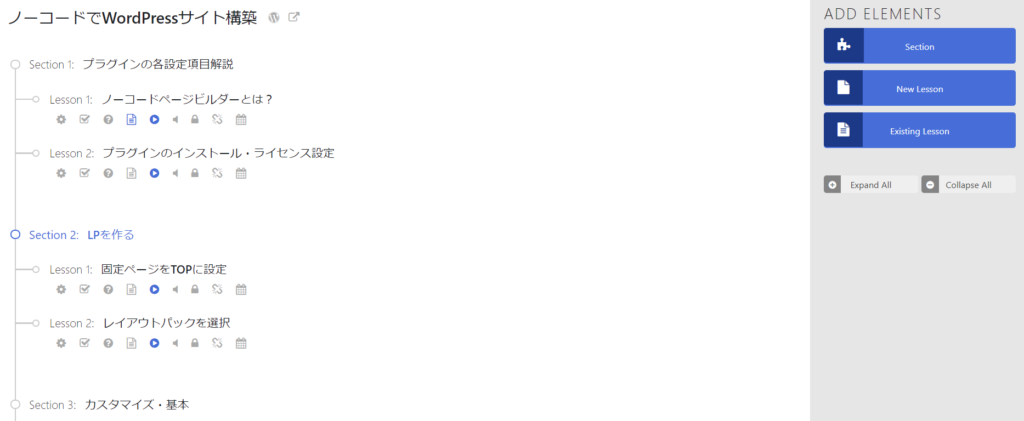
Adding items is very easy. First, I edited the template.
You can add a new section in the [Section] section on the right side, or click [New Lesson] with a section selected to add a new lesson to the selected section.
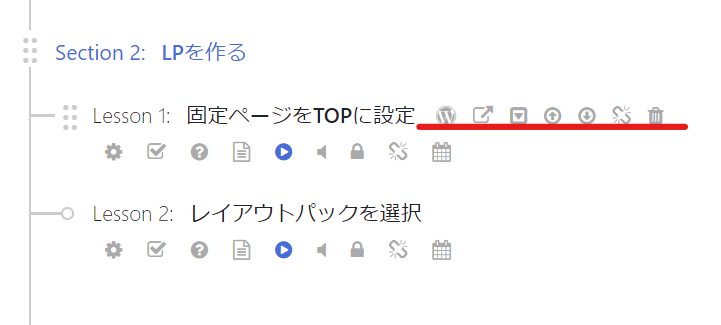
When you hover the mouse over the text, you can move the mouse up and down, and there will be icons such as a trash can, so you can intuitively create an outline of the course you want to create.
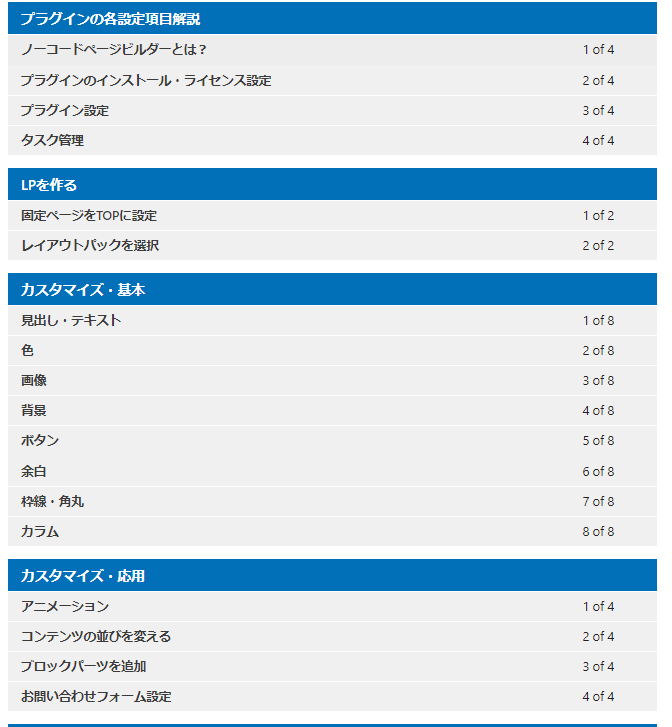
The front page has also been changed to show the list of lessons you created.
Add a lecturer
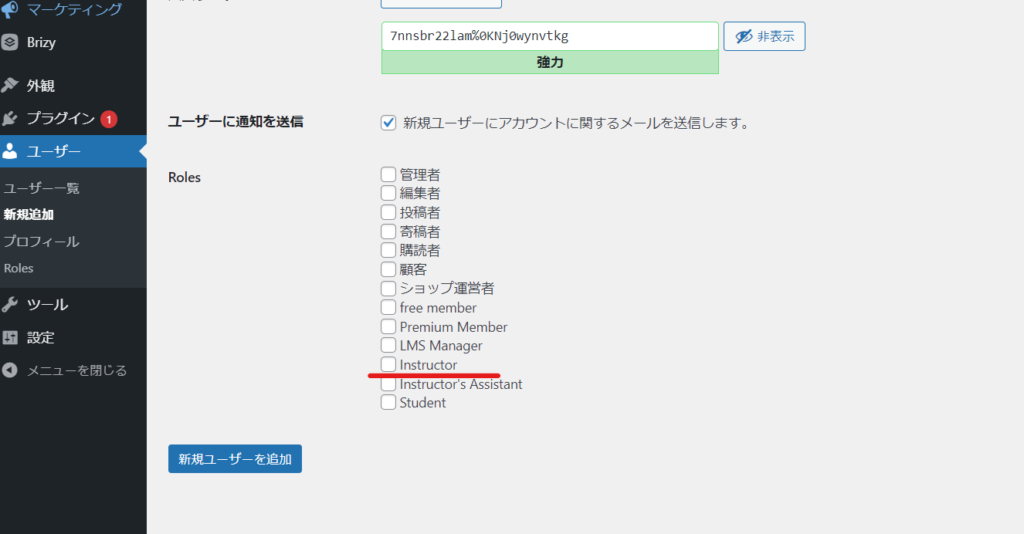
Add an instructor by adding a user via WordPress.
On the dashboard, click [User] > [Add New]
Add [Instructor] to the permissions.
When creating a course page, select the Instructor block and click the LMS icon to add an instructor. Search for and add instructors.
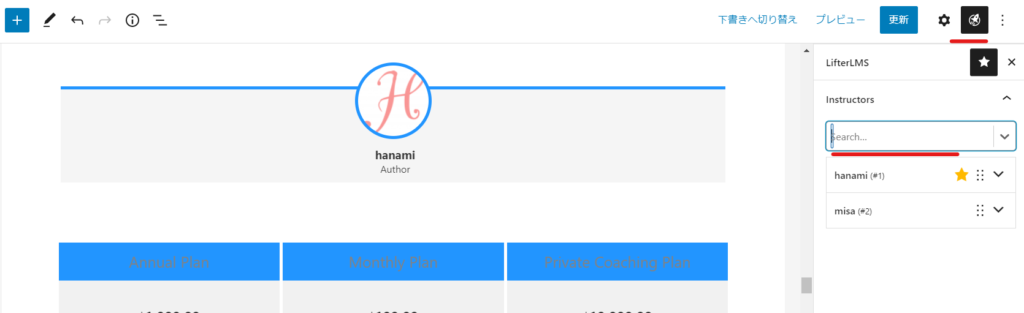
This allows you to display multiple instructors.
Course pricing
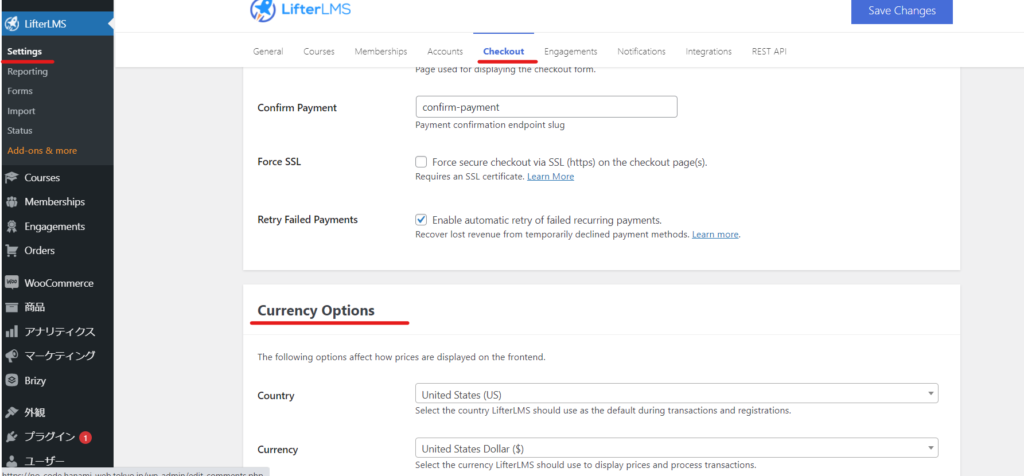
Japanese Yen Setting
[Lifter LMS] > [Setting] > [Checkout]
Set it to Japanese yen in the settings [Currency Options].
Payment method settings
Under the Currency Option settings, there is a [Payment Gateways] item.
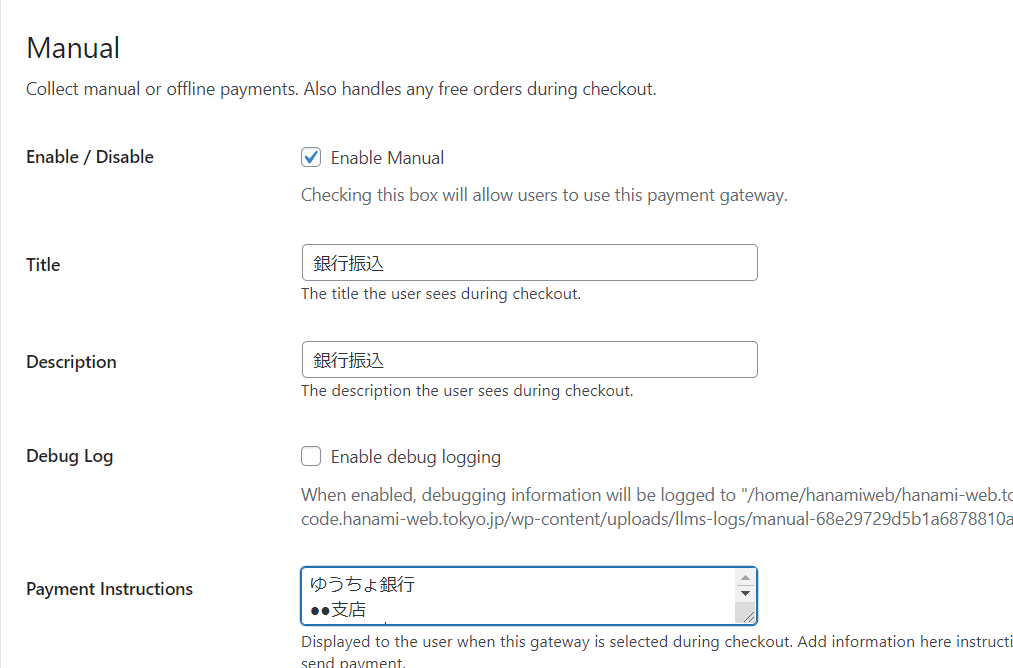
Click Manual
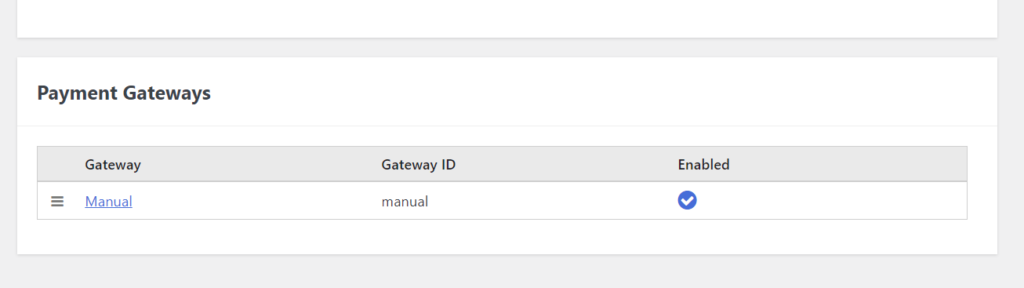
Please check [Enable Manual].
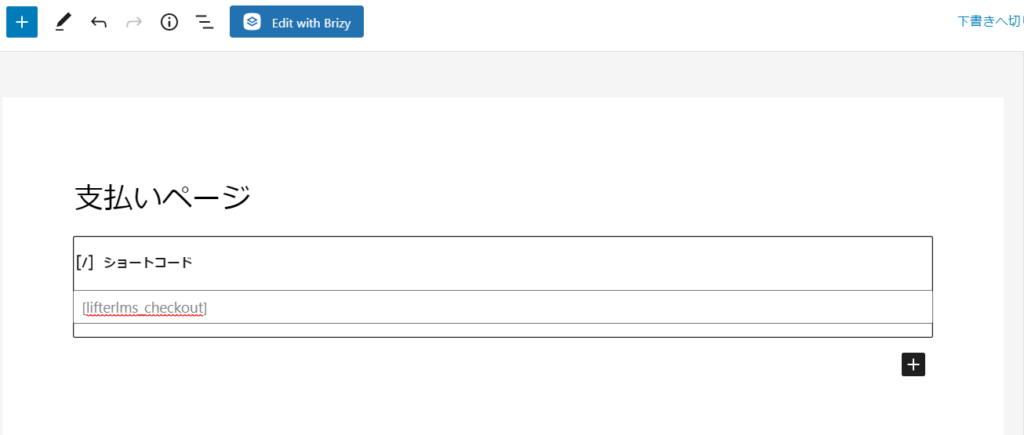
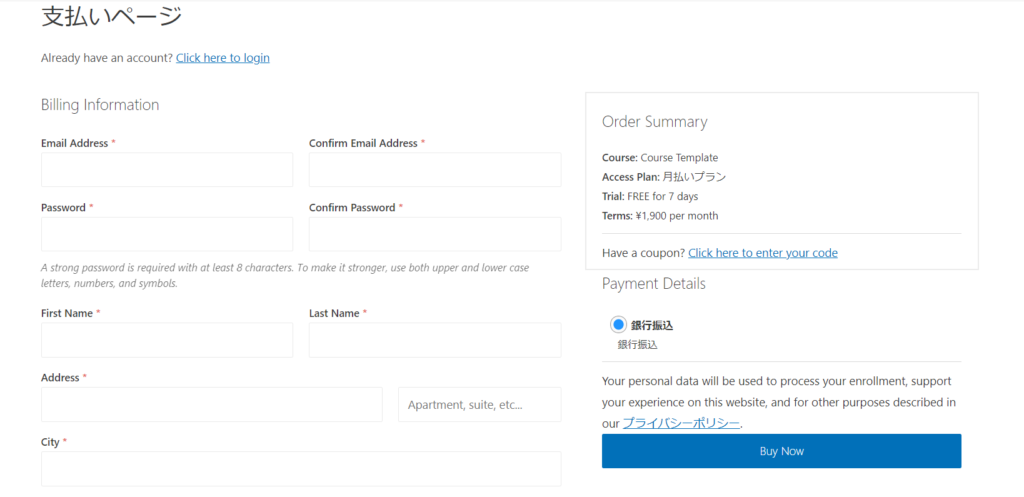
Create a payment page
[Static Page]> [Create New]
You need to create a payment page.
This page contains a shortcode
[lifterlms_checkout]must be included.
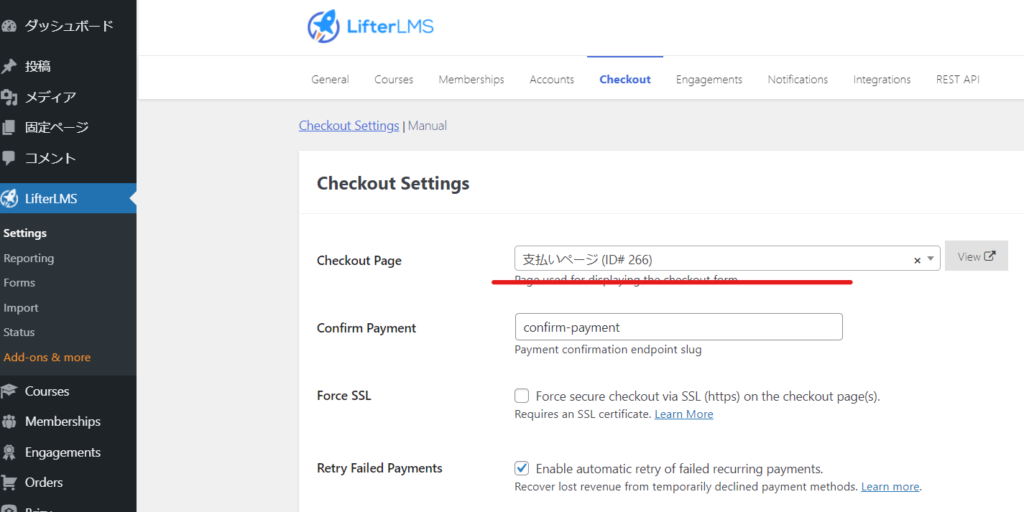
[Lifter LMS] > [Settings] > [Checkout]
In the [Checkout Page] section, select the page you created earlier and embedded the shortcode into.
Price plan creation
There is a pricing section at the bottom of the editor. [Access Plans]
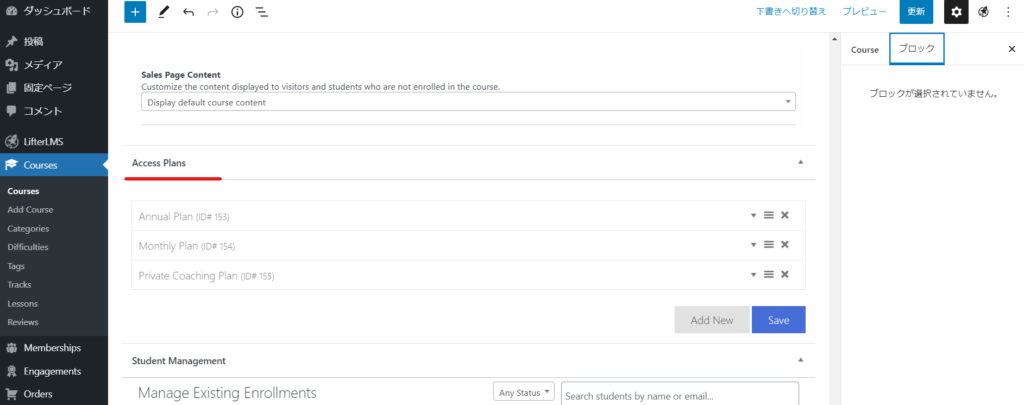
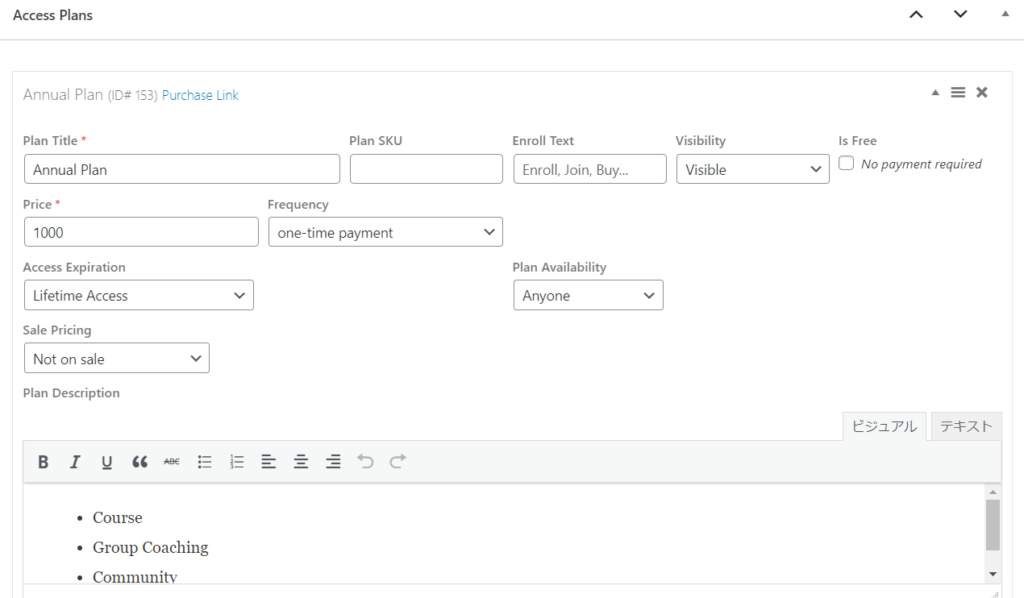
When you expand it,
- Plan Title (required) - Plan name
- Plan SKU - If you want to add an SKU code
- Enroll Text - Button Name
- Visibility - Visible if you want to display it
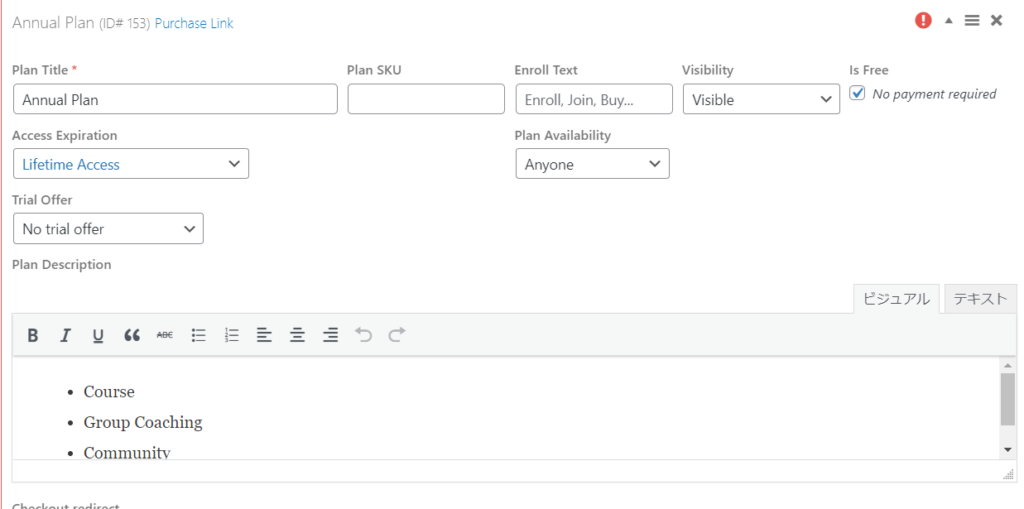
- In Free - Check here if you are using the free plan
- Price - Amount
- Frequency - One-time purchase or 1 day, 1 month, 1 year, or even a 3-month pack instead of 1 month. You can also set the month part.
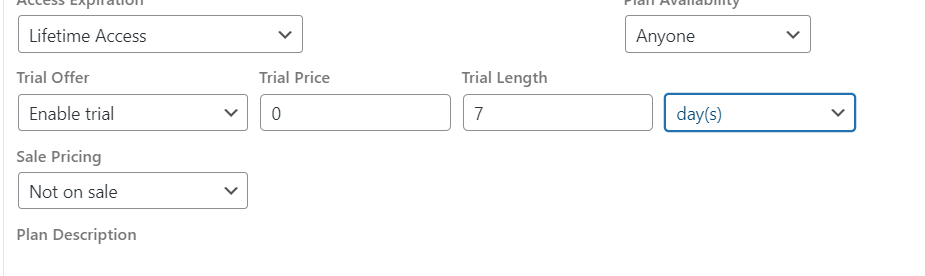
- Access Expiration - Expiration date can be set to no expiration date, a specific date, or a specific number of days, months, or years.
- Plan Availability - Choose whether it is available to anyone or only to members
- Sale Pricing - If you want to discount, set the discount amount in on Sale
- Plan Description
For free courses
Setting Example:
Free trial plan (7-day trial)
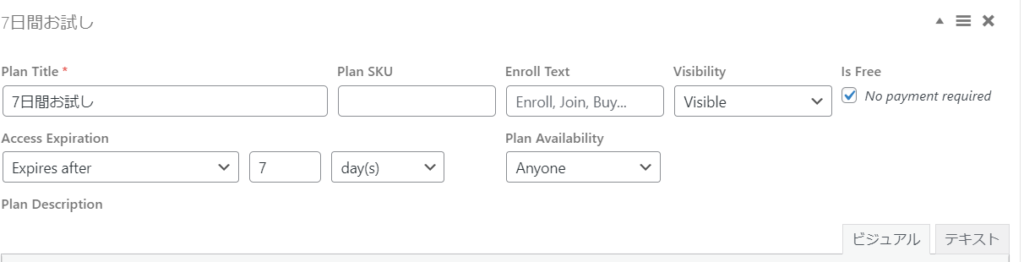
Each pricing plan has a Trial Offer item, so if you plan to continue with a paid plan after the free plan ends, it is better to set up the free plan here.
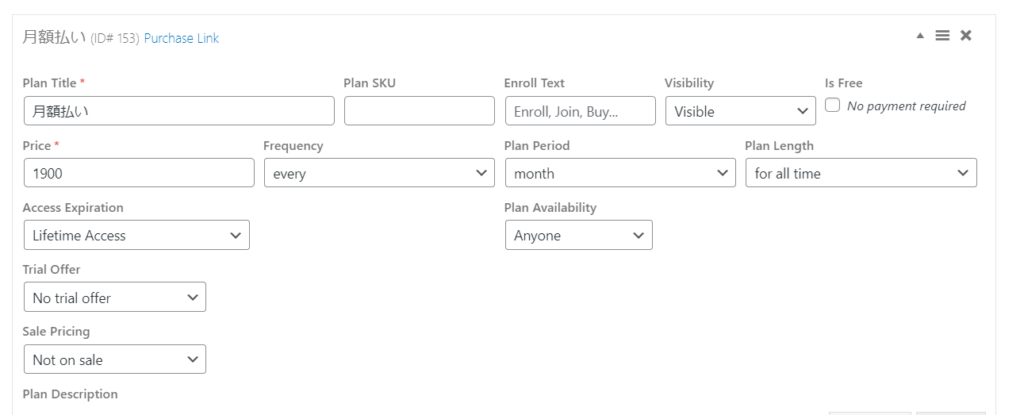
Monthly payment plan
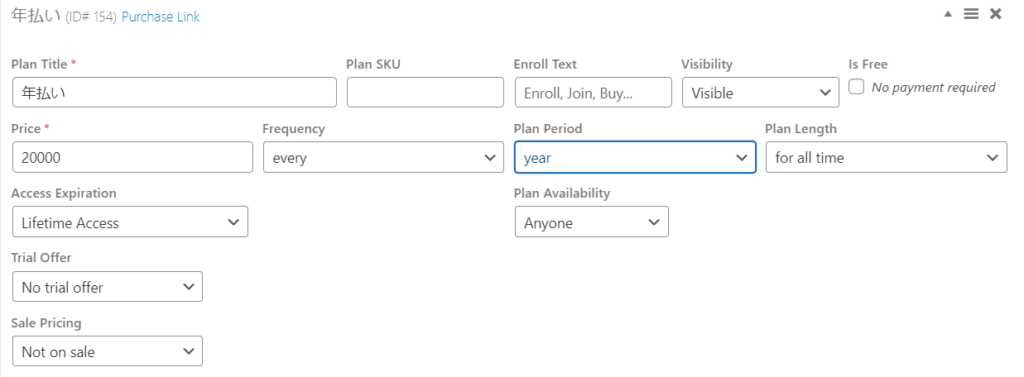
Annual plan
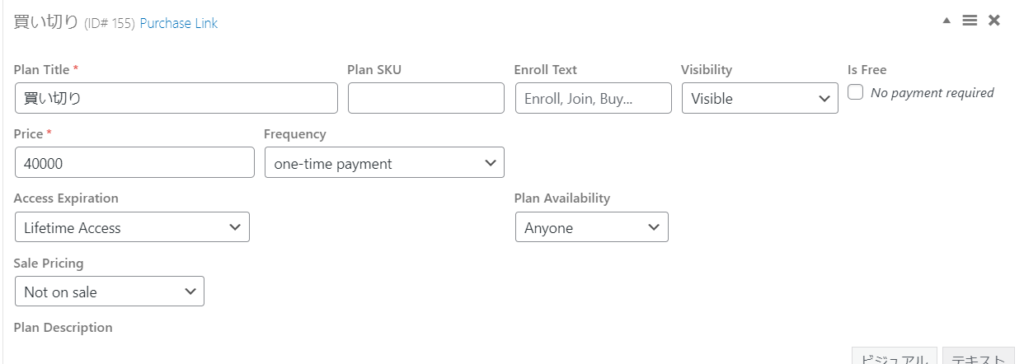
One-time purchase plan
As a test, I tried various settings to output various items.
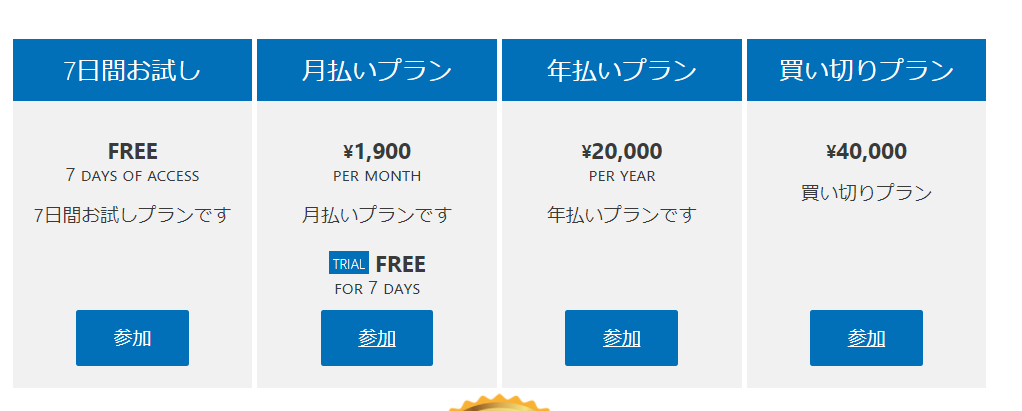
When you click "Join", you will be prompted to register your membership details and make a payment.
I continued to write a memo on the construction of the lesson content!
Membership registration structure
Released as soon as the next morning! Weekends and holidays are also available!
Super rush website creation plan
We offer a rush website creation plan for those who need a website in a hurry!
We can publish your content as soon as the next morning, even on weekends and holidays! If you have any questions, please check the details below!

Latest Articles
How to Enhance EEAT with WordPress | Settings and Design Improvements Necessary for AI-Driven Traffic
[2026 Latest] How to check the number of visits from generated AI using GA4's exploration function
Error message: Allowed memory size of 268435456 bytes exhausted (tried to allocate 14684160 bytes) Error: On Lollipop