How to create a website using WordPress/How to use plugins/No-code construction blog


")
Opening an online school with WordPress Part 3: Creating lessons
At HanamiWEB Online School,
●Ask questions in real-time in the virtual study room!
●Ask as many questions as you want via chat!
●E-learning materials that you can learn as much as you want, 24 hours a day!
All included for just 2,500 yen/month!
We are launching an online school that will teach you how to create WordPress without coding.
The plugin we will use is Lifter LMS, an e-learning system called Learn Management System (LMS).
In Part 1 of Opening an Online School with WordPress, I wrote a memo about installing plugins, installing the theme, and setting up the initial settings.
In part 2, we created an outline of the course and set up items related to the page that serves as the basis for application, such as the pricing plan.
This time, it is the ③
I will now set out the content of each lesson that I have outlined in the course outline!
Lesson List
I created a course called "Building a WordPress Site Without Code" by going to [Courses] > [Courses], and each lesson included in that course is called a Lesson.
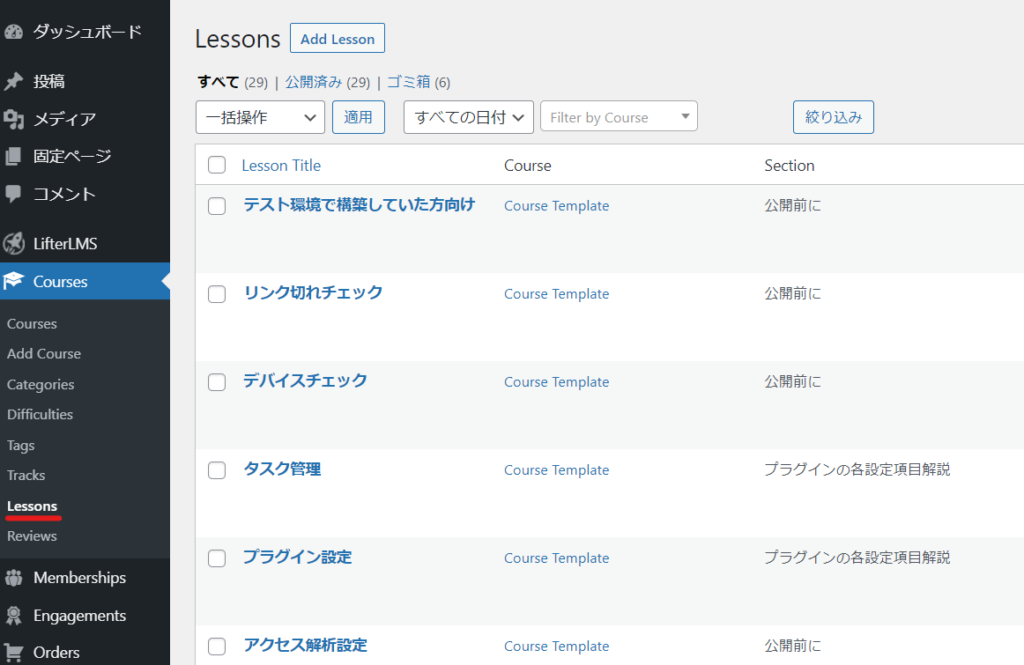
Lessons are included in [Courses] > [Lesson]. Sections and Lessons created in the Courses Builder are automatically added.
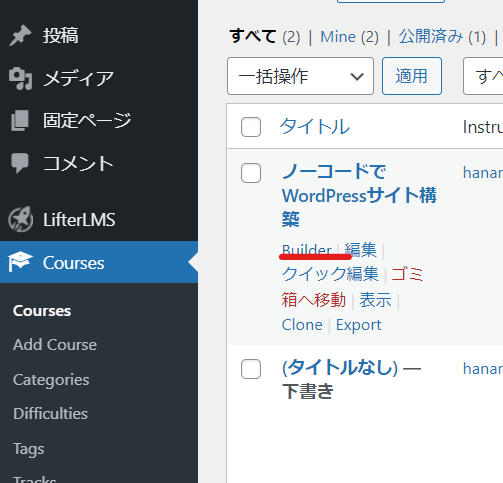
The Builder for the Course we created last time is below.
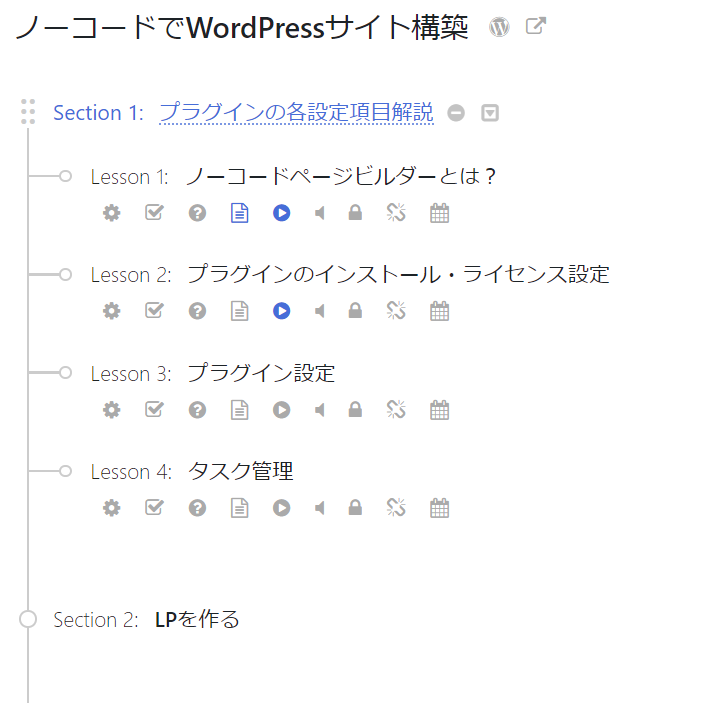
This is reflected in the lessons.
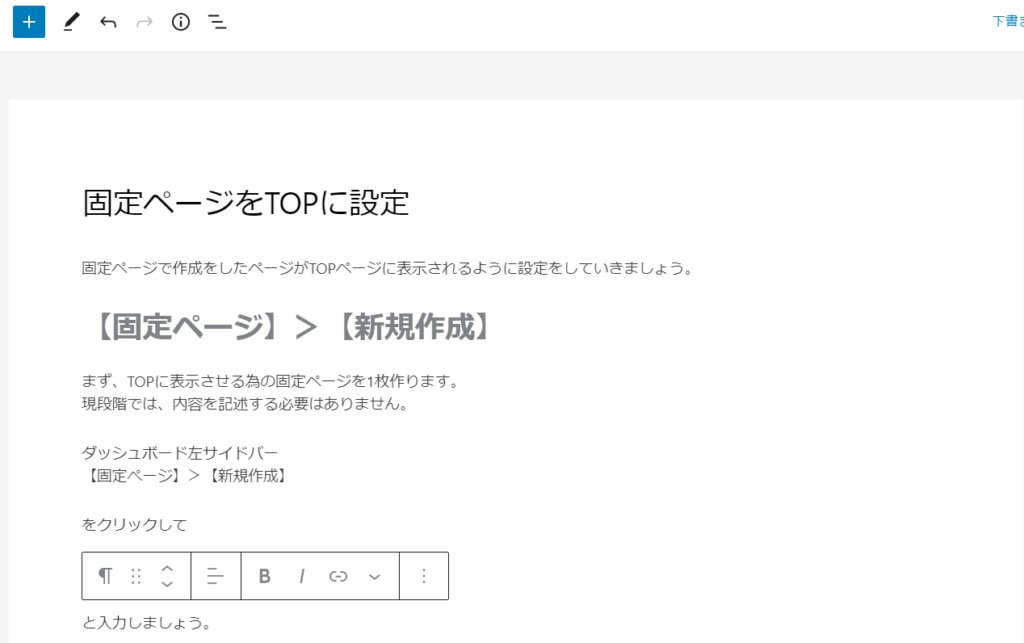
Edit Lesson
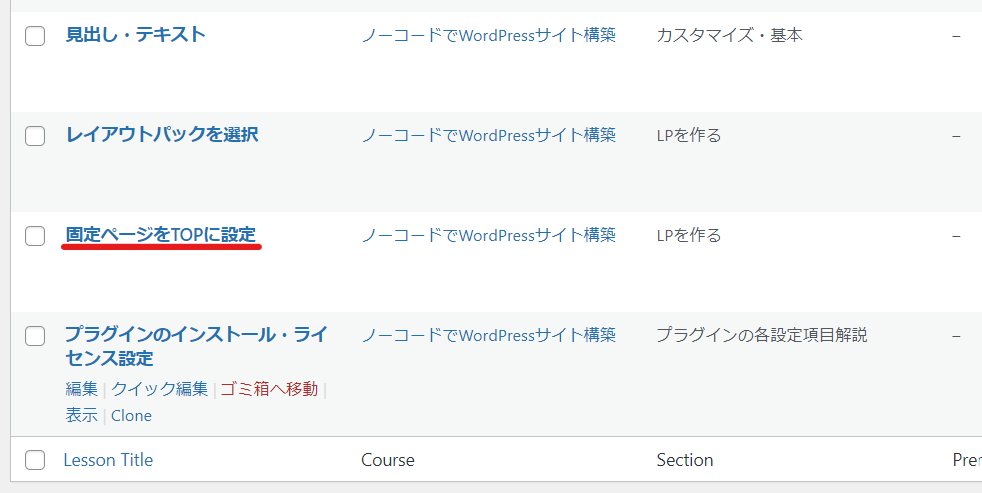
Just like editing a normal static page or post, when you hover your mouse over the title, the editing options will appear, so click the Edit button.
This time, we will edit the part marked in red, “Set static page to TOP.”
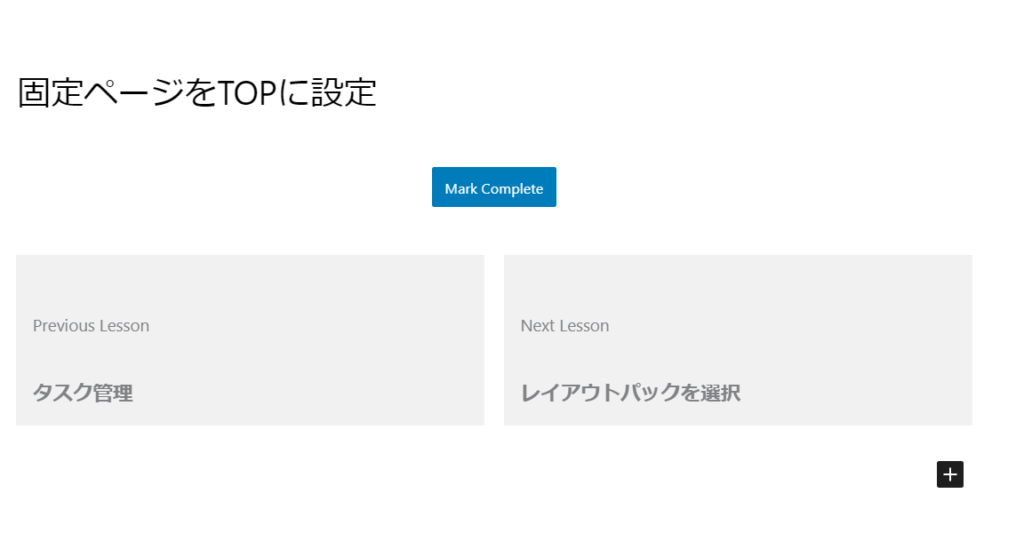
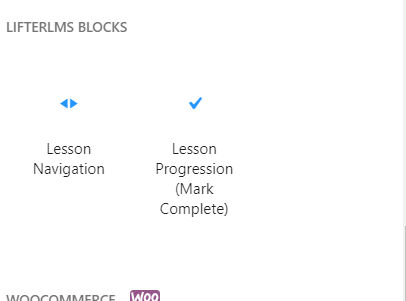
Basic Lesson Template
automatically
- Mark Complete - Items that students mark as completed
- Previous/Next - Previous lesson, next lesson
will be generated. You can write the content of the lesson in text anywhere you like.
Only the two types of parts mentioned above can be used in the lesson.
Create lesson content
Write the content of the lesson just like you would write a regular blog post.
You can also embed videos such as YouTube videos.
Lesson Setting
There is a Lesson Setting at the bottom of the builder.
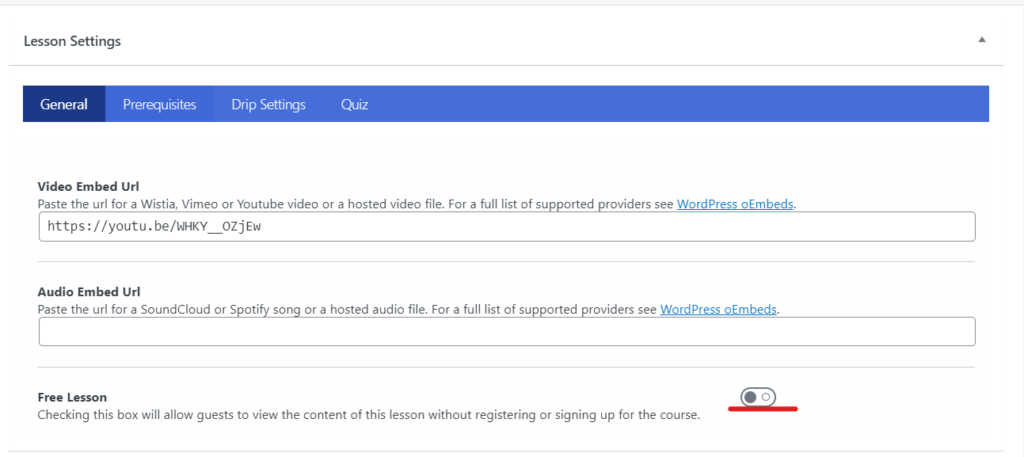
Embed a video
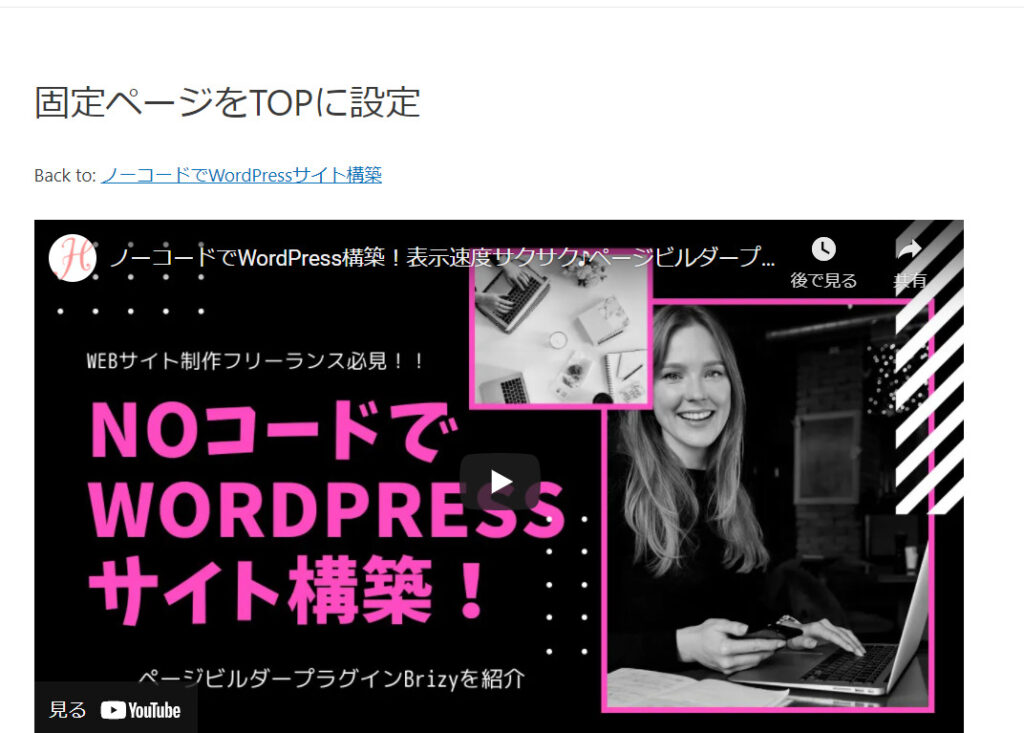
You can also embed videos in the block editor, and there is a field for entering videos.
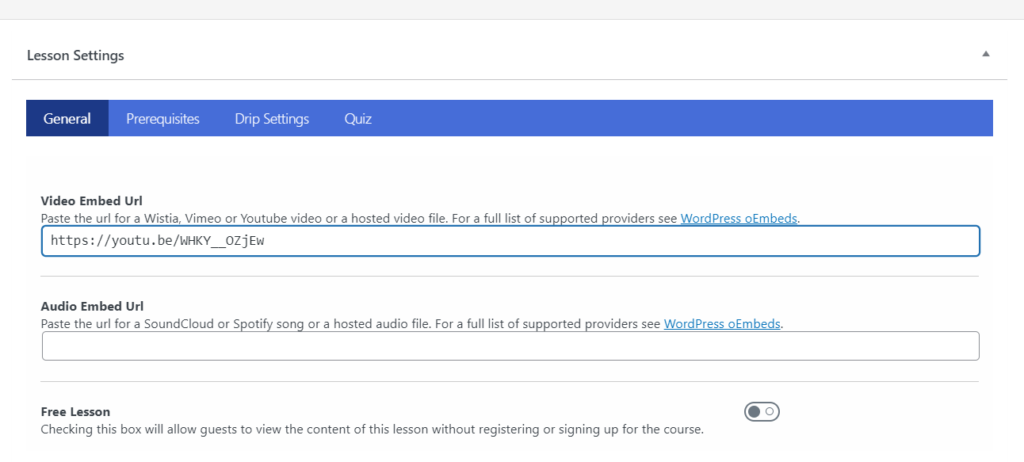
If you enter a video URL here, the video will be displayed directly below the title.
Free Lessons
To make a lesson available for free, turn on the Free Lesson switch.
The first few lessons can be made free and open to anyone, and then you can use them to guide users to sign up for a paid subscription.
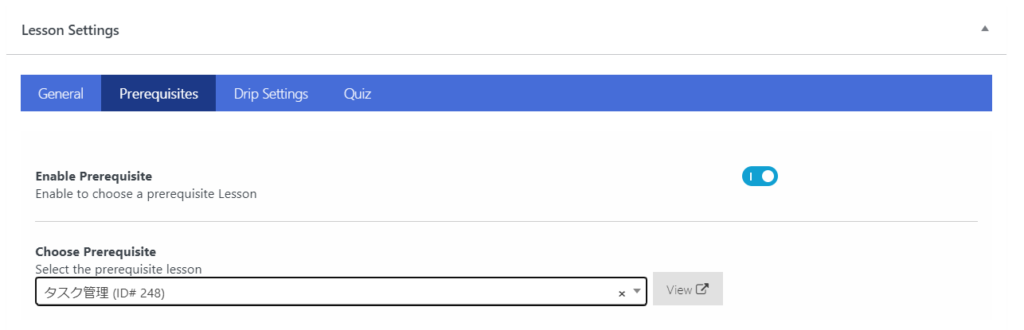
Controlling the order in which lessons are taken
In the Prerequisites tab, you can decide the order in which you take your lessons, so that you can take the currently selected lesson only after you have finished the previous lesson.
When you turn the switch ON, you can select lessons, and you can decide the order of lessons by selecting the lesson before the prerequisite.
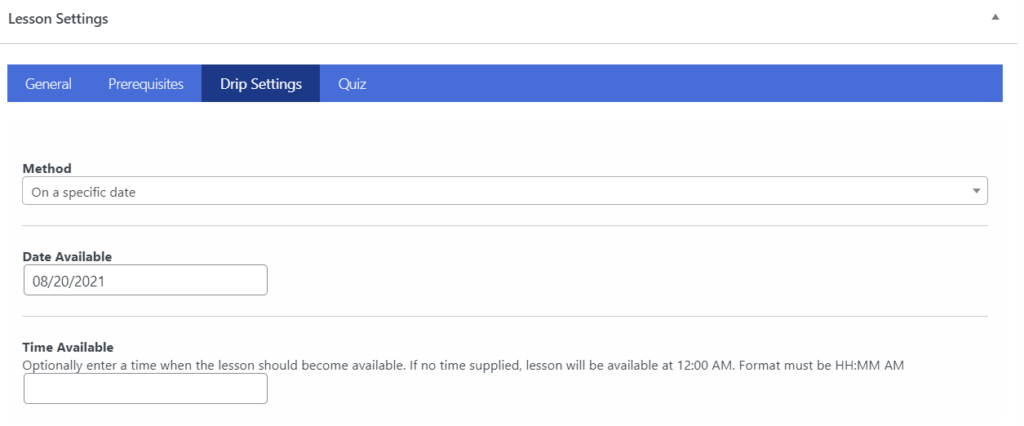
Control the time when lessons are published
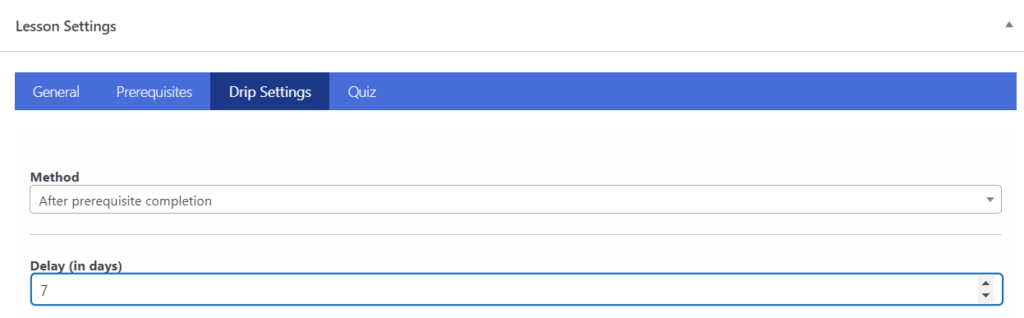
In Drip settings, you can set the time when you can take lessons.
- On a specific date - Available from the specified date and time
- After course enrollment - You can enroll after the course starts.
- After prerequisites complete - Available for enrollment x days after the specified lesson ends
1.If you select On a specific date, a date and time selection box will appear, allowing you to set the publication date and time.
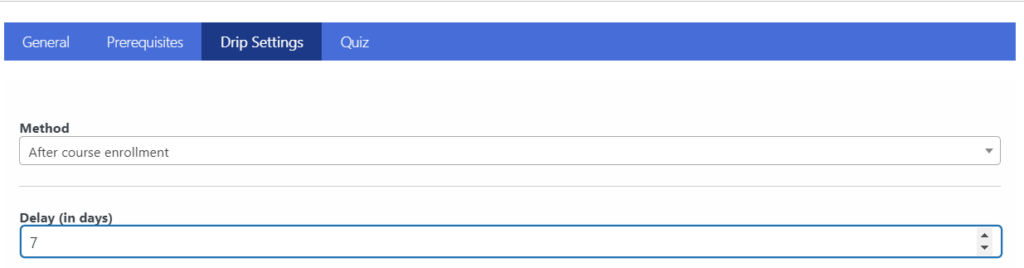
2.If you select After course enrollment, you can set how many days after starting the course that the lesson you are editing will be available for enrollment.
3. If you select After prerequisites complete, you can set the course to be available a certain number of days after the prerequisites lesson is completed.
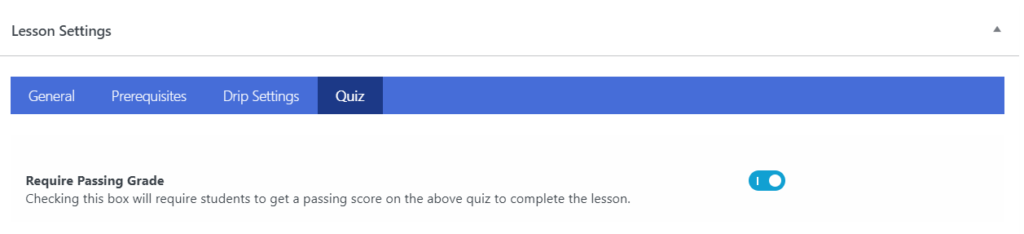
You cannot proceed to the next lesson unless you pass the quiz (task).
If you turn on the Quiz setting, you can set the lesson to not be completed unless the student passes the quiz you set up in the Course Builder.
Quiz Settings
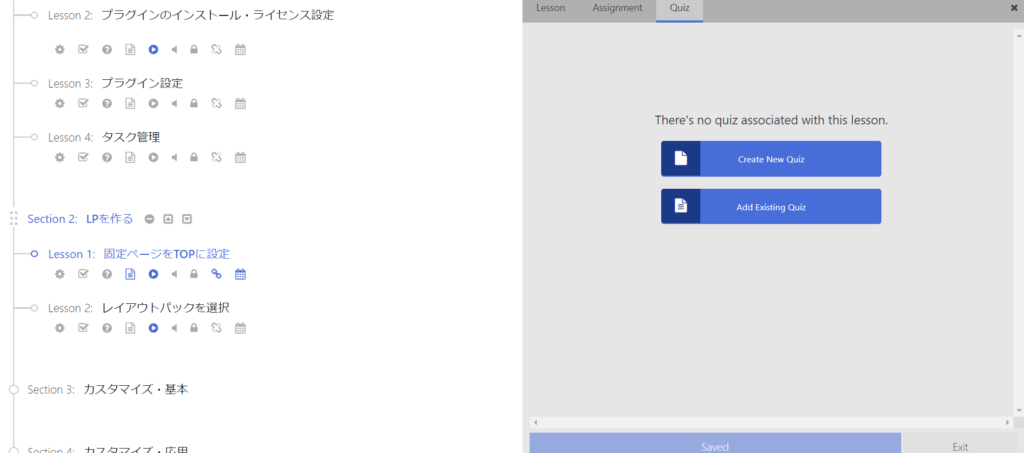
Since we had access to the Quiz settings in the previous section, we will now set up the Quiz.
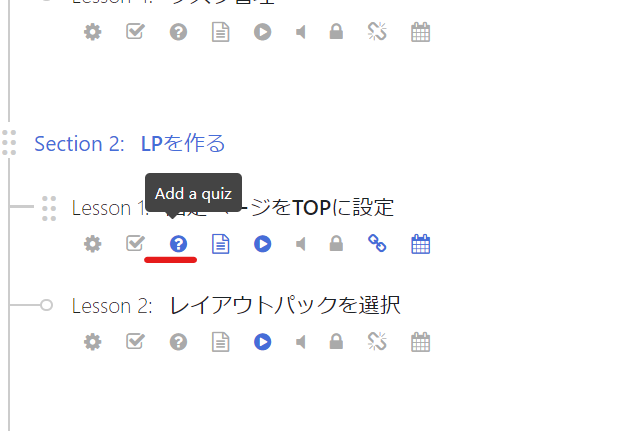
Quiz settings are not done by editing the Lesson, but rather from the Builder under [Courses] > [Courses].
Click the [Add a quiz] icon.
Create a new quiz
Click Create New Quiz to create a new quiz.
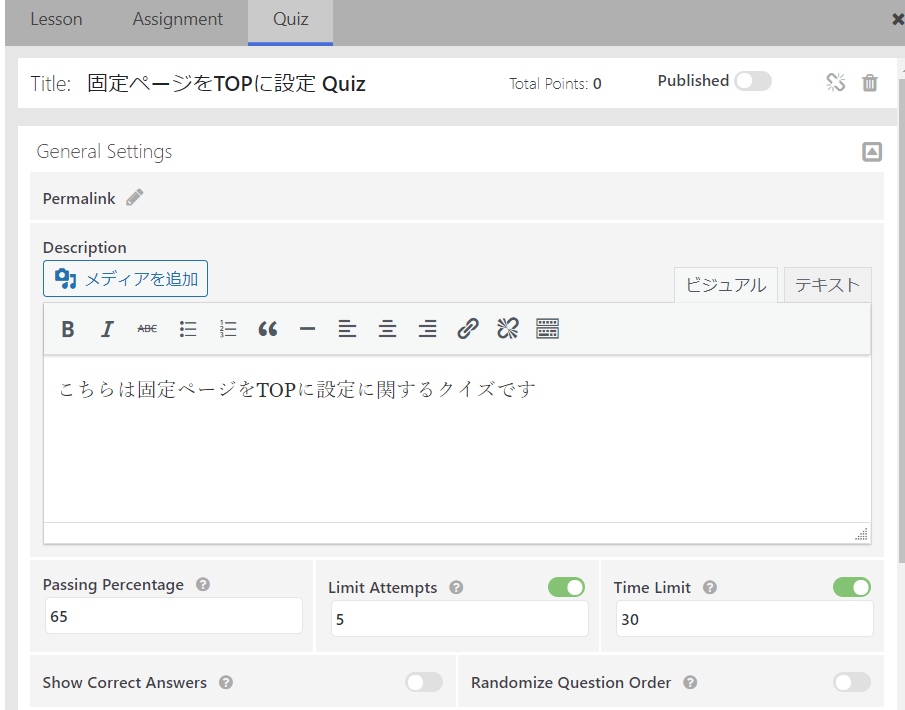
Quiz Overview
- Description – Quiz description
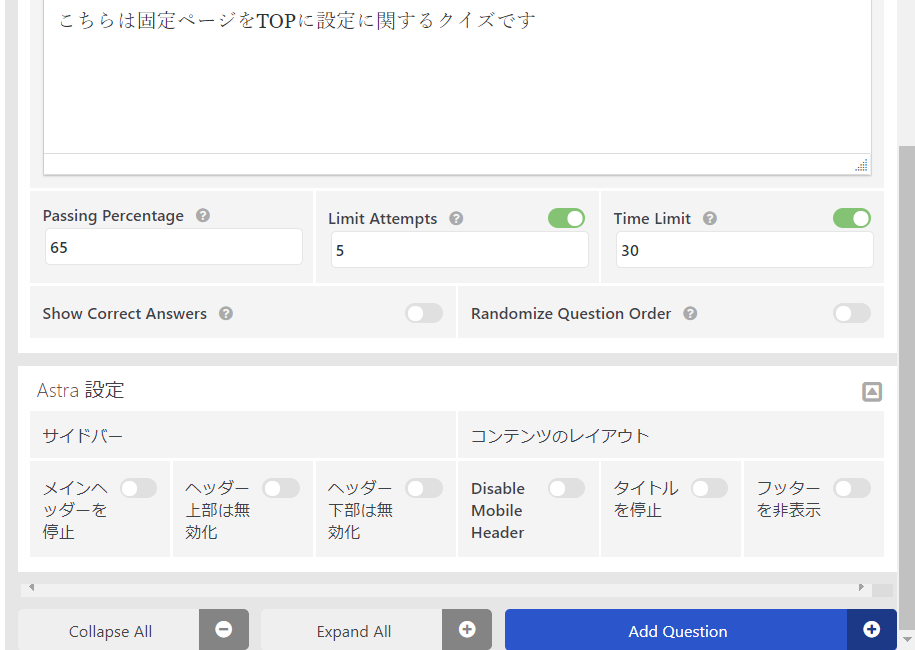
- Passing percentage
- Limit Attempts
- Time Limit
- Show Correct Answers - Whether to display the correct answers at the end
- Randomize Question Order
Add Quiz
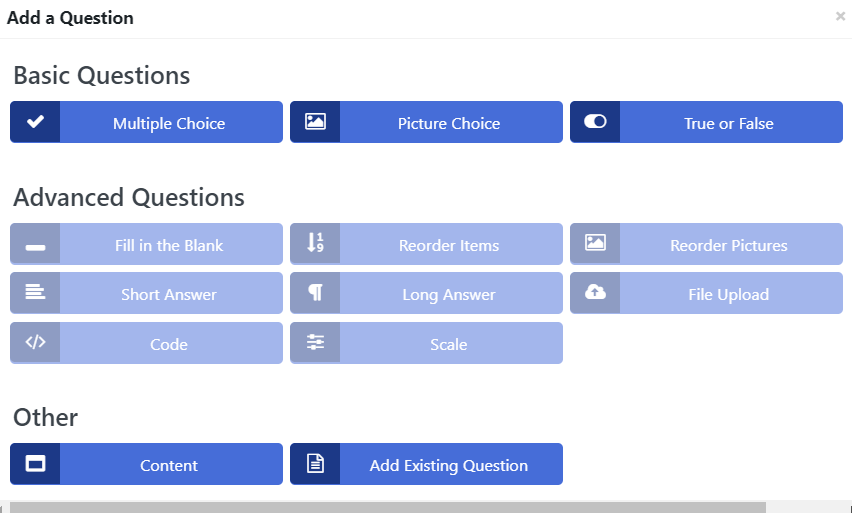
Click Add Question to create a quiz.
The only free quiz items are dark blue, so select Multiple Choice.
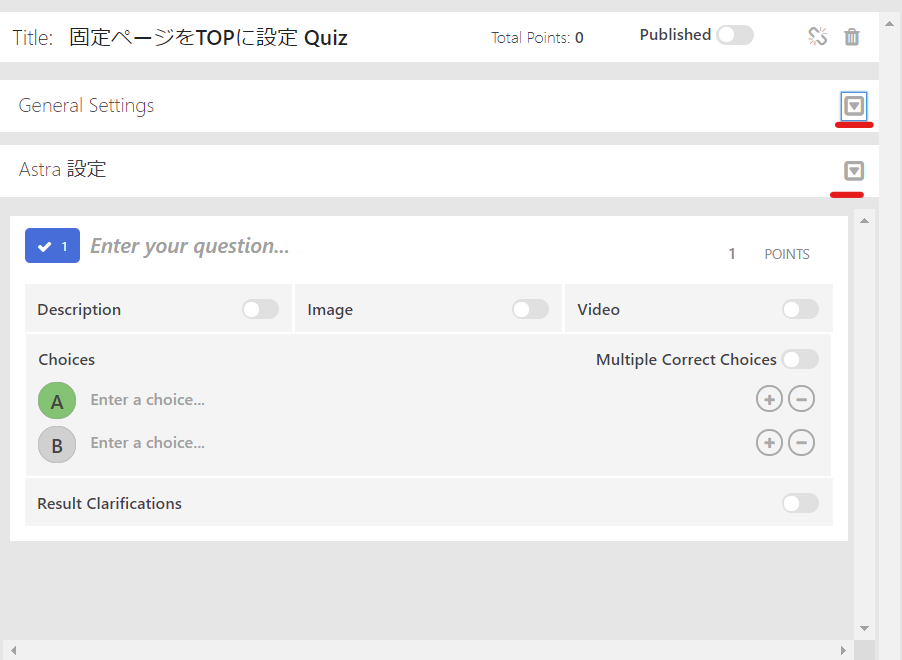
At first, it was a little difficult to understand, but I was able to see the quiz I had added by folding the items displayed at the top at the ▲ in the attached image.
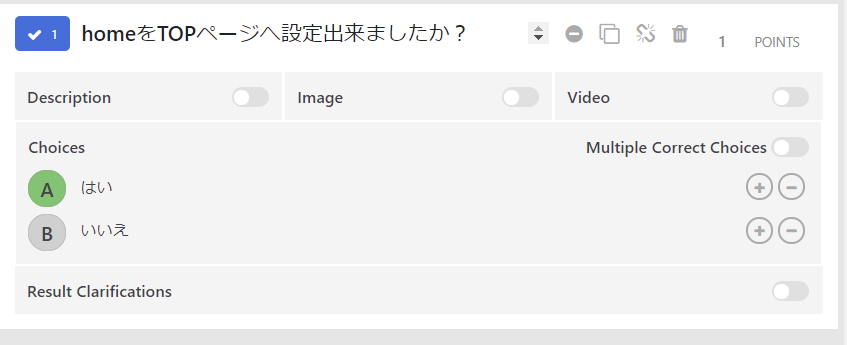
The questions and answers will change.
Select the correct answer in green.
The Result Clarifications were set as follows:
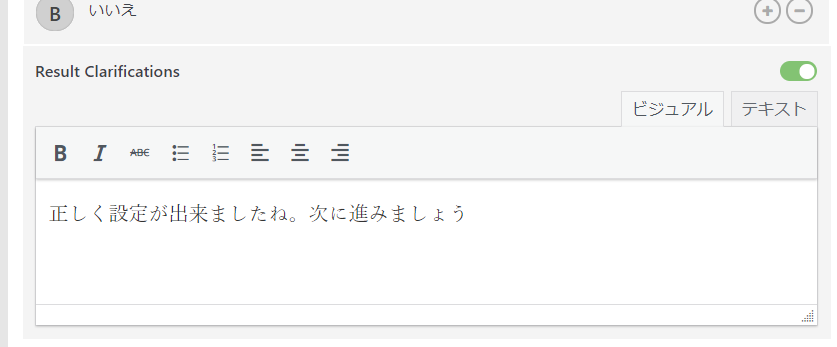
If you want to add more questions, click [Add Question].
summary
This time, I set up the actual lesson content. You can add a lesson just like writing a blog.
There is also a quiz function to measure achievement, allowing students to progress through their studies while tracking their level of understanding for each important lesson.
Released as soon as the next morning! Weekends and holidays are also available!
Super rush website creation plan
We offer a rush website creation plan for those who need a website in a hurry!
We can publish your content as soon as the next morning, even on weekends and holidays! If you have any questions, please check the details below!

Latest Articles
How to Enhance EEAT with WordPress | Settings and Design Improvements Necessary for AI-Driven Traffic
[2026 Latest] How to check the number of visits from generated AI using GA4's exploration function
Error message: Allowed memory size of 268435456 bytes exhausted (tried to allocate 14684160 bytes) Error: On Lollipop