How to create a website using WordPress/How to use plugins/No-code construction blog


How a matching site creates a matching homepage using WordPress [HivePress] How to separate vendors and users
At HanamiWEB Online School,
●Ask questions in real-time in the virtual study room!
●Ask as many questions as you want via chat!
●E-learning materials that you can learn as much as you want, 24 hours a day!
All included for just 2,500 yen/month!
This explains how to create a matching site using the free WordPress plugin HivePress.
There may be cases where you want to separate vendors who can sell items from users who can purchase items. We will introduce how to set this up.
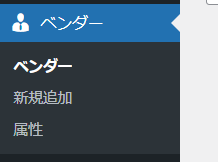
vendor
A vendor is someone who offers a service.
- HivePress
- vendor
will be added inside.
The key to becoming a WordPress user is to become a [Contributor].
user
Users who can purchase.
The user will be added to the WordPress user list and will have the role [Subscriber].
Permissions when registering as a user on the site
When you register as a user on the site, you will be the purchasing user by default.
If you want everyone to be able to function as a vendor,
- HivePress
- vendor
If you check Allow direct registration, users who register will be added to the vendor list.
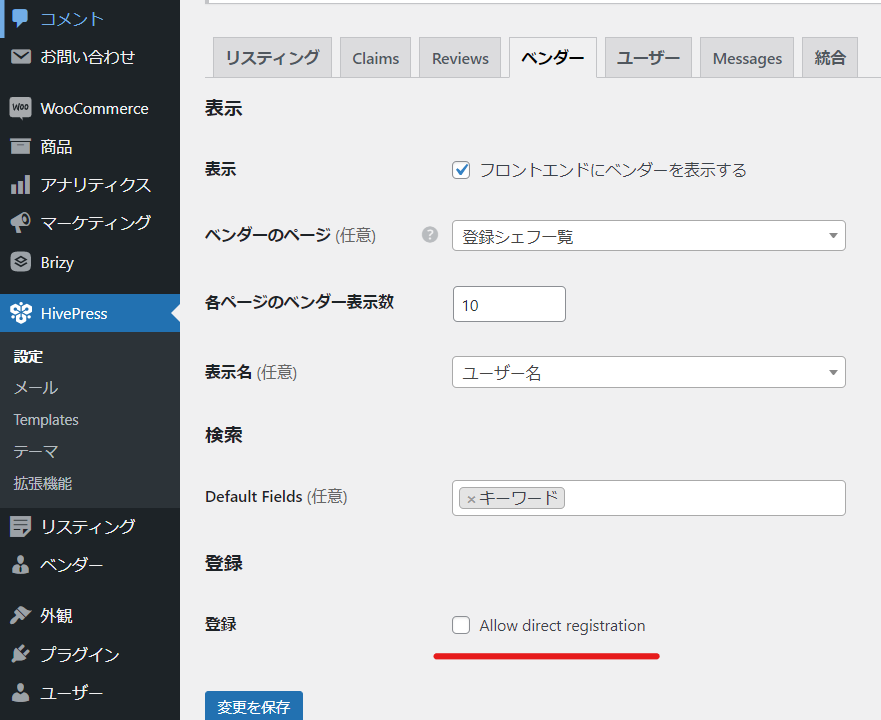
If you want to separate vendors and users
Conversely, if you want to separate vendors and users, leave this box unchecked.
Vendors are manually registered
Since it is no longer possible to register vendors via the site, vendors can be registered by contacting us via a contact form or other means and then having an administrator manually register them.
Separate menu bars for vendors and users
Just now
- Vendors - Contributors
- Users - Subscribers
I mentioned that the WordPress permissions are different, but by using this setting, you can display different menu bars depending on the WordPress user permissions.
- Vendors (contributors) – have an Add Services item in the menu bar
- Users (Subscribers) – No Add Services item in the menu bar
In this way, you can control the flow of users by preventing them from reaching your service listing page.
A plugin that allows you to separate menu bars by permissions
Adds a plugin that allows you to control the menu bar output for each user privilege.
For example, [Nav Menu Roles]
This plugin allows you to show/hide menu items based on permissions.
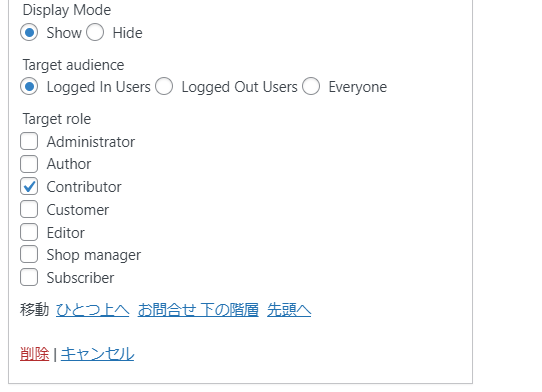
User Menu

Vendor Menu

In this way, you can control your listings by changing the menu items depending on WordPress permissions!

We are available on weekends and holidays!
Please contact us if you have any problems with your website!

- Unable to log in to WordPress
Malware infection?
- The homepage suddenly stopped displaying!
- A PHP error is occurring.
We also offer support on weekends and holidays for those who need assistance.
If you are in a hurry, please call us now at 03-6694-7024.
Latest Articles
A PHP error is displayed on my WordPress site, preventing the site from displaying (wp-includes/block-patterns.php on line 38).
Nerima Ward: Ranked 2nd in website creation | Explanation of how to create a website that gets cited by AI
What is website update outsourcing? A clear explanation of costs, market rates, and how to request their services.