How to create a website using WordPress/How to use plugins/No-code construction blog
Build a matching site with WordPress! Explaining the basic design settings of PremiumPress' Microjob theme
At HanamiWEB Online School,
●Ask questions in real-time in the virtual study room!
●Ask as many questions as you want via chat!
●E-learning materials that you can learn as much as you want, 24 hours a day!
All included for just 2,500 yen/month!
This article explains how to set up the Microjob theme from PREMIUMPRESS, which allows you to build a matching site using WordPress.
We will explain the basic design settings. PremiumPress has about 20 types of page layouts and about 100 types of part templates.
After deciding on the overall layout of the page, which consists of about 20 different types, you can quickly create a page by using the part templates to create the page.
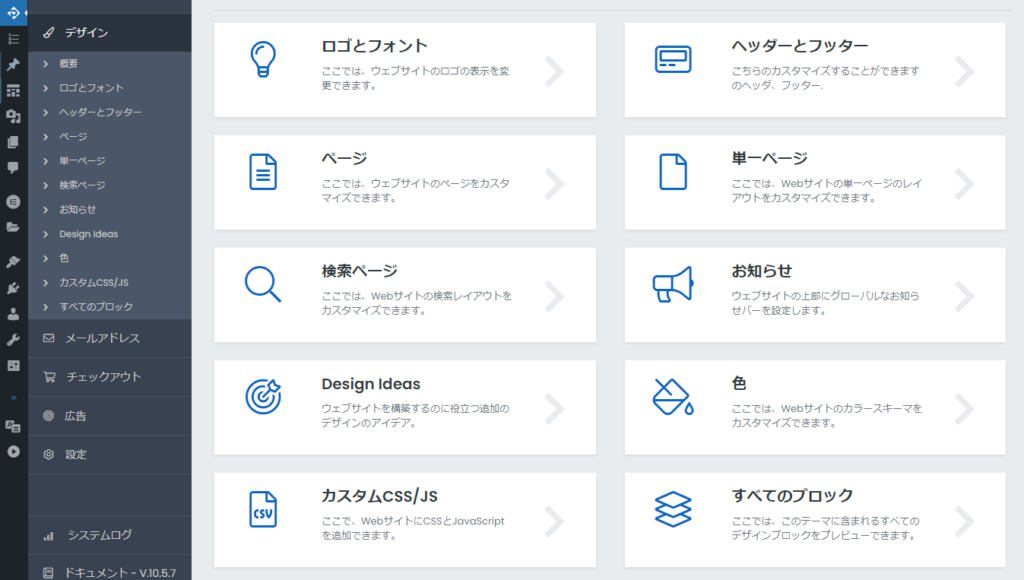
What you can do with page basic settings
Set it up in PREMIUMPRESS [Design]
- Logo Settings
- Font Settings
- Header Design
- Footer Design
- Layout management for various pages
- Service listing page design
- Search page design
- Notification Management
- Site-wide layout settings
- Color scheme
- Custom CSS/JS
You can set the following.
Overall site layout
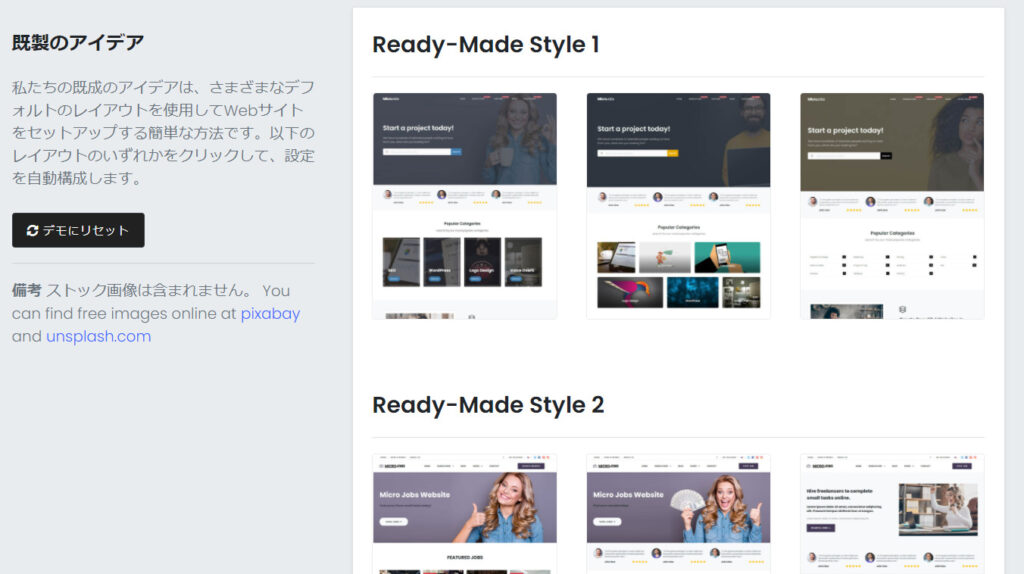
First, set the layout for the entire site. The first thing you do is enter the PremiumPress license and decide the layout for the entire site, but you can change the layout later on.
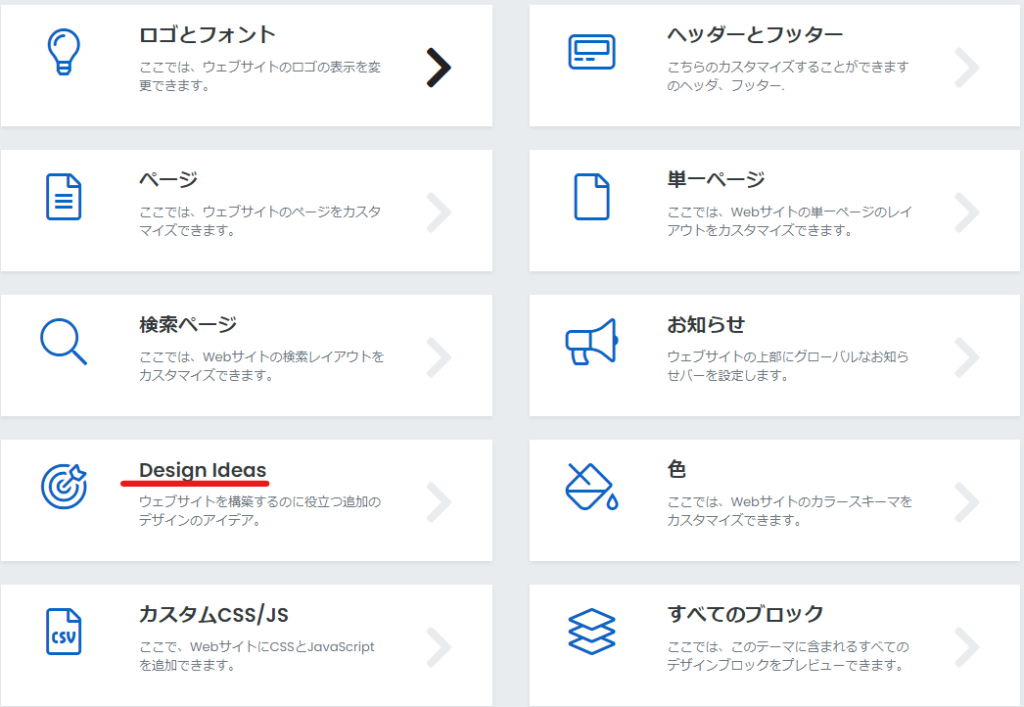
You can choose from a total of 23 different layouts.
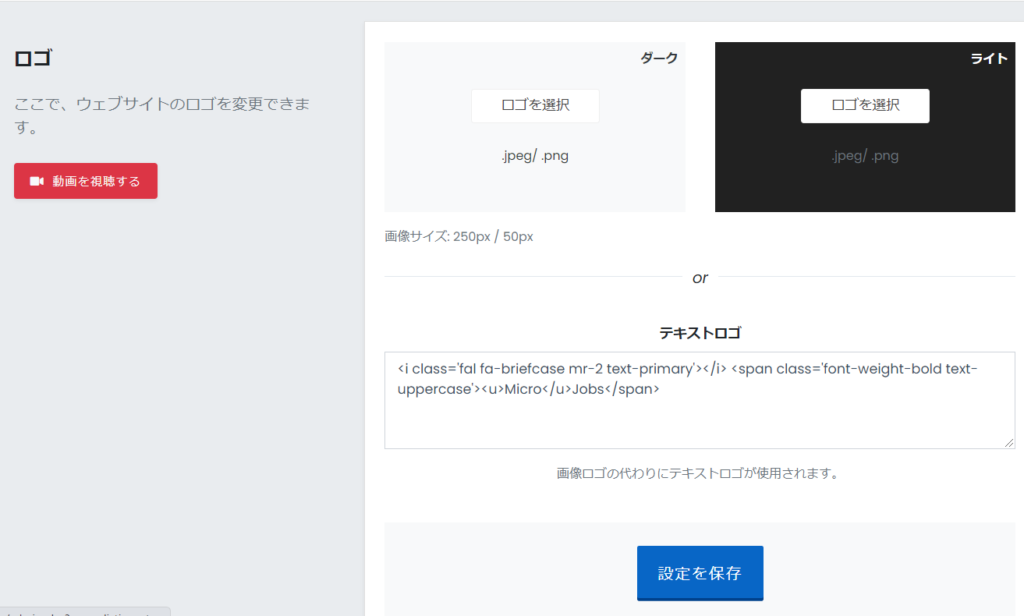
Logo Settings
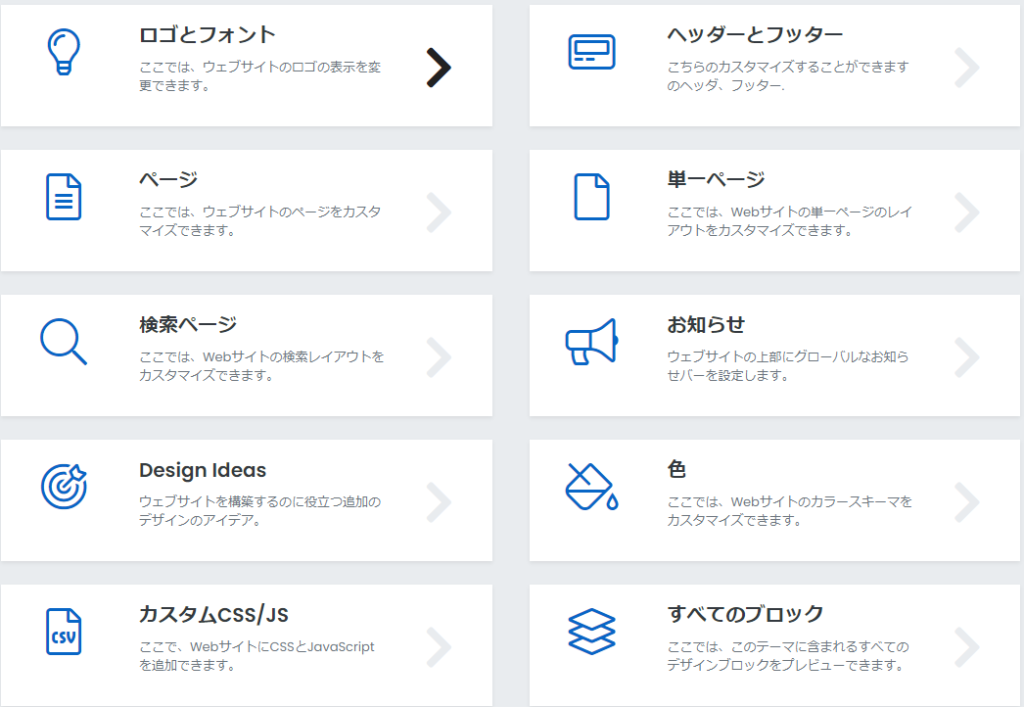
Configure the settings in the [Logo and Font] section.
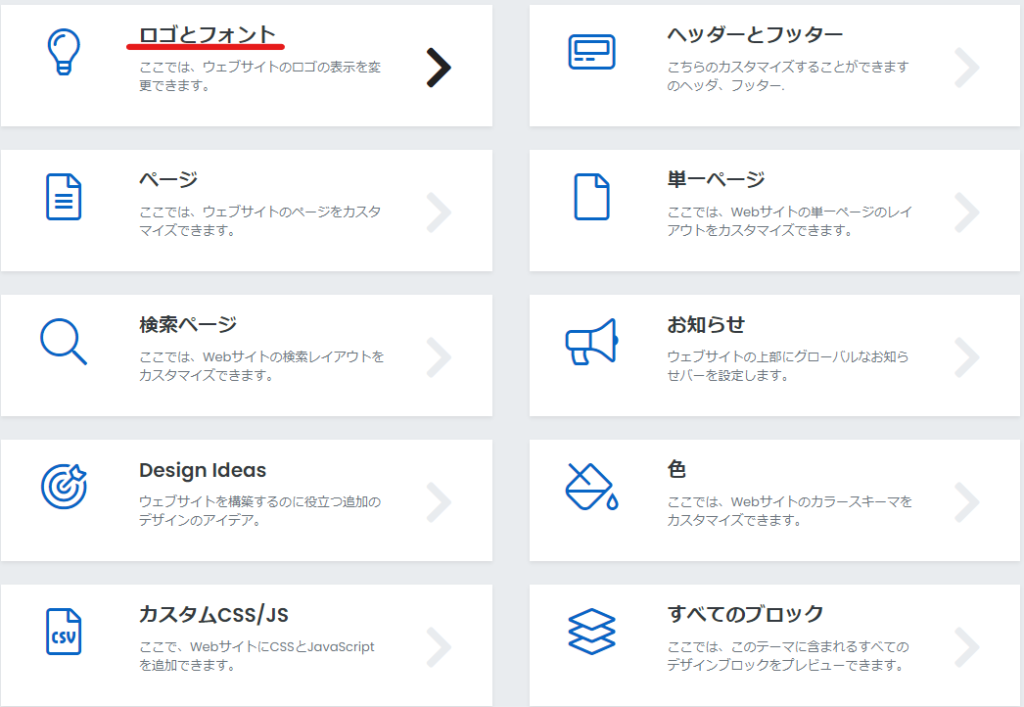
You can set two different logos: one with a white background and one with a dark background.Recommended size is 250px x 50px
If you don't have a logo, text is fine.
Font Settings
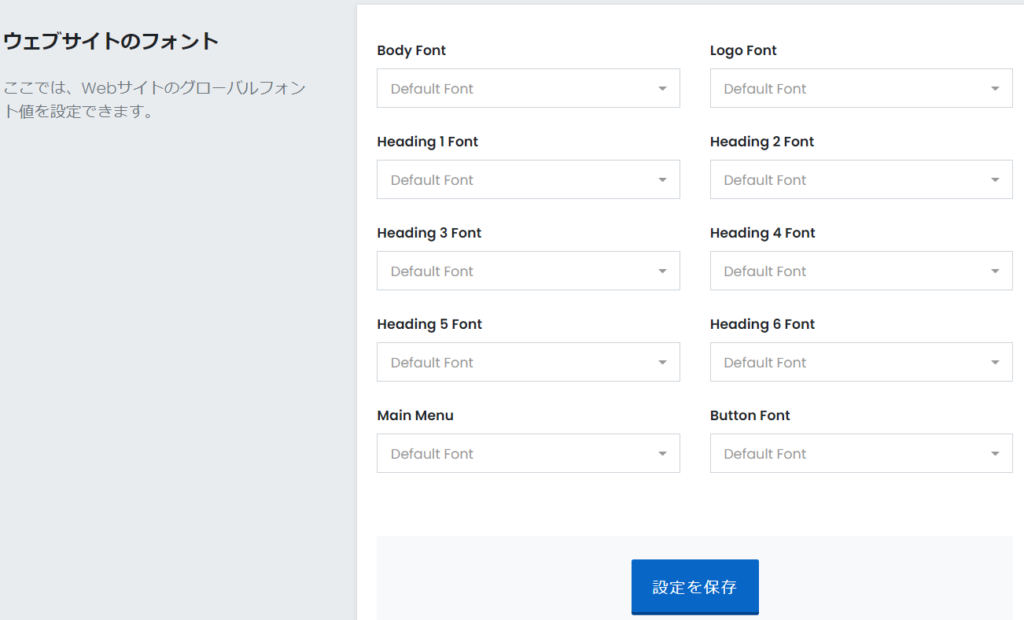
Font settings are also included in the [Logo and Font] settings.
- Body Font
- Logo Font – Logo text font
- Heading 1 Font - H1 Font
- Heading 2 Font - H2 Font
- Heading 3 Font - H3 Font
- Heading 4 Font - H4 Font
- Heading 5 Font - H5 Font
- Heading 6 Font - H6 Font
- Main Menu - Menu bar font
- Button Font
However, since they are all fonts for English, it can be confusing. However, the Japanese font will change depending on the font you select, so it's a good idea to try out different fonts.
Or it might be better to set the Japanese font using CSS.
Header/Footer Settings
Set up the header and footer.
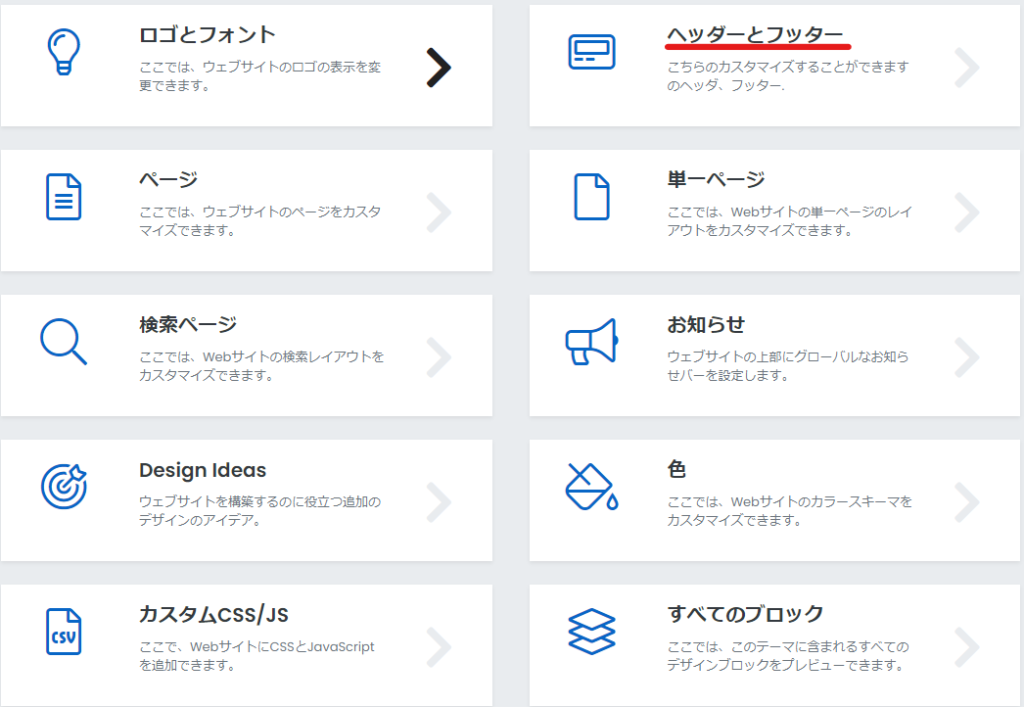
You can choose the header and footer from the PremiumPress design templates. Click [Change] to select your preferred design.
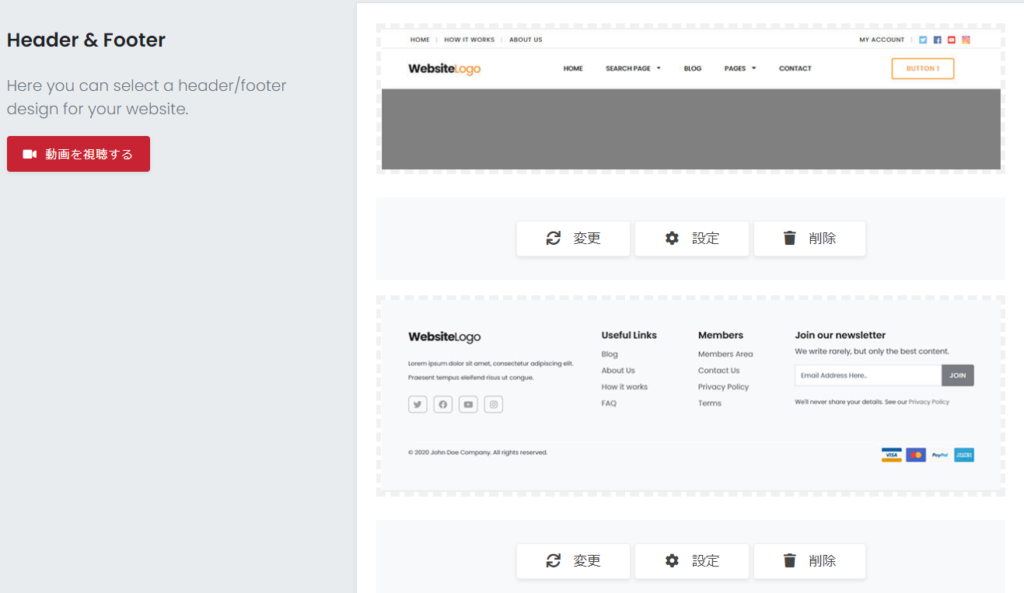
Clicking [Settings] will display the configurable items for the selected design template.

Scroll down further and you will see the header and footer settings.
Clicking [Edit] here allows you to change more detailed settings.
You can also change the header and footer to those created with Elementer.
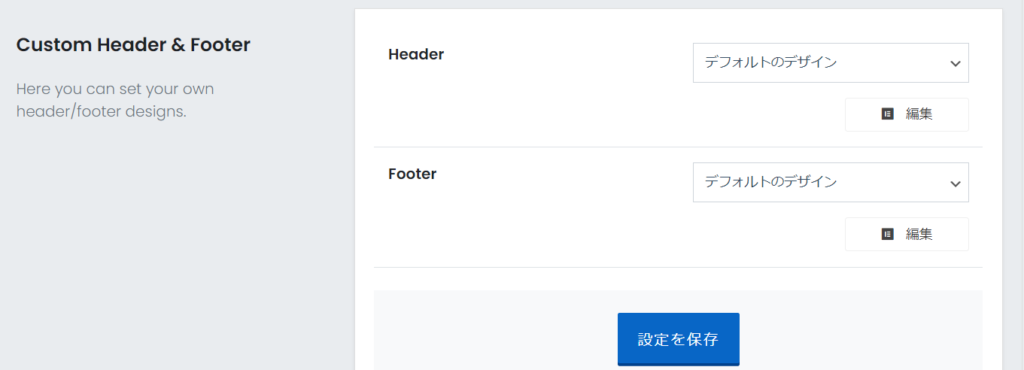
Header layout change
Clicking [Change] will launch Elementer.
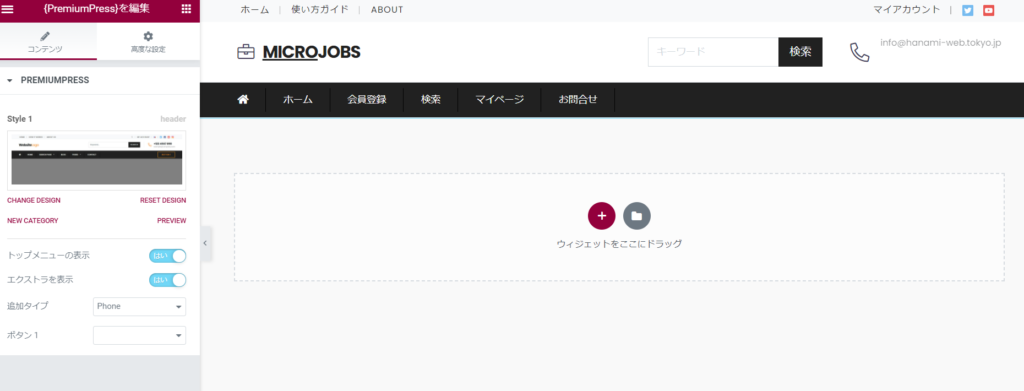
You can change to a different header design by clicking Change Design. The items below that are the settings you can make for the header template you selected.

Operator Information
Email addresses and SNS links that cannot be changed in Elementer

The settings you have made in [Settings] > [Company Name] are reflected.

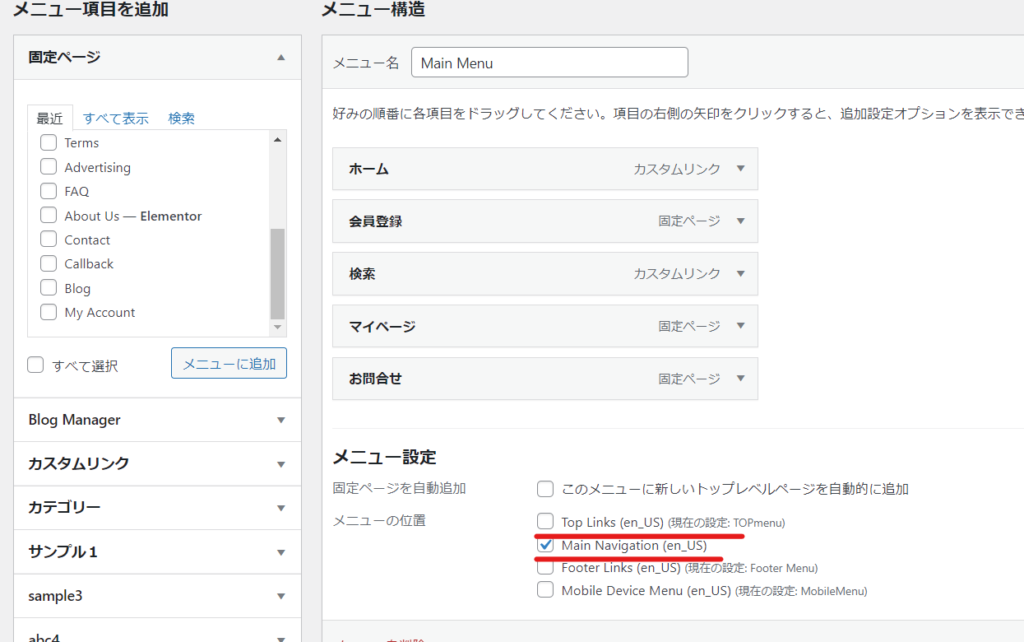
menu bar
You can set this in the WordPress dashboard under Appearance > Menu.
- Top Links - The menu bar displayed at the top
- Main Navigation – Main menu bar
Footer layout change
Just like the header, clicking Edit will launch Elementer.
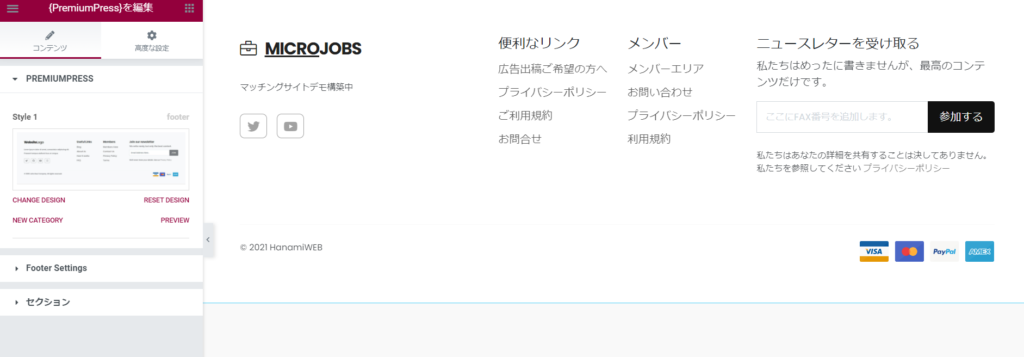
Company information is reflected from the settings made in [Settings] > [Company Name], and menu items are reflected from the settings made in [Appearance] > [Menu].
Layout management for various pages
Layout settings for each page are made in the [Page] section.
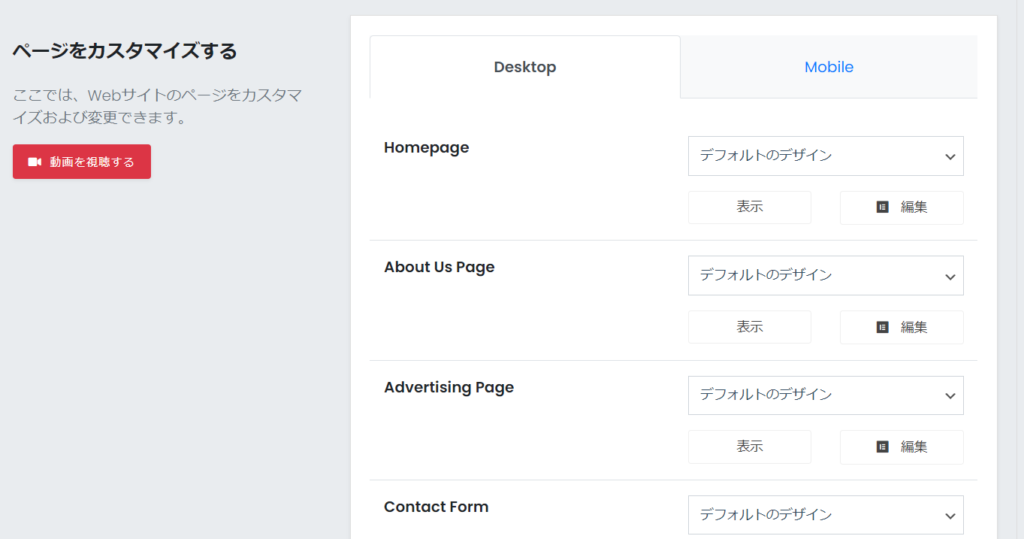
You can set the design for each page, desktop and mobile. Personally, I recommend creating only the desktop version and then fine-tuning any layout issues with CSS on mobile.
- Homepage
- About us Page - Operator information page
- Advertising page - Ad space recruitment page
- Contact Form
- Membership - Membership Page
- Add Listing page - Service listing page
- How it works - How to use guide page
- Testimonials page
- FAQ page
- Privacy page
- Terms & Conditionals page
- Job page - Links to a single page. This is the design of the registration page for listing services.
When you install PremiumPress, it will generate static pages, so you will have all the pages you need. All you have to do is translate each static page into Japanese and change the content to suit your service.
If you are not satisfied with the existing designs on PremiumPress, you can also add Elementer parts, allowing you to create designs flexibly.
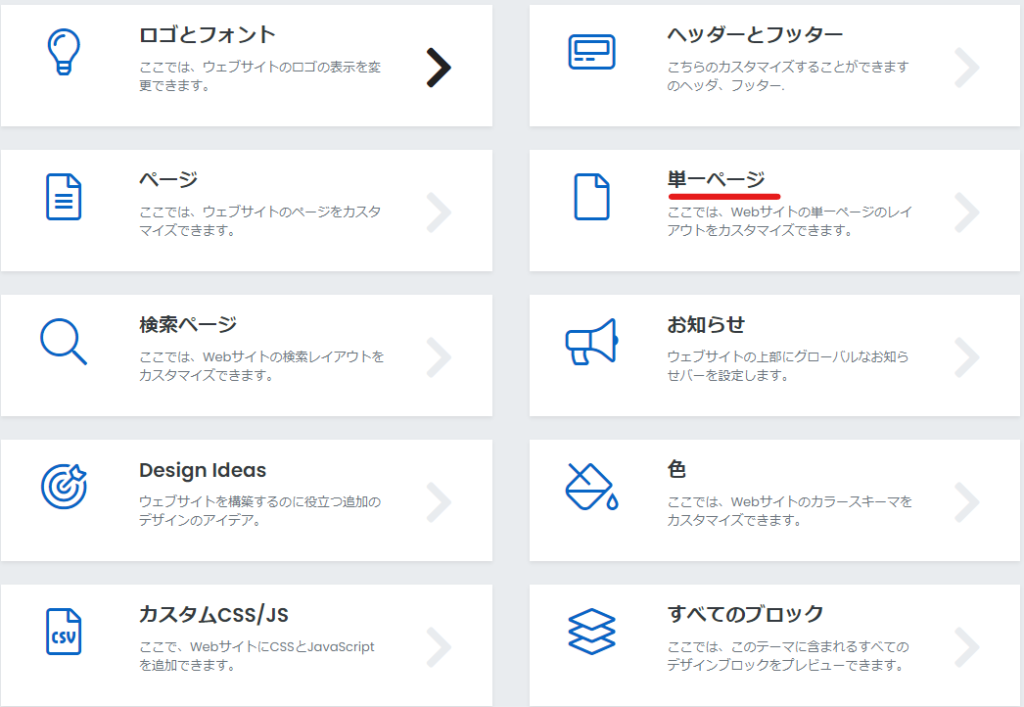
Service listing page design settings
The details page for the service you listed will be set as [Single Page].
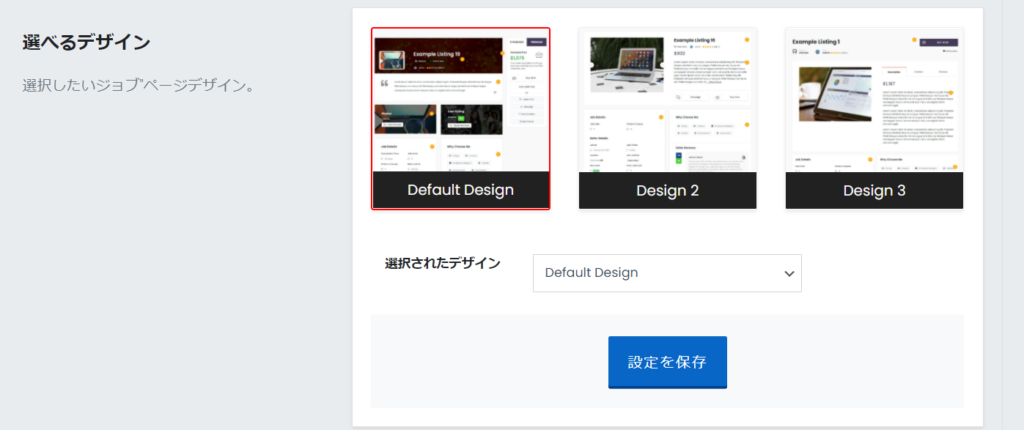
You can choose from 3 types.
TOP part
You can customize it in more detail. The TOP part
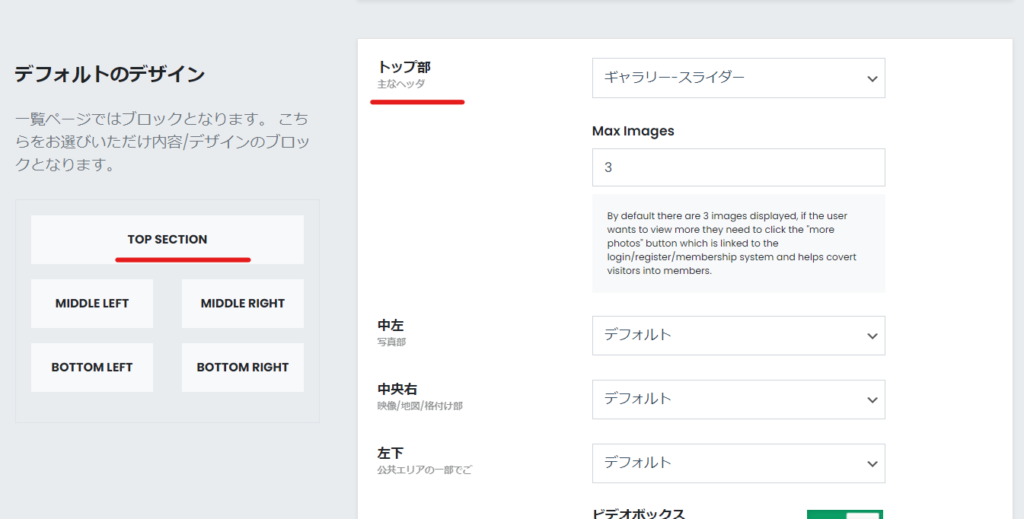
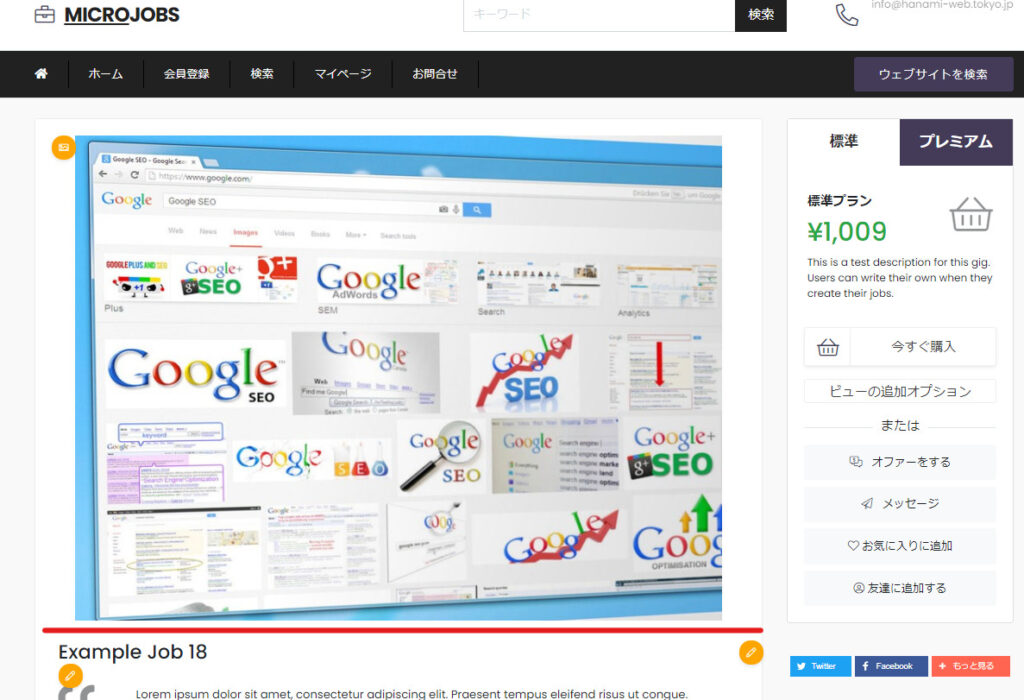
This is the area where the large image is displayed.
Center left
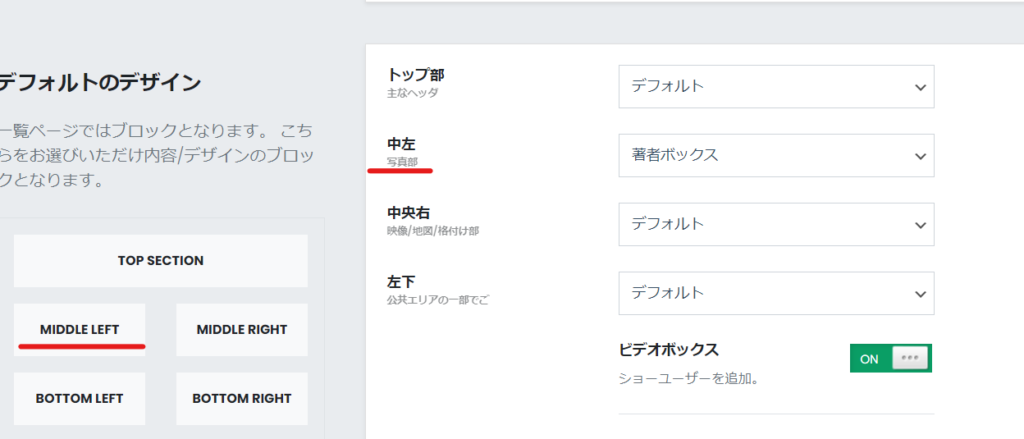
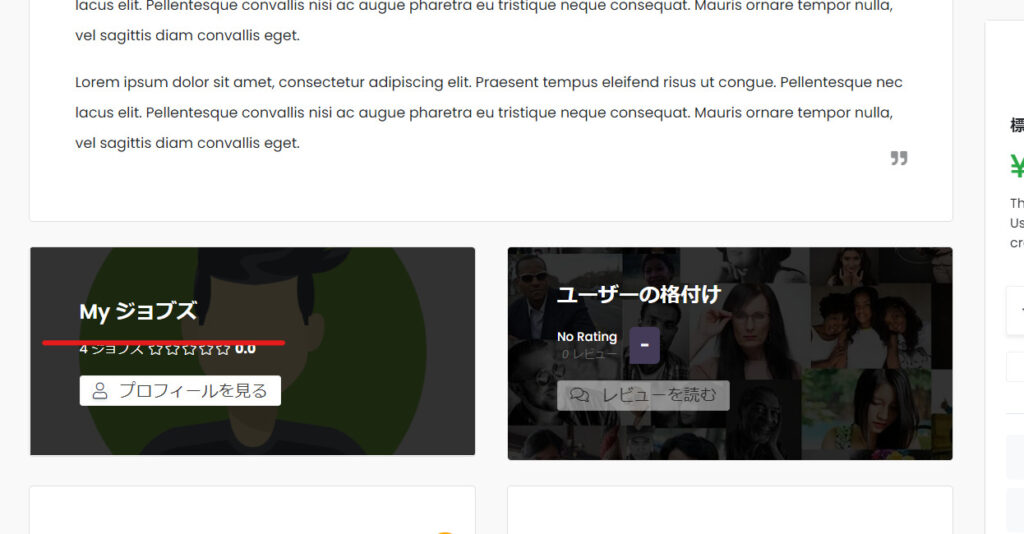
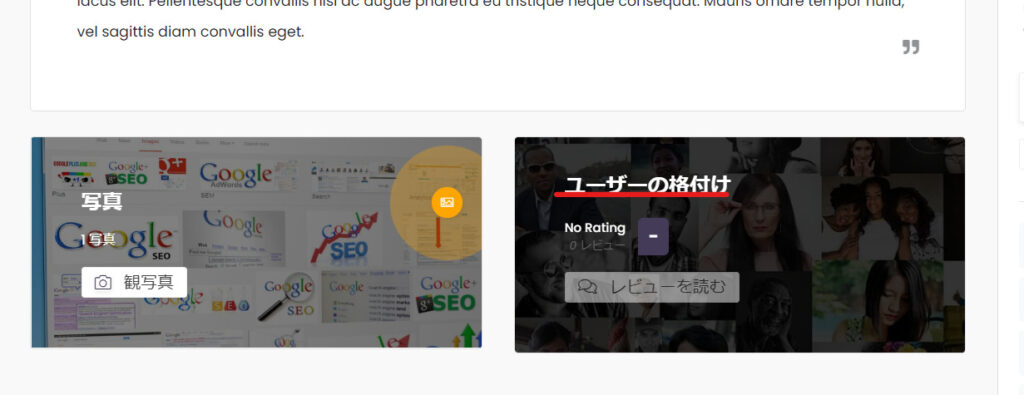
Center right
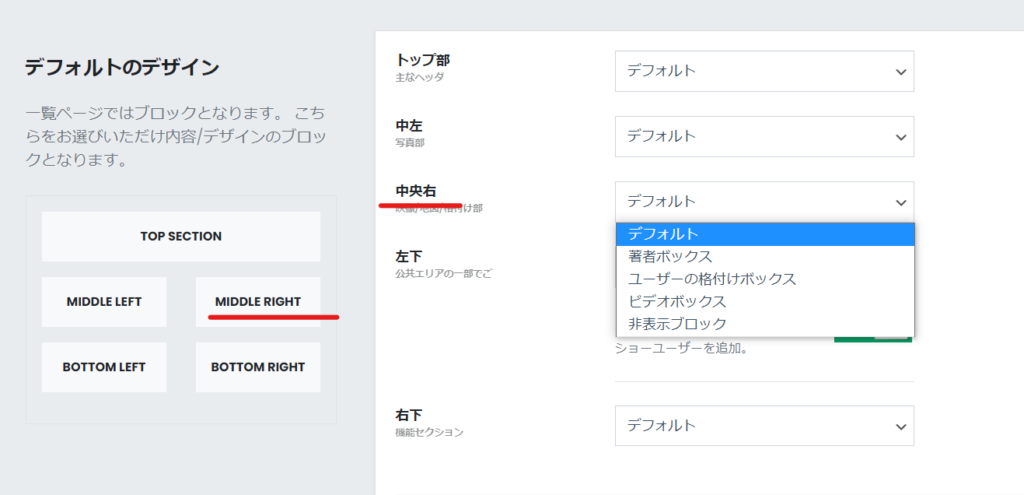
The front part will be here.
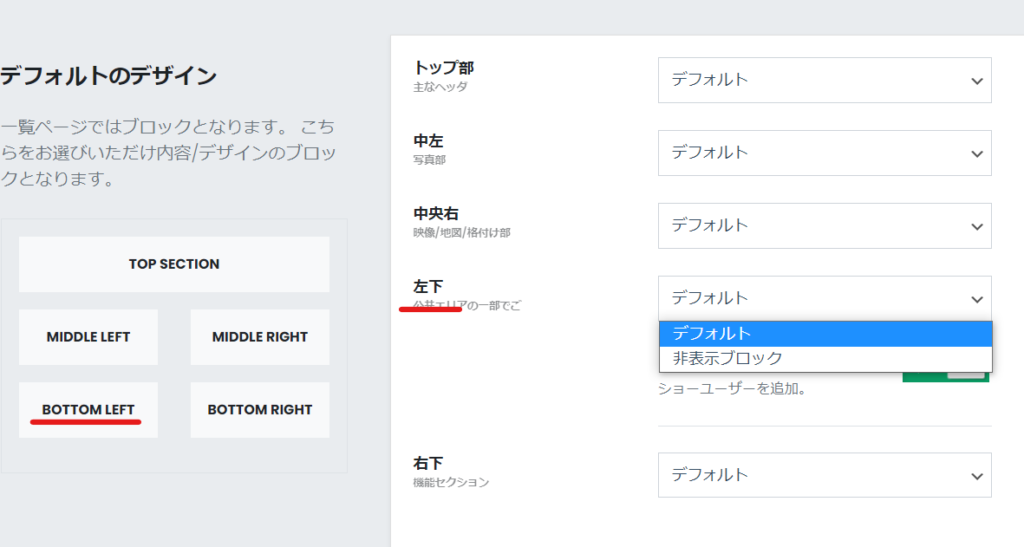
lower left
This will be the default or hidden setting.
The target areas on the front are
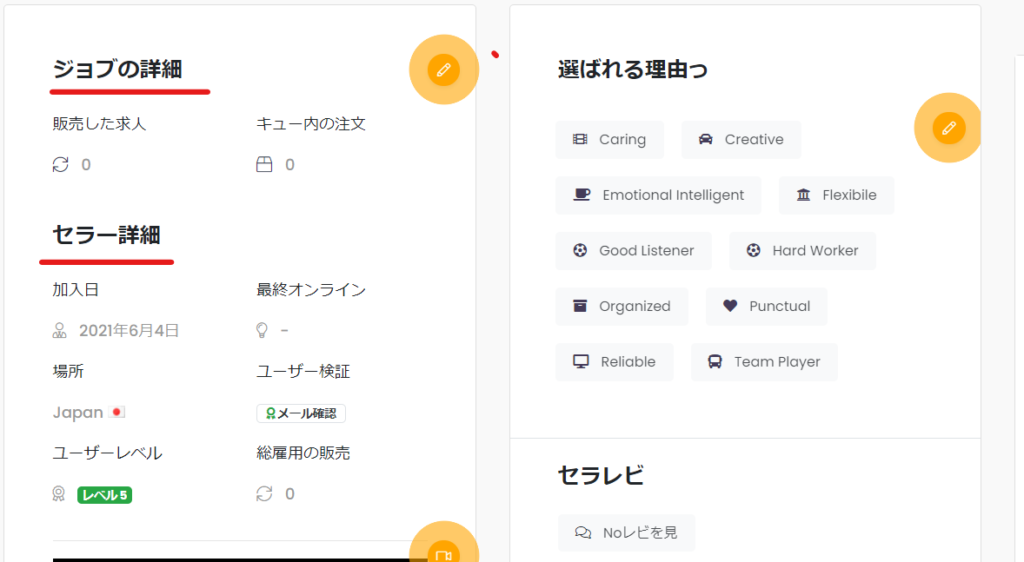
Bottom right
This setting can be displayed or hidden.
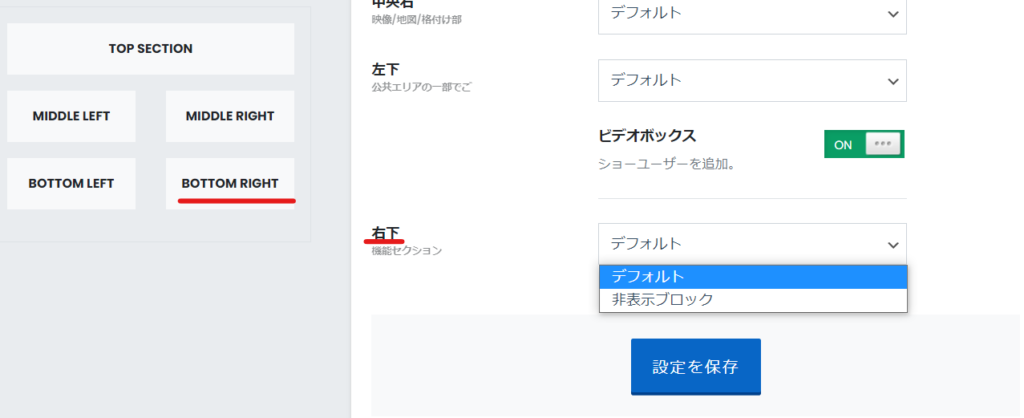
The front part
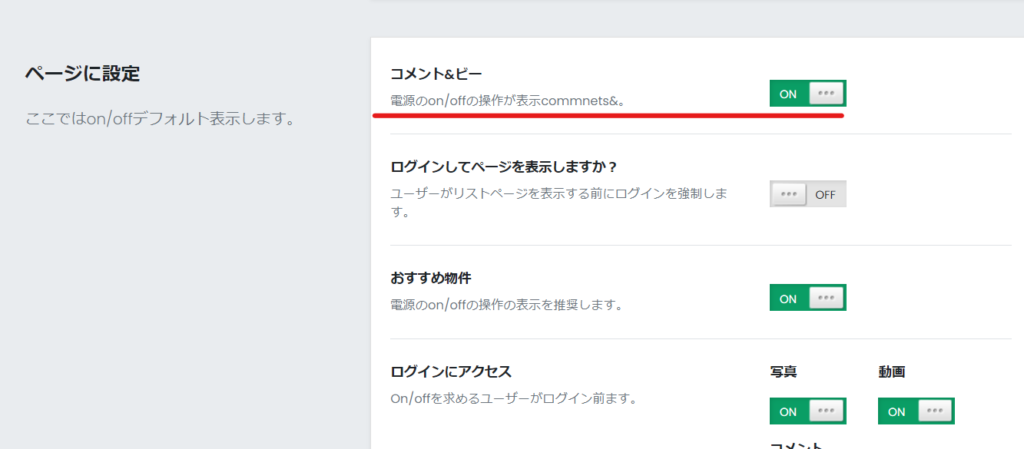
Comment display settings
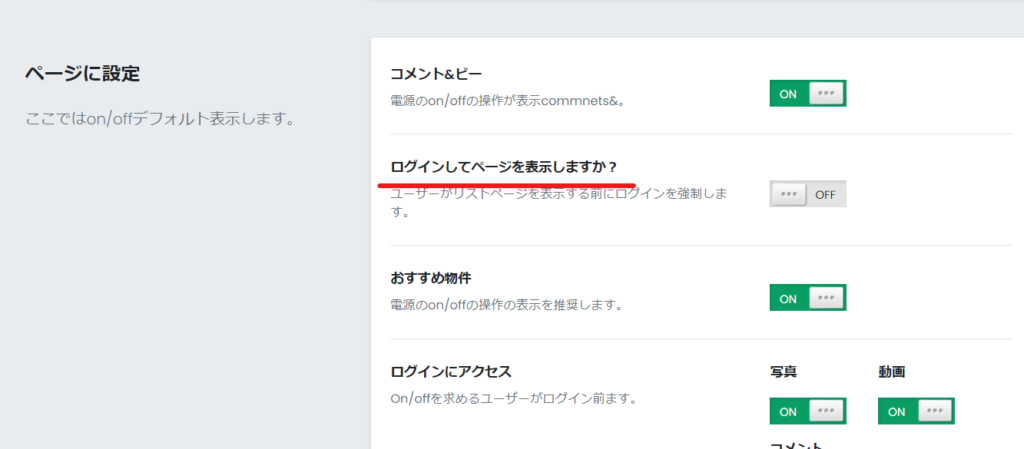
Login required to view
This setting determines whether users must log in to view the product details page.
Recommended Properties
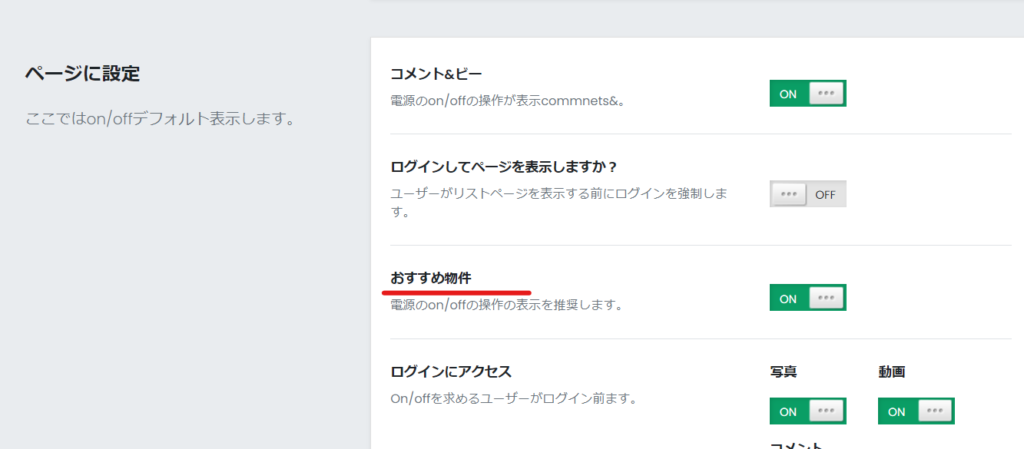
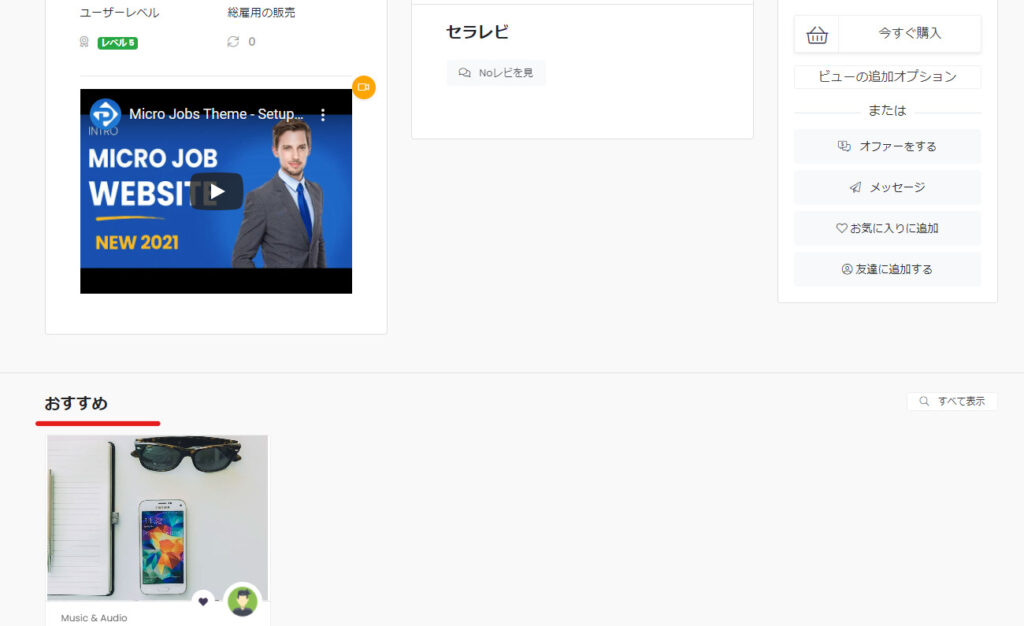
This is the section introducing recommended services that is displayed at the bottom of the service details page.
You can't access it without logging in
- photograph
- movie
- comment
These three locations will be set to be publicly available only to logged-in users.

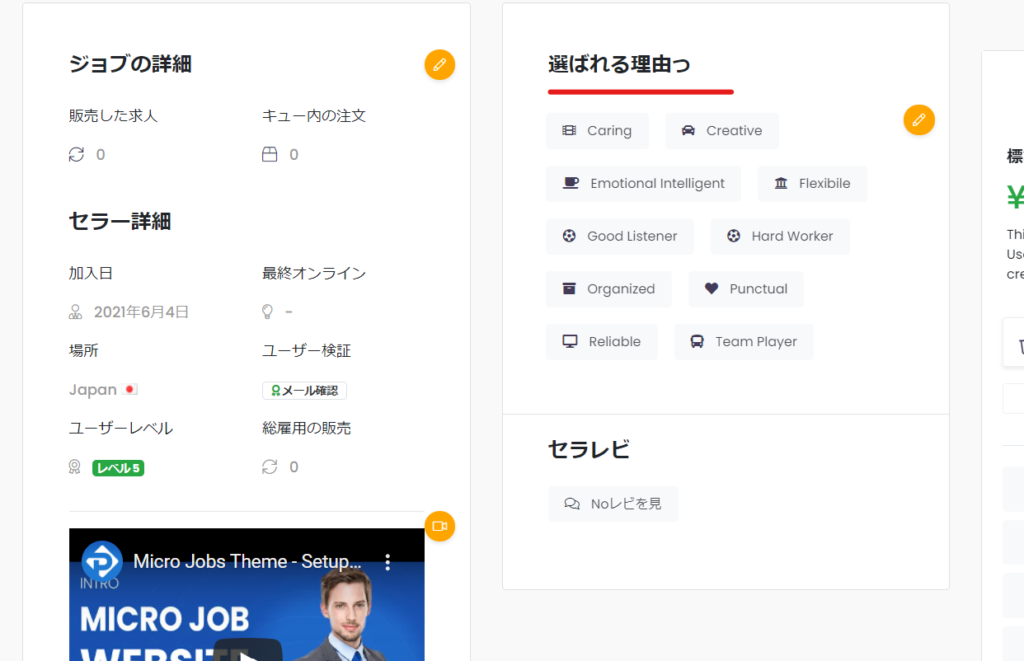
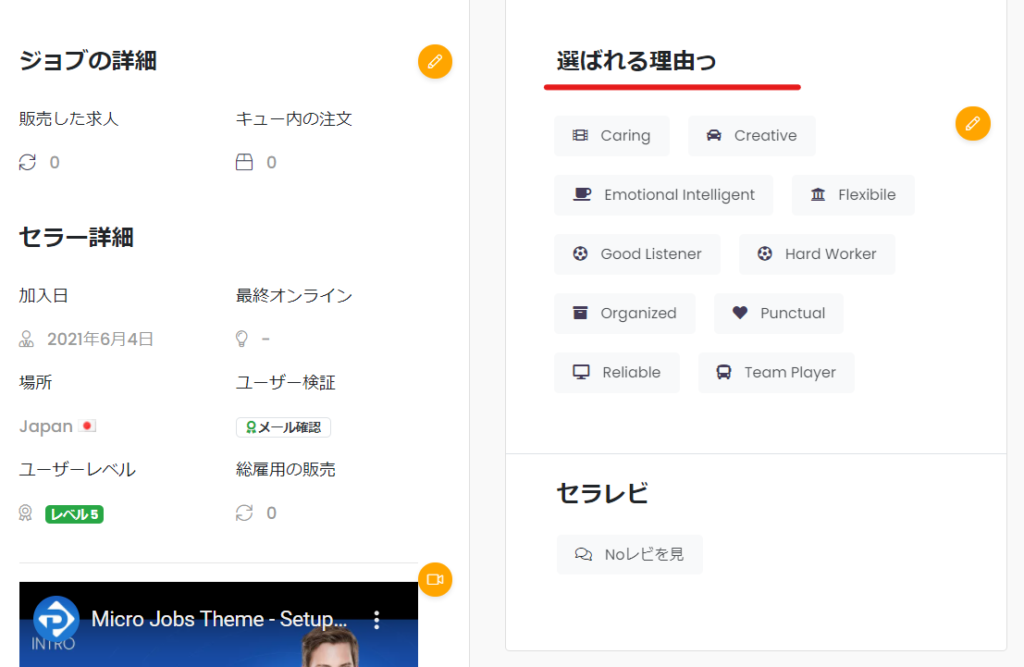
Why choose us? Section
The reason it was chosen is that it deserves a feature in the Job category.

This part will be hidden.
addthis.com Settings
If you have a user account, set it up, but if you don't, you can turn it off.

Make an offer
Controls which features are offered.


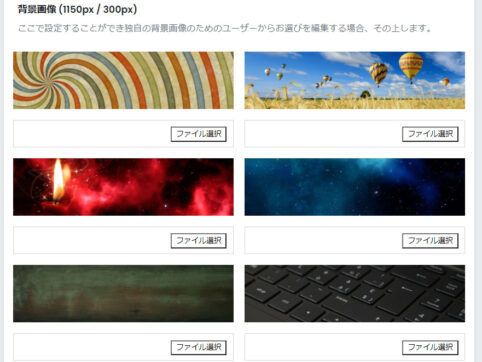
background image
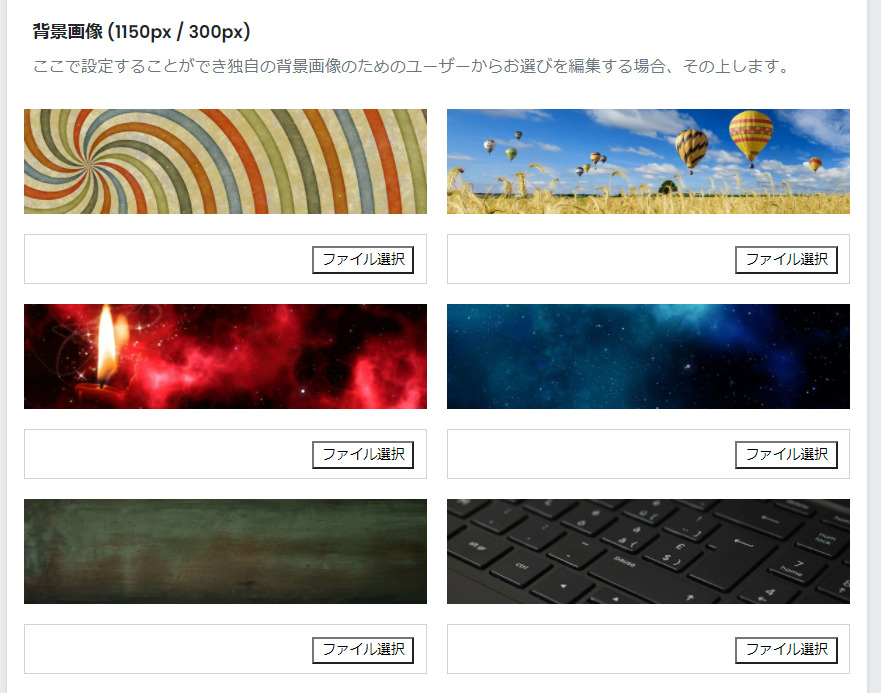
You can change the default background image here.
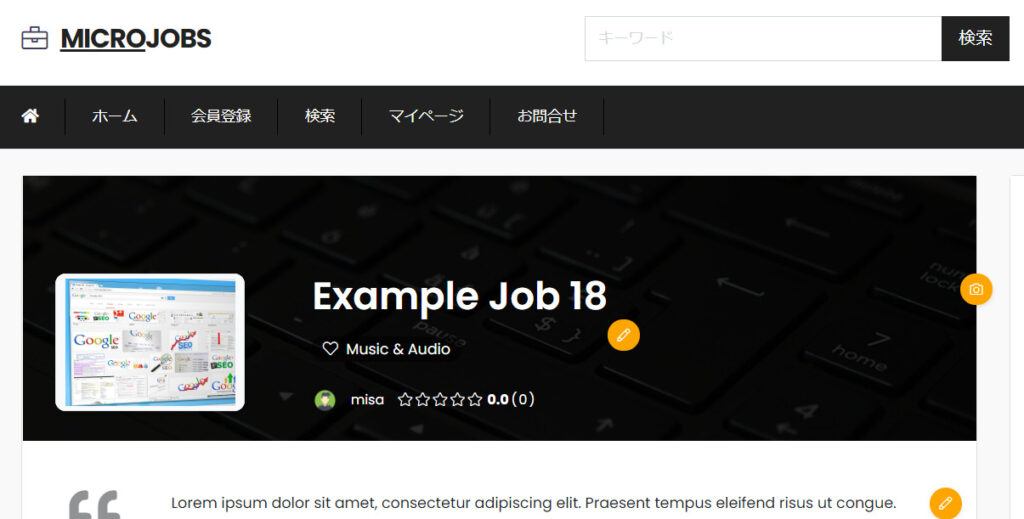
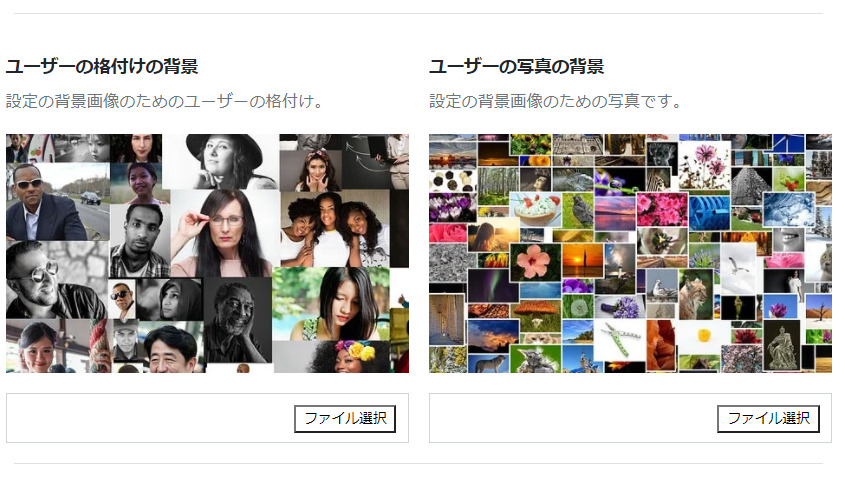
Similarly, you can change the ratings and photo background images.
Search page design settings
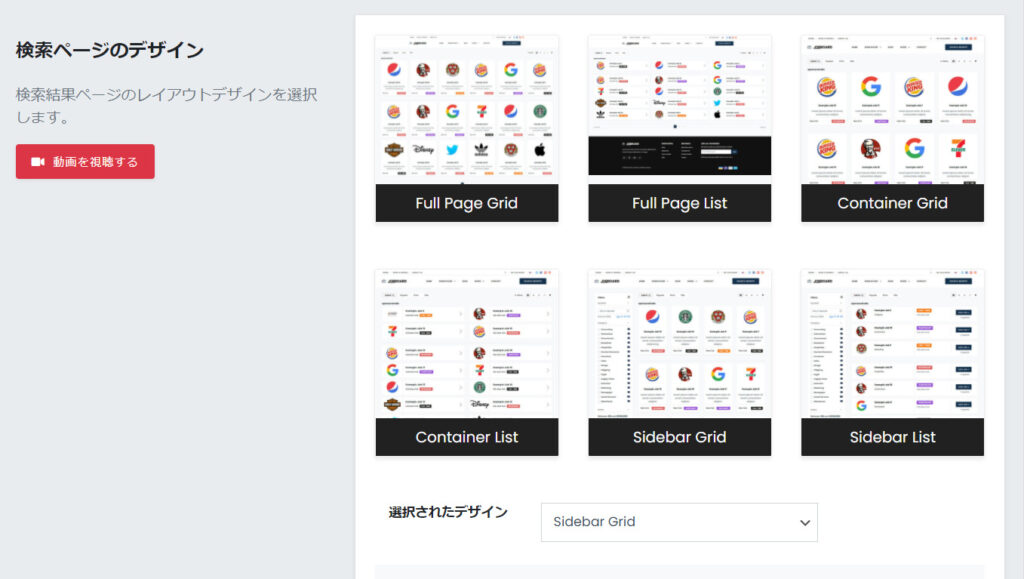
The design settings for the search page are done in [Search Page].
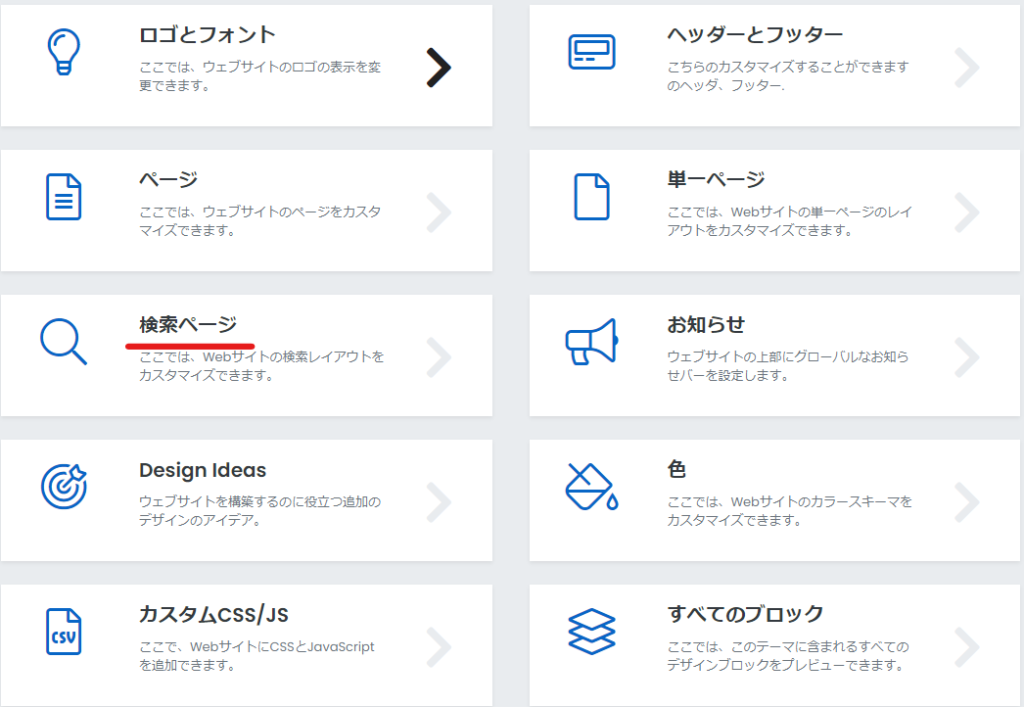
There are a total of 6 design templates to choose from.
Search Box Control
You can control the items that appear in the search box, and it seemed like the search box controls set up elsewhere were working.
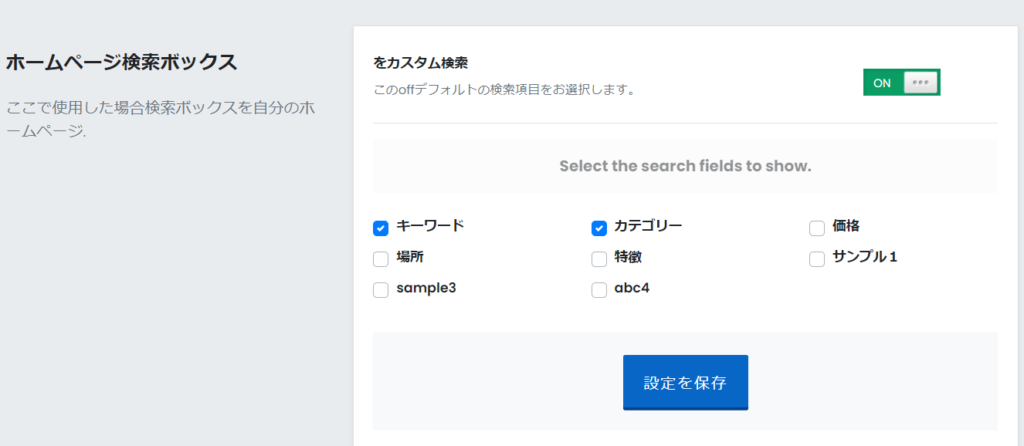
The search settings are explained in detail in a separate article.
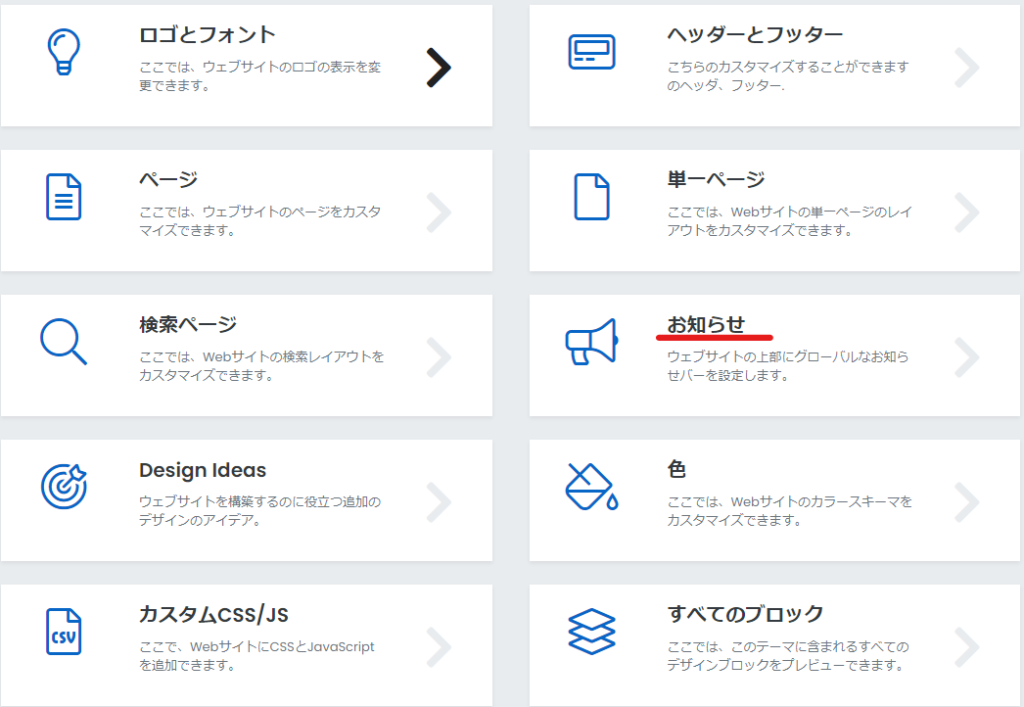
Notification Management
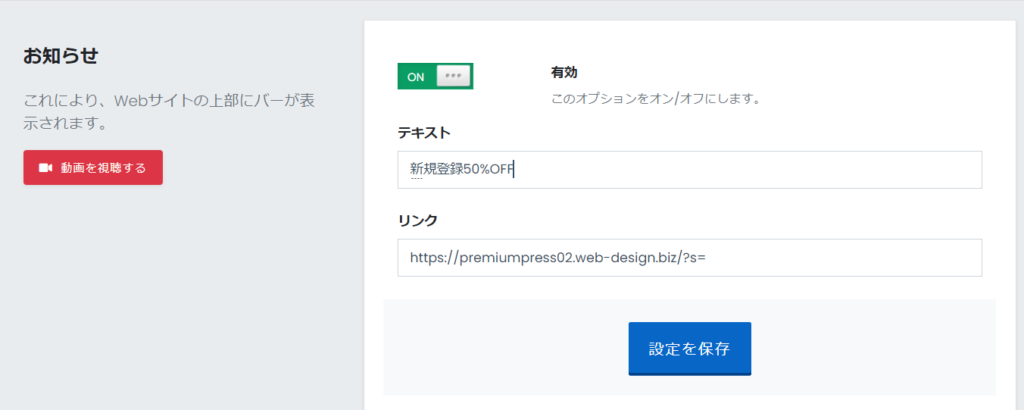
You can display notifications at the top of the page.
For example, I tried setting it up like this.
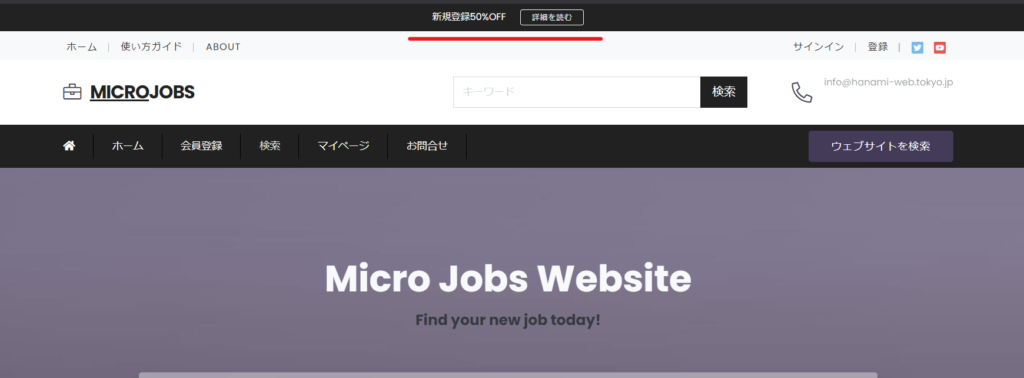
The notification is now displayed here. The notification will continue to be displayed no matter which page you go to, not just the top page.
Color scheme
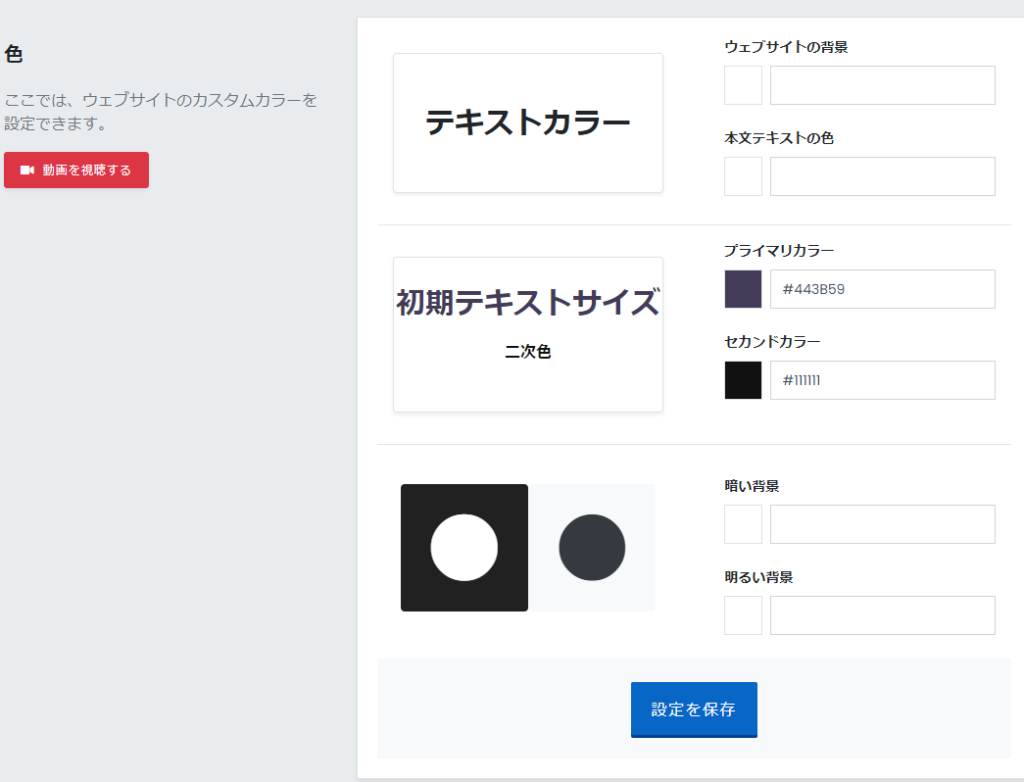
The color can be set in the [Color] section.
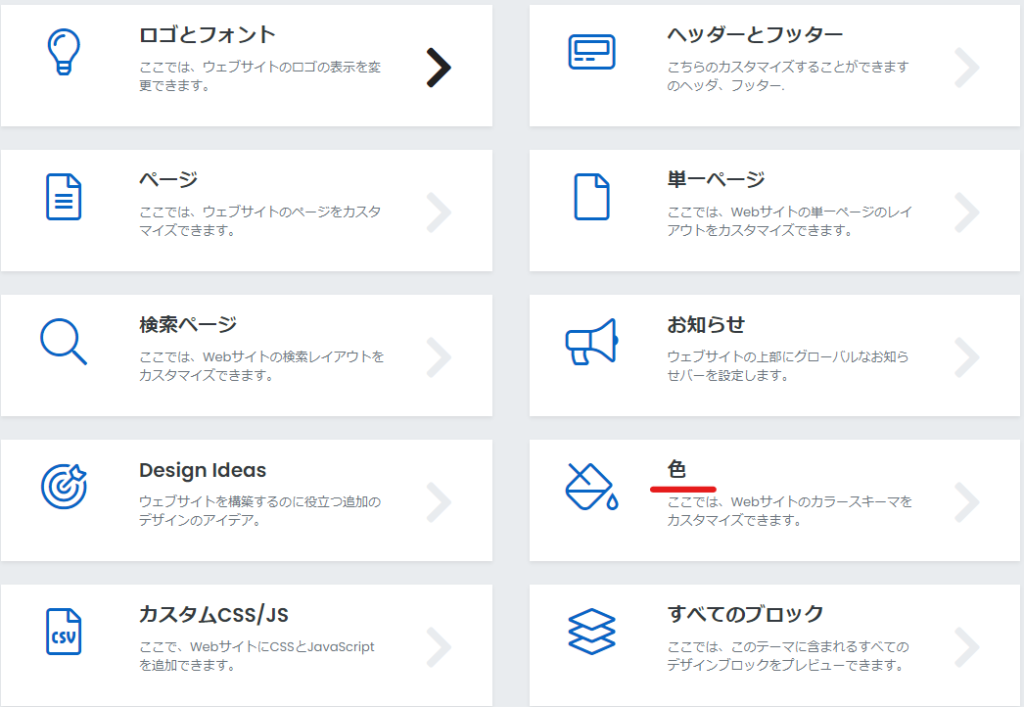
- Background color
- Body text color
- Primary Color
- Second Color
- Dark background color
- Light background color
Set the following:
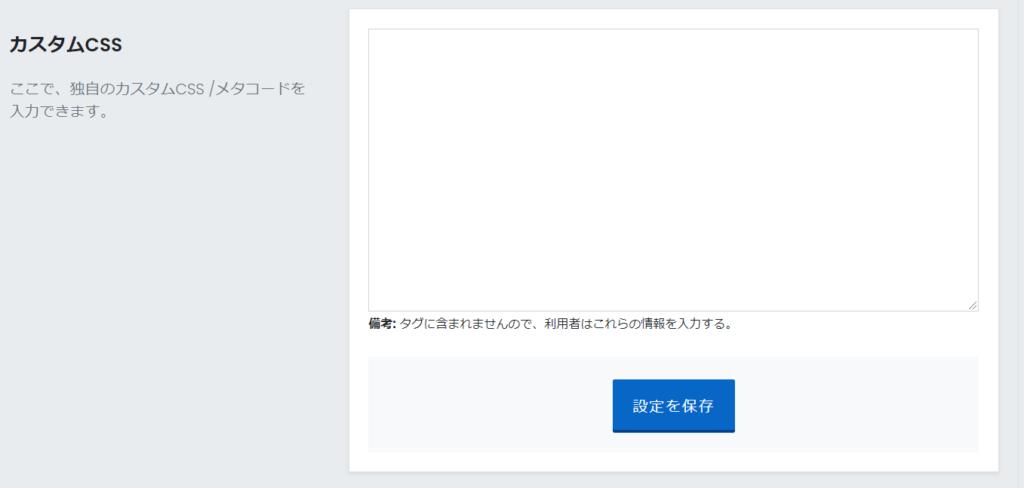
Add custom CSS/JS
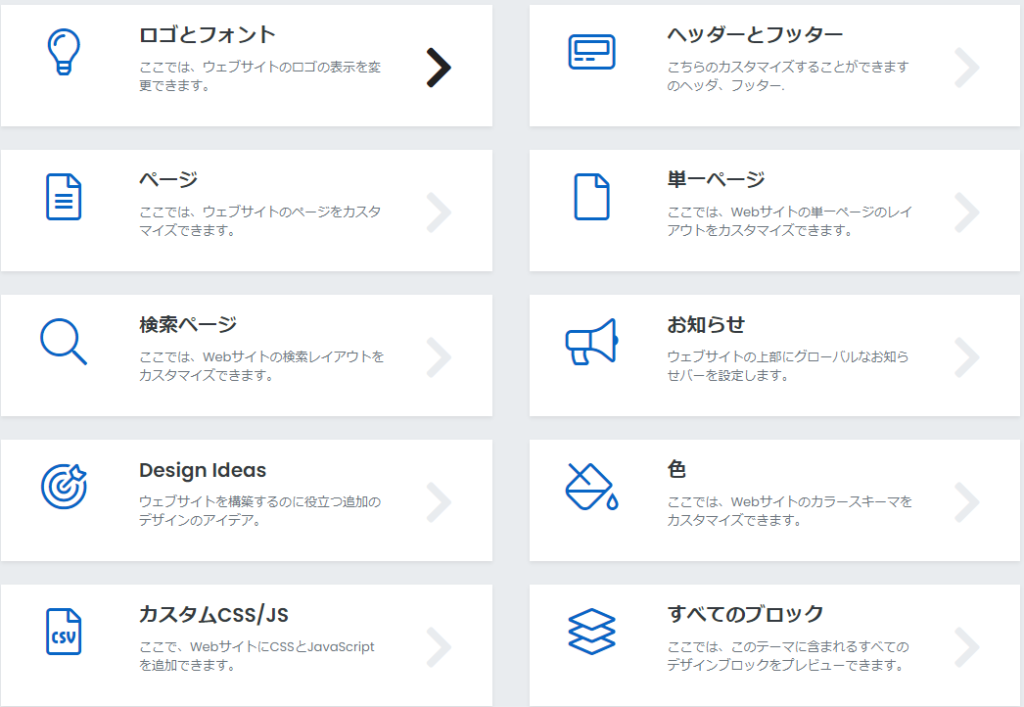
It has a place for custom CSS and JS.
Using PremiumPress' design parts, you can create pages very quickly.
Released as soon as the next morning! Weekends and holidays are also available!
Super rush website creation plan
We offer a rush website creation plan for those who need a website in a hurry!
We can publish your content as soon as the next morning, even on weekends and holidays! If you have any questions, please check the details below!
Latest Articles
