How to create a website using WordPress/How to use plugins/No-code construction blog


")
Video explanation of the basic settings for the paid version of the WordPress reservation system plugin Amelia!
At HanamiWEB Online School,
●Ask questions in real-time in the virtual study room!
●Ask as many questions as you want via chat!
●E-learning materials that you can learn as much as you want, 24 hours a day!
All included for just 2,500 yen/month!
WordPress booking system pluginAmelia(Links to the Amelia official website) A video explaining the basic settings for the paid version.
A video explaining the basic settings for the paid version of the WordPress reservation system plugin Amelia!
Amelia basic setup method (illustrated)
Now, let's illustrate the basic settings for the paid version of the Amelia WordPress booking system plugin! If you are using the free version, please skip the items that are only available in the paid version!
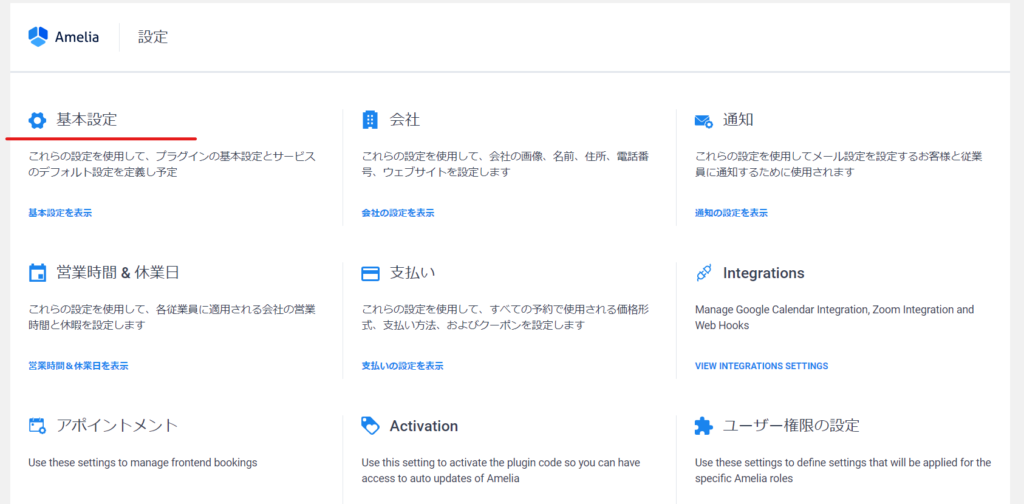
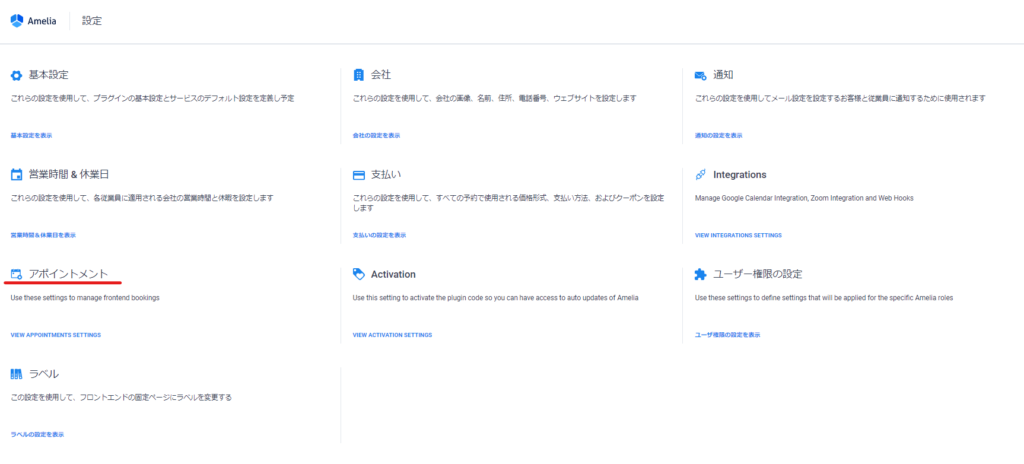
Go to [amelia] > [Basic Settings].
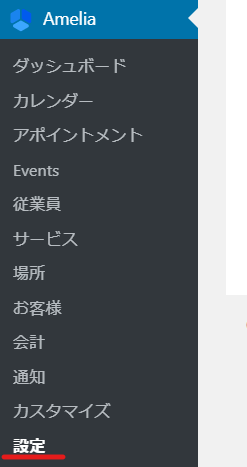
Here we explain the basic settings.
First, from the top
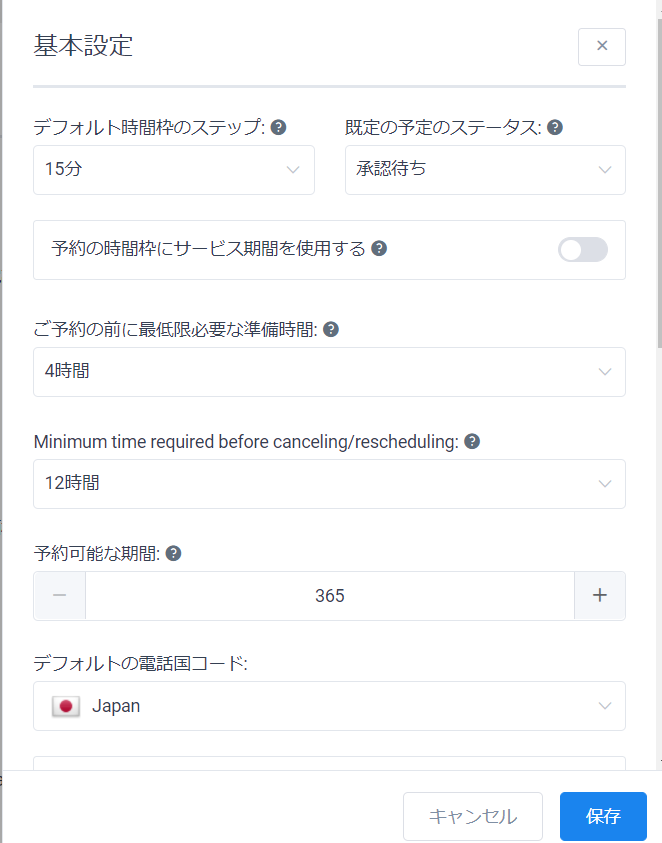
Default time step
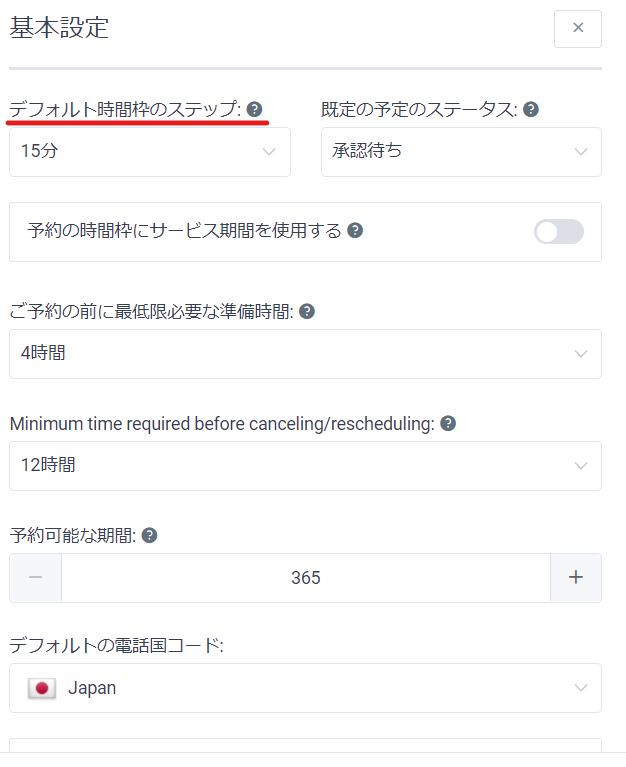
If you select 10 minutes as the default time step, youAt 9:00, 9:10, 9:20, 9:30, 9:40, and 9:50You can make a reservation. The time steps that can be registered are
1 minute, 2 minutes, 5 minutes, 10 minutes, 12 minutes, 15 minutes, 20 minutes, 30 minutes, 45 minutes, 1 hour, 1.5 hours, 2 hours, 3 hours, 4 hours, 6 hours, 8 hours
It will be.
Use service windows for booking windows
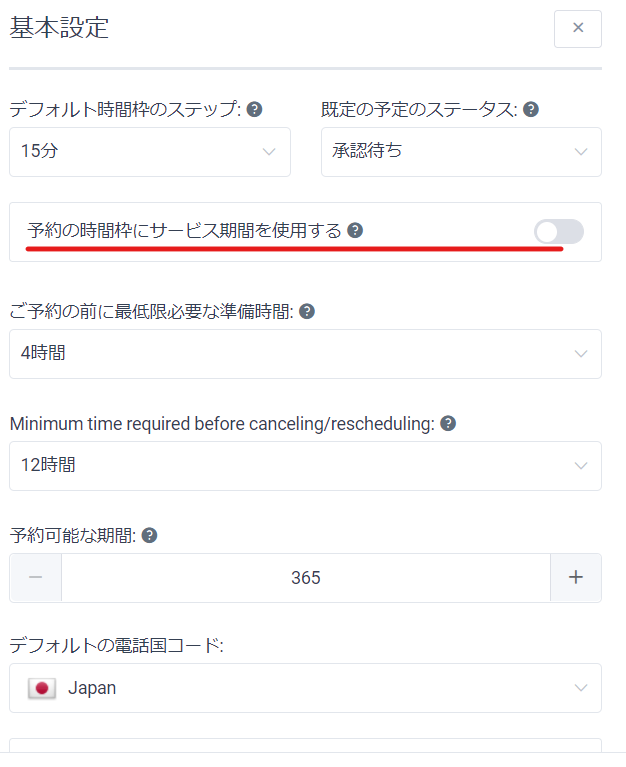
Check if the time slots on the booking form should be set to the same as the service period.
If the time slot is 30 minutes, to accept reservations from 10:00 to 12:00, the reservation slots will be displayed as 10:00, 10:30, 11:00, 11:30, and 12:00. The service period is the time it takes for the service, so if you use the service period in the reservation slot, for example, if the service is a 60-minute course service, if the service period is turned on, customers can make reservations at 10:00, 11:00, and 12:00.
Default Appointment Status
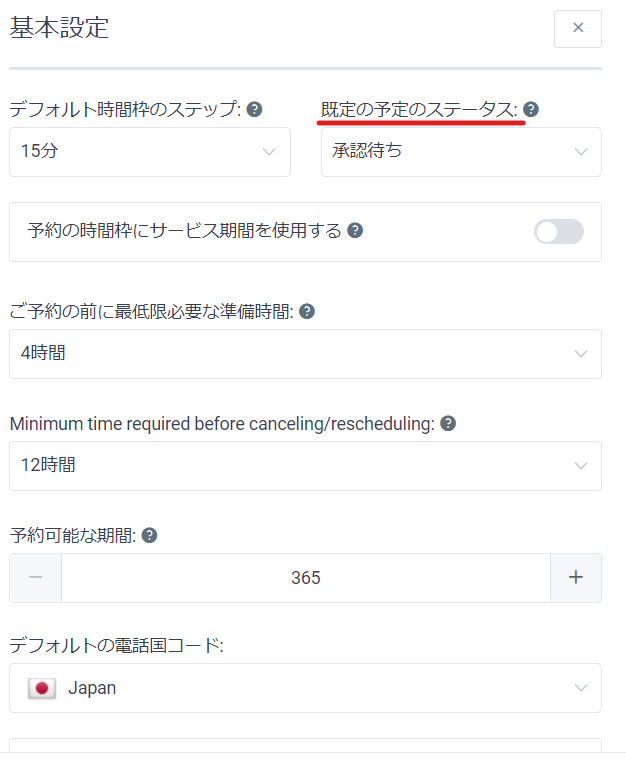
You can choose between [Approved] and [Waiting for approval].
Set the default status for all your appointments. If you set "Pending approval" as the default appointment status, every time a customer makes a reservation,,This requires manual approval and status change in the plugin backend.
Count reservations waiting for approval as people
[Amelia] > [Settings]
Go to the [Appointment] settings.
Disable [Allow reservations that exceed the maximum capacity]. This only works when the default reservation status is set to "Pending approval". If this function is enabled, reservations that are pending approval will be accepted even if the reservation limit is exceeded.

Minimum preparation time required before booking
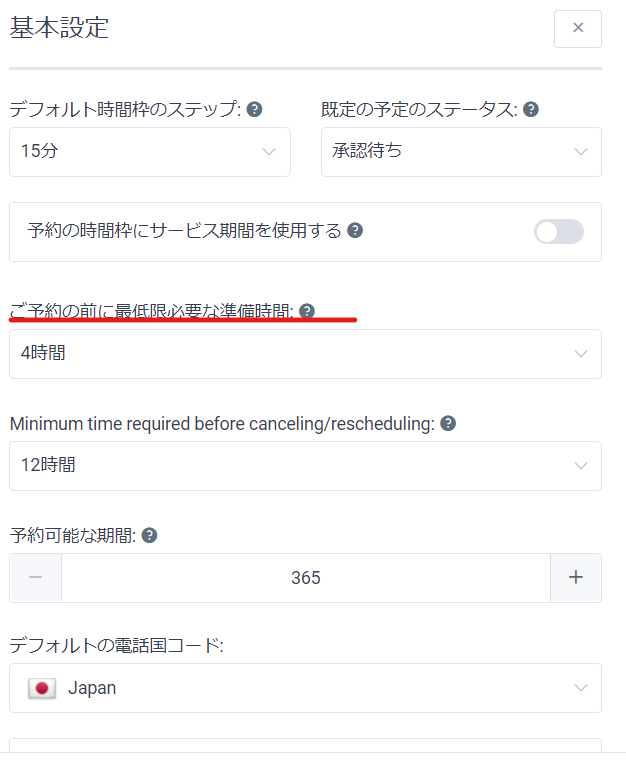
You can set the deadline for reservations. For example, if you want to set the deadline for reservations one day before the start of reservations, select 1 day. 1 day means 24 hours before. The times you can set are:
Disabled, 30 minutes, 45 minutes, 1 hour, 1.5 hours, 2 hours, 3 hours, 4 hours, 6 hours, 8 hours, 9 hours, 10 hours, 11 hours, 12 hours, 1 day, 2 days, 3 days, 4 days, 5 days, 6 days, 1 week, 2 weeks, 3 weeks, 4 weeks, 3 months, 6 months
Minimum time required before canceling/rescheduling
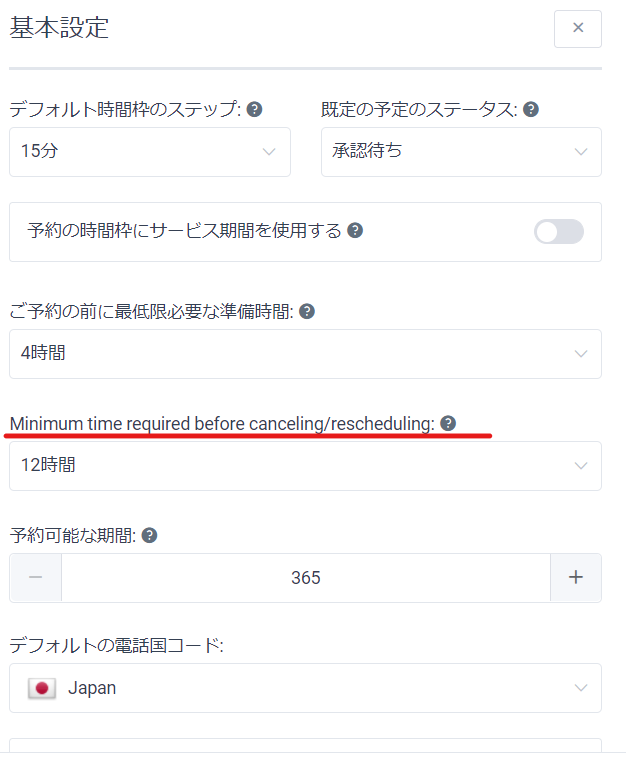
You can set the deadline for customers to cancel or reschedule. For example, if you want to prohibit cancellations and rescheduling from one day before, set it to 1 day. Disabled means that customers can cancel at any time before the start of the event. The time you can set is
Disabled, 30 minutes, 45 minutes, 1 hour, 1.5 hours, 2 hours, 3 hours, 4 hours, 6 hours, 8 hours, 9 hours, 10 hours, 11 hours, 12 hours, 1 day, 2 days, 3 days, 4 days, 5 days, 6 days, 1 week, 2 weeks, 3 weeks, 4 weeks, 3 months, 6 months
Reservation period
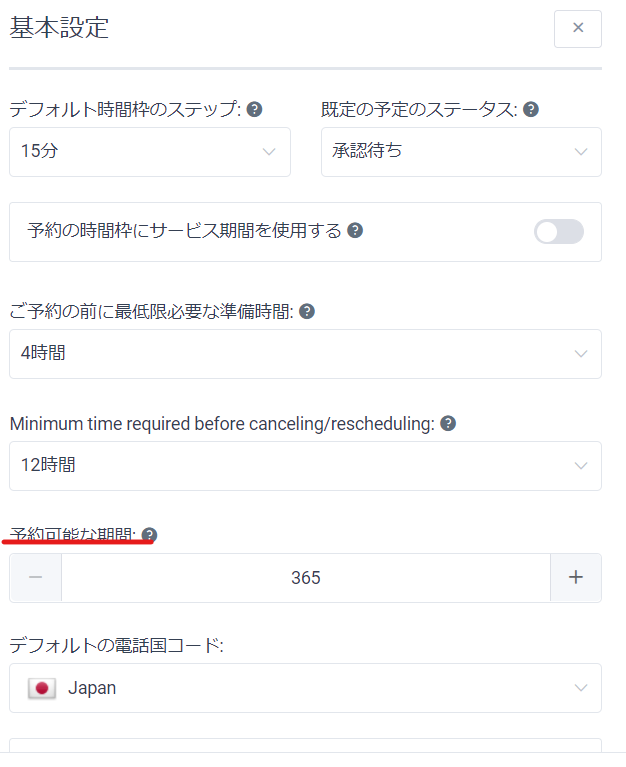
For example, if you enter 365, you can accept reservations up to one year in advance.
Default Phone Country Code
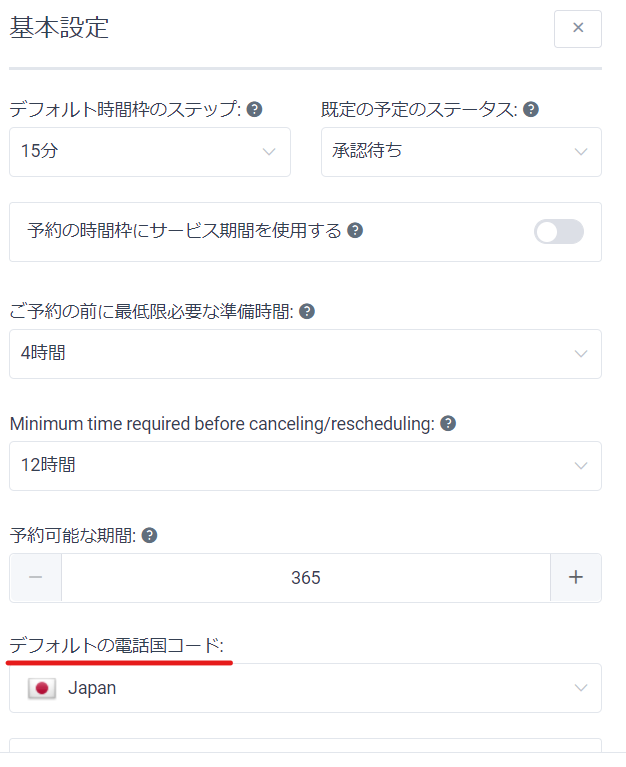
Set Japan.
This completes the settings for the upper part. Next, we will explain the settings for the lower part.
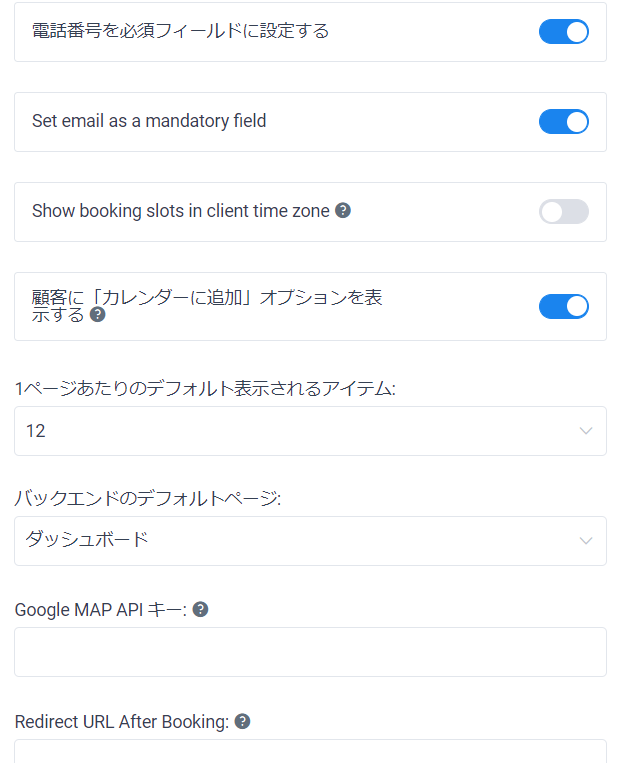
Make phone number a required field
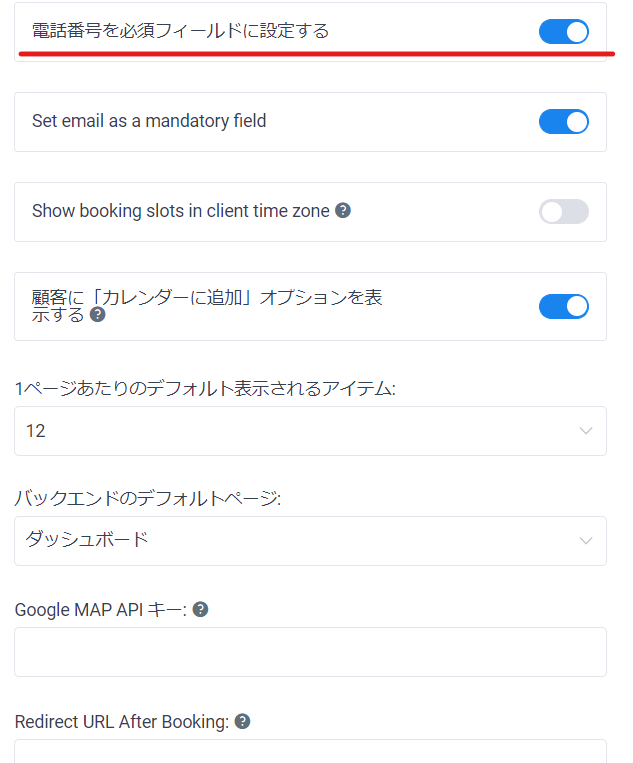
Decide whether or not you want customers to enter their phone number when booking.
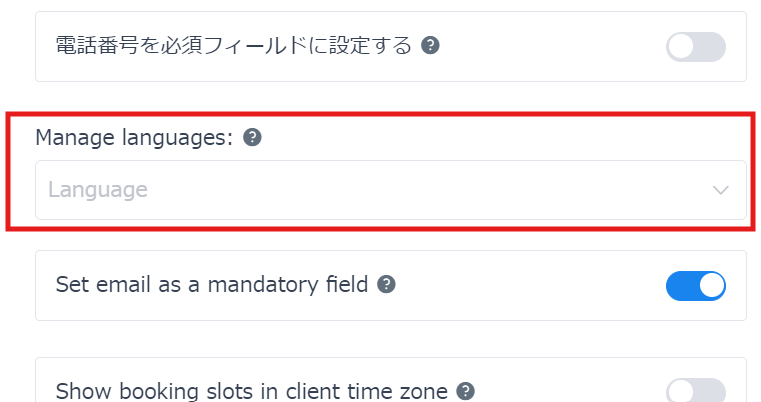
Multilingual (Standard plan and above)
If you operate in multiple languages, add additional languages.
If you are only using Japanese, leave it blank.
Set email as a mandatory field
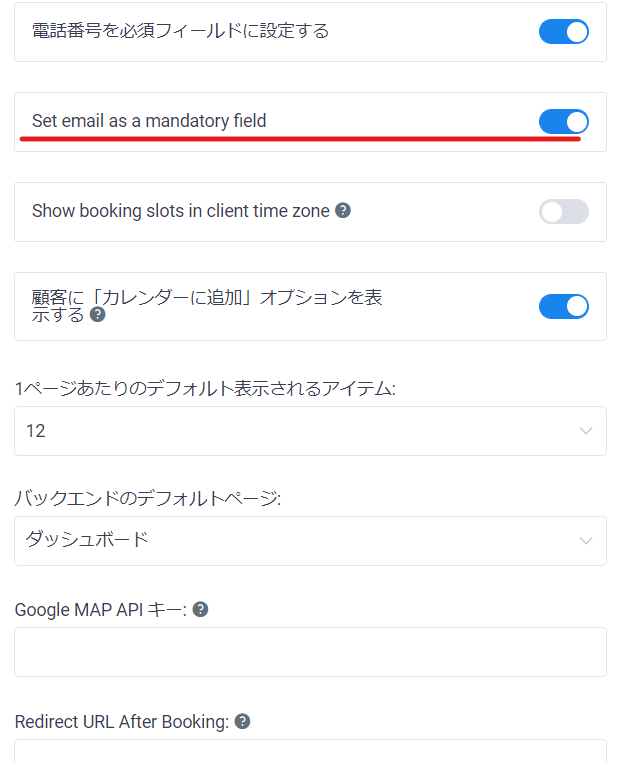
Decide whether or not you want to require customers to enter their email address when making a reservation.
Show booking slots in client time zone
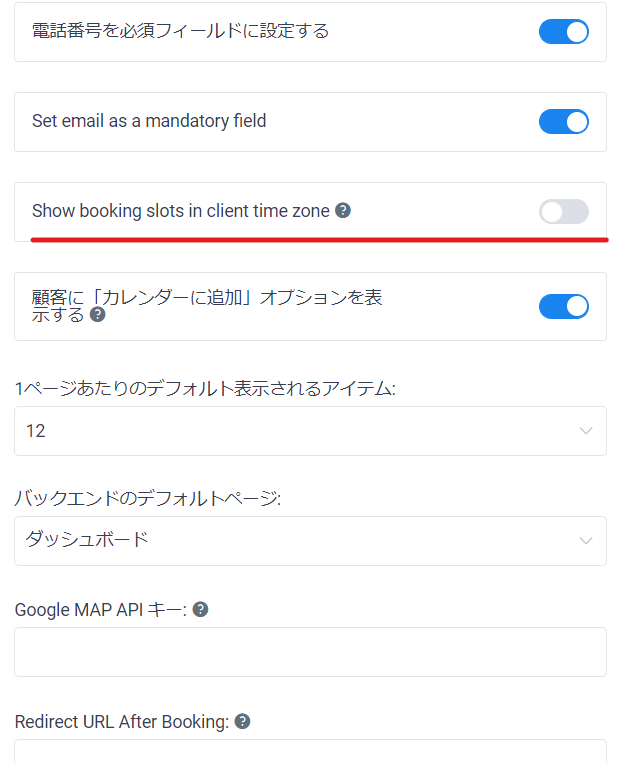
This setting allows you to automatically change the reservation time according to the customer's time zone. Generally, this setting should be disabled.
Show customers the "Add to Calendar" option
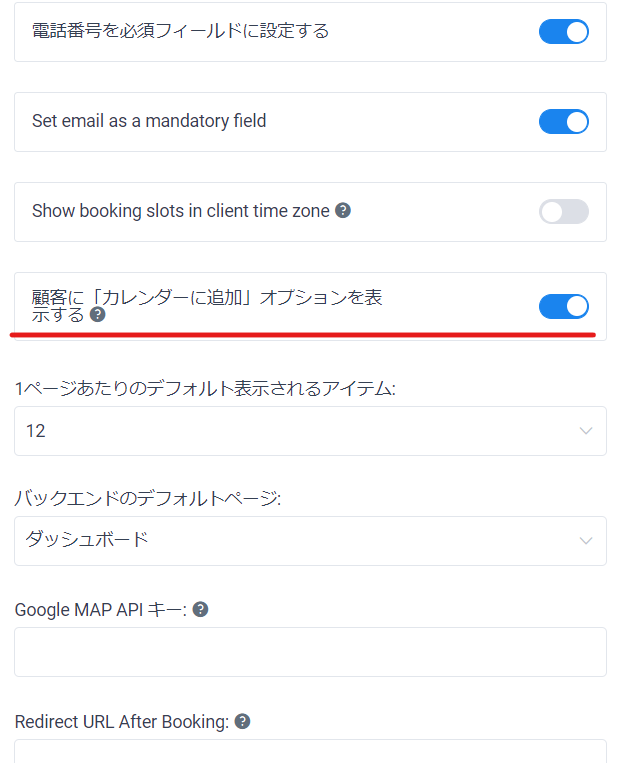
This setting allows customers to enter their schedule into the calendar when a reservation is completed.
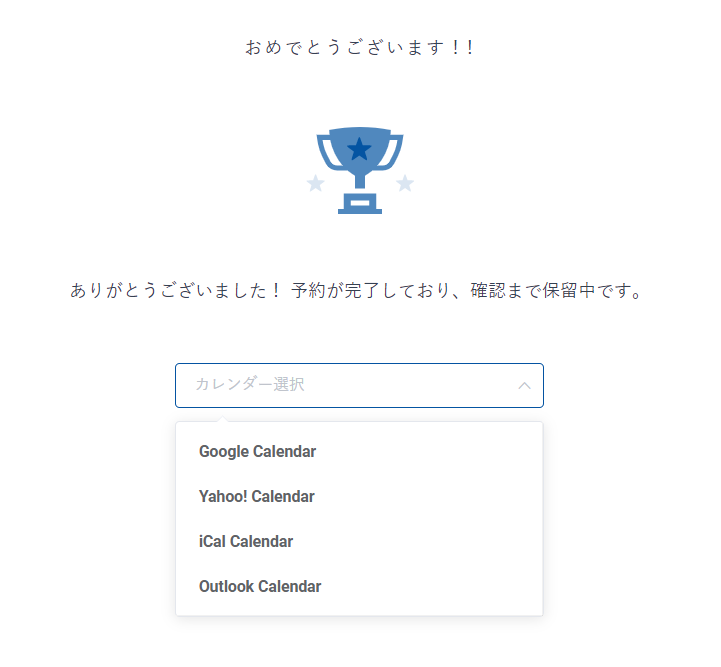
When your reservation is complete, you can choose to use Google Calendar/Yahoo! Calendar/iCal Calendar/Outlook Calendar.
Default displayed items per page
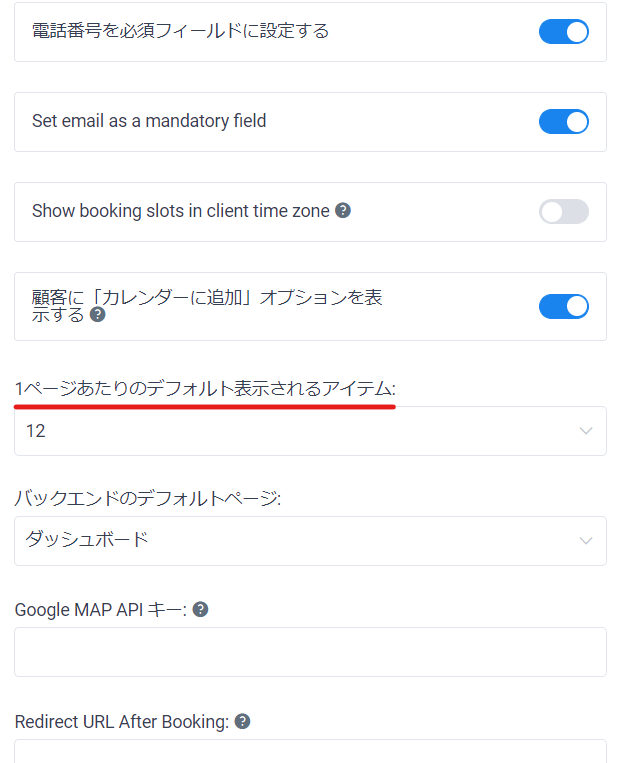
You can set the number of items to be displayed on the amelia plugin administration page. The number can be set from 9 to 30.
Backend default page

You can set the default page that is displayed when you access the administration screen. You can choose
- Dashboard
- calendar
- appointment
- Event
Google Maps API key
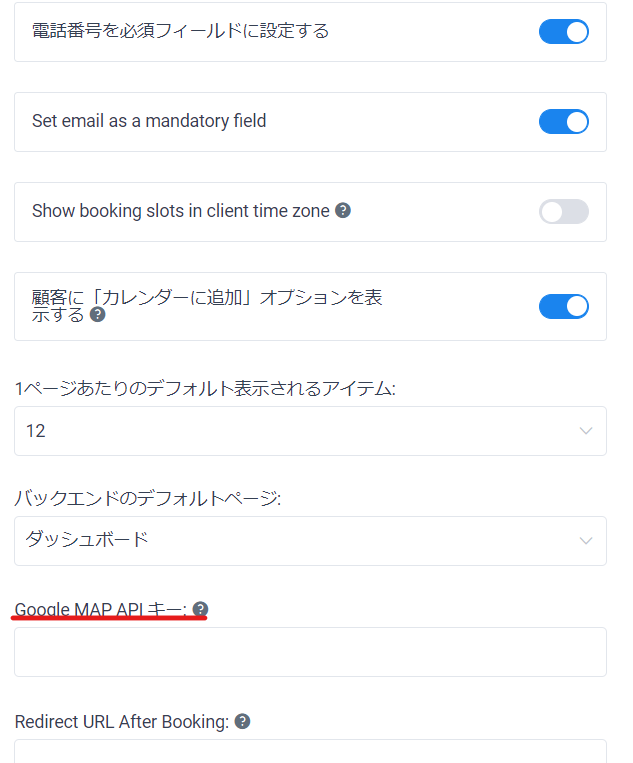
You will be able to display a static Google map on the location page.
Redirect URL After Booking
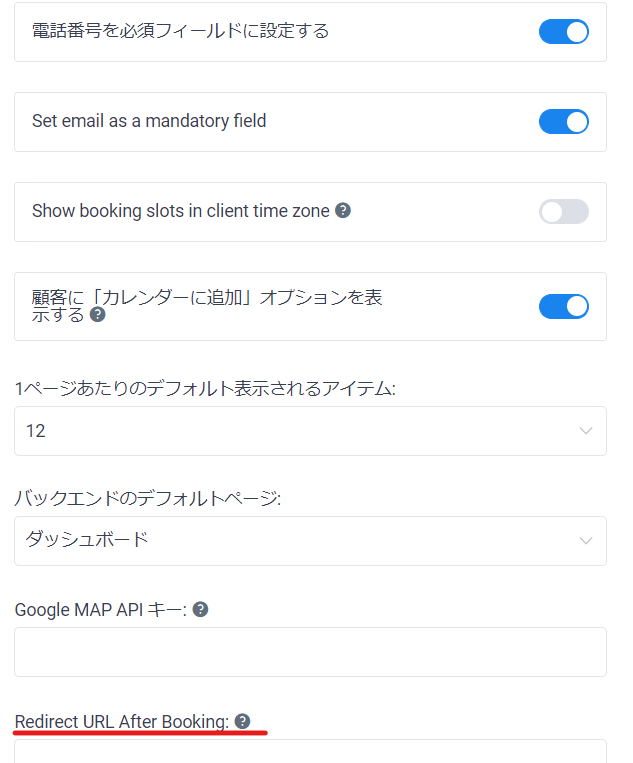
You can set the URL to which customers will be redirected when they complete their reservation. If you do not set this, customers will be redirected to the completion ] button will take you back to the initial reservation screen.
Attachment upload path
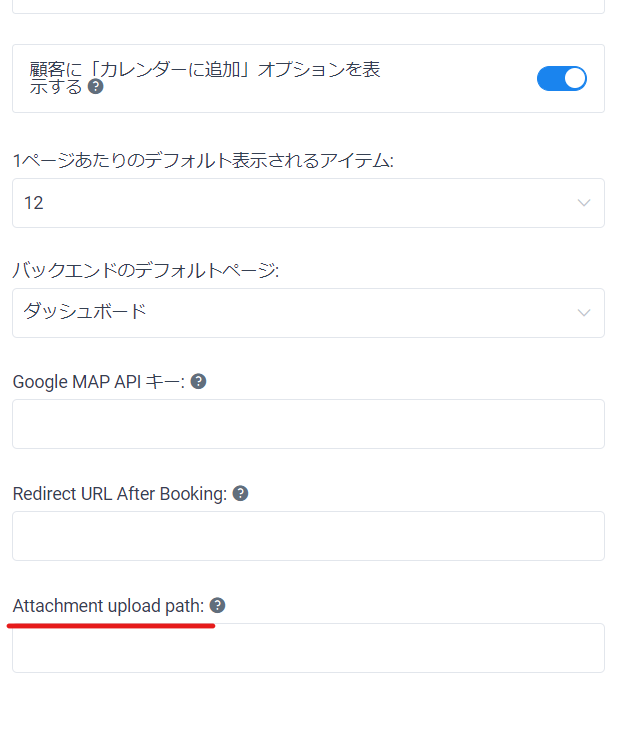
Use this setting when you want to set an attachment in a custom field that specifies the items that customers must enter when making a reservation.
You can set the path to save the attachments. If you leave this field empty, all attachments will be uploaded to the WordPress "Uploads" folder.
reCAPTCHA Settings
If you want to use Google reCAPTCHA, turn it ON and enter the key.
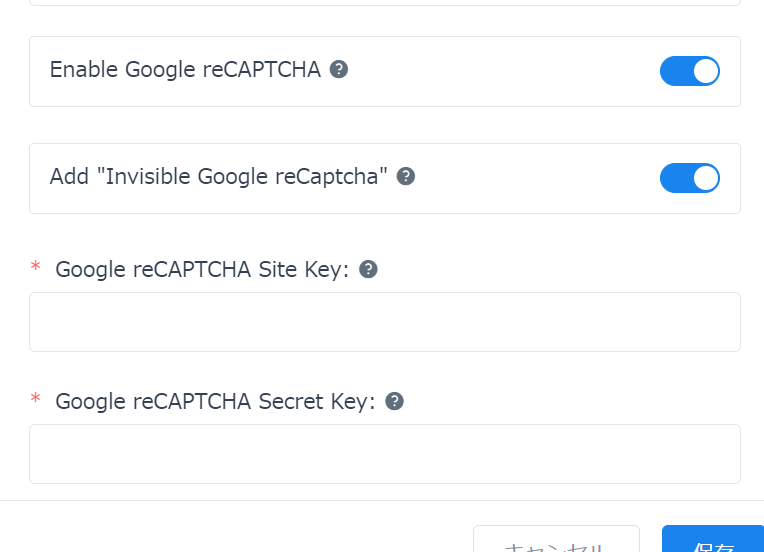
This is the end of the explanation of basic settings! Click Save at the end.
Released as soon as the next morning! Weekends and holidays are also available!
Super rush website creation plan
We offer a rush website creation plan for those who need a website in a hurry!
We can publish your content as soon as the next morning, even on weekends and holidays! If you have any questions, please check the details below!

Latest Articles
How to Enhance EEAT with WordPress | Settings and Design Improvements Necessary for AI-Driven Traffic
[2026 Latest] How to check the number of visits from generated AI using GA4's exploration function
Error message: Allowed memory size of 268435456 bytes exhausted (tried to allocate 14684160 bytes) Error: On Lollipop