How to create a website using WordPress/How to use plugins/No-code construction blog
Illustrated guide on how to link the WordPress reservation management system Amelia with Google Spreadsheet!
At HanamiWEB Online School,
●Ask questions in real-time in the virtual study room!
●Ask as many questions as you want via chat!
●E-learning materials that you can learn as much as you want, 24 hours a day!
All included for just 2,500 yen/month!
WordPress booking system pluginAmeliaI would like to use the webhook function of (link to the Amelia official website) to try managing reservations from WordPress using a spreadsheet!
Last time, I tried to integrate with Zapier, which was introduced in the official documentation, and store reservation data in a Google Spreadsheet, but I found out that I couldn't use Zapier's webhooks function unless I became a paid member.
I was determined to find a way to automatically save reservation data in a spreadsheet, so I did some research and finally made it happen.
Using webhooks
I'm sure there are many people who are wondering, "What is a webhook?" I myself have recently come to understand webhooks and mastered how to use them.
I discovered a free service that allows you to use webhooks like Zapier.
Although the only explanations available were in English, I was able to successfully connect to Amelia on my own, using my past experience and similar cases as a reference!
I recently enrolled in this course because I wanted to be able to use the LINE Developer tool freely.Proto Out StudioThis is the result of my studies at the University of Tokyo. Instead of creating a service from scratch for the self-satisfaction of engineers, I combine existing services to quickly and easily create a new service. This is the prototyping technique.
If you don't know the technology, you can't combine existing services, so I'm studying the technology intensively. In the process, I've acquired knowledge of webhooks and APIs, which are essential for combining the technologies. Recently, I've been feeling more and more positive about the results!
Log in to Pabbly
I logged in with my Google account.
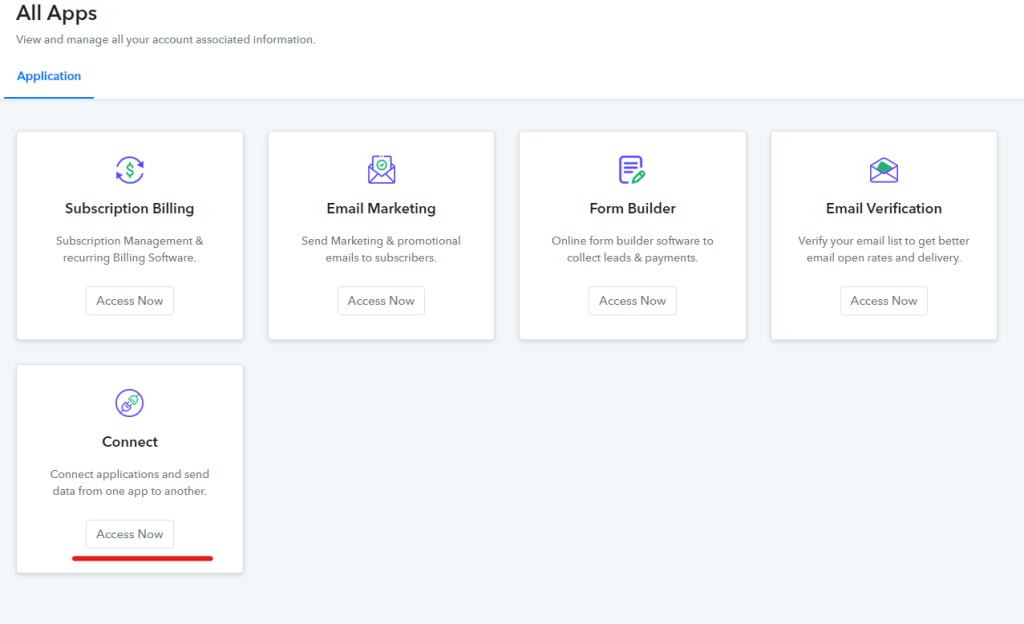
Once you log in, you will be taken to a screen like this, so click Access Now under [Connect].
Immediately after creating the account, I received a connect error several times. It started appearing while clicking and going back and forth to other email marketing sites.
Create Workflow
Create a new workflow.

Name your workflow
Give it a name to identify what workflow it is. This is the name that will be displayed on the management screen. In my case, I named it [Amelia_R].

Choose what to connect to
The first thing to do is to set the Trigger, which is what to connect to.
Please select [Webhook]. I'm really happy because Zapier charges for Webhooks.
Copy the Webhook URL and enter it into Ameila.

Enter webhook URL on Amelia's administration screen
Click [Settings] > [Integrations].
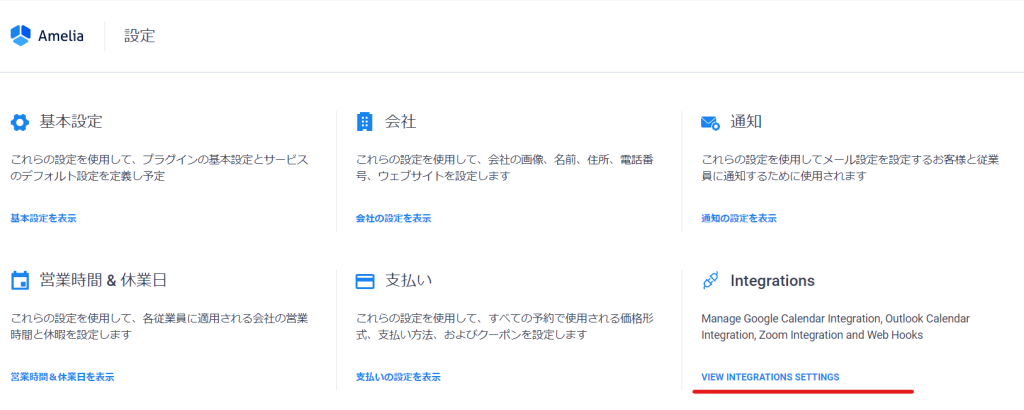
[Add New Web Hook]

Enter the required information
- Name - Anything goes, I called it Pabbly so I wouldn't get confused about what it's connecting to.
- URL - Paste the Webhook URL you copied earlier here.
- Type - Set whether you want to receive information about schedules (services) or events.
- Action - Set the timing to receive the value. In this case, it is Booking Completed. This is when the reservation is made.
Since you can only choose between service reservations or event reservations, you will need to set up two webhooks if you want to receive data from both, connecting one for a service and one for an event in the same process.
Don't forget to click Save at the end.

Return to Pabbly and click Capture Webhook Response.
We will check whether we can receive data from Amelia properly.
While you are clicking [Capture Webhook Response], please make an actual reservation. Take action and receive data.
Once you receive the data, click [save]

Once the data is received, it will be displayed in a list. The left side is the variable, and the right side is the actual value.

Set what to do after the trigger
After receiving the data from Amelia, we will set what to do. In this case, we will store the data in a Google Spreadsheet, so search for Google Spreadsheet in Choose App.


When you select Google Sheets, the Action Event selection screen will appear, so this time I selected [Add New Row] to add a new row.

Create a Google spreadsheet in advance
Please create a Google spreadsheet in advance. Also, please add text in the first line that will be the heading for the values you want to receive.

Connect to Google Spreadsheet
Click [Connect With Google Sheets].

Connect to the Google account where you created the spreadsheet.
- Spreadsheet - Select the file name. If you create a new one after displaying this screen, click Refresh to reflect the name and make it available for selection.
- Sheet – Select the sheet name.

The heading written in the first line will be read.

Linking Amelia to a spreadsheet
For example, link the last name column written in the spreadsheet to the last name Amelia.
Click on the three lines on the right

Look at the Last Name field from the expanded items and select it. In this way, you can link the items you want to receive values from.

Save and connect!
Click [Save & Send Test Request] to complete the connection.
Now, when a reservation is made from Amelia, the data will be automatically entered into the Google spreadsheet.

About the mechanism
This action is added to the spreadsheet when the reservation is completed, so it will not work if the reservation is canceled or the date is changed.
Create a sheet for cancellations and record the actions to be taken when a cancellation occurs. Create a sheet for schedule changes and record the actions to be taken when a schedule change occurs. I think it is necessary to create several types of workflows.
Free consultations are available at any time.
Released as soon as the next morning! Weekends and holidays are also available!
Super rush website creation plan
We offer a rush website creation plan for those who need a website in a hurry!
We can publish your content as soon as the next morning, even on weekends and holidays! If you have any questions, please check the details below!
Latest Articles
