How to create a website using WordPress/How to use plugins/No-code construction blog
A video explaining how to add employees and set permissions for the paid version of the WordPress reservation system plugin Amelia!
At HanamiWEB Online School,
●Ask questions in real-time in the virtual study room!
●Ask as many questions as you want via chat!
●E-learning materials that you can learn as much as you want, 24 hours a day!
All included for just 2,500 yen/month!
WordPress booking system pluginAmelia(Links to the Amelia official website) We have a video explaining how to set up employees and permissions for the paid version.
If there is only one employee, the first employee will be an administrator with full authority, so there is no need to set authority.
A video explaining how to set up employees and permissions for the paid version of the WordPress reservation system plugin Amelia!
How to add multiple Amelia employees and set their permissions (illustrated)
Now, let's explain how to set up and add employees and how to set the permissions of added employees in the paid version of the Amelia WordPress reservation system plugin! Adding employees is easy, but the permissions are a bit complicated, so we will explain in more detail!
Add employee
Click [amelia] > [Employees].
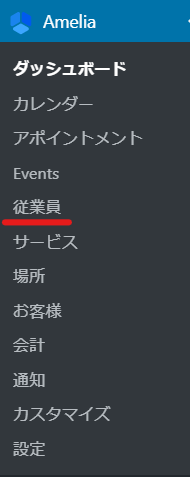
[Add employee]

Employee basic information entry
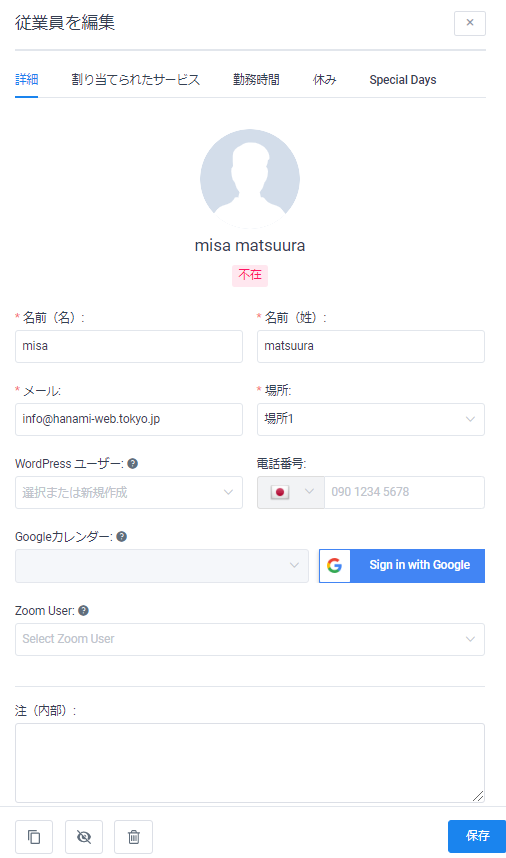
Enter basic information in the Details tab.
- image
- Name
- Last name
- Location (required if location is registered)
- WordPress User
- telephone number
- If you have set up Google Calendar in the Google Calendar settings, you can register staff calendars.
- If you have set up Zoom in the Zoom User Settings, you can register staff's Zoom.
- Note (internal) - When sending an email, the contents entered in the note can be output in the body of the email.
If you want to add an admin page to an employee, you must set up a WordPress user. Add a new user, or if you are already a WordPress user, select the user name.
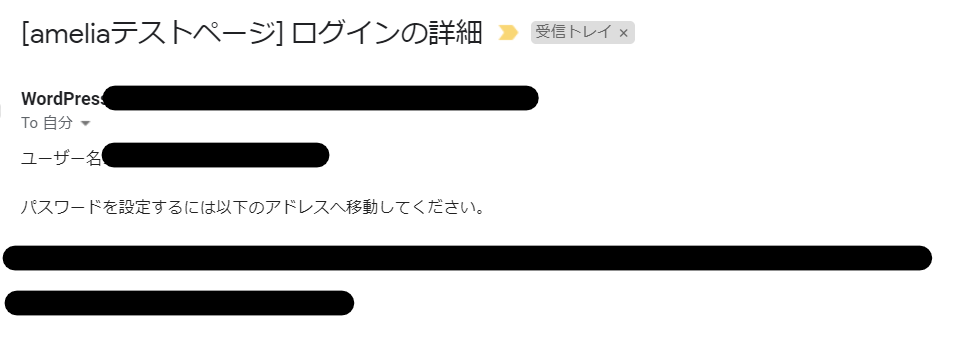
Once you are registered as a wordpress user
You will receive an email with instructions on how to add a user, which is a standard feature of WordPress. The username will include an email address and a URL for setting a password.
Password Settings
When you access the password setting URL included in the email, you will be taken to the password setting screen.
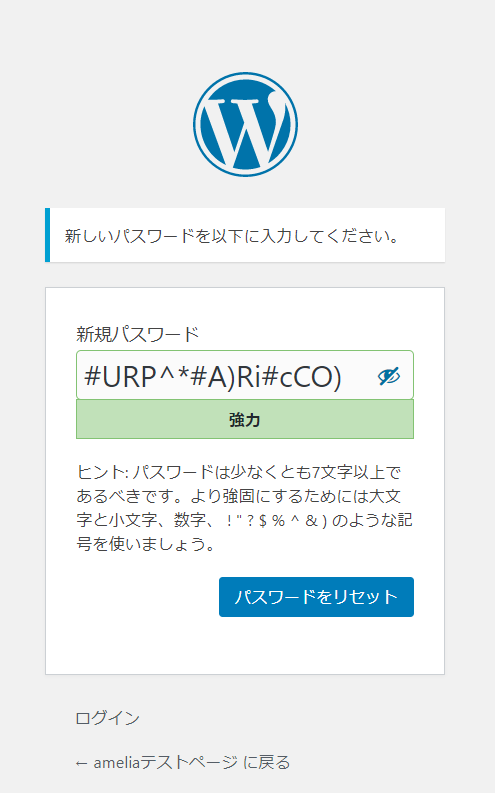
Once you set a password, you will be able to log in.
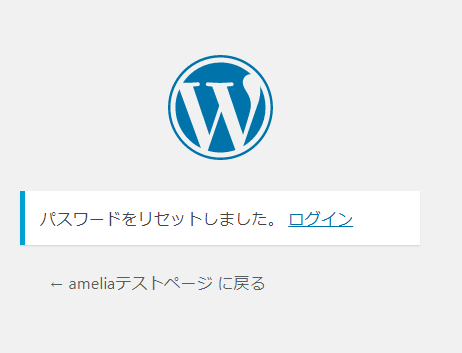
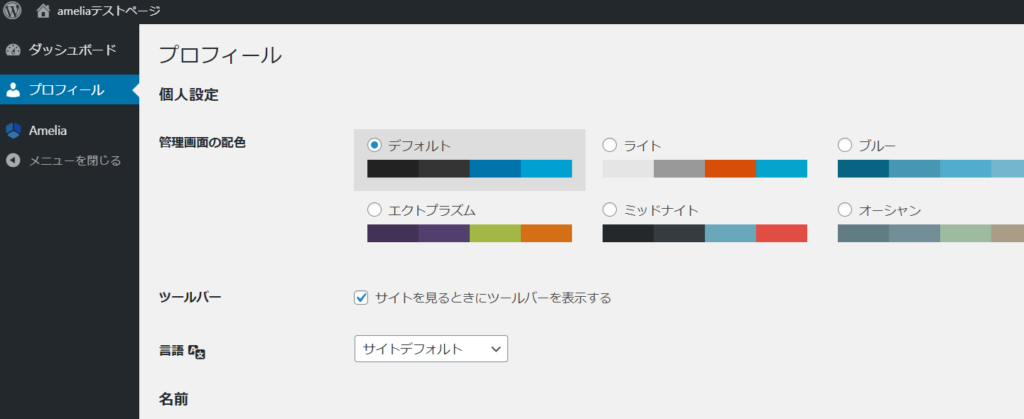
When I try to log in
You will be able to manage your profile as a WordPress user and operate only Amelia. For details on the permissions available on this administration screen, see the bottom.Employee Permission SettingsPlease refer to the.
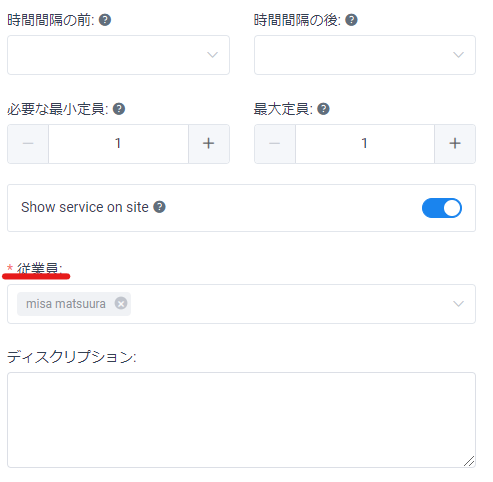
Allocated Services
You can display a list of services assigned to each employee. You can also select the services you are responsible for on this screen.
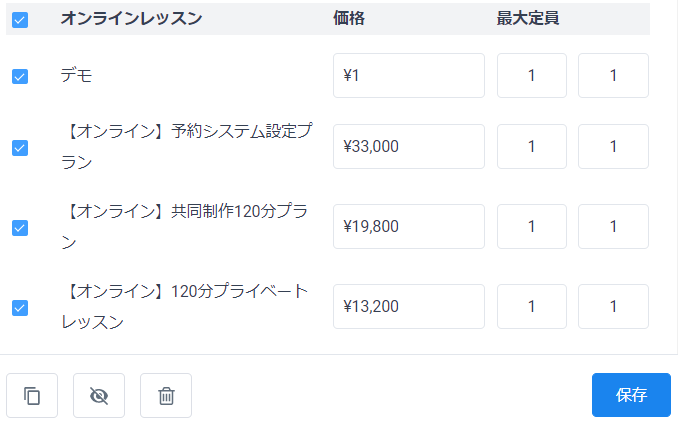
Service SettingsSometimes it is necessary to select an employee, so the settings you make here will be reflected.
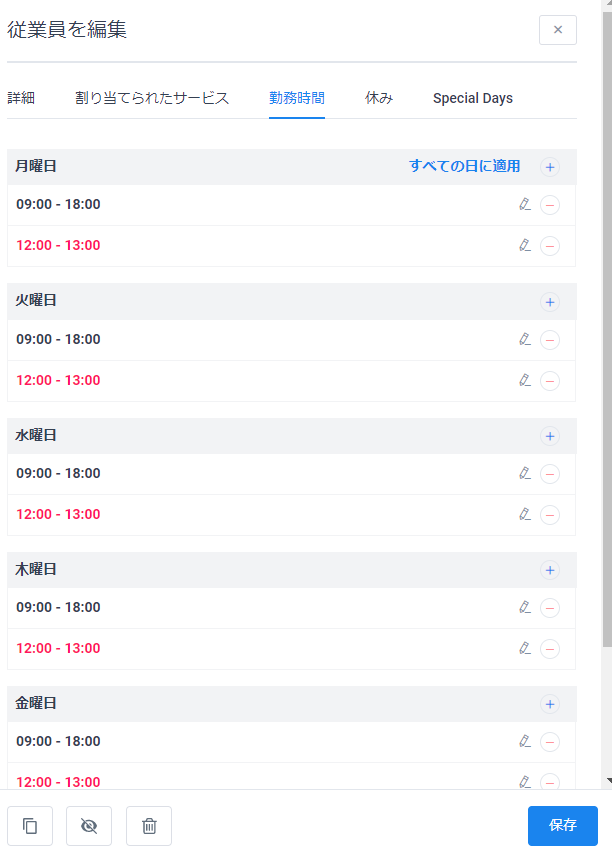
Employee working hours management
You can set working hours (shifts) for each employee. To set the hours:Business hours and day settingsis the same as:
Set employee holidays
In addition to shifts, you can also set holidays so that you cannot accept reservations on your days off.
In the employee working hours setting, you can only set fixed days and times every week, so for example,
- The time setting is from 9:00 to 17:00 from Monday to Sunday.
- Set the days off for that month in the holiday settings.
By adding these detailed settings, it becomes possible to accommodate irregular shifts as well.

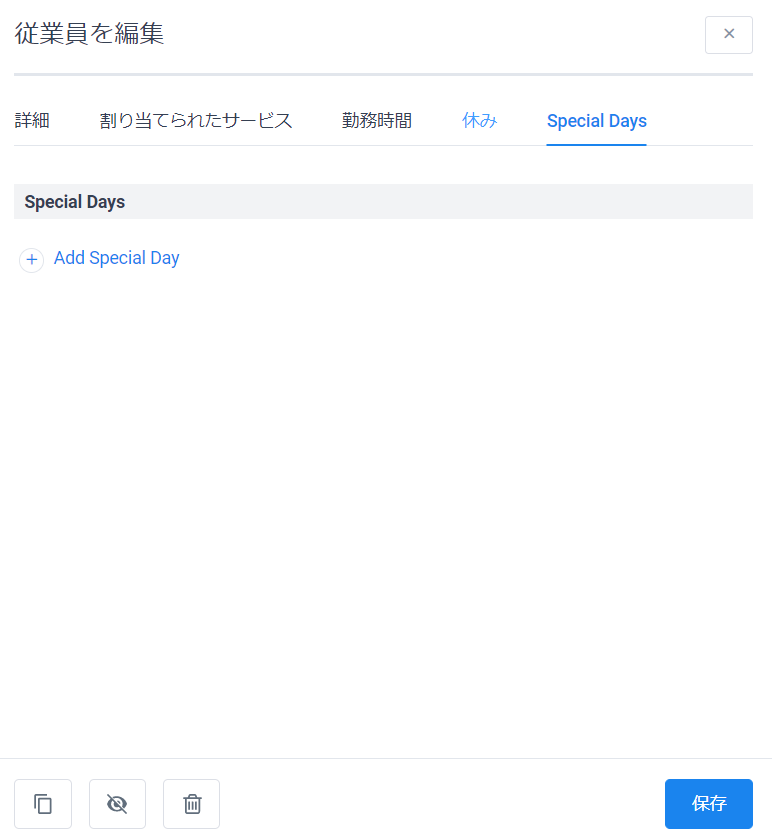
Special Day
You can set birthdays and other dates. For birthdays, a birthday email will be sent automatically. For details, please see Notification Settings.
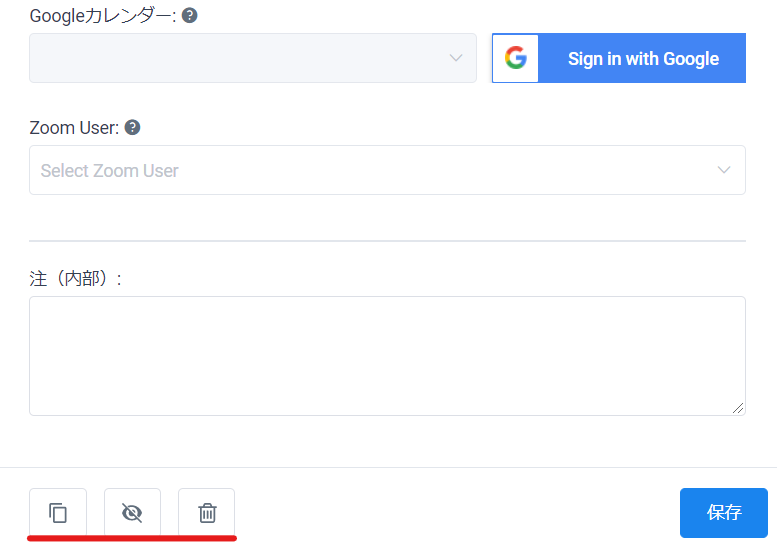
Duplicate, hide, or delete registered employees
You can duplicate, hide, or delete using the icons at the bottom.
The current status of the user is displayed.
Previously, I was worried that after registering, the status would show as [Absent]. This display only appeared when the registered employee was viewing the page outside of working hours.
Can't register employees with the same email address? Added 2021.06
Since each employee needs an email address, they cannot use the same email address. However, if you use both Gmail and Outlook,Discover a trick to receive emails from the same email addressDid.
1 : test@gmail.com
2: test+1@gmail.com
3: test+2@gmail.com
In this way, by adding [+1] or [+2], you will be able to receive the email in the same Gmail or Outlook email.
When I actually registered as an employee using the format test+1@gmail.com and made a test reservation, an email with +1 was sent to my regular gmail address!

When dividing fees by time period or day of the week, I implemented it by having employees manage their schedules, but each time I did that, I had to create a temporary Gmail account.
With this trick, you can now centrally manage all your incoming emails.<br>Although it is described as a secret technique, it is official advice from the Amelia developers, so please feel free to use it.
This completes the steps to add employees. Next, we will explain employee permissions.
Employee Permission Settings
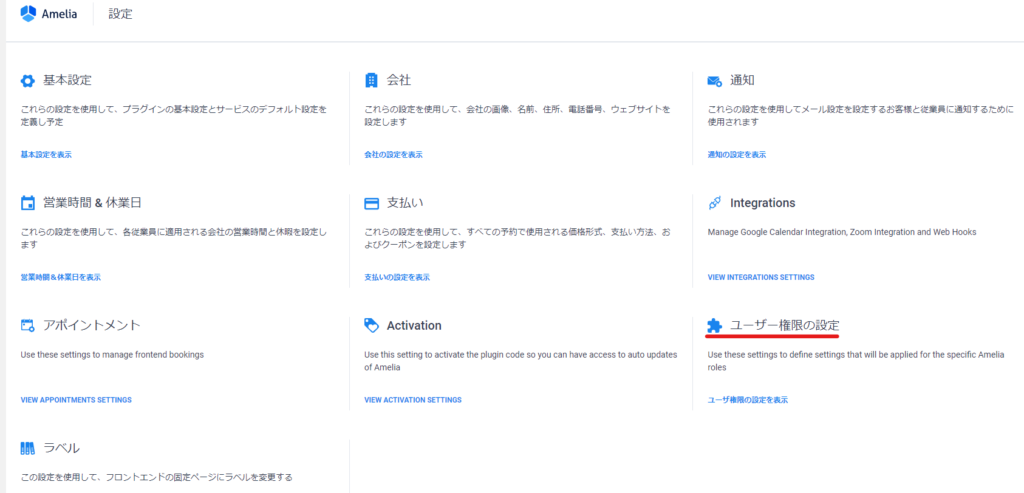
[amelia] > [Settings] > [User permission settings]
This will give employees authority.
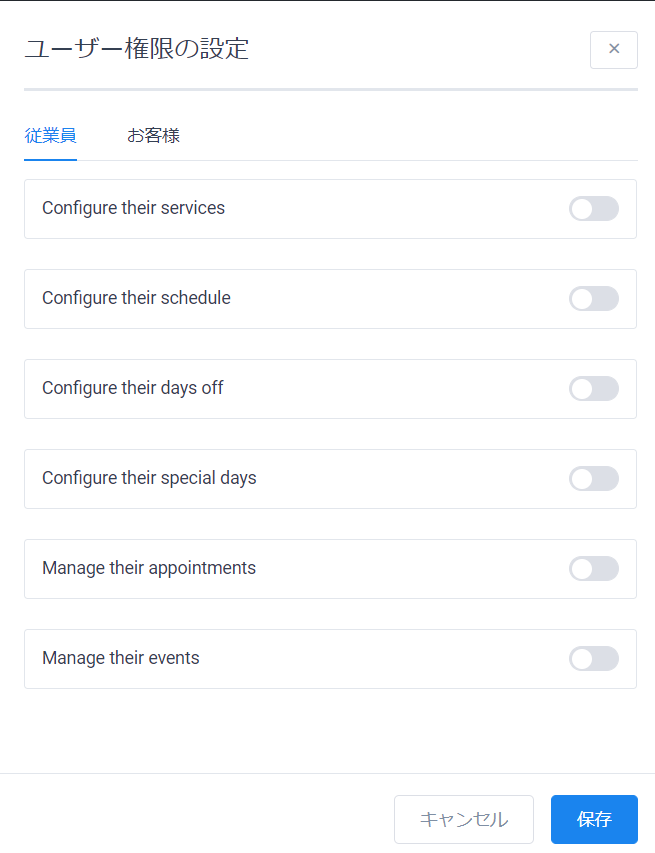
- Configure their services
- Configure their schedule - Setting work days
- Configure their days off
- Configure their special days - Set special days such as birthdays
- Manage your appointments
- Manage their Event
Default Employee Privileges
Here are the permissions that employees are given when no settings are configured.
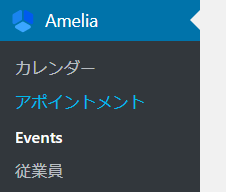
Viewing the Calendar
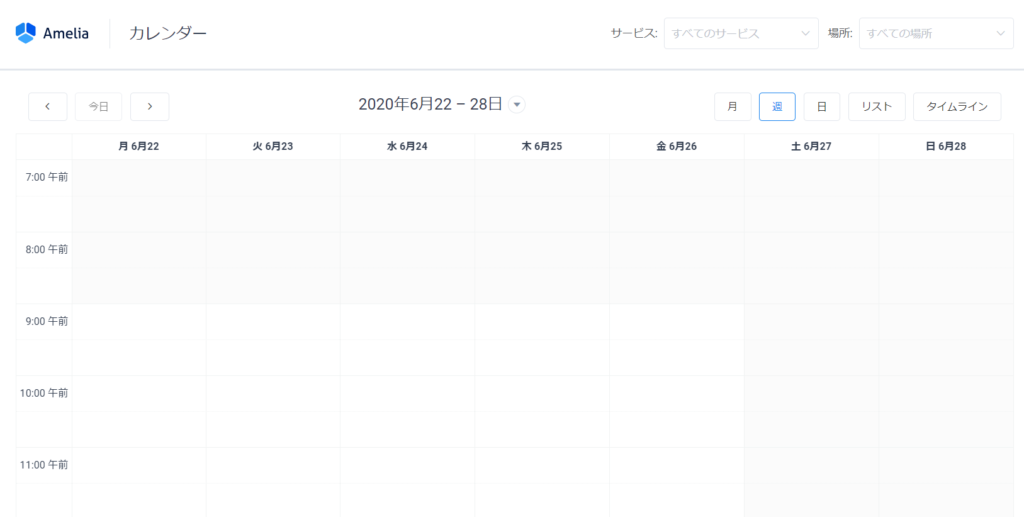
Viewing appointments
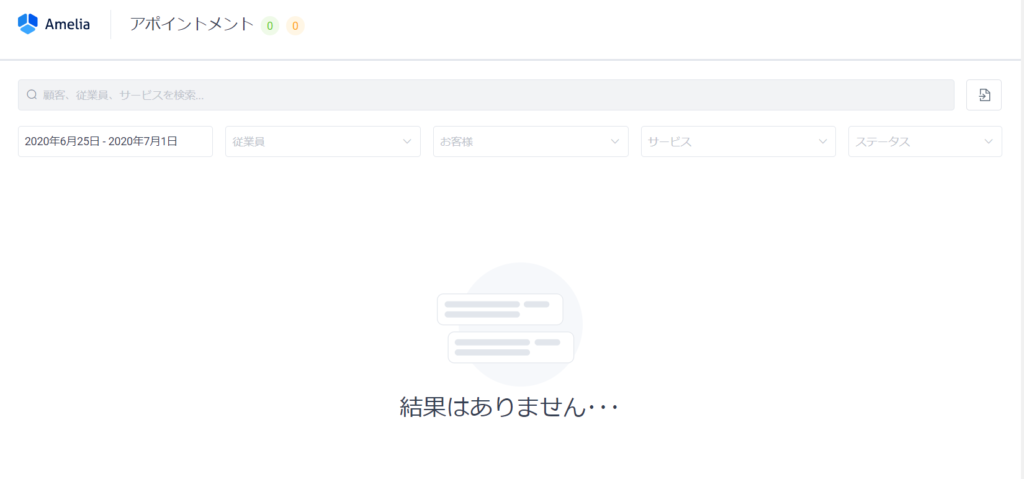
Viewing Events
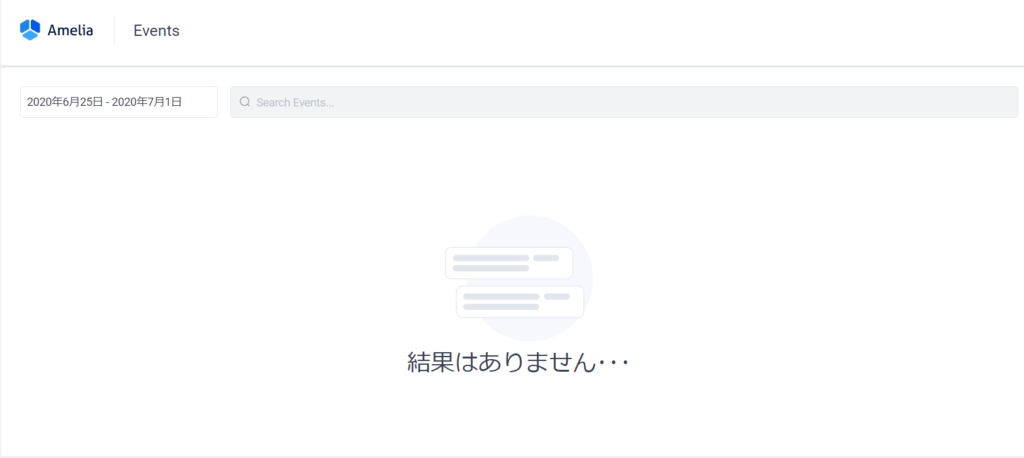
Changes to basic information
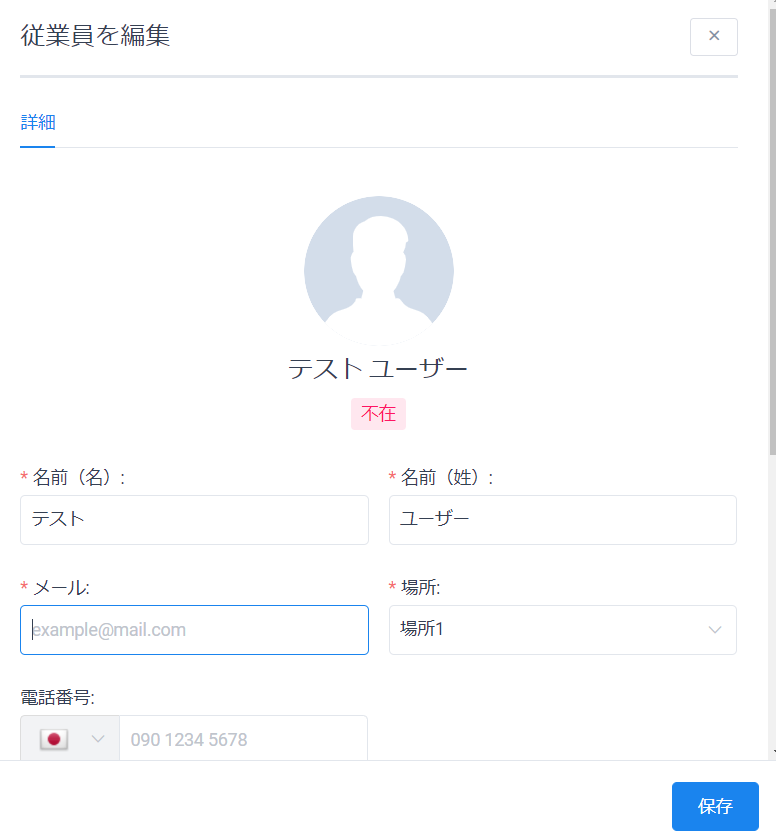
Now, let's explain each item in [amelia] > [Settings] > [User permission settings].

Configure their services
On the employee management screen, click [amelia] > [Employees]
You will be able to set the [Assigned services] item. This allows staff to assign and cancel services themselves. You can also change the price and capacity.
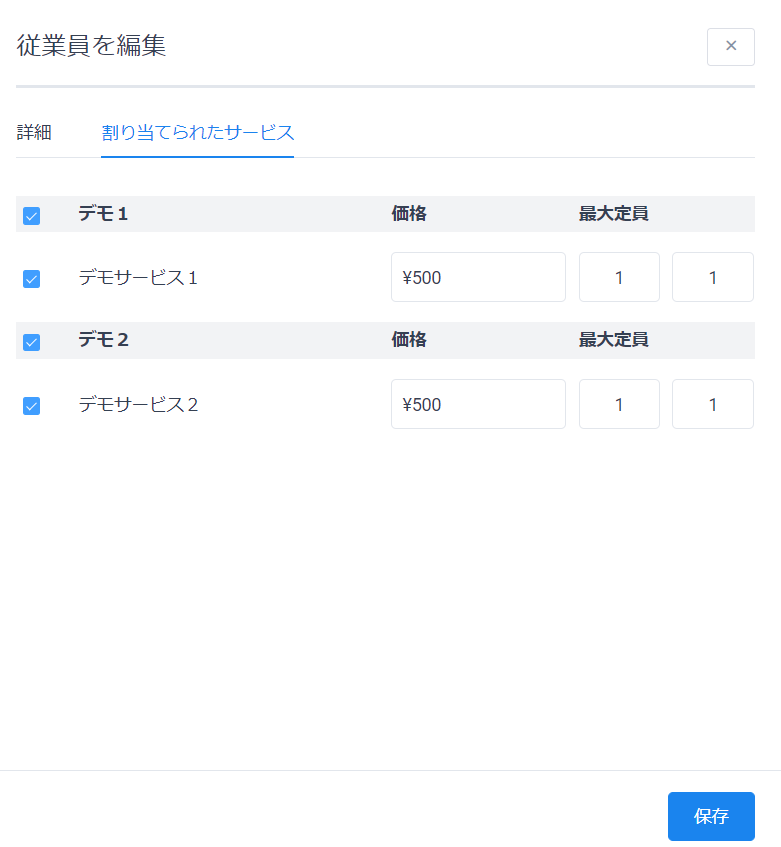
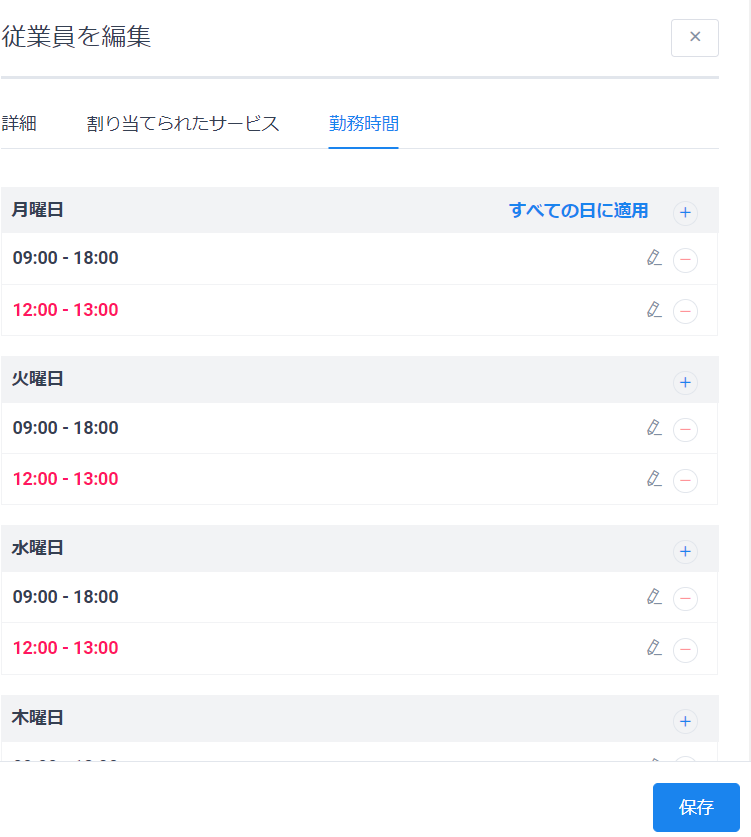
Configure their schedule
On the employee management screen, click [amelia] > [Employees]
The [Working Hours] item has been added, allowing employees to change their working hours.
Configure their days off (permission to set holidays)
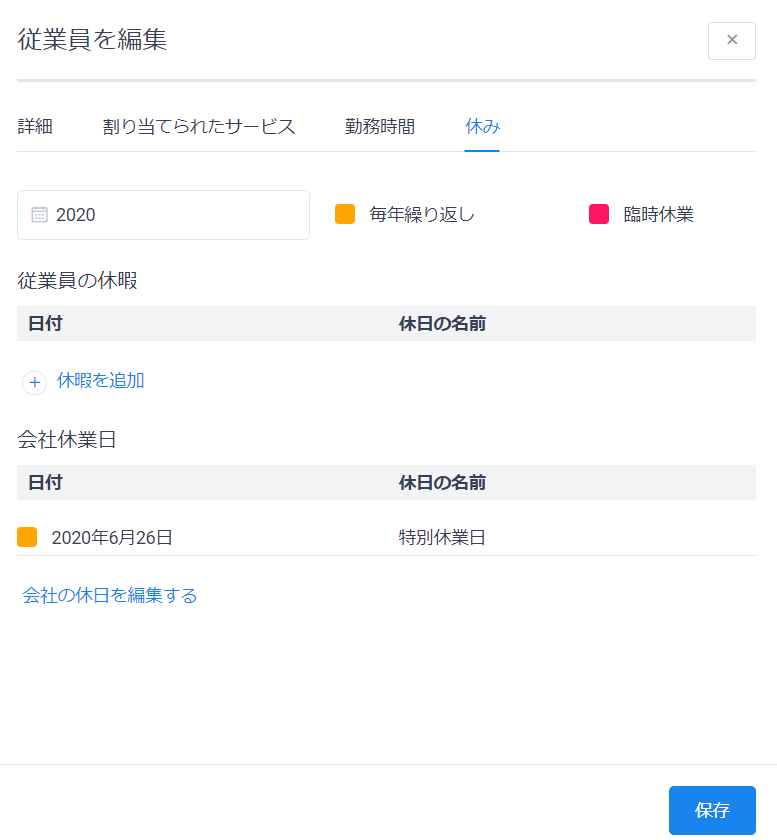
On the employee management screen, click [amelia] > [Employees]
[Holidays] The number of items has been increased, and employees will be able to manage their own holiday settings.
Configure their special days
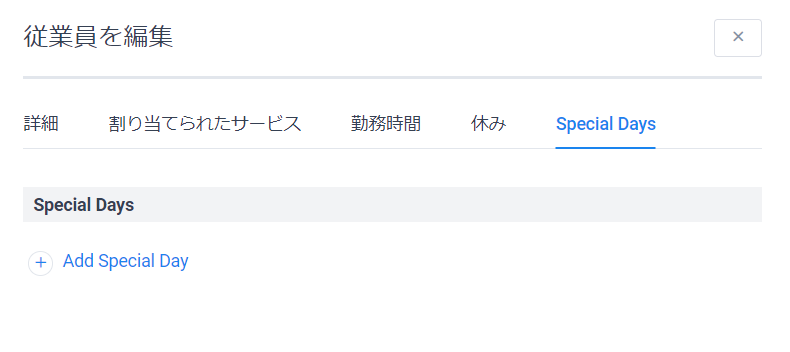
On the employee management screen, click [amelia] > [Employees]
The [Special Days] option has been added, allowing employees to set special days such as birthdays.
Manage their appointments
On the employee management screen, click [amelia] > [Appointment]
A [New Reservation] button has been added, making it possible to manually add a reservation.

The reservation list that you could only view before

You will be able to change and manage your status.

Manage their events
Employee Management Panel [amliea] > [Events]
Just like appointments, you will be able to add new events, change their status, and edit them.

These are the permissions that can be managed in [amelia] > [Settings] > [User Permissions Settings]. After that, you can add permissions for service settings, etc. by changing the permissions of the WordPress user.
Bonus: Empower your employees even more
Check the status of a wordpress user
On the administrator's WordPress admin screen, click [Users] > [User List].
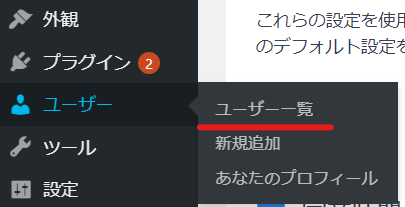
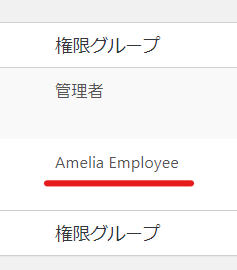
If you look at the permission groups, the administrator is [Administrator] and the added employee is [Amelia Employee]. Click on the name of the employee to whom you want to add additional permissions to go to the editing screen.
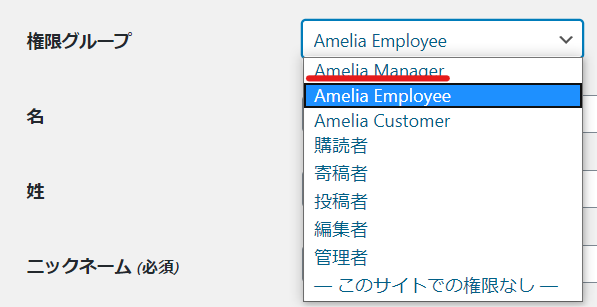
Change wordpress user permissions
In the section titled Permission Group, change it to [Amelia Manager].
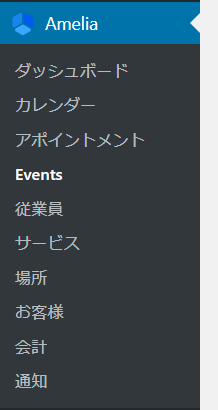
More items added to employee management panel
You will be able to configure all settings for amelia.
In the case of [Amelia employy]
This concludes the explanation of how to add employees and set their permissions.
Released as soon as the next morning! Weekends and holidays are also available!
Super rush website creation plan
We offer a rush website creation plan for those who need a website in a hurry!
We can publish your content as soon as the next morning, even on weekends and holidays! If you have any questions, please check the details below!
Latest Articles


