How to create a website using WordPress/How to use plugins/No-code construction blog
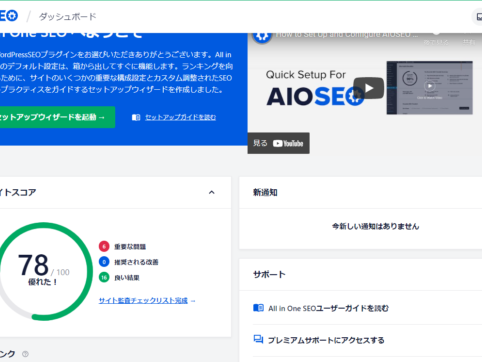
[December 2021] The clearest illustrations and video explanations on setting up All in One SEO!
At HanamiWEB Online School,
●Ask questions in real-time in the virtual study room!
●Ask as many questions as you want via chat!
●E-learning materials that you can learn as much as you want, 24 hours a day!
All included for just 2,500 yen/month!
Speaking of WordPress SEO plugins, All in One SEO! After major specification changes in December 2020
- I don't know how to set it up
- I'm using it without any special settings.
Since many people have asked this question, we will provide a more detailed explanation than anywhere else that is easy to understand even for beginners!
All in One SEO Video Explanation
Recommended for those who want to set it up while watching the video!
Install All in One SEO
First, install All in One SEO into WordPress.
Go to your WordPress dashboard
[Plugins] > [Add new plugin]
Enter [All in One SEO] as the keyword.

You will see the screen above, so click [Install Now] → [Activate] the All in One SEO plugin on the left.
What is All in One SEO Setup Wizard?
As soon as you activate the plugin, you will be taken to the All in One SEO setup wizard.
This is the initial setting that forms the basis of the All in One SEO plugin, so be sure to make these settings!

If you are returned to the dashboard, you will see an [All in One SEO] item added to the left sidebar. Click [Dashboard] in that item. You will then be able to launch the setup wizard.
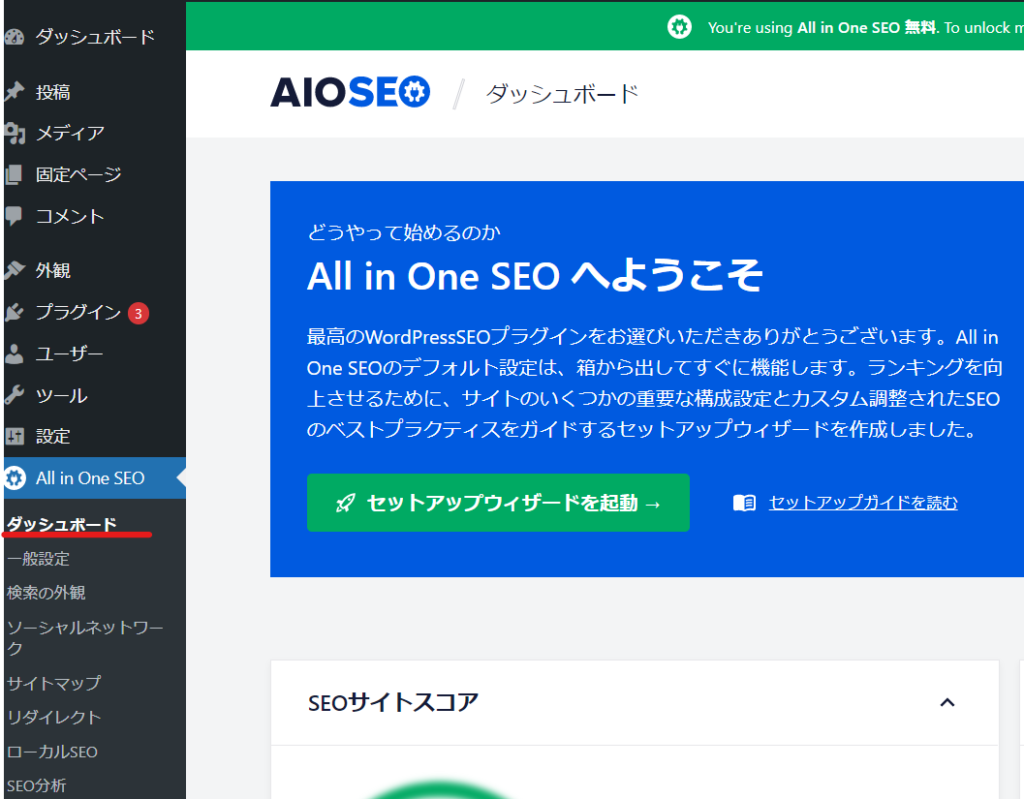
Site Preferences
First, with the All in One SEO plugin, you start by setting up the home page, which is the top page of the site.
- Site Categories
- Home page title - Top page title for search results
- Home Page Meta Description - Search result description for the top page
Set the following:

Tags are assigned to your homepage title and home page meta description by default.
- Site Title
- Catchphrase
However, this value is automatically entered based on the value entered in [Settings] > [General Settings] on the dashboard.

If you want to enter different text, you can delete it with the Delete button and enter text. (Since the Home Page Meta Description can be specified with about 160 characters, I entered it as text.)
Site Information①
Next, I will explain the site information for initial setup with the All in One SEO plugin. Since it is long, I will explain it in two parts.
First
- Select Individual/Organization
- Organization name - If you selected Individual, enter the individual
- Phone number - enter if you have one
- Contact Type – Select the most appropriate type from the dropdown.

Next, the bottom part.
- logo
- Default image when shared on social media
- Enter the URL of the social networking site

Select the features you want to enable
Select the features you want to use with the All in One SEO plugin.

Search Appearance
I just set
- Home Page Title
- Home Page Meta Description
You can check it here. In the form of a snippet preview, you can see a preview of how it will actually appear in the search results.
Other settings are
- Under Construction / Live Site - Under Construction is a setting you should use if your site is under construction and you don't want it to show up in search engines.
- Include all post types - By default, [Posts (Blog)], [Static], and [Images] are set to be displayed to search engines. If you do not want your posts to appear in search engines, turn this feature off and uncheck the items you do not want to be displayed.
- Are there multiple authors? If there are multiple authors, please select "Yes"
- Do you want to redirect the attached page? Usually you should answer "Yes".

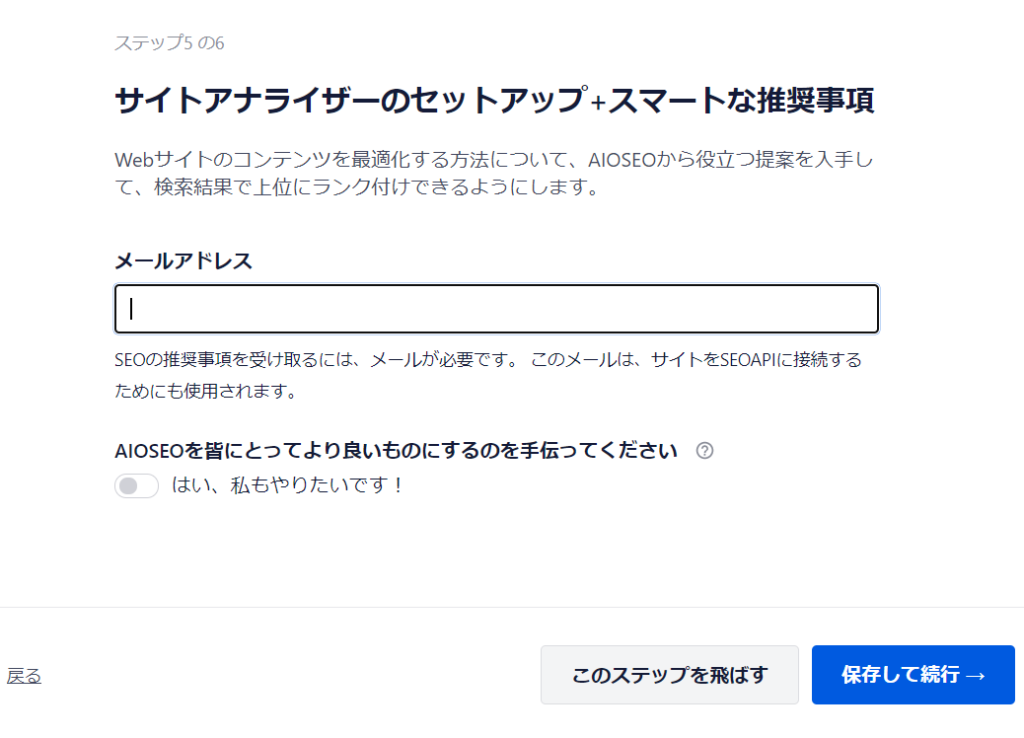
All in One SEO email newsletter reception settings
On the next screen, you will be asked to set up your email newsletter. If you do not want to receive email newsletters, you can skip this step by clicking [Skip this step].
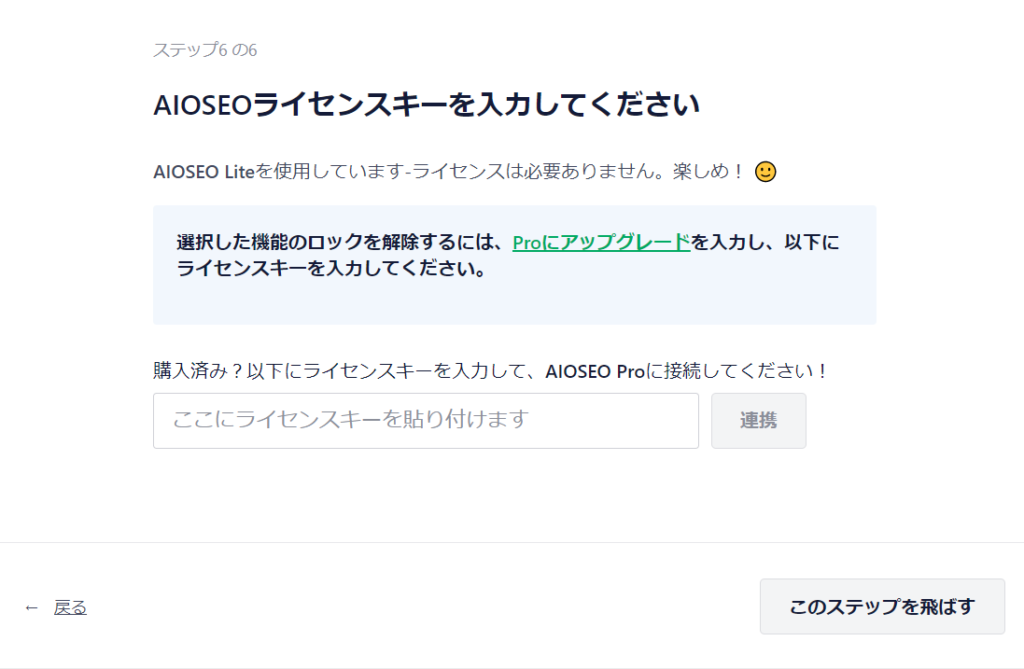
Guidance for the paid version
What you will see next is a link to the paid version of the All in One SEO plugin.
If you do not wish to pay, please skip this step.
Setup complete
This completes the initial settings. Click the [Complete initial settings and return to dashboard] button to return to the dashboard.

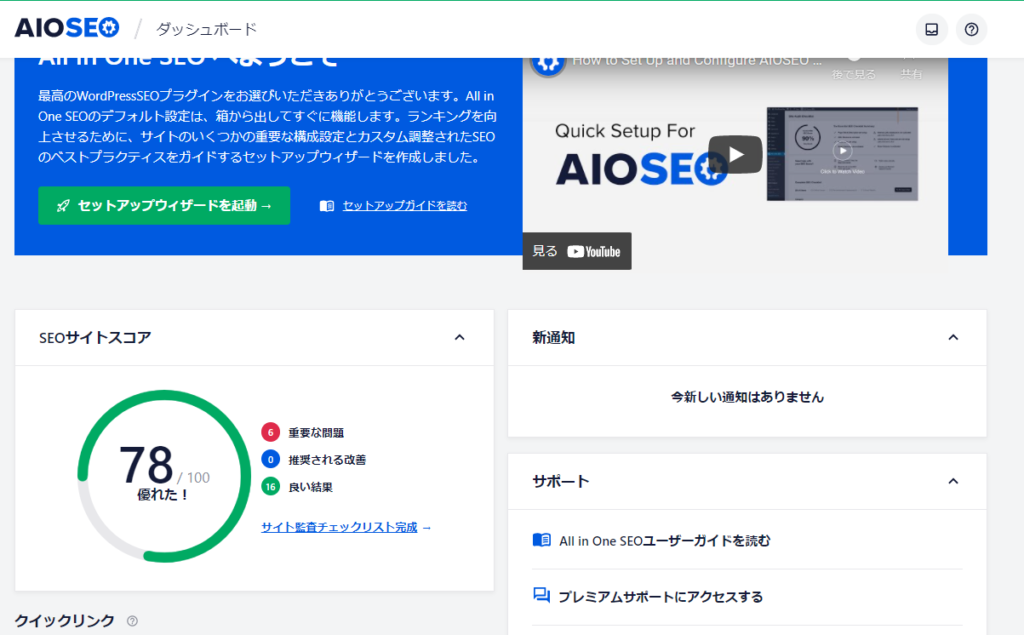
All in One SEO Dashboard
You can see the scores, but there are no special settings required in the dashboard items.
General Settings
Webmaster Tools
- Search console
- Bing Webmaster Tools
- Yandex Webmaster Tools
- Baidu Webmaster Tools
- Pinterest Webmaster Tools
- Analytics
You can connect the analysis tool by entering the code above.
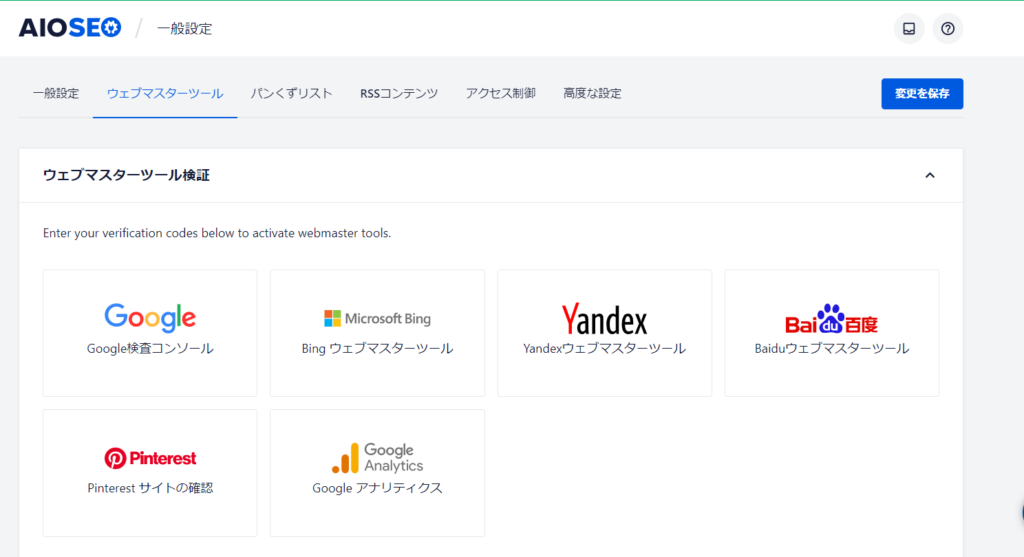
For example, in the case of Search Console, enter the verification code in this section.

Breadcrumbs
I think that breadcrumb lists are often automatically output by themes, so I think this function is aimed at people who create their own themes.
- Shortcodes
- Gutenberg Blocks
- php code
- Widgets
You can choose from.
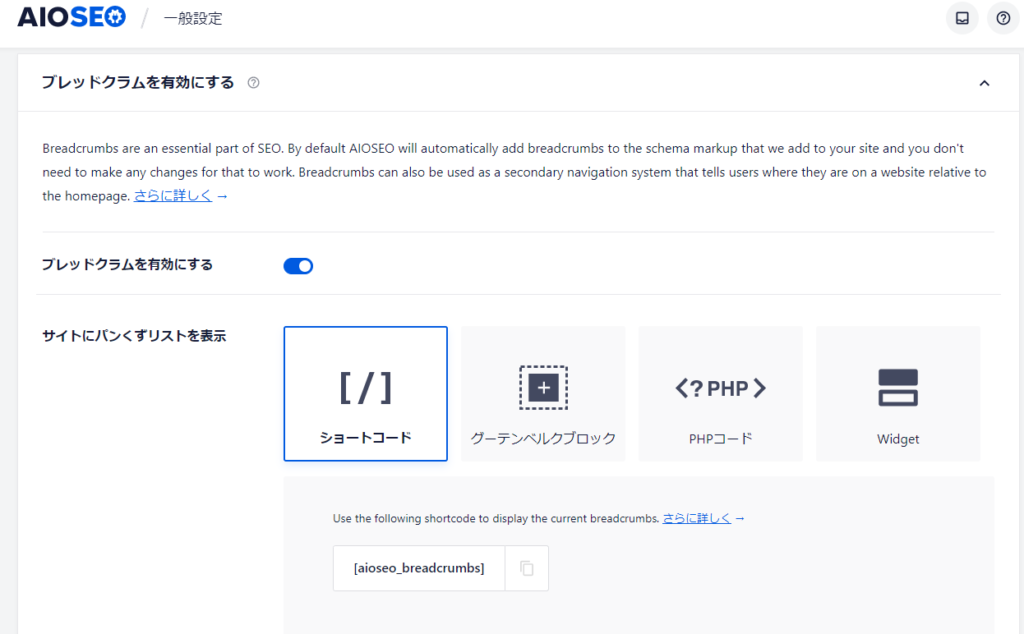
You can also choose the layout.

RSS Content Protection Settings
You can automatically add a link to your site when content is copied.
I think you should leave it at the default setting.
<p>The post PostLink first appeared on SiteLink.</p>The URL of the article copied in the Post link will be automatically entered, and the link to the top page will be added to the site link section. Also, it says RSS after the content, which means it will be added to the end of the content.

Access Control (paid only)
This feature is available only in the paid version.
If you have multiple site administrators, this feature allows you to control who has permission to edit the All in One SEO settings.
Advanced Settings
- SEO Score and Content - A feature that allows you to display the SEO score on a static page/post page
- Headline Analyzer – Helps you create compelling headlines to rank better in search results
- Post Type Example - Select the type to set SEO
- Taxonomy example (paid version) - Select the taxonomy to set SEO
- Admin Bar Menu (Paid version) - Adds SEO settings to the admin bar, allowing you to quickly open SEO settings
- Dashboard Widget (paid version) - Ability to display the latest SEO information on a dashboard widget
- Announcement - Dashboard notification settings
- Usage tracking - turn it on to give you better guidance
- Uninstall AIOSEO
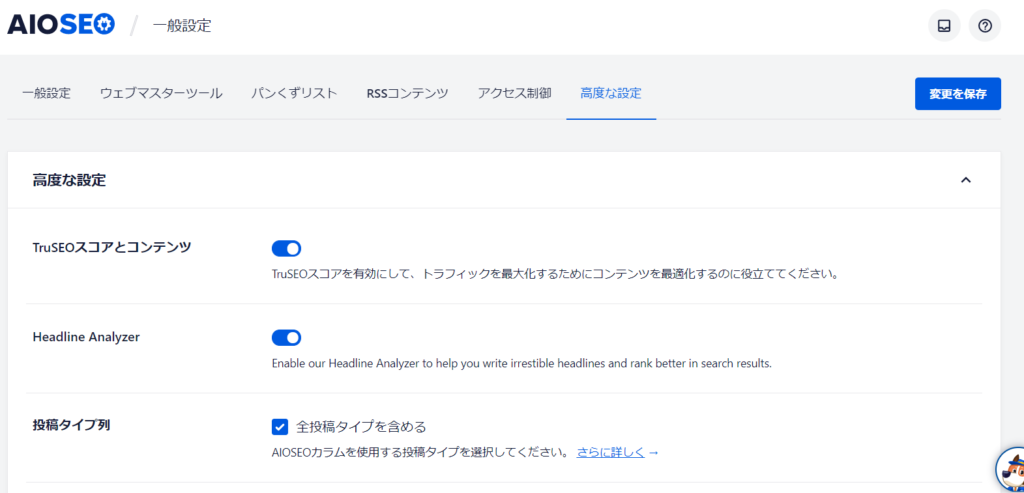
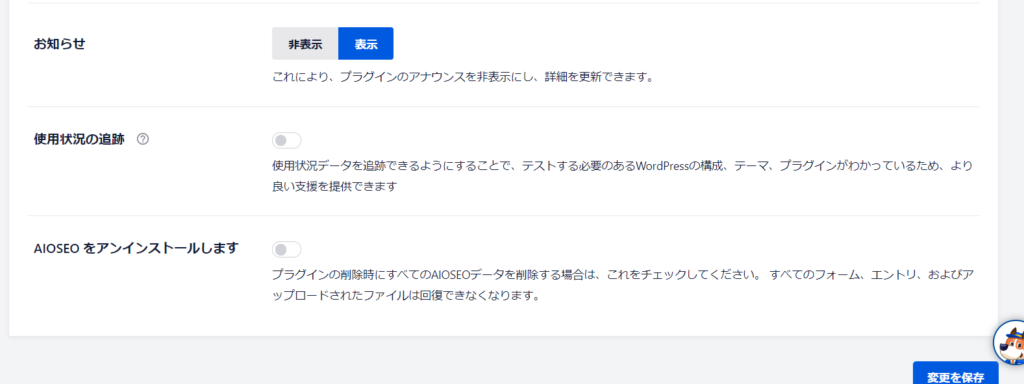
Search Appearance
Global Settings
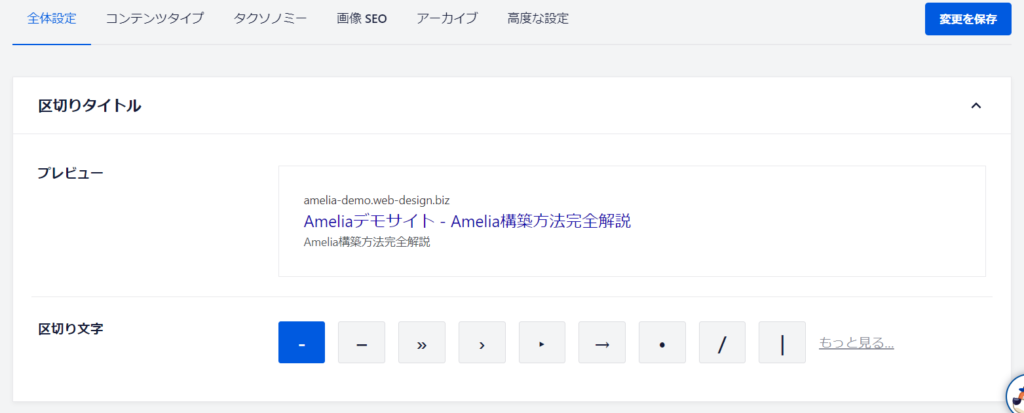
Delimiter Settings
You can change the delimiter between the page title and the latter part of the site title, which is a standard phrase.
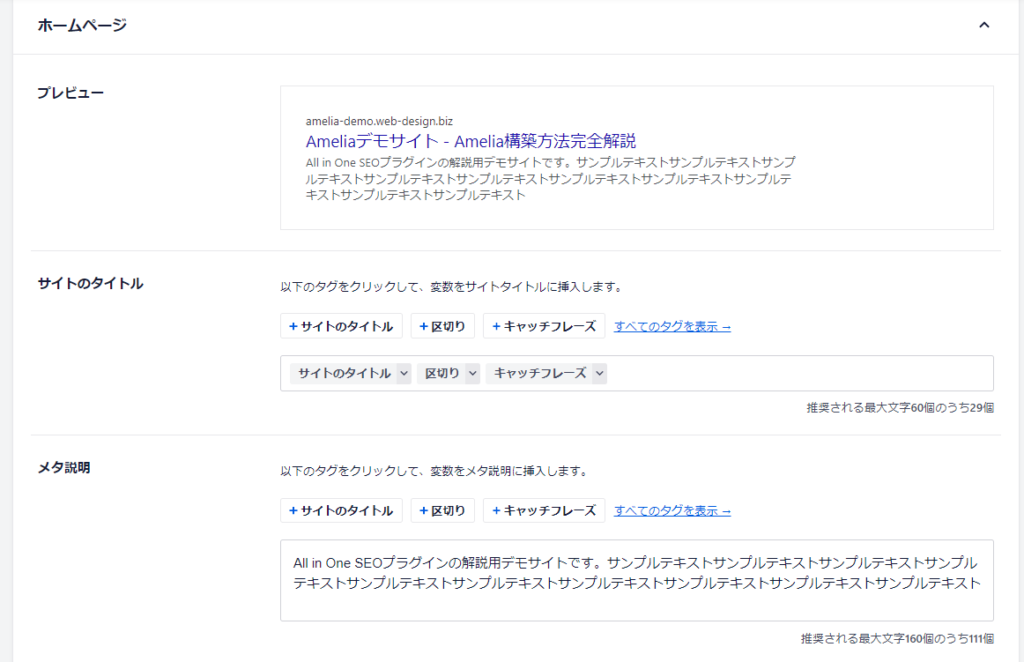
home page
This sets how the top page will appear in search results.
The initial settings should be filled in. If there are any changes, edit them here.
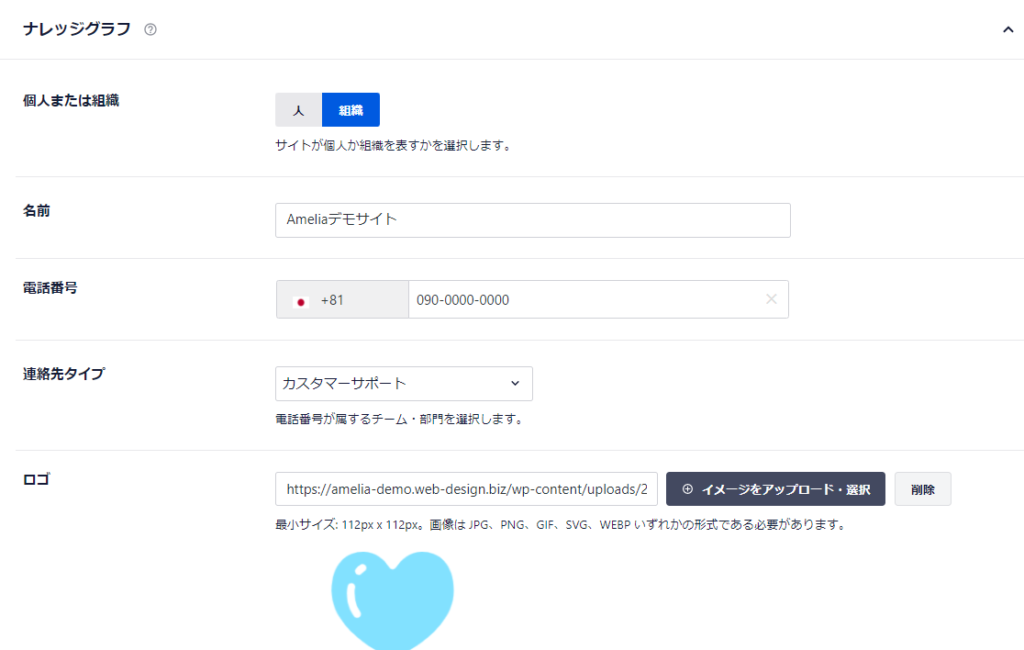
Knowledge Graph
This also contains the initial settings, so edit it if there are any changes.
Content Type
Posts
This is the setting for the blog post.
- Search result display
- Preview - A preview of how your page will appear in search results
- Post Title - Set the title. If you don't have any preference, you can use the default value.
- Meta description – This is where you write a summary of the article each time you write it. I usually just delete the auto-generated tags and enter text.

fixed page
You set templates for static pages in the same way as for post pages.

Advanced Settings
It's fine to leave it ON.

Taxonomy
Categories and tags are called taxonomies.
The settings are the same as for post pages and static pages.
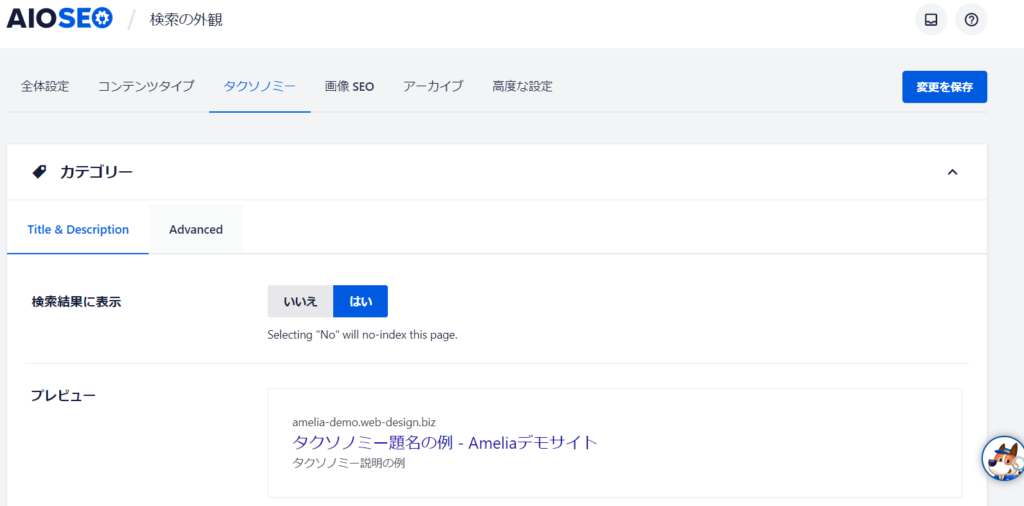
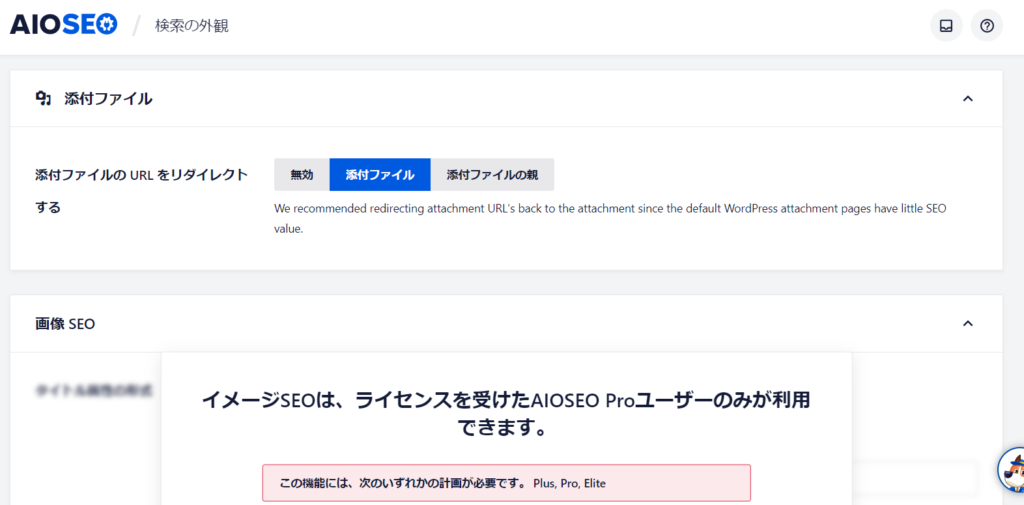
Image SEO
The default WordPress functionality has almost no SEO settings for images, so it is recommended to redirect to an attachment.
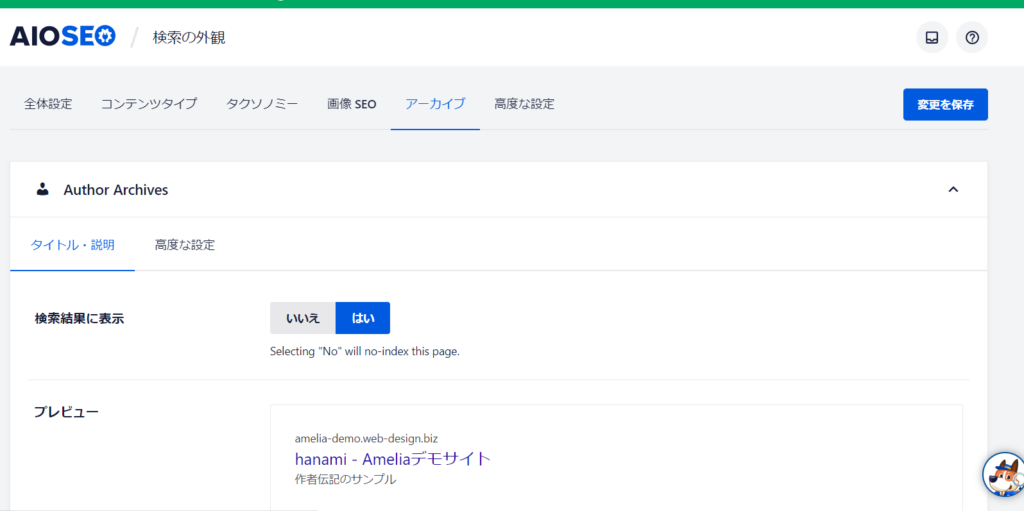
archive
- Author Archive Page
- Date Archive Page
- Search Page – This SEO setting is OFF by default.
The setup method is the same for post pages and static pages.
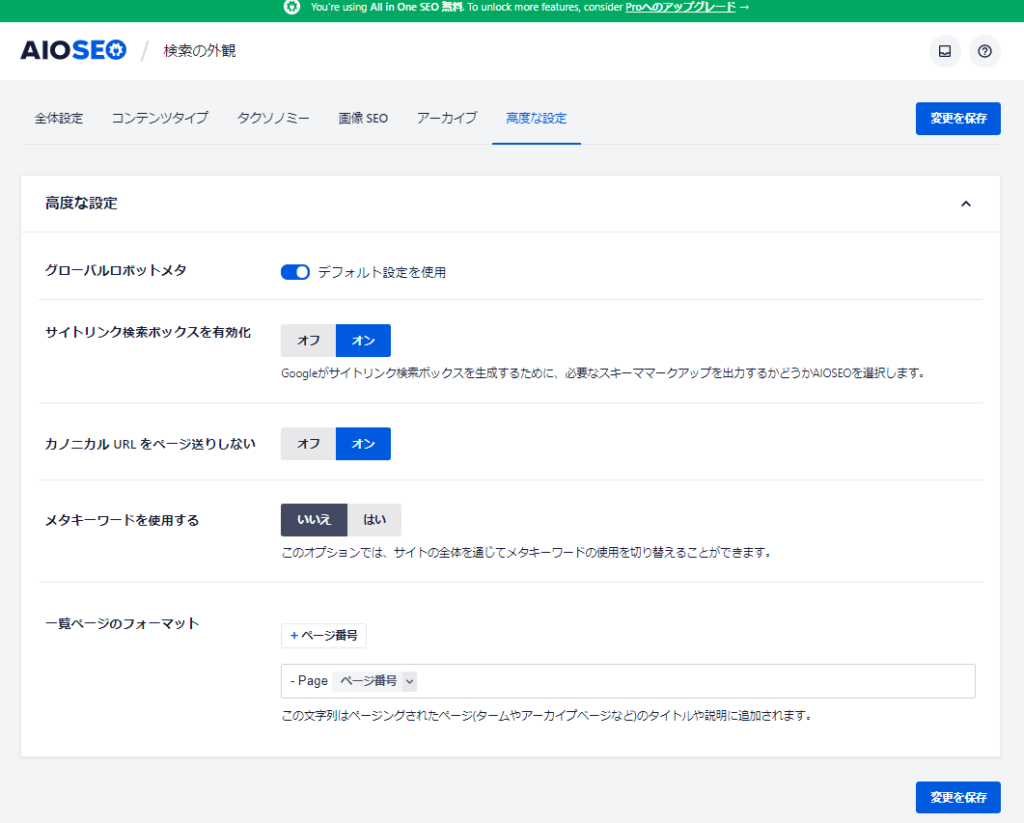
Advanced Settings
- Global Robot Meta - Default settings are fine
- Enable sitelinks search box - This is required for Google to generate the site search box.
- Don't paginate technical URLs
- Use meta keywords - Recently, it is becoming common to not set keywords. If you want to set keywords on each page, turn this on and the keyword setting will be enabled on all pages.
- Listing page format
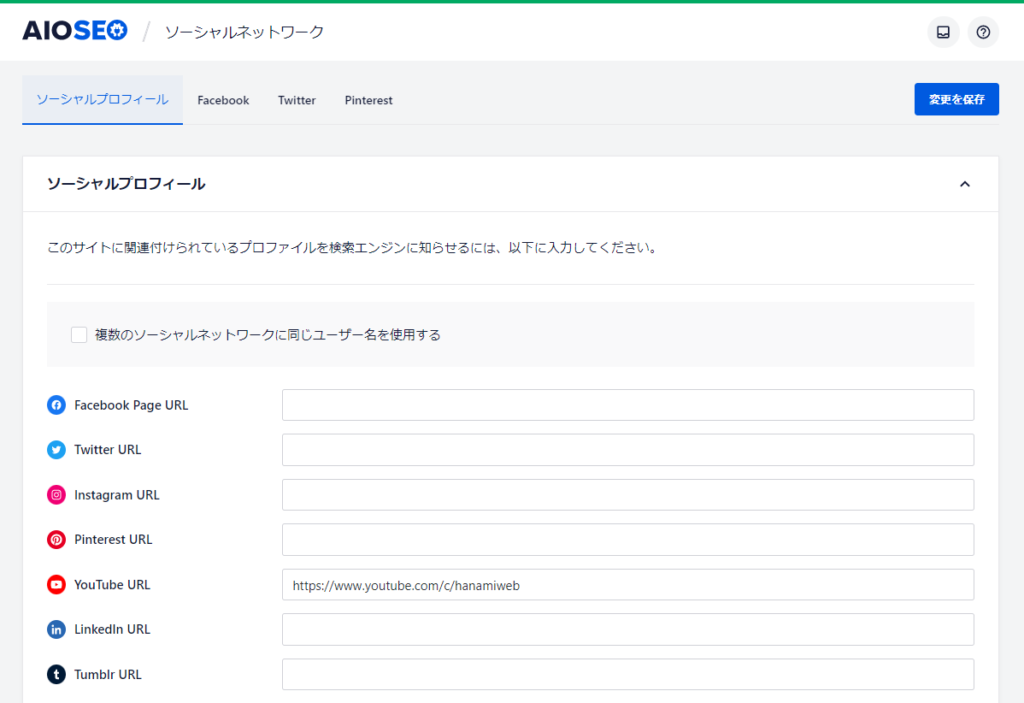
Social Network
It serves the purpose of informing search engines of the social media sites that are relevant to the owner's website.
Enter the URL of the social networking site you want to link.
First, let's set up Facebook. This is the setting for when sharing on Facebook.
- Enable or disable
- Default Post Image Source - Specifies the image that will be displayed when the post is shared
- Default Post Facebook Image - Set the default image to be displayed when no image is available
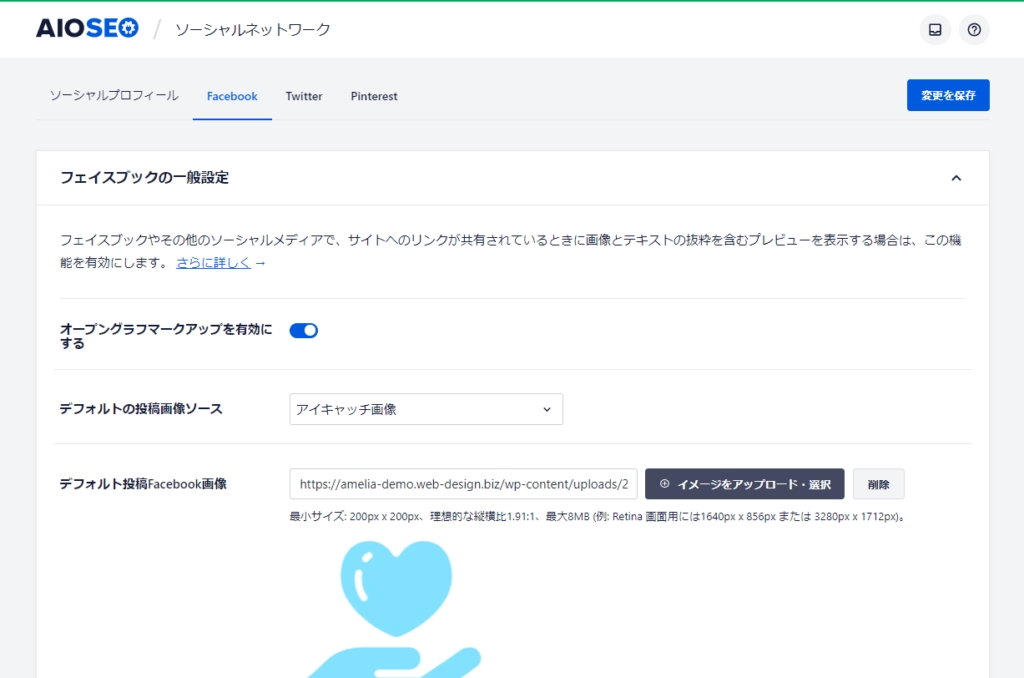
The following settings are left as default and do not change anything:
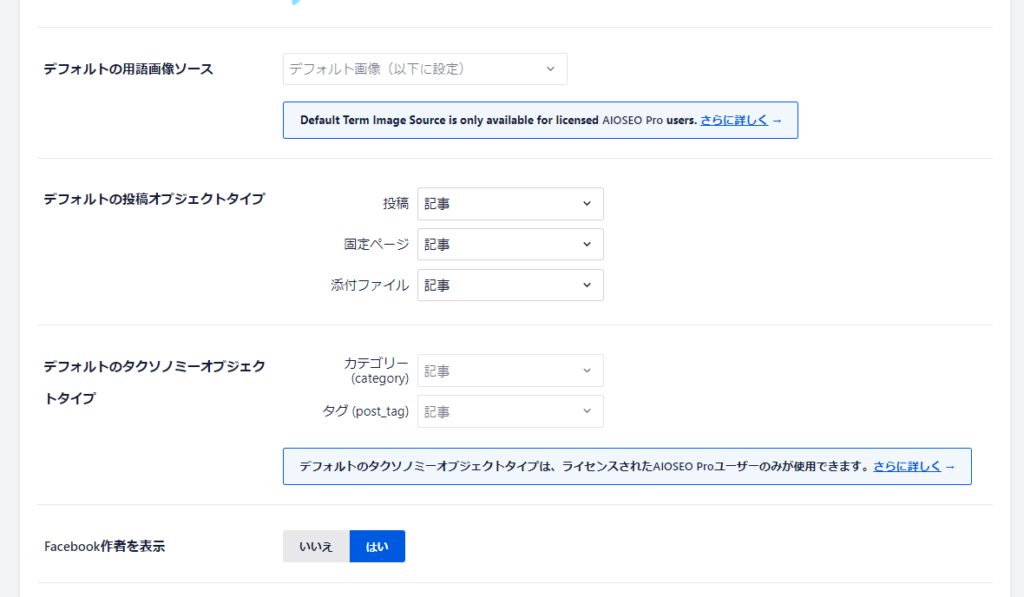
Next, set up the top page.
- image
- title
- explanation
Set the following:

This is where you configure Twitter. This is a must-see setting for those who want to display large images.
- Twitter Cards Enabled
- Card Type - Large Image Summary will turn into a large image Twitter card
- Default Image
- Default Twitter post image - Sets the default image when no image is set

The settings are the same as Facebook. Set the TOP page.
- Cart Type
- Default Image
- title
- explanation

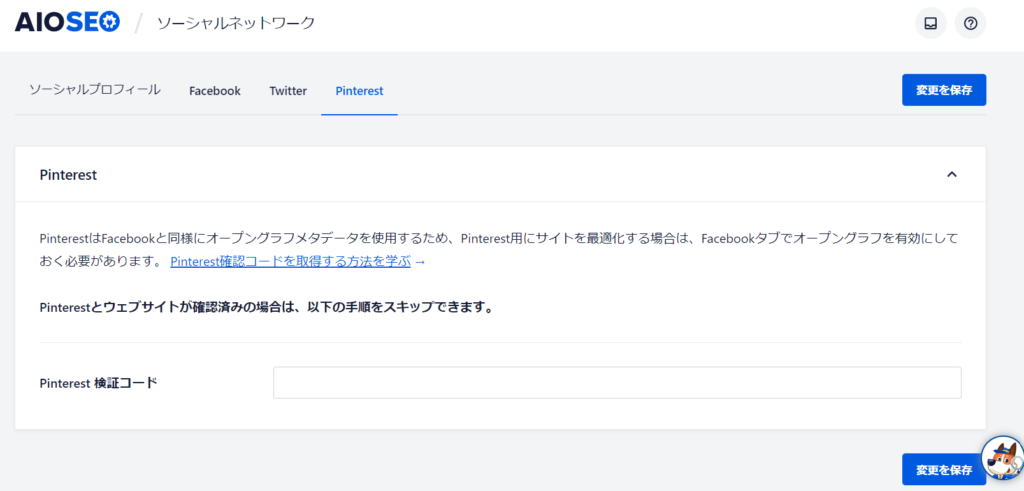
You can also set up Ptarest, but you will need to generate a code. This is not necessary this time, so I will not explain it here.
site map
There are paid and free version features.
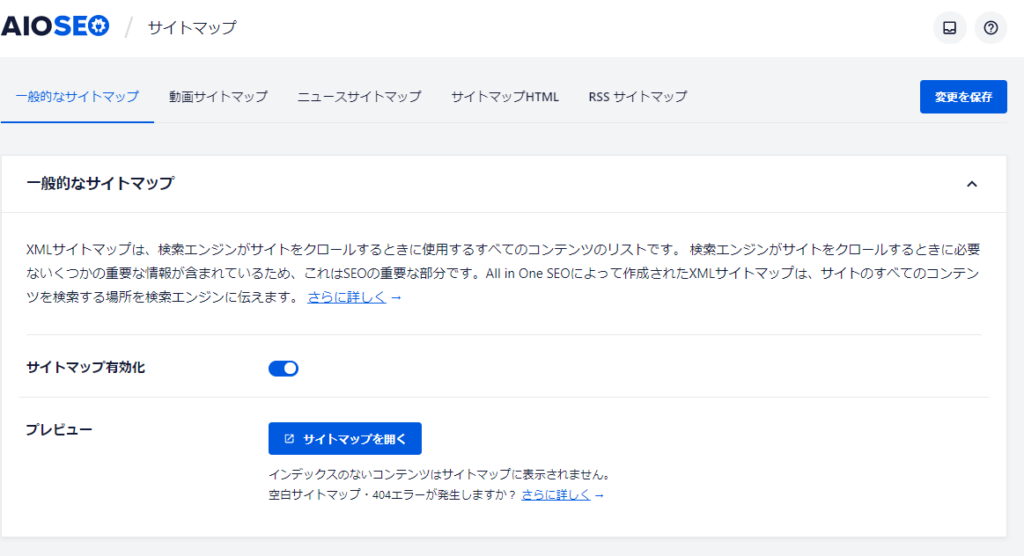
General Sitemap Settings
The site map is mainly
- A human-viewed sitemap page. html sitemap
- Sitemap page for search engines. xml sitemap
There are two kinds. The general sitemap I mean here is the search engine sitemap, which is the sitemap.xml file.
You can leave it as the default setting and enable the sitemap.

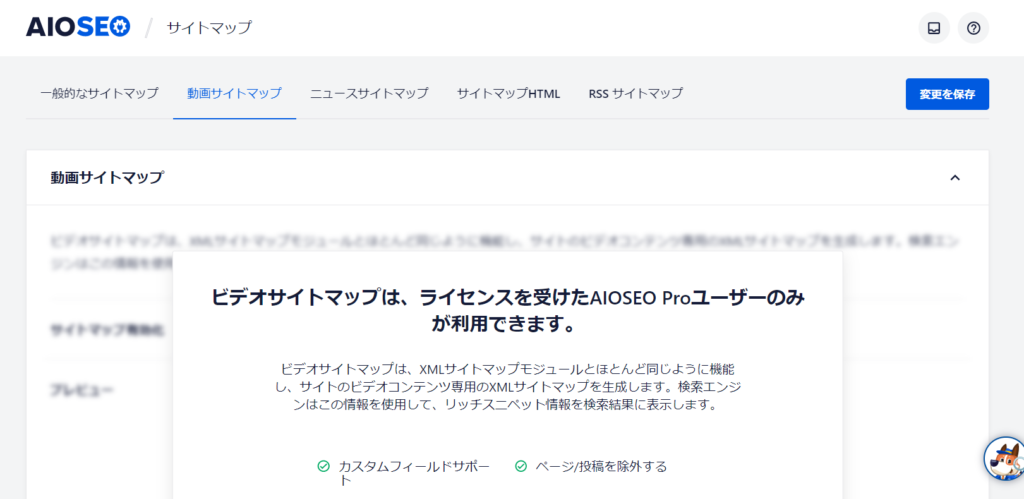
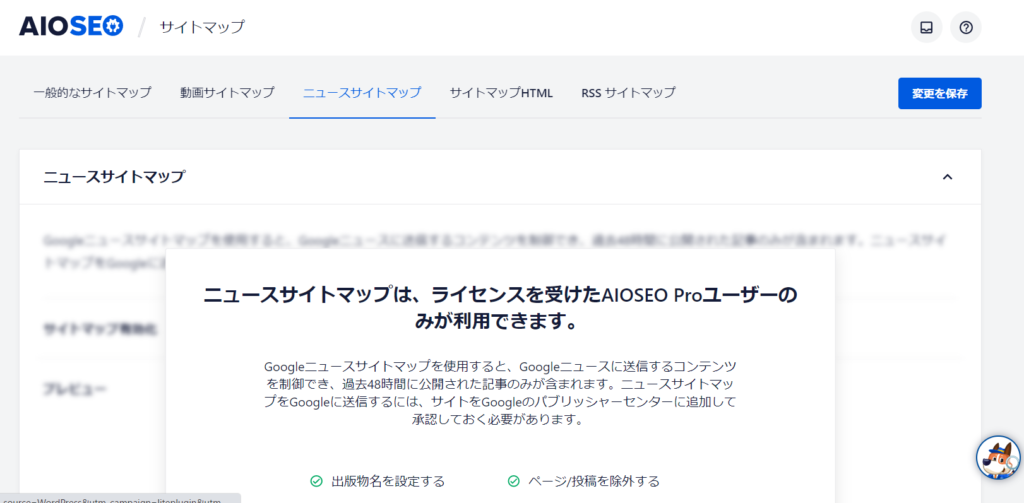
Video Sitemap/News Sitemap (paid only)
Video Sitemap and News Sitemap are features available only in the paid version.
html sitemap
You can also create a site map for people to view.
Output Settings
Determines what content will be output to the sitemap.
There is no point in outputting hundreds of blog articles, so I think it would be better to narrow down the content to be output, such as static pages.
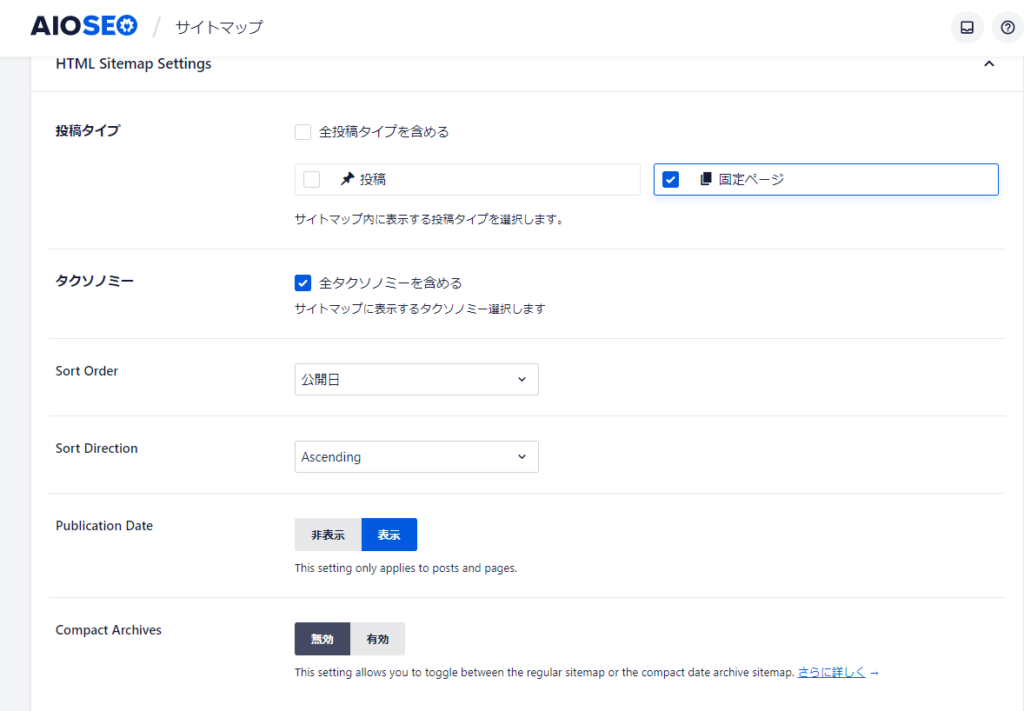
You can also specify pages to exclude in [Advanced Settings].

Output method 1: Dedicated Page
Select Dedicated Page and enter [sitemap] at the bottom to automatically generate a sitemap page with a permalink called sitemap.
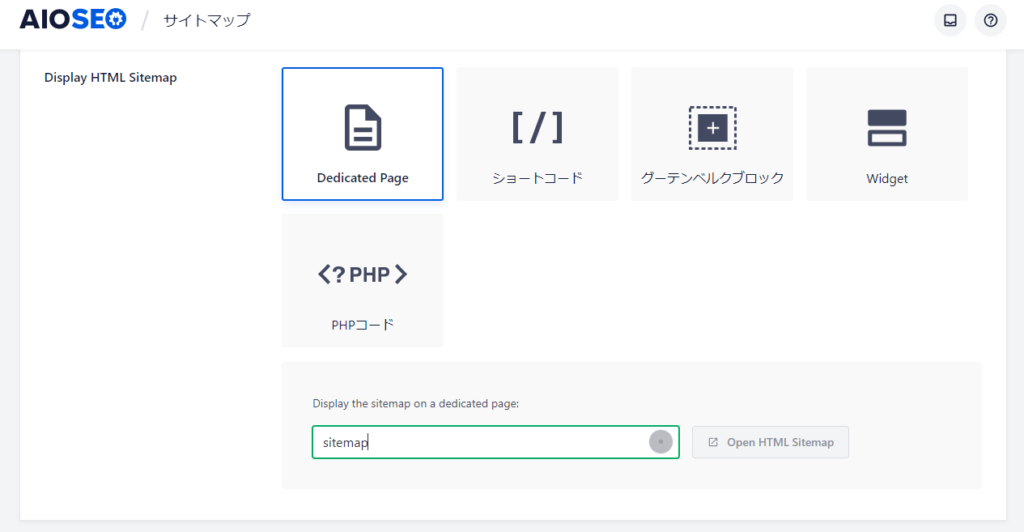
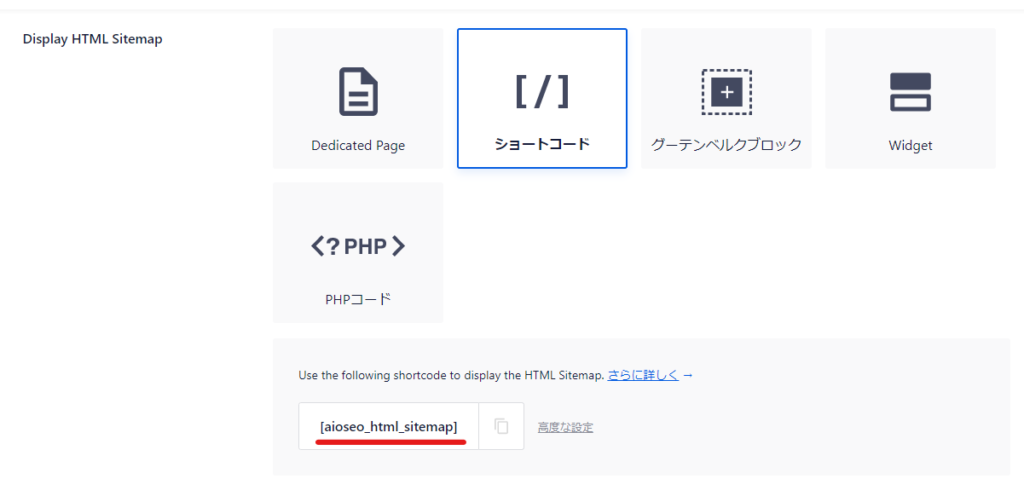
Output method ② Short code
The advantage of embedding using a shortcode is that you can add text and images to areas other than the automatically output sitemap.
Output method 3: Gutenberg blocks/widgets
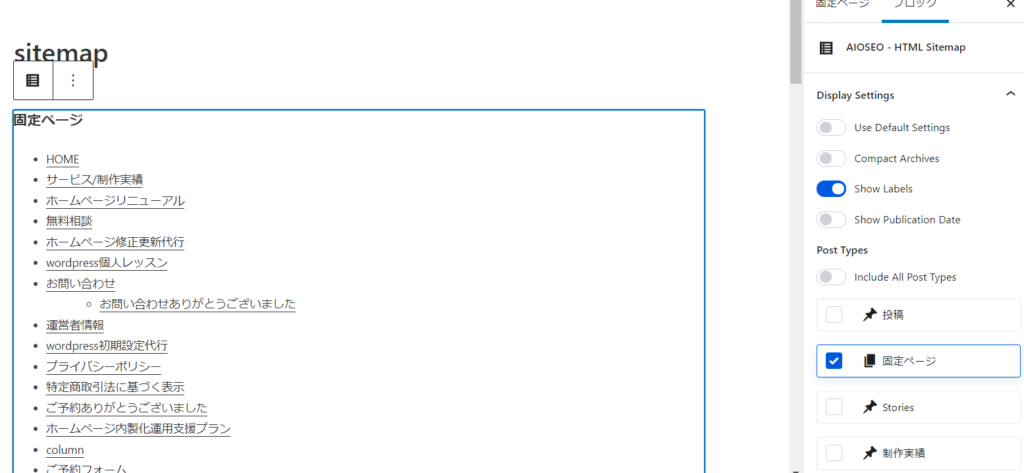
There is a block called [AIOSEO-HTML Sitemap] in Gutenberg blocks, so you can output a sitemap by using this block wherever you like. It is also available as a widget, so you can output it as a widget. If you use the widget, it may be convenient to place it in the footer etc. so that it will be automatically output.

You can set various output settings.
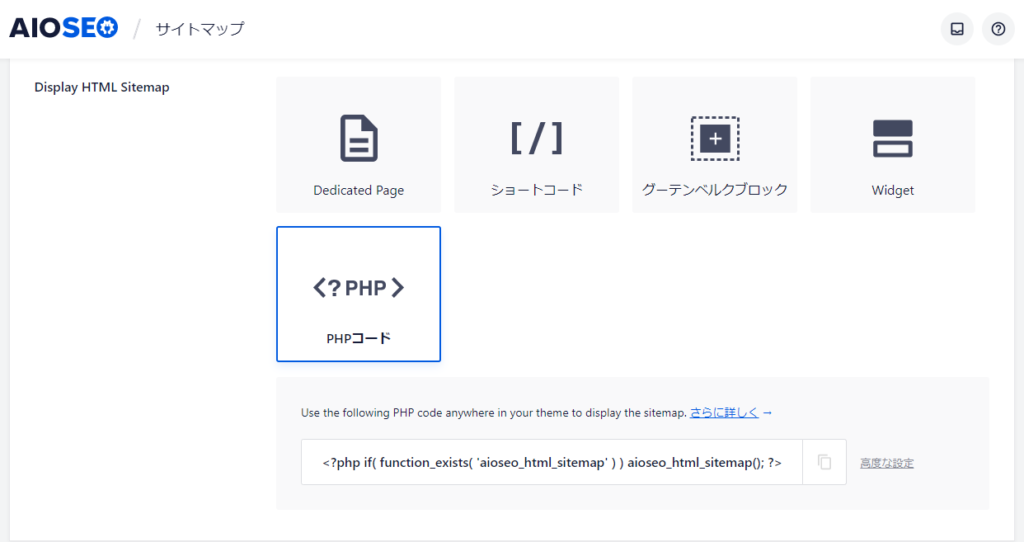
Output method 4: PHP code
You can also embed PHP code.
Example output
When all is output
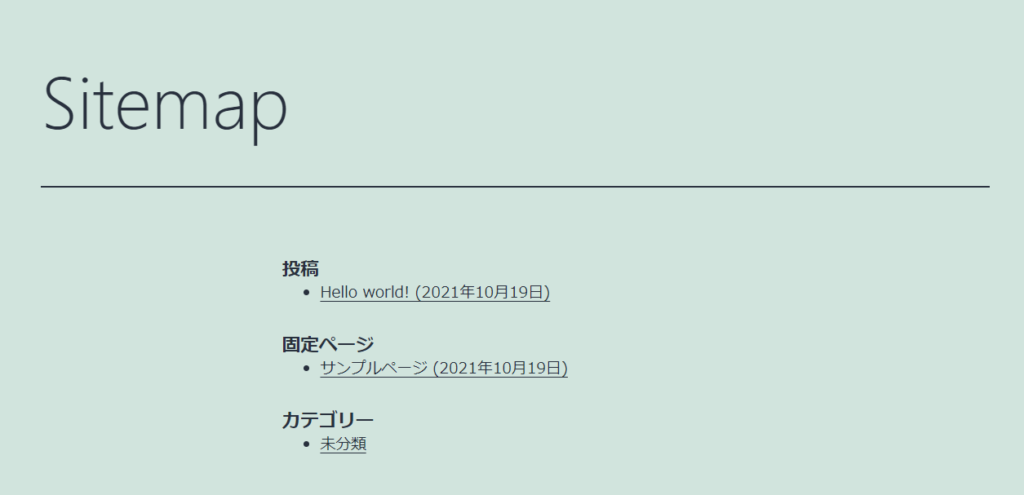
When using static pages only (sample output on the homepage)

RSS Sitemap
RSS is a setting that notifies you of the latest information on content. When a visitor registers an RSS feed as a favorite site, they can check the latest information without visiting the site.
RSS is lightweight and search engine friendly because it contains only the latest changes.This is a very important feature for quickly conveying information to search engines.So I think it's fine to leave it enabled as the default setting.
You can leave the sitemap settings as default. We prefer lightweight information, soSending 50 posts at a time is okayis.

A page called sitemap.rss has been automatically generated.

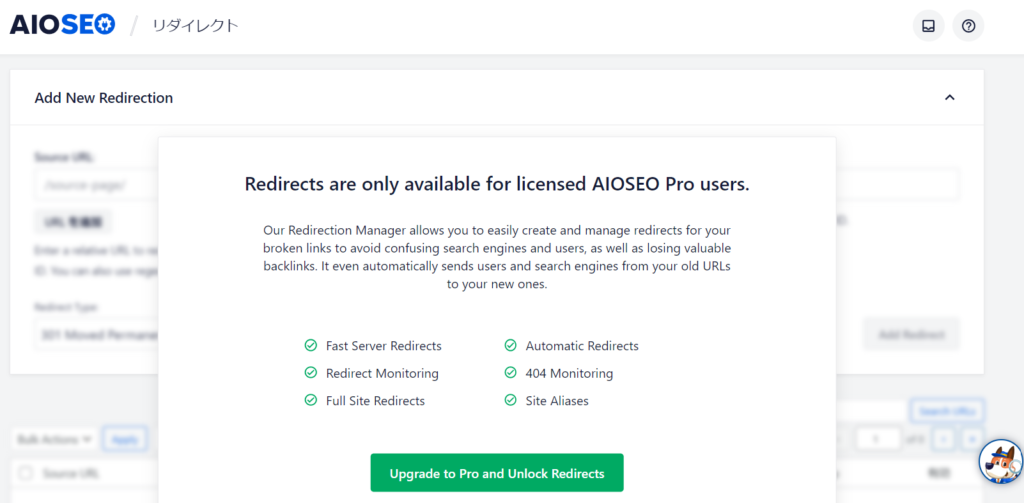
Redirect (paid only)
Redirect settings are a paid version only feature.
For example, you can use this when you change the URL.
A redirect is a setting that is made when, for example, you change the page URL of [https://xxx.com/aaa/] to [https://xxx.com/bbb/].Free Redirect PluginsSo I think it's okay to use that.
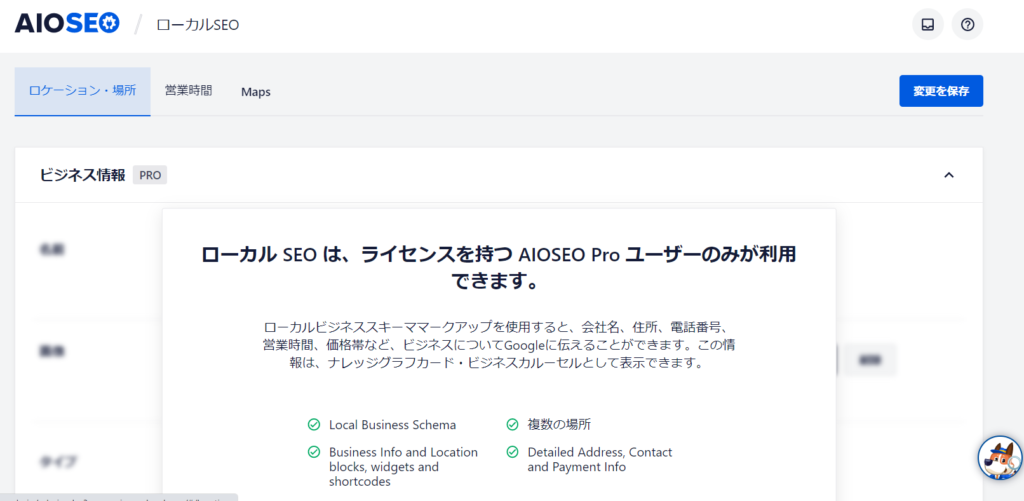
Local SEO (Paid only)
This feature is available only in the paid version.
- Tell Google about your business
This is the main function of local SEO.
[Recommended settings] SEO analysis
You can perform analysis by connecting to AIOSEO. It is easy to connect,Please do this setting..
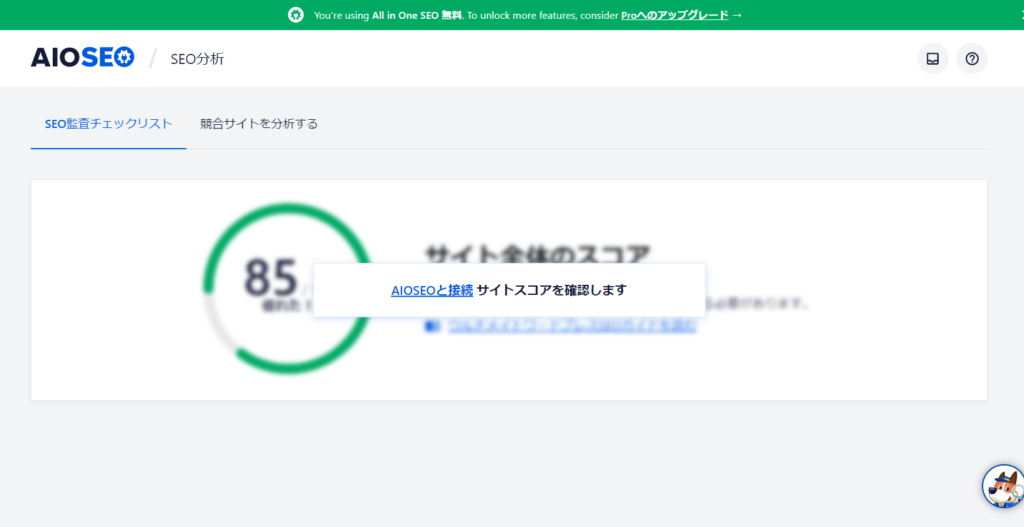
[Connect with AIOSEO] Click on the text to create a free account.
- name
- email address
You can connect with just a few simple steps!

Once connected, the site's overall score was displayed.
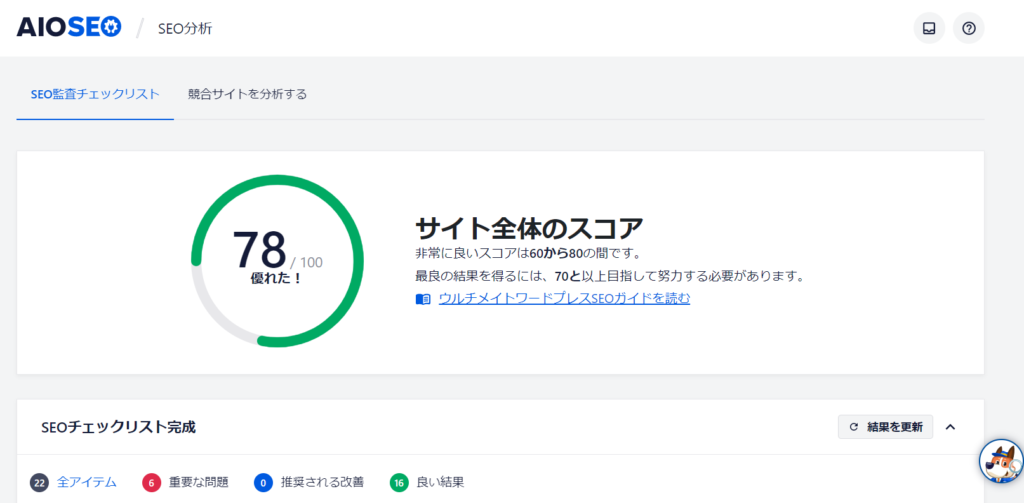
Competitive analysis made easy from the dashboard
Switch to the tab "Analyze Competitor Sites" and enter the URL of your competitor to see the results of their analysis. This is amazing.
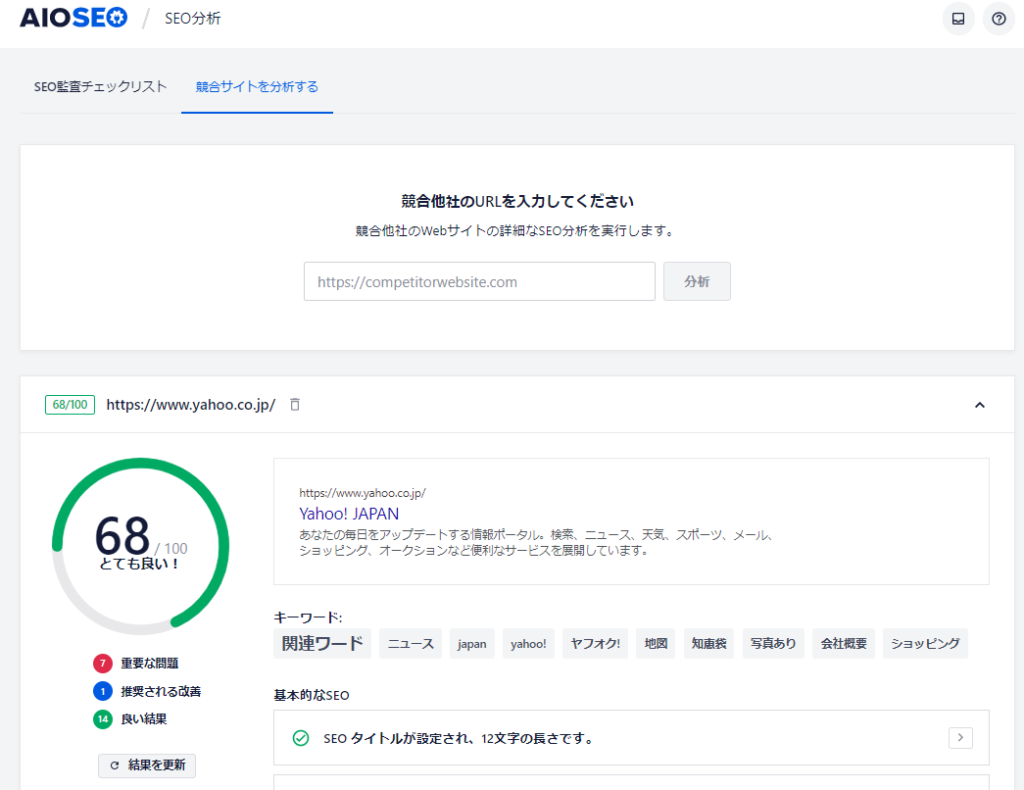
tool
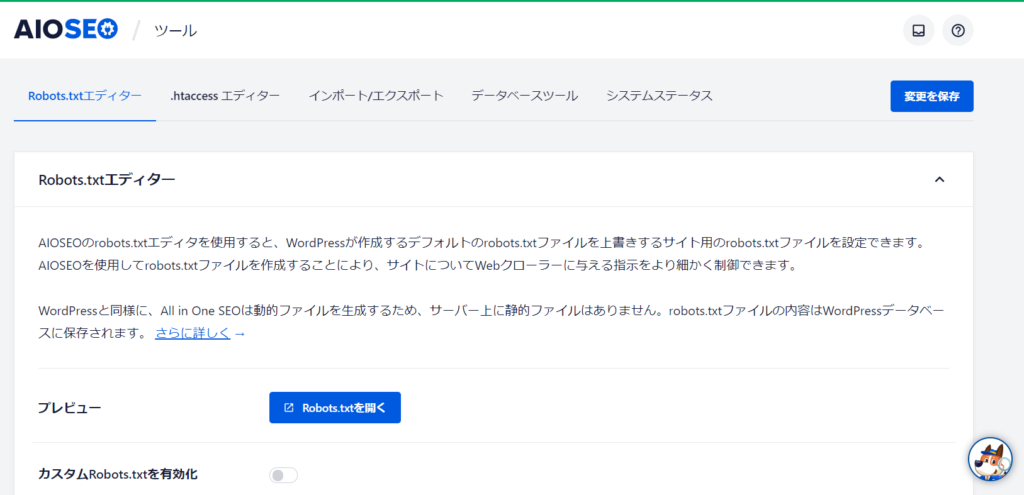
Robots.txt Control
This function allows you to edit the Robots.txt file that is automatically generated by WordPress from the WordPress dashboard.
If you make a mistake in the settings,On the contrary, they reject robots.This can also lead to problems, so please set it only if necessary.
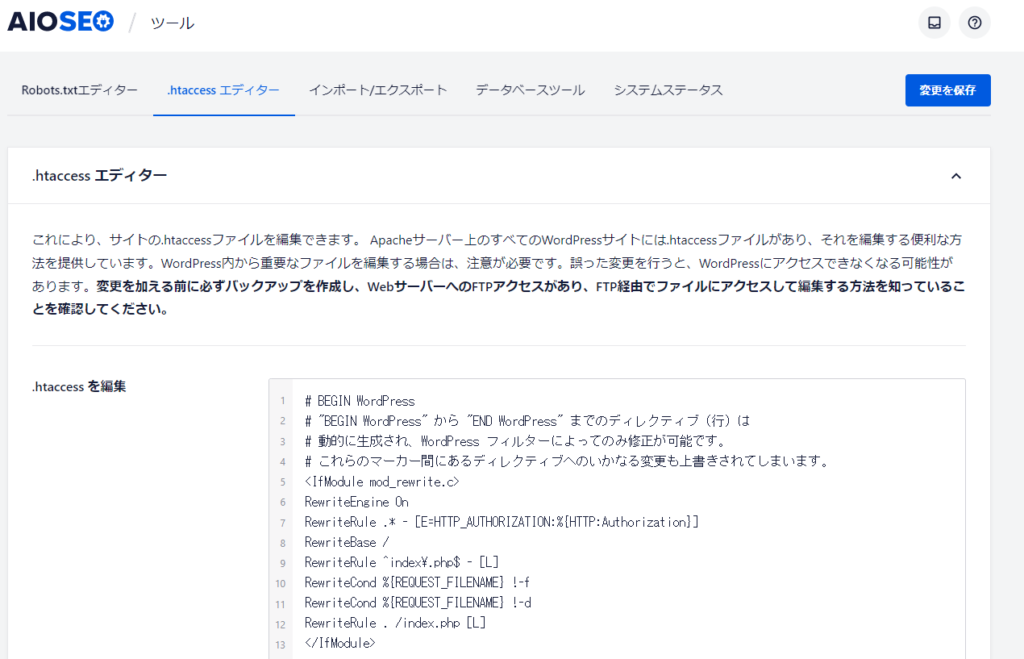
Edit the .htacess file
This feature allows you to edit the .htaccess file, which is usually edited via the server panel or FTP, from the WordPress dashboard.
This is used for setting up Always-On SSL, but since it is a core file that manages the server, if you accidentally save it with a full-width space etc.There may be cases where the site is not displayed.Please be careful when editing.
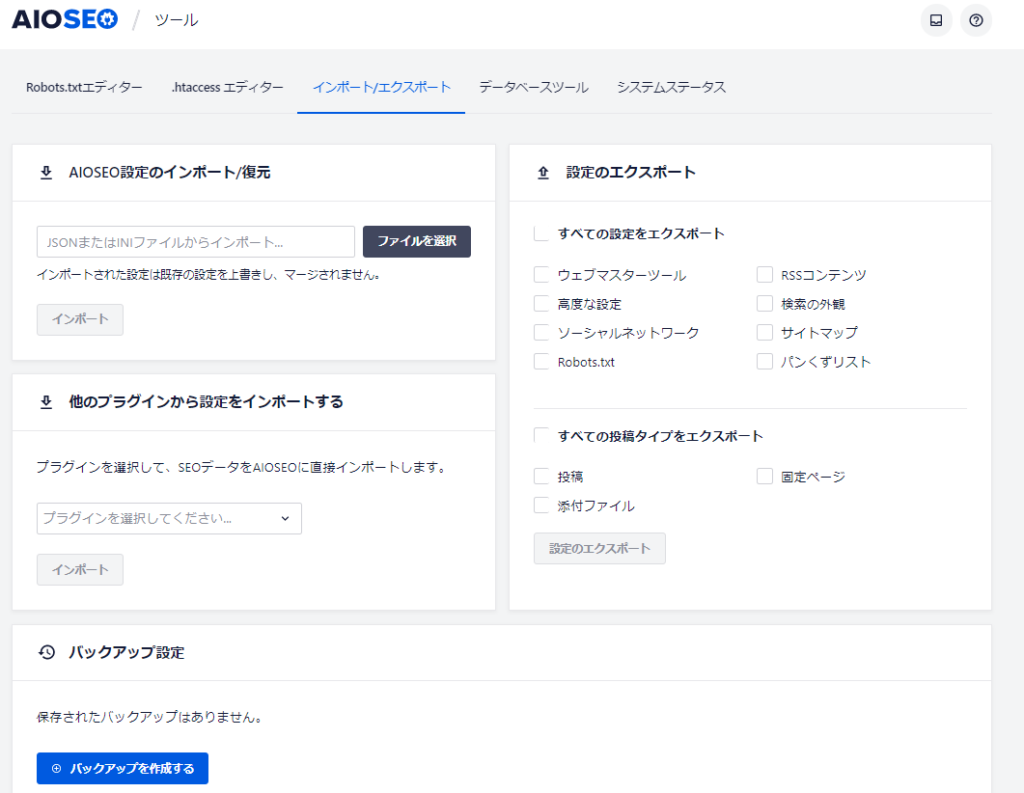
Import/Export Function
You can migrate data from other plugins such as Yoast SEO to All in One SEO.
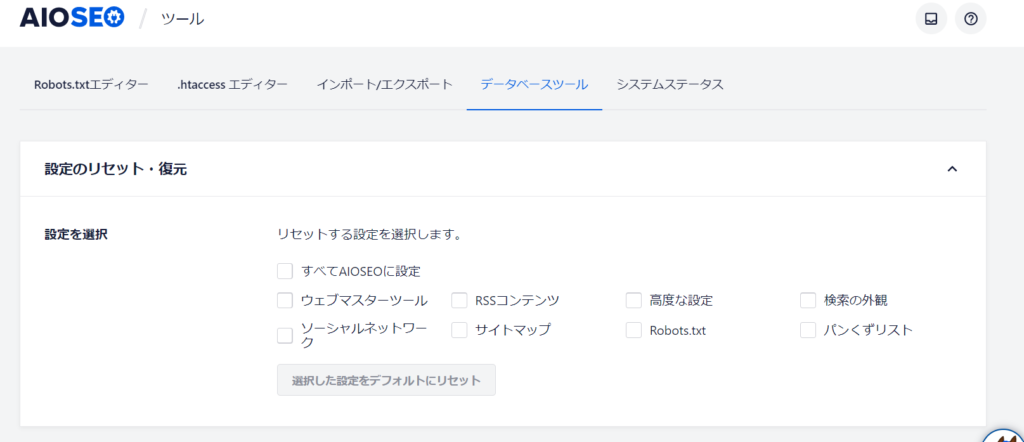
Reset settings
It's a common occurrence, but things go wrong after you've tweaked a lot of settings. In situations like this, the reset function comes in handy.
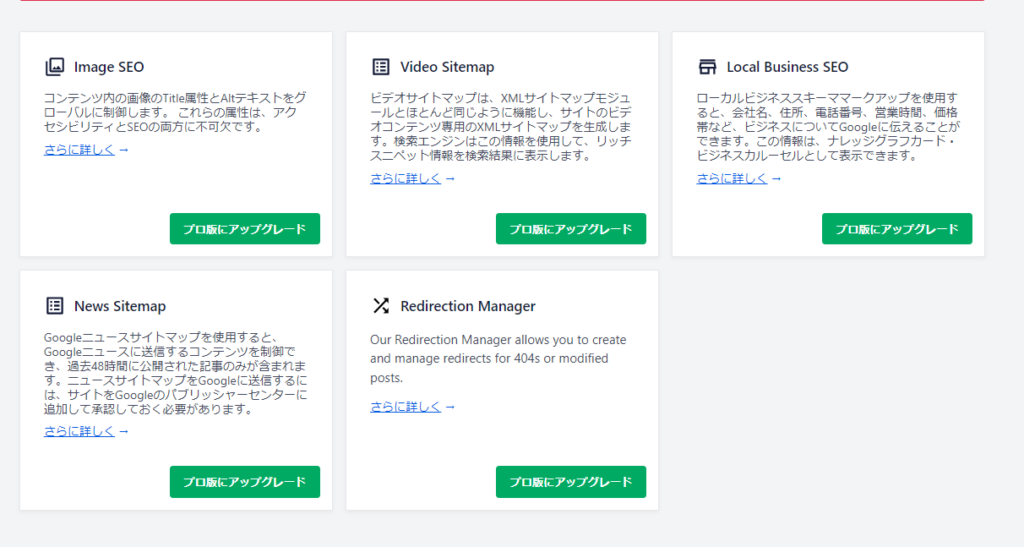
Feature Manager (Paid only)
This feature is only available in the paid version.
- Image SEO Settings
- Video Sitemap
- Tell Google about your business
- Submit your content to Google News
- Redirect Manager
How to set up on each page
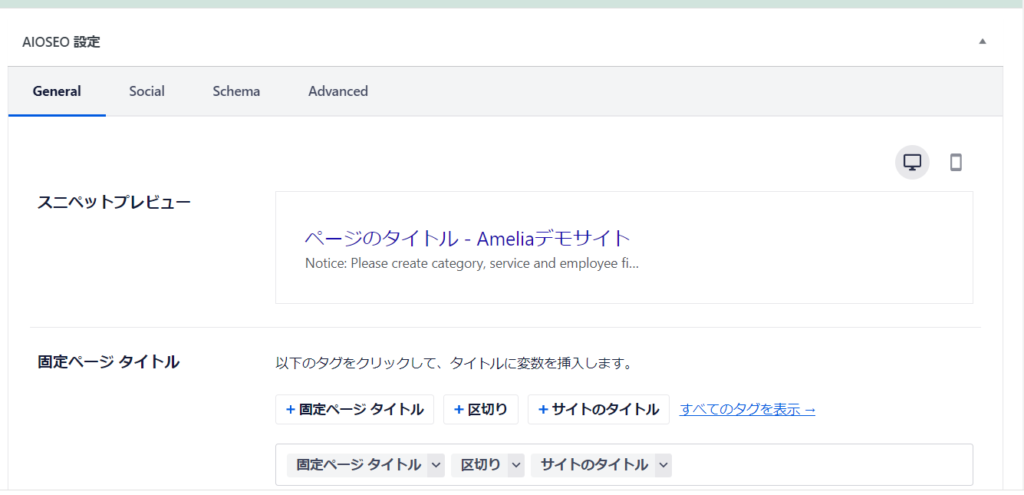
This is a common setting for static pages and post pages. When you open the editing page for each, you will see a section called [AIOSEO Settings] at the bottom. This is where you can set the SEO settings for each page.
General Settings
- page title
- Meta description
The page title is automatically output, so you can leave it as is.
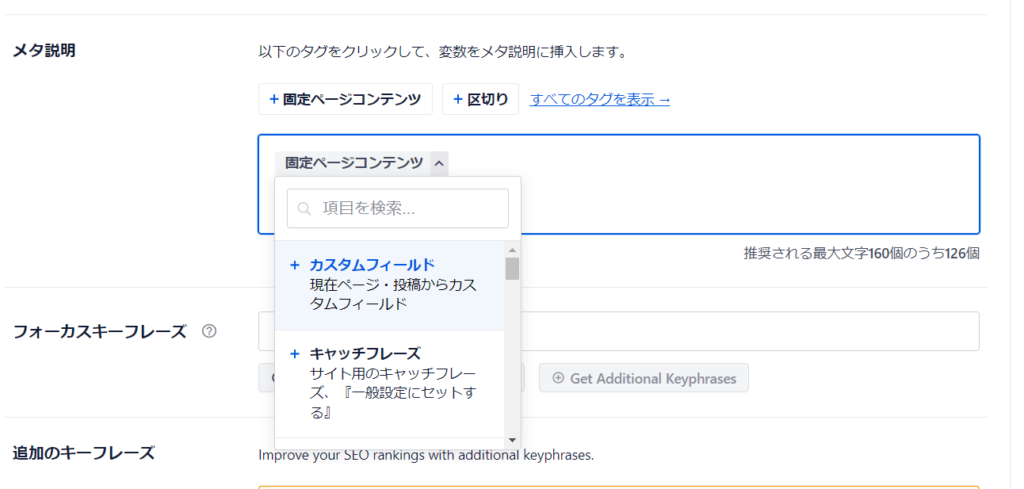
The meta description is displayed automatically, so delete it and replace it with a summary that describes the content of the page, including keywords.
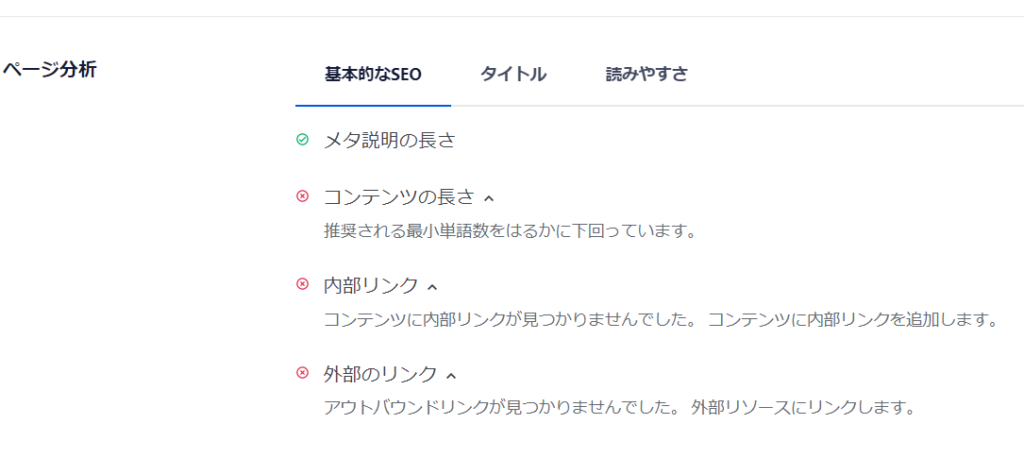
There is an analysis at the end, so please use it as a reference for your SEO settings.
- Meta description length - the length of your meta description
- Content length – the amount of text
- Internal Links – the number of links to other pages on your site
- External Links – Number of links to pages outside your own site
And so on.
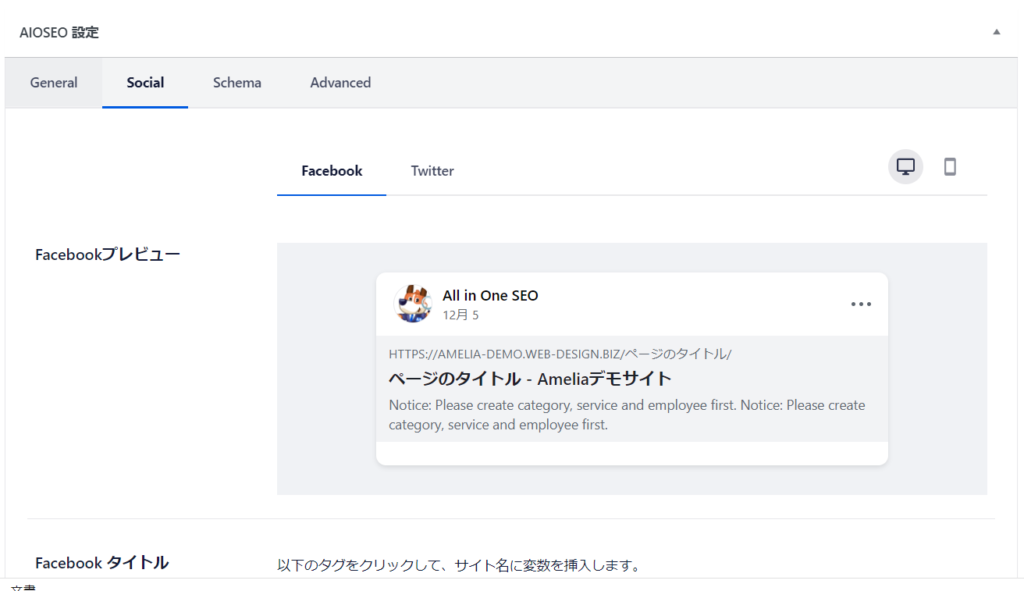
Social
Displayed when shared on Facebook/Twitter
- image
- title
- Explanatory text
Set the following:
Scheme
This is a paid feature. It is a mechanism to effectively communicate the page structure to search engines.

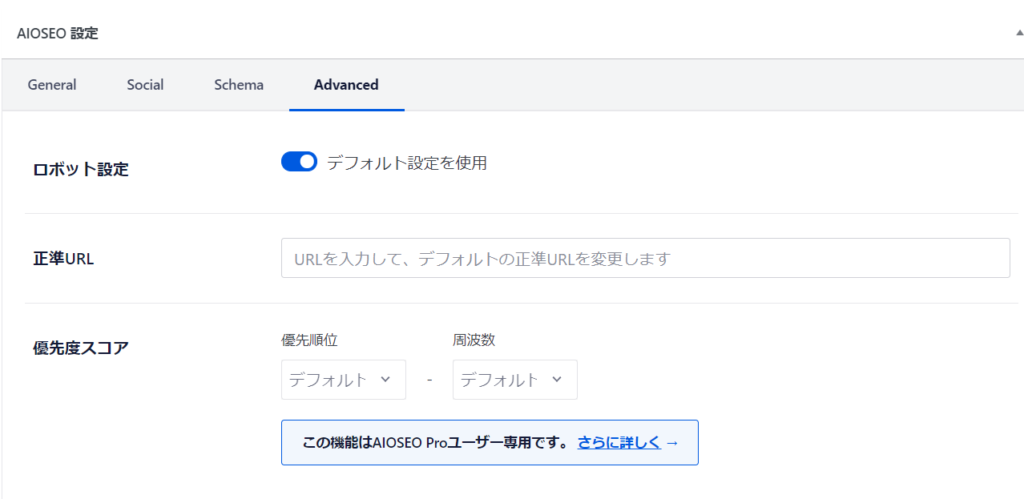
Advanced
There is no need to change this setting.
Released as soon as the next morning! Weekends and holidays are also available!
Super rush website creation plan
We offer a rush website creation plan for those who need a website in a hurry!
We can publish your content as soon as the next morning, even on weekends and holidays! If you have any questions, please check the details below!
Latest Articles
