How to create a website using WordPress/How to use plugins/No-code construction blog


How to get started with Optimize A/B testing on your WordPress site
At HanamiWEB Online School,
●Ask questions in real-time in the virtual study room!
●Ask as many questions as you want via chat!
●E-learning materials that you can learn as much as you want, 24 hours a day!
All included for just 2,500 yen/month!
I would like to explain how to do A/B testing on a WordPress site. You can also do A/B testing on a WordPress site using Google Optimize! Once you connect Optimize to your WordPress site, all you have to do is run various tests, but since many people have trouble with the initial connection, I have provided easy-to-understand illustrations for beginners.
What is A/B Testing?
This is a method of creating site layouts for patterns A and B, and analyzing actual user data to see which is better. No matter how nicely designed a website is, it won't be very effective if it's difficult for users to understand or doesn't resonate with them.
By conducting A/B testing, you can improve your site in a positive direction based on actual user data, allowing you to improve your site with fewer failures.
Example of pattern A
Here is the A pattern image used on the training course page. It is the main image set on the site.

Example of pattern B
Using A/B testing, we will display the main image introduced in pattern A as a pattern B image and test which one leads to conversions. For the pattern B image, we used an illustration.

A/B Testing with Google Optimize
This time, we will explain how to do A/B testing using Google Optimize, the king of A/B testing. Just like with HTML sites, you can also use Optimize to do A/B testing on WordPress sites.
- Change the button color
- Change the position of your conversion links
- Change the main visual photo
- Change your catchphrase
We will make small corrections such as these to increase the site's conversions.
A/B testing WordPress plugin
Besides Google Optimize, you can also use other WordPress plugins to perform A/B testing.
- A/B Testing for WordPress
- Nelio AB Testing
- Title Experiments Free
- WordPress Calls To Action
There are many A/B testing plugins that are easy to use, but I've heard that using them incorrectly can result in penalties. I think the safest way to do A/B testing is to use Optimize provided by Google.
First A/B test flow
To start A/B testing for the first time, you need to link your WordPress site to Optimize, which requires a lot of setup time, so I’ll first explain the overall process.
- Create an account on Optimize
- Setting up Optimize in Google Tag Manager
- Create an A/B test in Optimize
Create a Google Optimize account
- Create an account
- Container Creation
First, you need to create a container ID. You will use the container ID created here to link your WordPress site with Google Tag Manager.
First, log in to Google Optimize.

Create an account container.
Check the Optimize container ID
Copy the container ID from the Optimize dashboard. While in the container you want to connect, click the gear icon on the right.

What is displayed is your container ID, copy and paste it.
Below the container is the connection point with analytics. This is where you select the analytics you want to connect to. I am connecting to GA4.

Setting up Optimize in Google Tag Manager
Next, set up Optimize using Google Tag Manager.
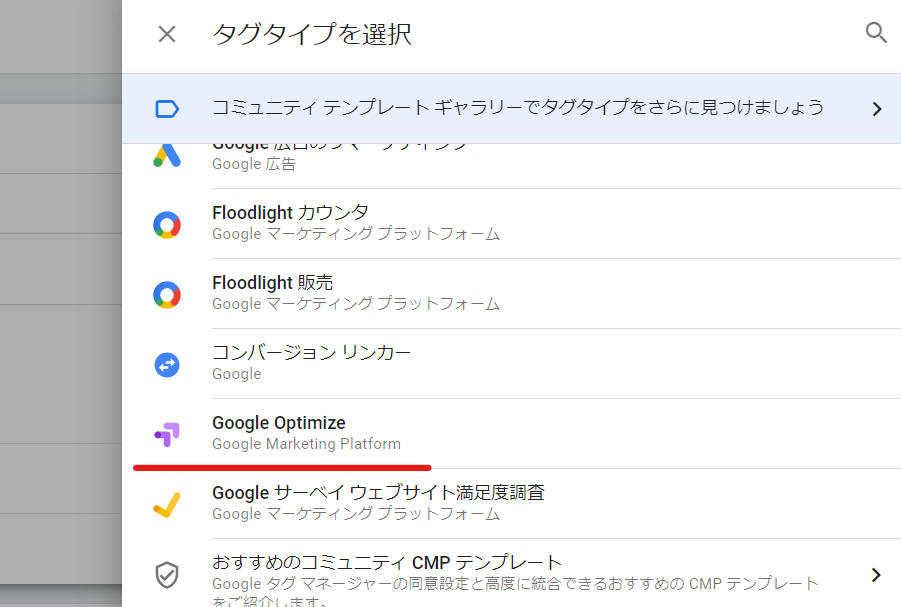
Add a new tag
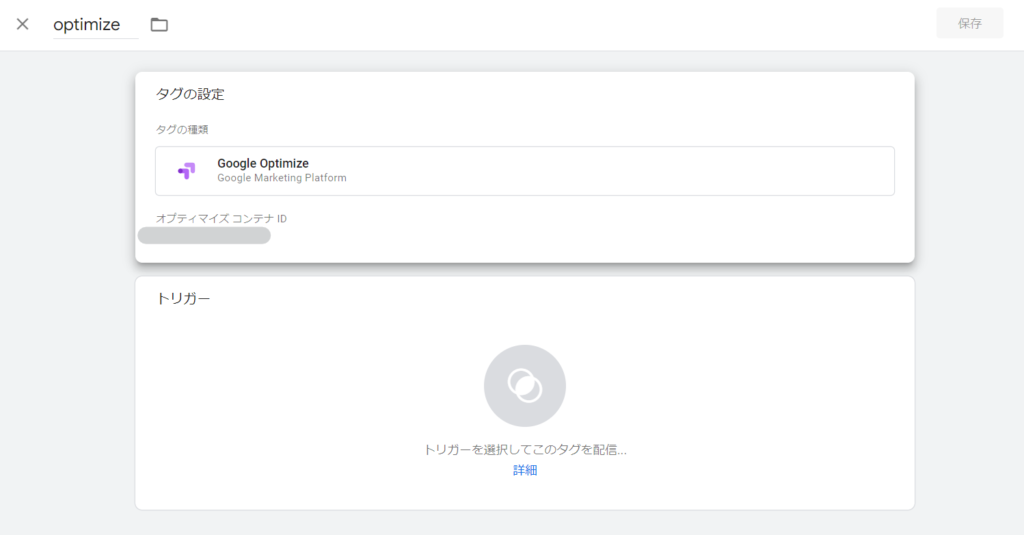
Select [Google Optimize] as the tag type. After that, you will be asked to enter the container ID, so enter the container ID you confirmed earlier.
Save without setting any triggers. Don't forget to publish after saving!
Create an A/B test with Google Optimize
This time, I have created two different main visuals for the training course recruitment page, so I would like to conduct A/B testing to see which one gets a better response.
Create a new experience
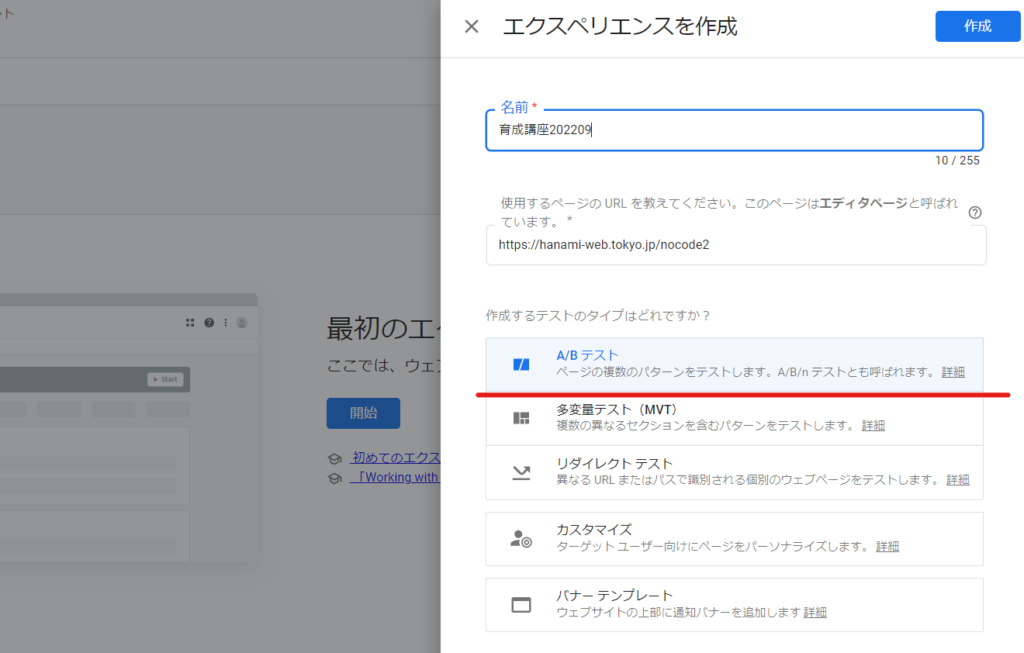
Create a new experience.

- Name - It's a good idea to use a name that lets you know when and which page the A/B test is for.
- Page URL to use – Enter the URL of the page you want to test
- Test Type – We will be using A/B testing so select A/B Test.
Once you have entered the information, click the [Create] button.
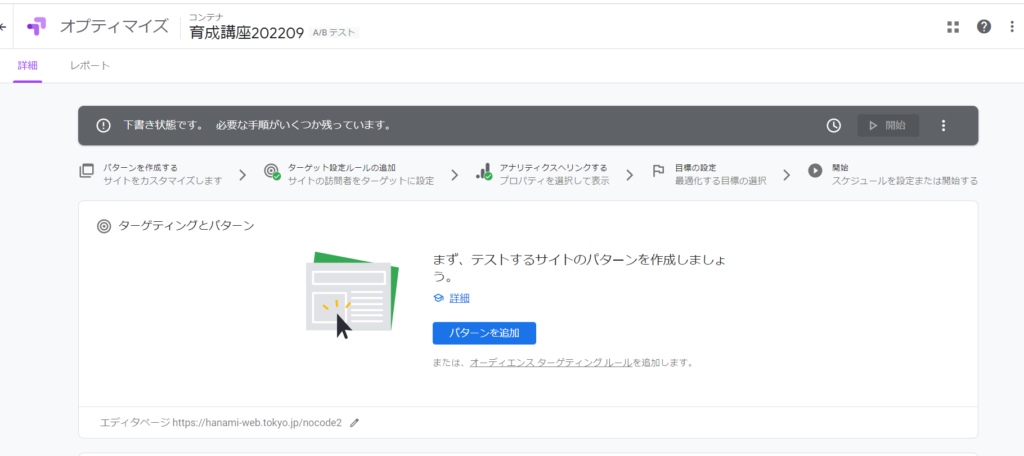
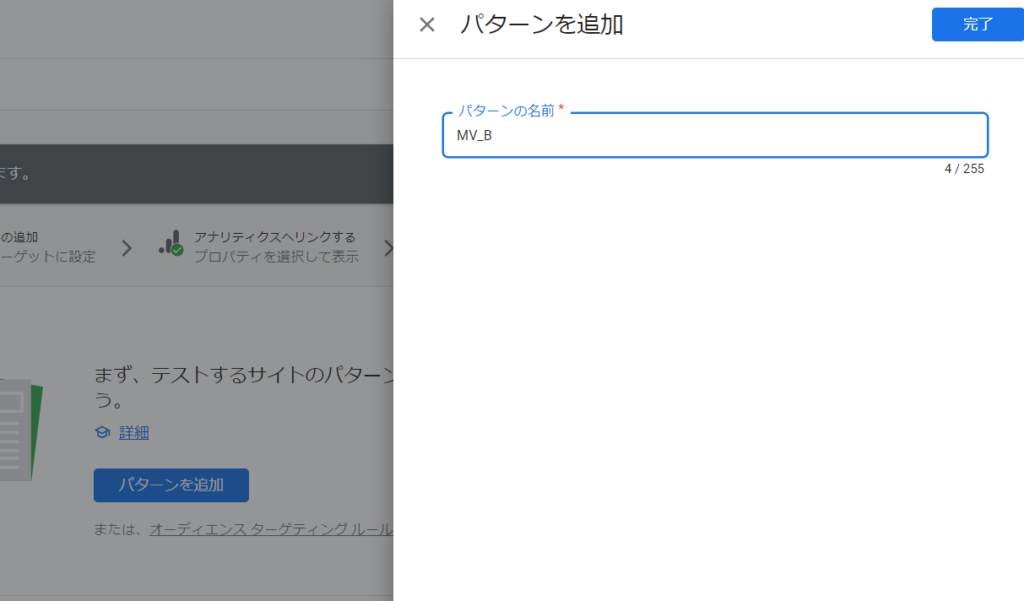
Create a Pattern
Click Add Pattern to register the second image for the main visual.
We will add pattern B.
Determine the weight
You can decide the ratio of displaying patterns A and B. This time, we will use the default setting of 50%.
Replace the image by clicking [Edit] in pattern B.
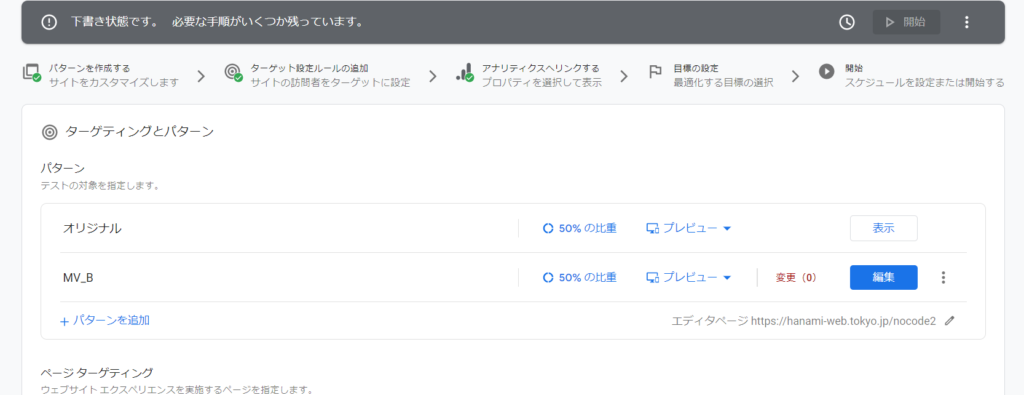
B pattern creation
Click the [Edit] button on the row of pattern B, named MV_B, to launch the editing screen.
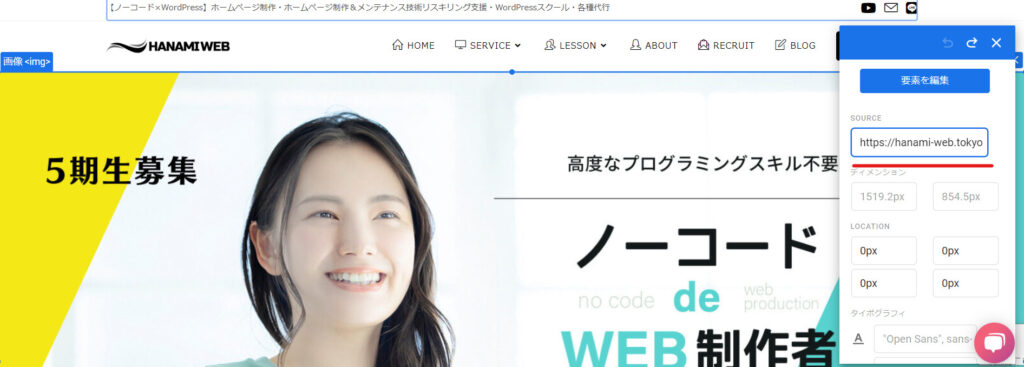
It's very easy to edit without coding!
Click on the main visual and change the image URL in [SOURCE].

Create a mobile version of pattern B
Since this main visual has a different aspect ratio for mobile devices than for PCs, we will also change the mobile version of the image.
The original site switches between PC and mobile versions, so if you change the two types, the changes will be reflected dynamically.

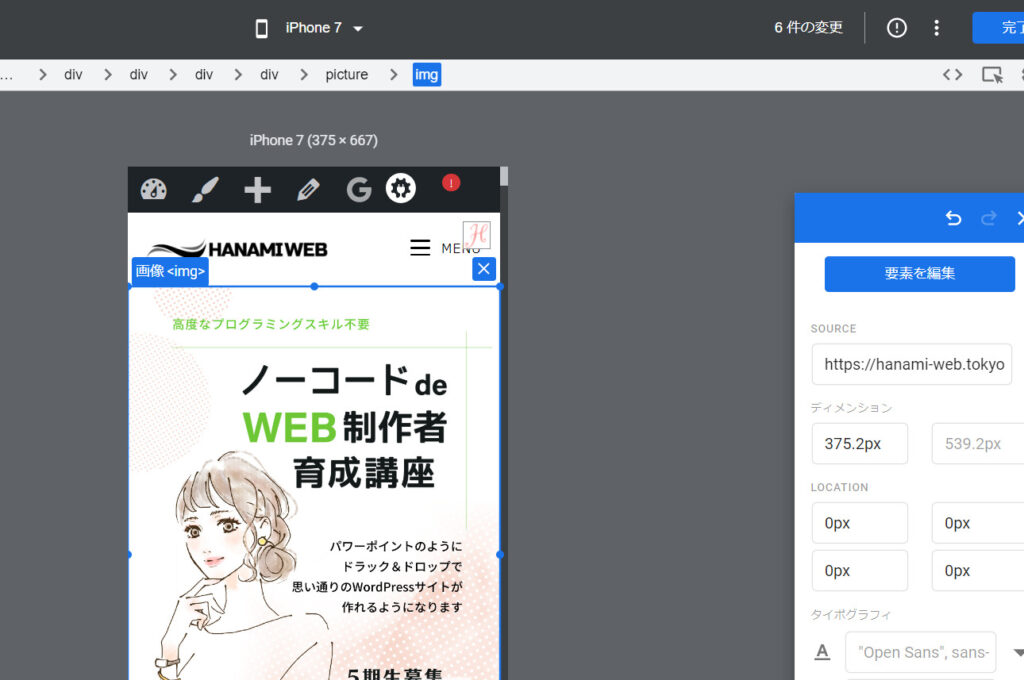
Finally, click the Finish button.

Page targeting
Set which page you want to target. The value you entered when you created the new experience should be set, so you can continue with the same setting.

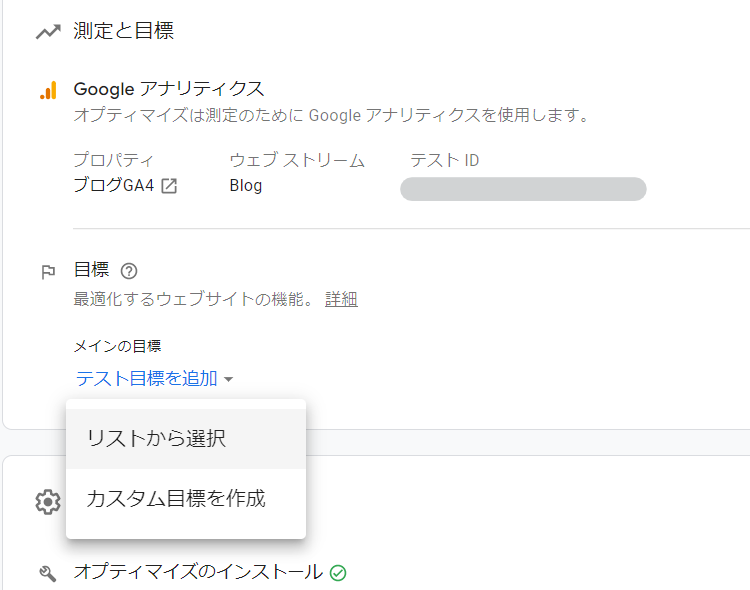
goal setting
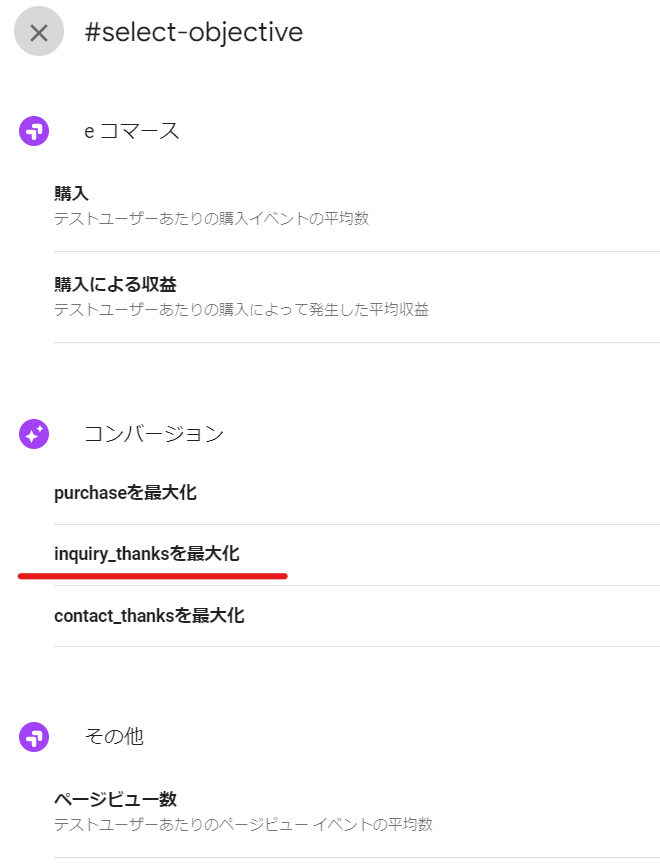
Set a goal. I chose a goal from a list.
Since I had set up the conversion using Google Tag Manager, GA4, I was able to select it! The conversion on the training course page is an application for a one-on-one interview (request for information), so the goal is the application completion page called inquery_thanks. This is what I will set.
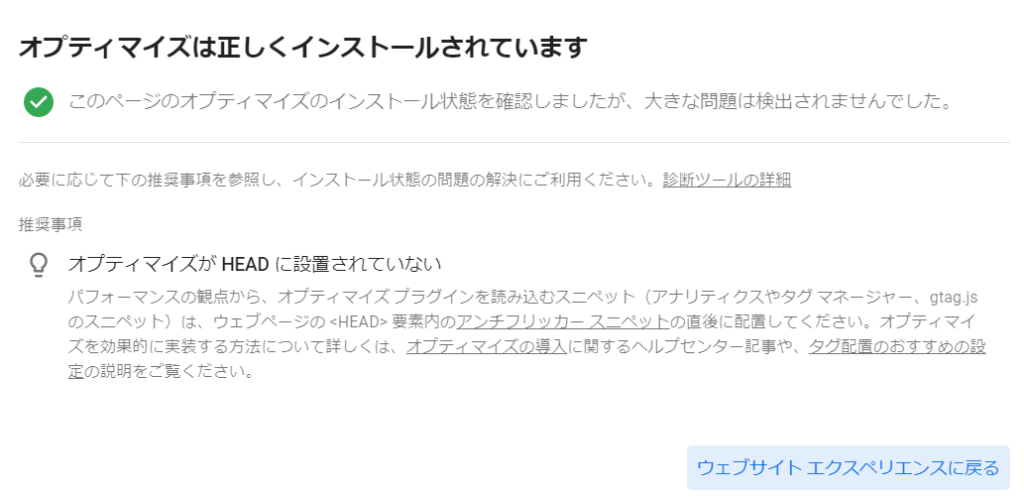
Checking the connection
If it says "installed correctly," it's OK.
How to avoid errors
With the end of Universal Analytics in mind in July 2023, I connected Optimize to GA4. However, as of September 2022, it seems that the Optimize connection from Site Kit by Google is not compatible with GA4, and an error occurred.
The error was successfully resolved by connecting Optimize using Google Tag Manager instead of Site Kit by Google.
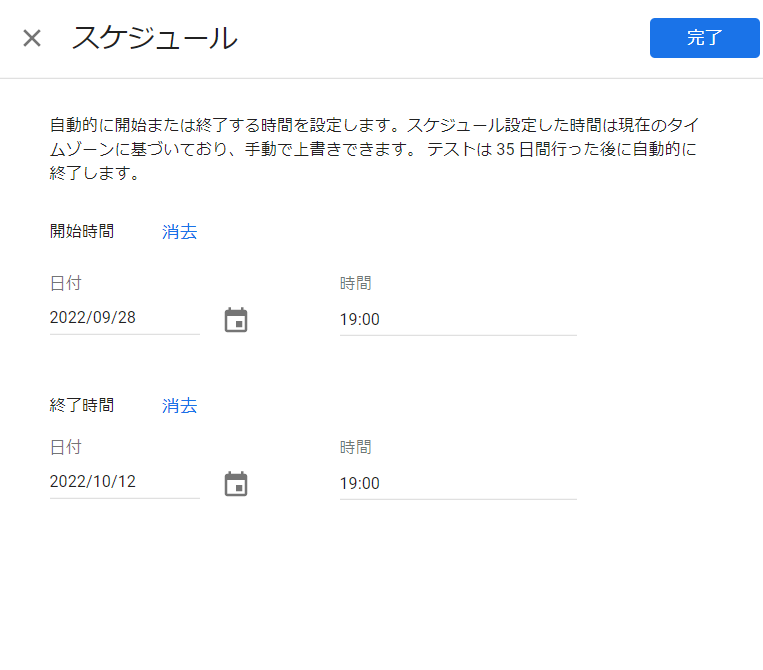
Schedule an A/B test in Optimize
I set the period for A/B testing using Optimize. I felt that I needed to study how long a period I should take statistics for.
First, I decided to create a schedule for two weeks.
Starting A/B Testing with Optimize
After setting the period for A/B testing in Optimize, click the Start button and wait for the test period to end. Once all settings are complete, you will be able to click the [Start] button.

Wait until it finishes.

summary
I spent a lot of time on the connection error of Optimize. As a result, I came to the conclusion that it would be better to stop connecting from Site Kit by Google to Optimize, but when I searched the Internet, it seems that there are patterns that are plagued by various errors.

We are available on weekends and holidays!
Please contact us if you have any problems with your website!

- Unable to log in to WordPress
Malware infection?
- The homepage suddenly stopped displaying!
- A PHP error is occurring.
We also offer support on weekends and holidays for those who need assistance.
If you are in a hurry, please call us now at 03-6694-7024.
Latest Articles
Timing and Process for Renewing Your Recruitment Website | Key Points to Review to Increase the Number of Applications
7 Key Points for Creating a Recruitment Website | How to Create a Recruitment Site That Job Seekers Will Choose
What is the average cost of a recruitment website? A thorough explanation of pricing by production method.
5 Benefits of Creating a Recruitment Website with WordPress | Explaining Why It's Easy for the Person in Charge to Update