How to create a website using WordPress/How to use plugins/No-code construction blog


")
How to set up a heatmap (Hotjar) to increase your homepage conversions
At HanamiWEB Online School,
●Ask questions in real-time in the virtual study room!
●Ask as many questions as you want via chat!
●E-learning materials that you can learn as much as you want, 24 hours a day!
All included for just 2,500 yen/month!
We will introduce ways to improve your site using heat maps, a tool that shows which parts of a homepage are most viewed and clicked on, and which parts are causing visitors to abandon the site.
Normally, when introducing a heatmap, you would need to insert an embed tag in the head, but here we will show you how to introduce a heatmap with no coding and without modifying your site!
What you can do with heatmaps
- You can see where it clicks
- Find out which sections are most popular
- Identify the exit point
- Find out where the problem is occurring
This tool allows you to visualize the behavior of visitors to your site.
We recommend Hotjar, which is free to use.
In this article, I will introduce a heatmap tool called Hotjar that can be linked to Google Tag Manager. It is free to start with, so I will explain how to register.
A 15-day trial will begin. After the trial, you can continue using the Basic plan for free.
Register with Hotjar

Sign in with your Google account
We will create an account on Google, taking into consideration new registration and password management.

Register your site with Hotjar
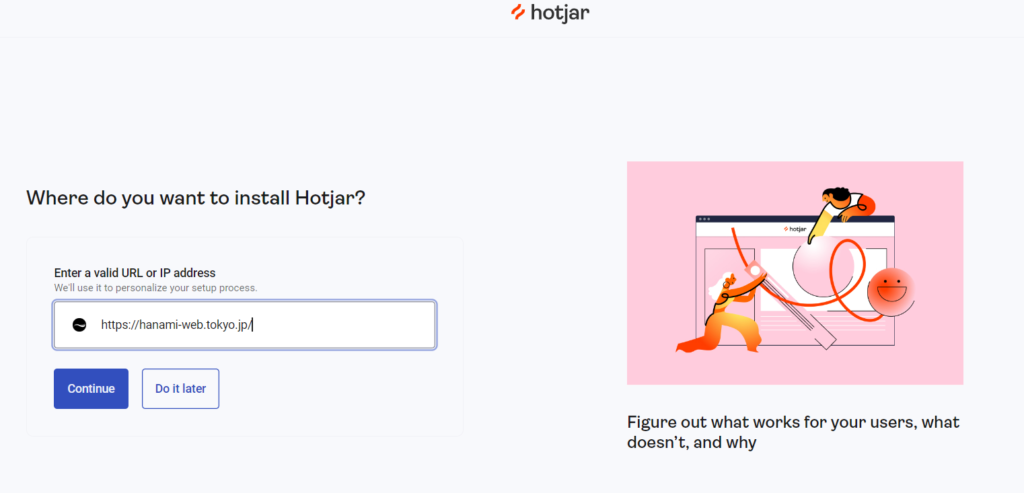
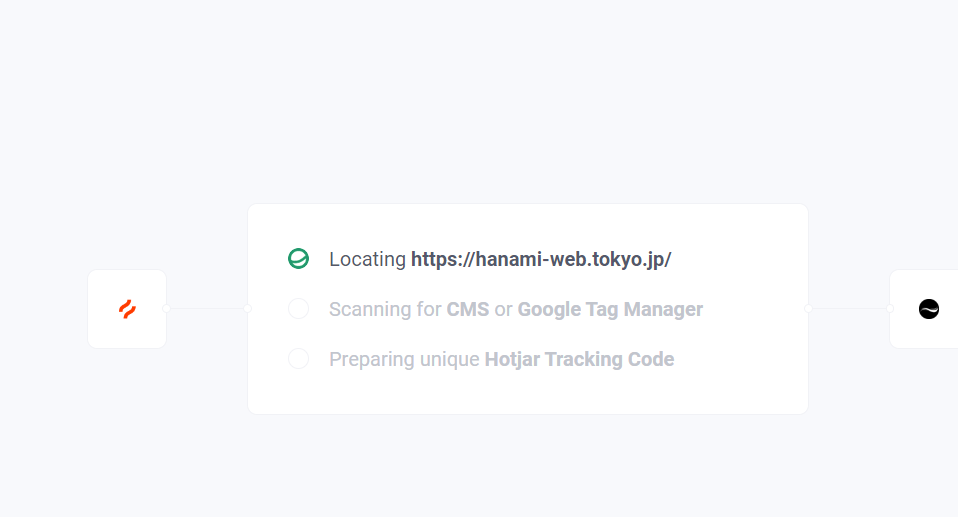
Click [Continue] and wait a moment for it to be completed.
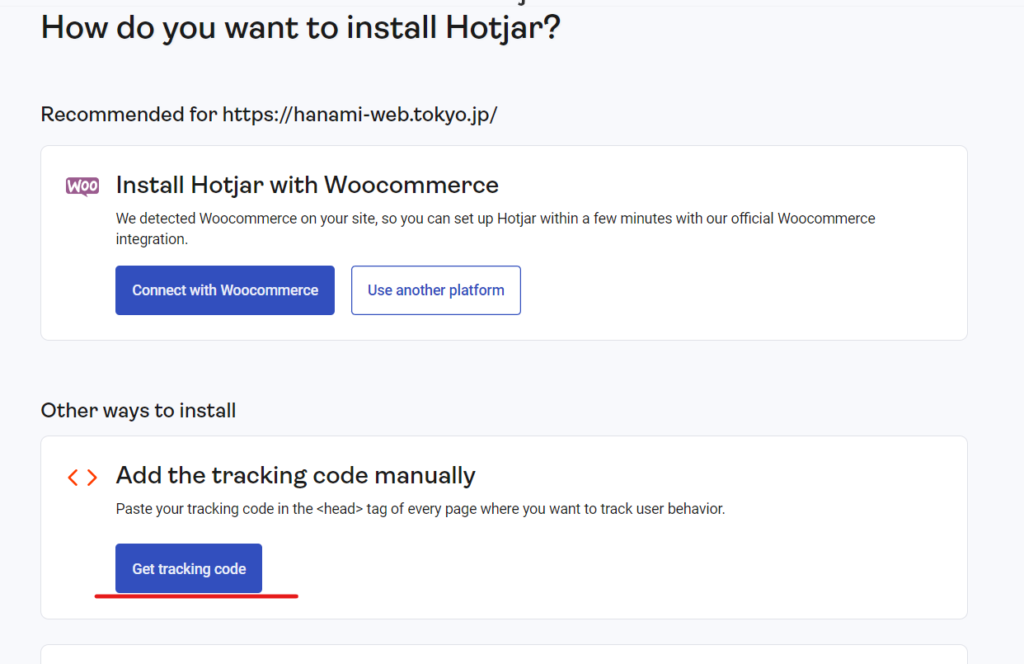
Embed the connection code on your site
The site was detected, but if it were to be used in this state, anyone would be able to see information from other companies' sites. Analysis will not begin unless a specific embed code is entered into the site.
Use Google Tag Manager to connect your site to Hotjar without any coding required.
Click [Get tracking code].
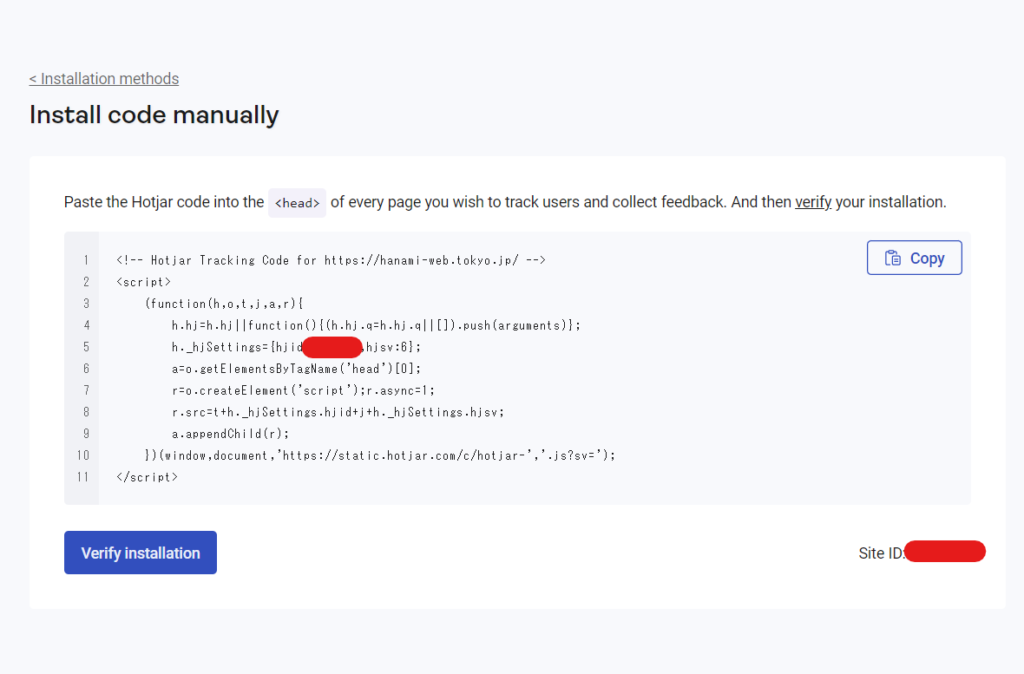
The code looks like this.
The part under the red line is your Hotjar code. You will enter this code into Google Tag Manager later.
Log in to Google Tag Manager
Log in to Google Tag Manager and click "New" under "Tags".

Give a name
Give it a name that is easy to remember. Once you've changed the name, click the pencil icon to set tags.

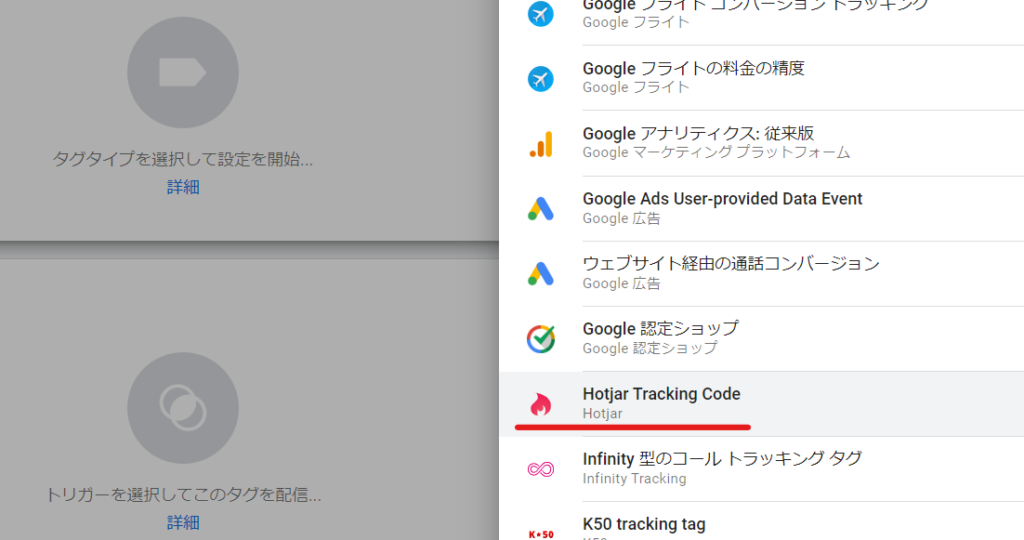
Select [Hotjar Tacking Code]
Enter your Hotjar ID

Enter the Hotjar code you confirmed earlier.

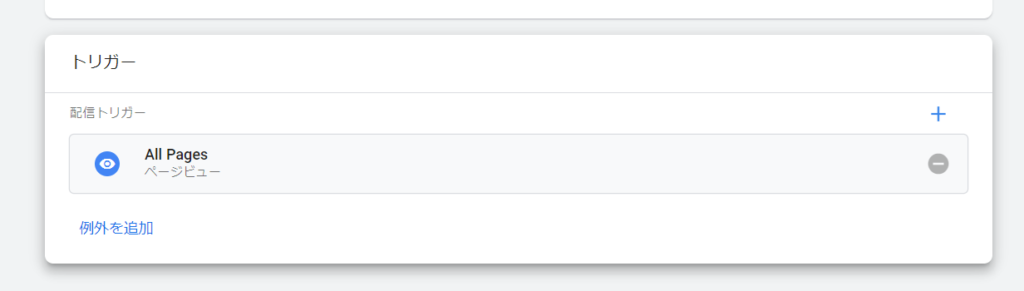
Trigger Settings
Since we want to analyze all pages, we will set the trigger to [All page].
Finally, click [Save].
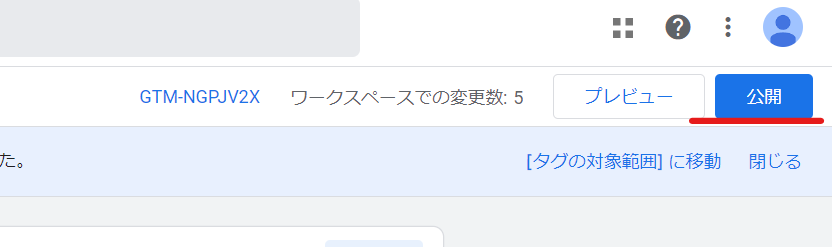
Release
Once you've added the new tag, click Publish.
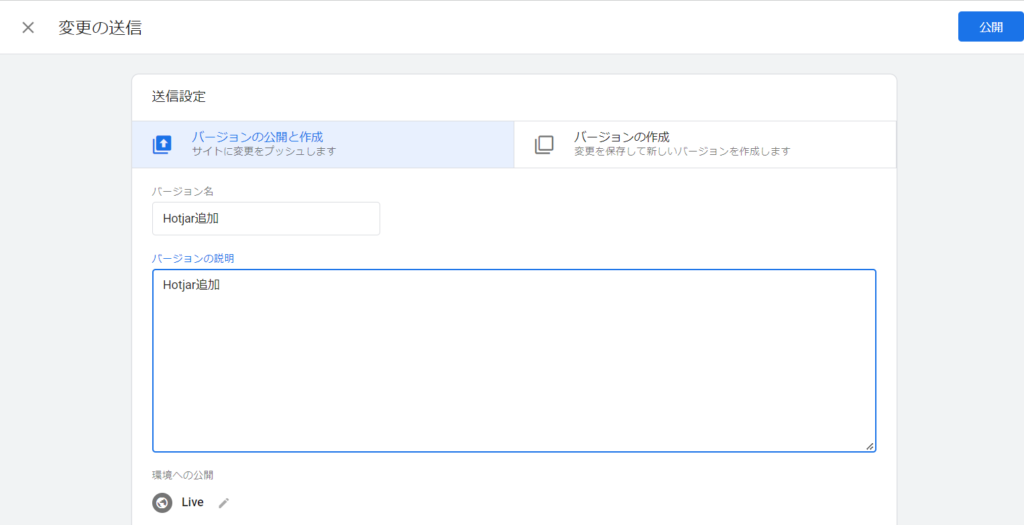
Enter the changes you made and publish.
I was able to set up Hotjar using Google Tag Manager without any coding, without modifying the header.php on my site!
Check if Hotjar is working properly
Verify that the connection is successful.
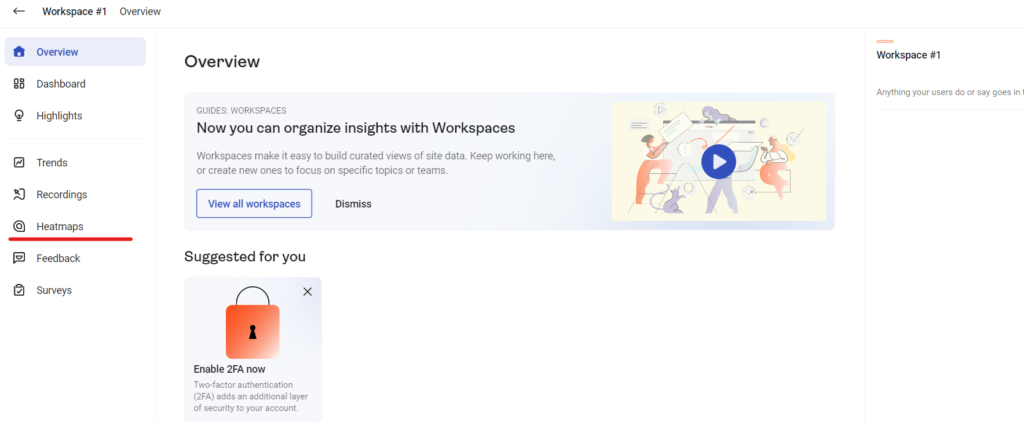
Once you have set up Google Tag Manager and connected your site to Hotjar, you will be taken to the admin screen shown below. Click on [Heatmap].
Create a new heat map
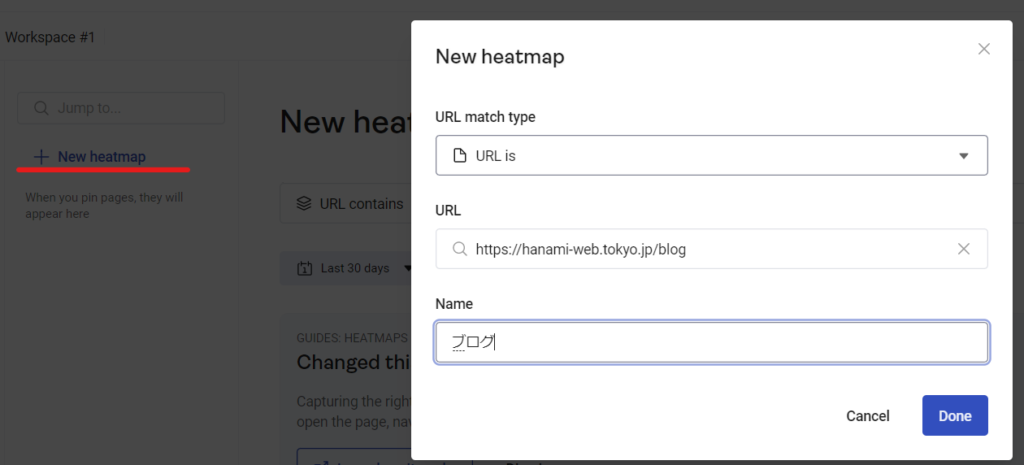
Create a new heatmap by clicking [New heatmap].

Add the page you want to analyze
- Select the type to match
- The URL of the page to be analyzed
- name
Set the settings and click [Done].
How can we help you improve our site?
We will briefly explain how the results of heat map analysis can be used to improve your website.
Know what's being clicked
By knowing what parts of the page people who visit are interested in, you can see that it is a good idea to focus on the pages linked to by the clicked parts that serve as the next path.
Also, if people are clicking in unintended places, it may be a good idea to add a link, as this is a place where many people mistakenly believe they can link.
I've left midway
If there are many people who leave the site midway, is the content not interesting? Is the title or opening content attractive? It is a good idea to review the content. If the color has changed drastically and people are leaving the site, it may be a problem with the site.
Not arrived at conversion
If visitors are abandoning the inquiry button before they reach it, you could consider moving them to the inquiry link before they leave or offering a special bonus.
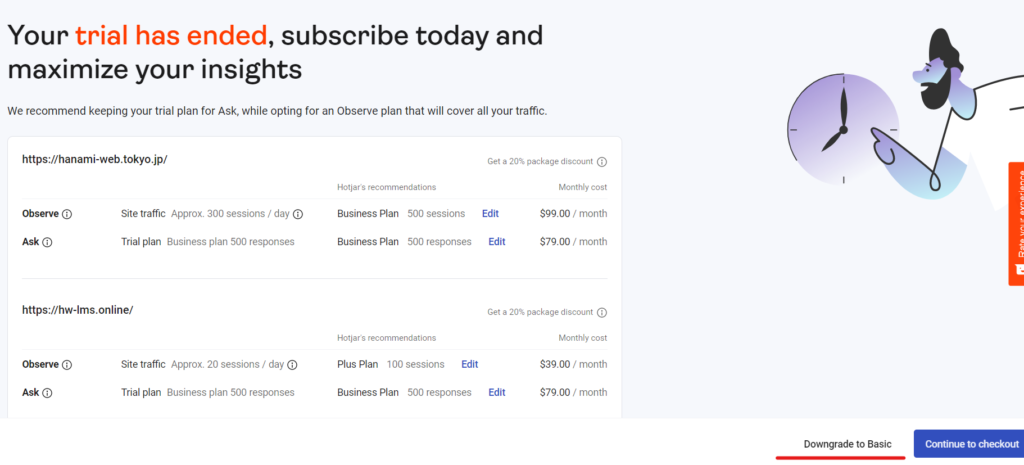
Once your free trial is over
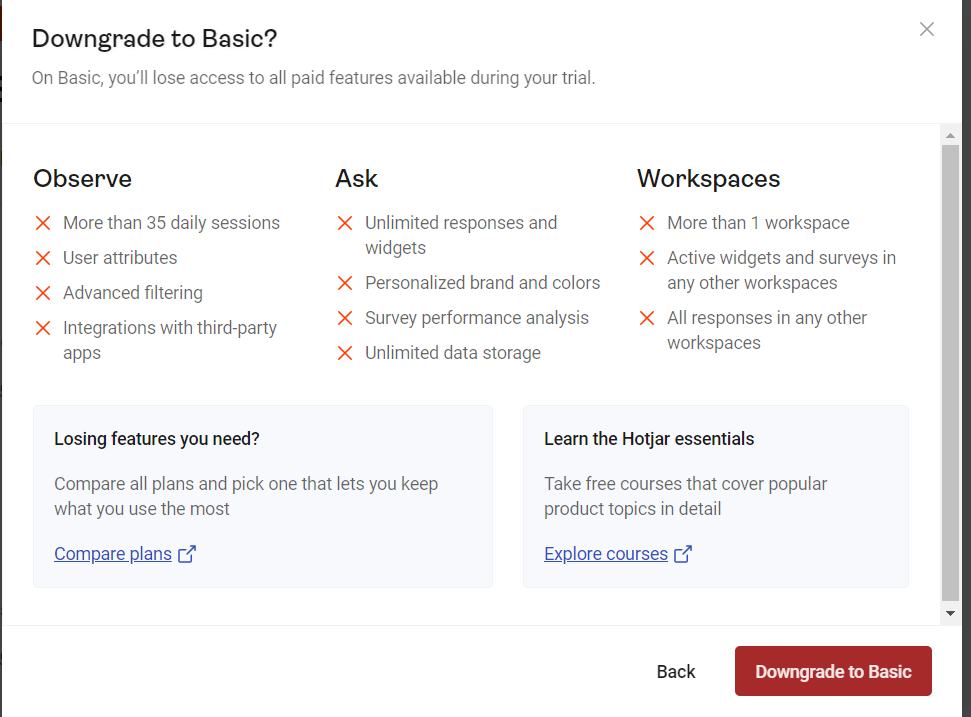
When you create an account, a free trial will start. After the trial period ends, when you log in, you will be prompted to pay for the paid plan. If you want to continue using the free plan, click [Downgrade to Basic] at the bottom right.
What are the differences between Hotjar's plans?
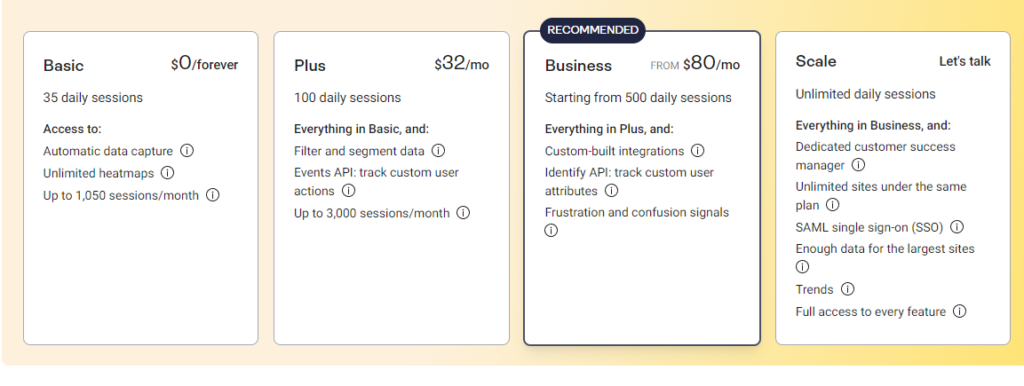
Hotjar Basic Plan Free
Use Hotjar for freeThe Basic plan is free.
- 35 days of data storage
- 1050 sessions/month
There is a rule that states:
Hotjar Plus Plan $32/mo
Hotjar's Plus plan. All the features of the Basic plan plus
- Data storage for 100 days
- Segment Data Measurement
- 3,000 sessions/month
will be available for use.
Hotjar Business Plan $80/mo
- 500 days data storage
- Can be integrated with Slack, Zapier, etc.
- More detailed data can be tracked
To facilitate improvements to the site
In this way, heat maps can help you pinpoint areas of your site that need improvement, with fewer mistakes than if you were to make random corrections based on your own ideas.
In order to improve your website smoothly, you can't rely on outsourcing every time. The key to success is to create an environment where you can modify your website in-house and quickly turn around PCDA. We use WordPress and no-code to support website creation and in-house development, so if you're a webmaster who is interested, please feel free to contact us for a free consultation!

We are available on weekends and holidays!
Please contact us if you have any problems with your website!

- Unable to log in to WordPress
Malware infection?
- The homepage suddenly stopped displaying!
- A PHP error is occurring.
We also offer support on weekends and holidays for those who need assistance.
If you are in a hurry, please call us now at 03-6694-7024.
Latest Articles
Timing and Process for Renewing Your Recruitment Website | Key Points to Review to Increase the Number of Applications
7 Key Points for Creating a Recruitment Website | How to Create a Recruitment Site That Job Seekers Will Choose
What is the average cost of a recruitment website? A thorough explanation of pricing by production method.
5 Benefits of Creating a Recruitment Website with WordPress | Explaining Why It's Easy for the Person in Charge to Update