How to create a website using WordPress/How to use plugins/No-code construction blog
We will use screen captures to provide a detailed explanation of how to set up WordPress after signing up for the Sakura rental server's two-week free trial period.
![]()
Sakura Rental Server Two-week free trial period Click here to apply
The process involves logging in to the Sakura rental server control panel, creating a database, and quickly installing WordPress.
Login to the Sakura Rental Server Control Panel
In the previous blog, Sakura Rental Server offers a free 2-week trial period. Once you have completed the application process, access the server control panel login URL listed in the provisional registration completion email in step 10.
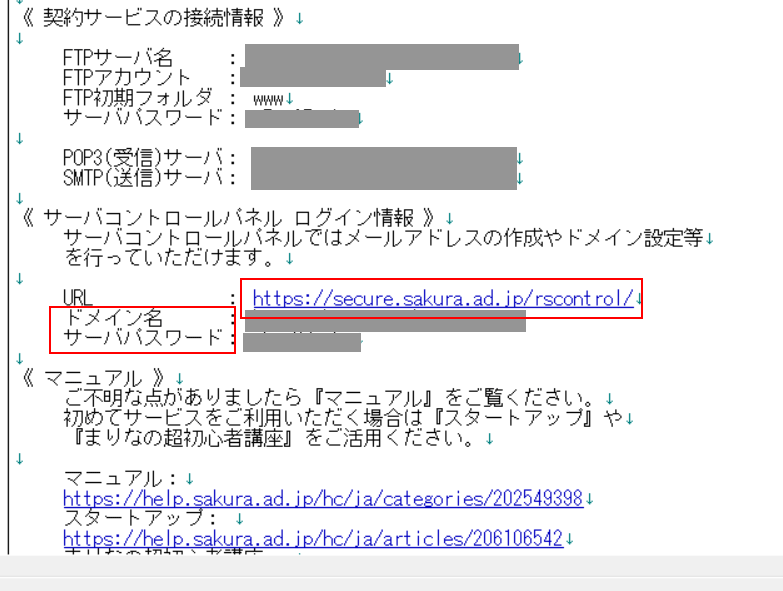
Enter your login information
Enter the domain name and server password provided in the email.
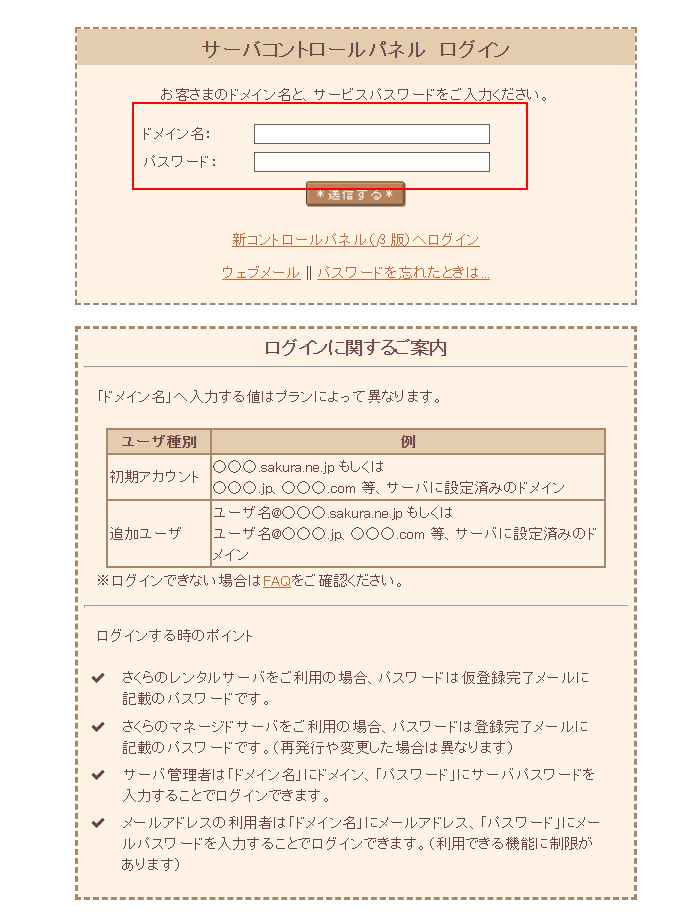
Database Settings
This is the server control panel login screen. Click [Application Settings] > [Database Settings] on the left side.

Creating a new database
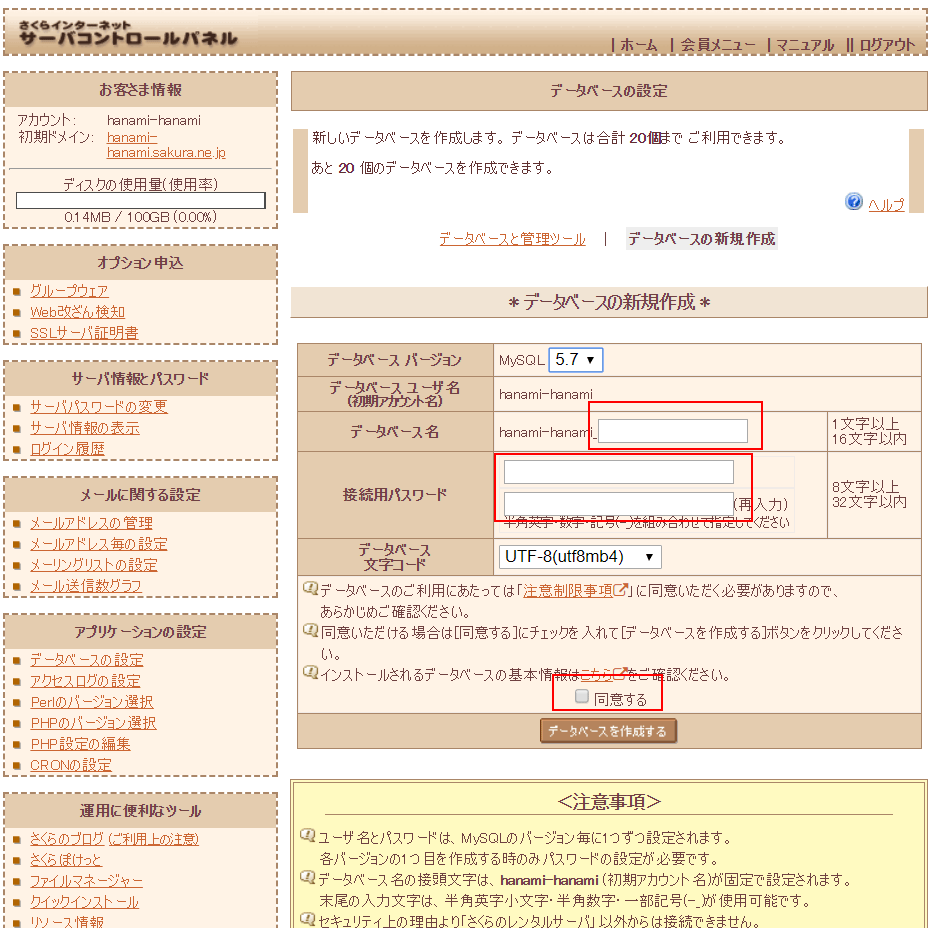
Click [Create a new database].

Enter required database information
Enter the following three items: [Database name], [Connection password], and [Agree].
The database name can be any string. For example, [blog1] is fine.
Please enter the connection password as well.
Finally, check the box to agree and click the [Create database] button.
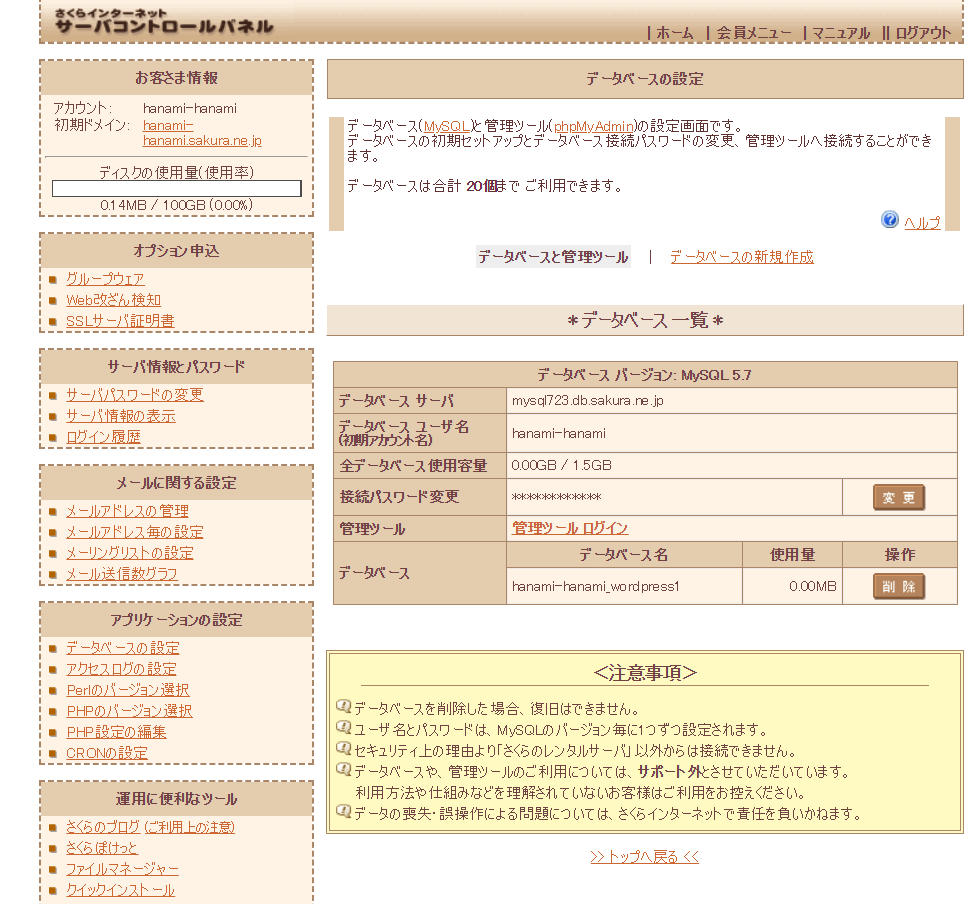
Database creation complete
This completes the database creation.
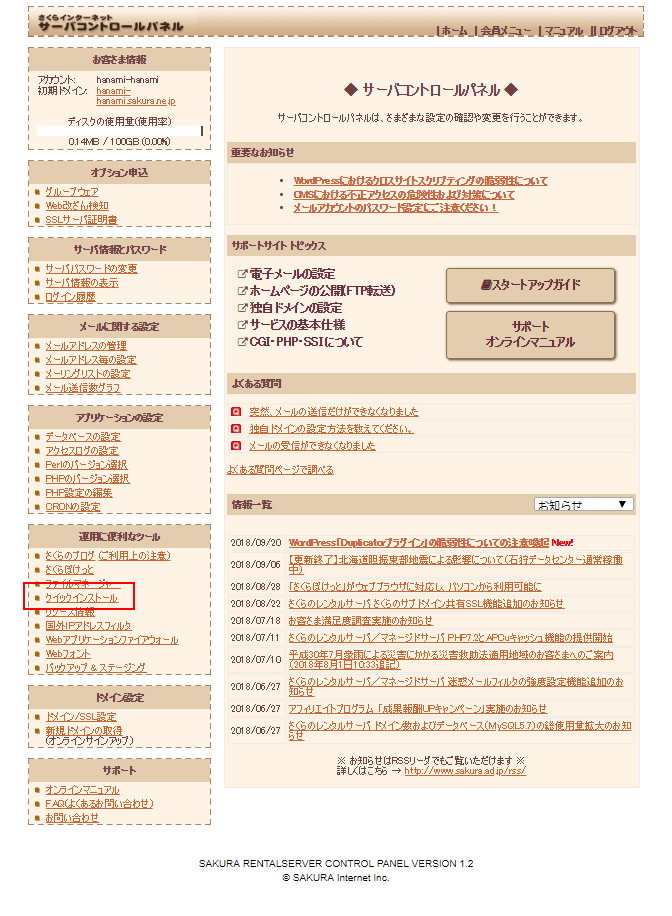
WordPress Quick Install
It's time to install WordPress. Click [Tools for Useful Operations] > [Quick Install] on the left side menu.
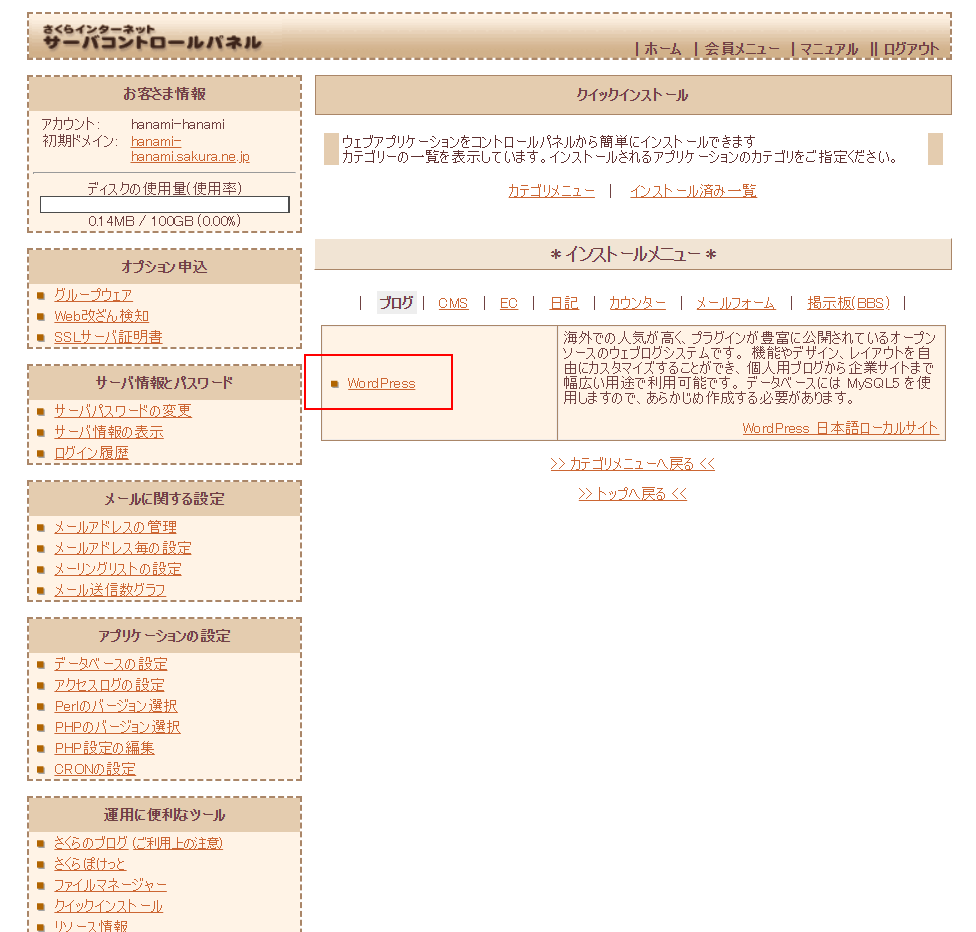
Select a blog
Click on [Blog].

Select WordPress
Click on [wordpress].
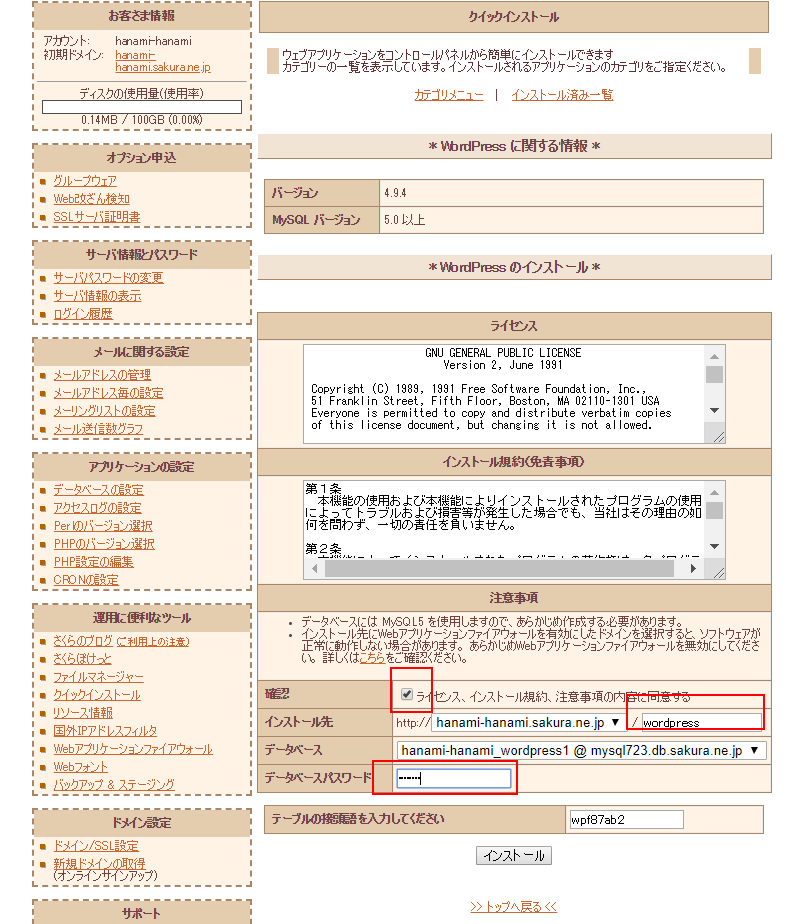
license
Check the [License] button.
Enter the installation folder. For example, enter [wordpress]. Enter the initial domain/wordpress/ in the address bar to display the homepage.
If you have created multiple databases, please select the database you want to link to WordPress.
Enter the database password you created.
Once you have finished entering the information, click [Install].
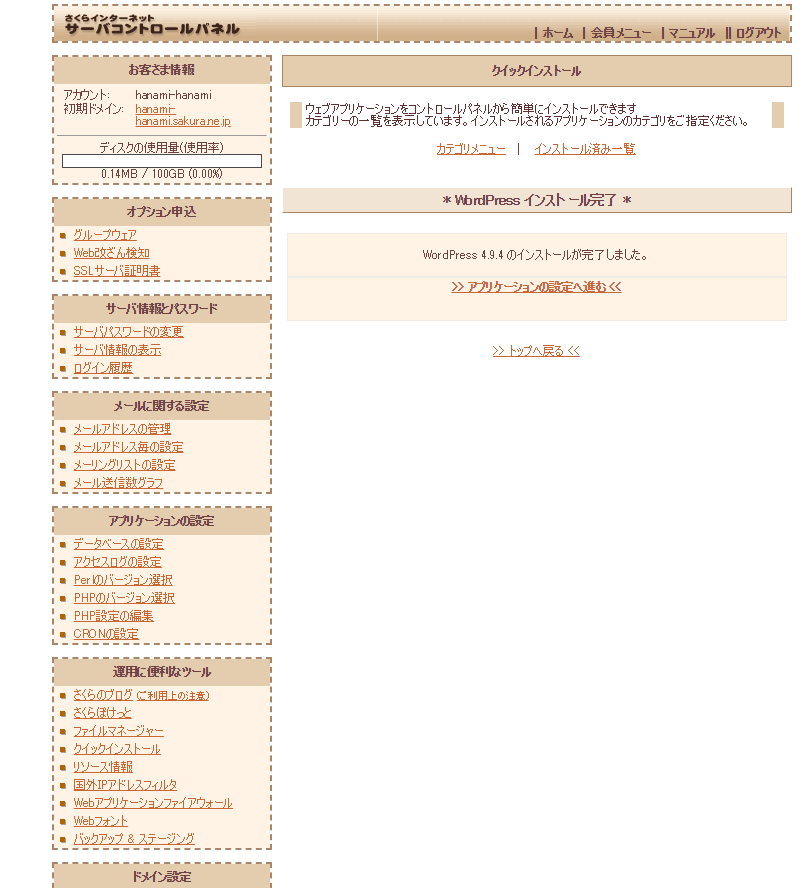
WordPress installation complete!
11. If this screen is displayed, the WordPress file has been successfully set up in the initial domain. Continue to [>> Application Settings]<�
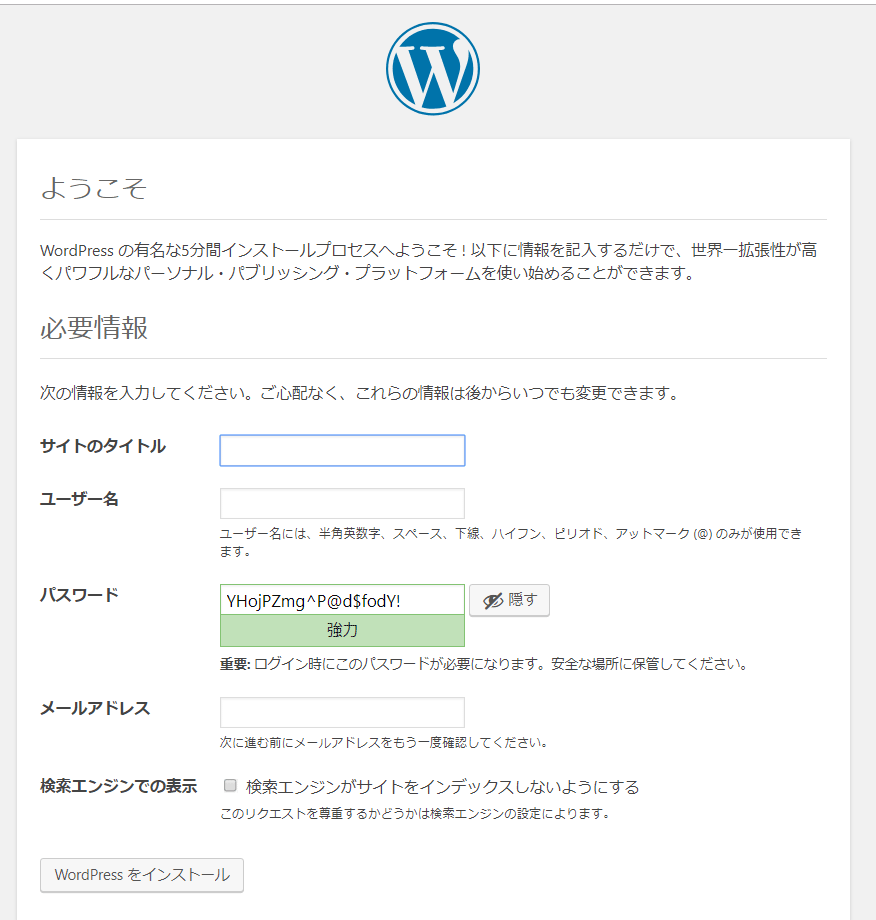
WordPress initial setup
The WordPress welcome screen will be displayed.
Enter the [Site Title], [Username], [Password], [Email Address], and [Search Engine Visibility (it is better to check this if you are in the testing phase)], then click [Install WordPress].
Log in
The "Success!" screen will appear and the installation will be completed successfully. Try logging in.
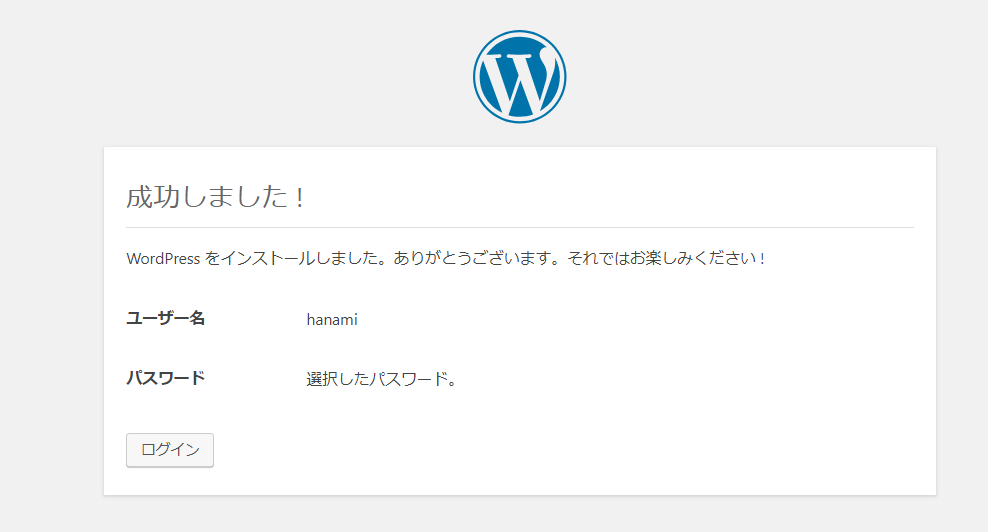
Login Information
This is the login screen. Enter the username and password you set earlier to log in.
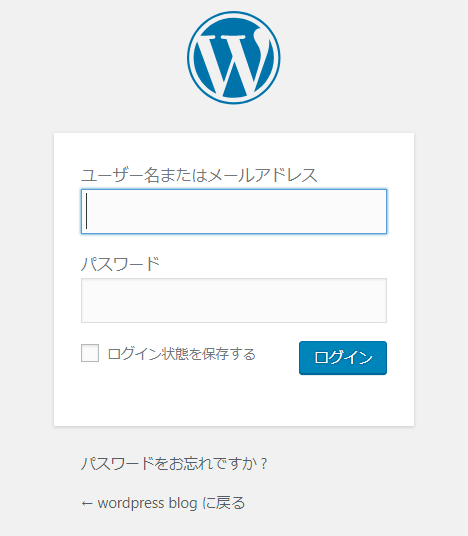
Management screen
This is the WordPress administration screen, called the dashboard. Your site will be displayed, or click on the [Site title (I set it as WordPress blog)] in the upper left.
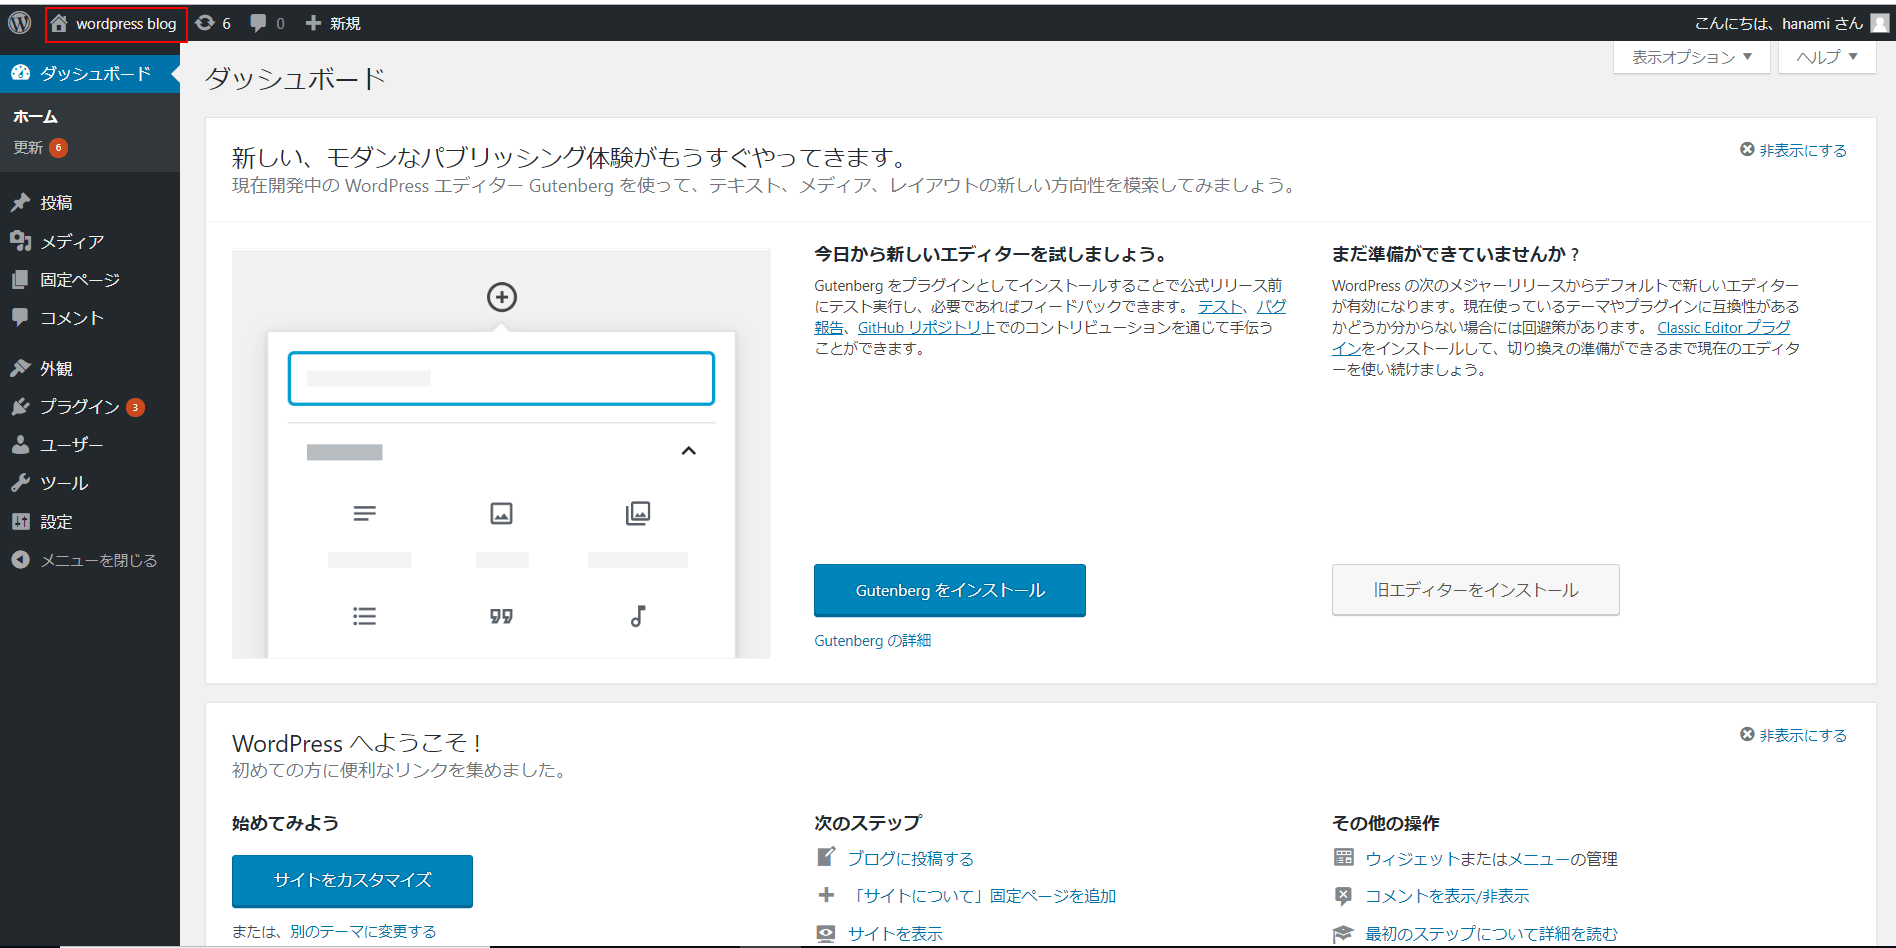
WordPress installation complete
You can now access the site via initial domain/installation folder name/.
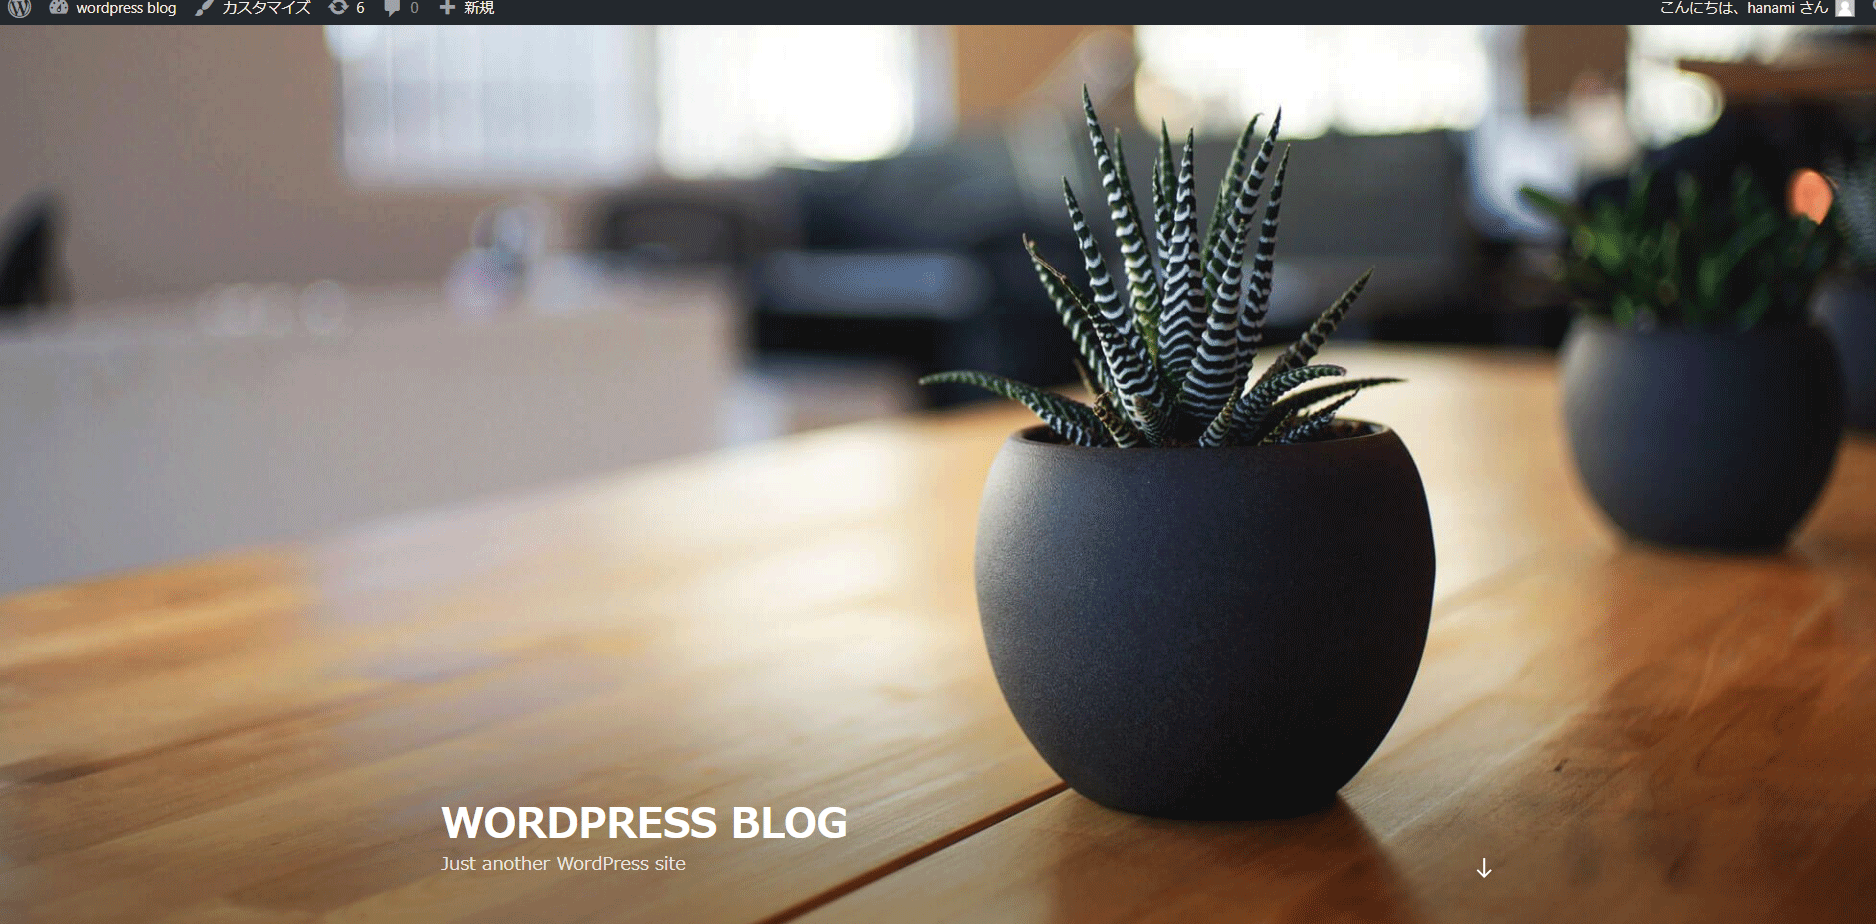
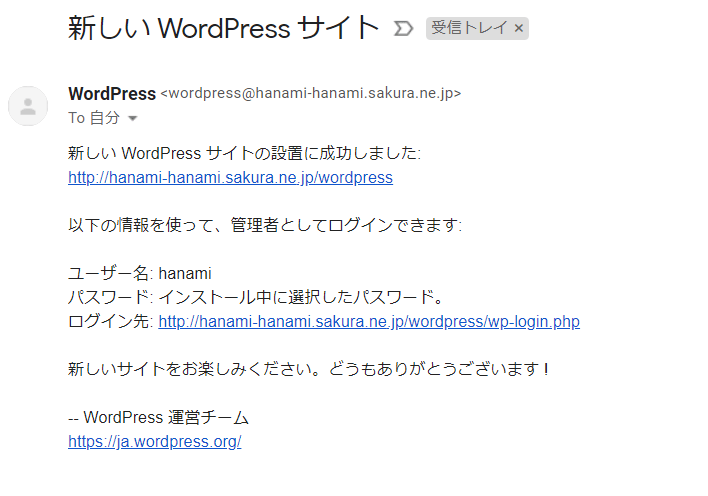
Email sent by WordPress
You will receive an email from WordPress. WordPress will send you irregular emails to the email address you registered when the site is updated.
About the "Forbidden You don't have permission to access / on this server" error
We have explained how to complete the first Sakura rental server application.Sakura Rental Server 2-week free trial period How to apply [1/4]However, as I explained, the folder hierarchy that displays the initial domain you signed up for does not yet contain the files required to display the homepage."Forbidden You don't have permission to access / on this server."A 403 error is displayed on the screen.
next time,Sakura Rental Server Free Trial for 2 Weeks Displaying the site with the initial domain [3/4]This will be displayed when you access the WordPress site you just set up with the initial domain.Change the site addressWe will explain how to do this. Please refer to this as well!


