How to create a website using WordPress/How to use plugins/No-code construction blog


How to migrate to the latest server environment for free with Xserver's "New Server Easy Migration"
At HanamiWEB Online School,
●Ask questions in real-time in the virtual study room!
●Ask as many questions as you want via chat!
●E-learning materials that you can learn as much as you want, 24 hours a day!
All included for just 2,500 yen/month!
HanamiWEB has a contract with xserver, and servers from sv13001.xserver.jp onwards were automatically switched to the latest server environment, but servers subscribed to prior to this had to be switched over manually, so we will explain how to do this.
Check if you are eligible to migrate to a new server manually
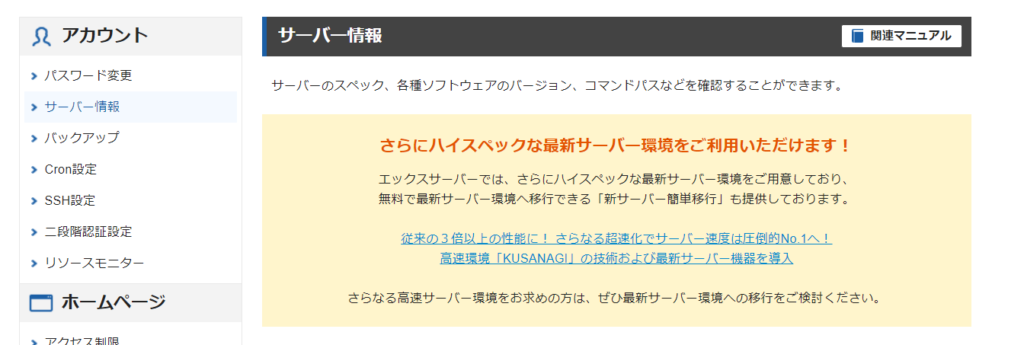
It says it is sv13001 or earlier, but first log in to the xserver server panel and click [Account] > [Server Information].
As attached
You can now use the latest high-spec server environment!
Xserver offers the latest high-spec server environments, and also offers "Easy Migration to New Server" which allows you to migrate to the latest server environment for free.
More than three times faster than before! Even faster, our server speed is now the overwhelming No. 1!
Implemented the high-speed "KUSANAGI" technology and the latest server equipment
If you are looking for an even faster server environment, please consider migrating to the latest server environment.
If this message is displayed, you are eligible.
Apply for easy migration to new server
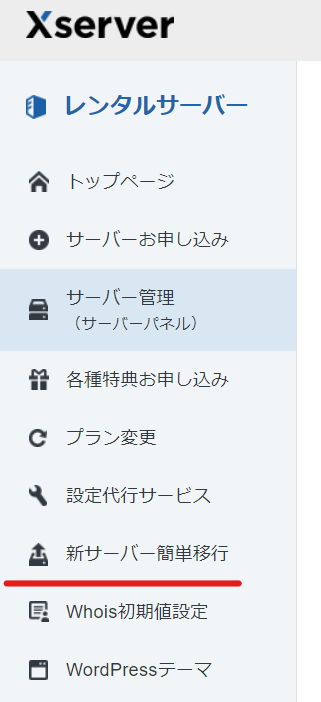
Log in to your xserver account and click [Easy Migration to New Server].
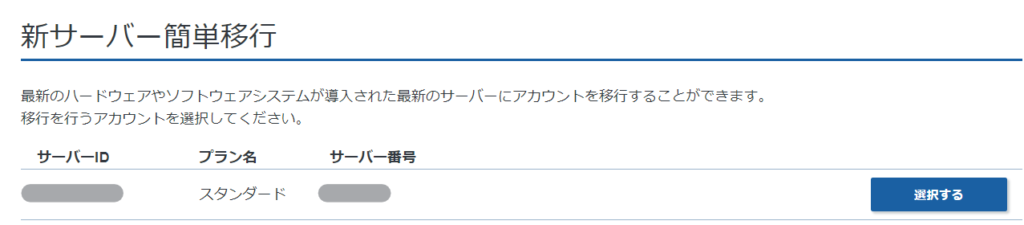
If there are servers that are eligible for easy migration to the new server, the [Select] button will be displayed as shown below. Servers that will be automatically migrated to the new server will be grayed out and the button cannot be pressed.
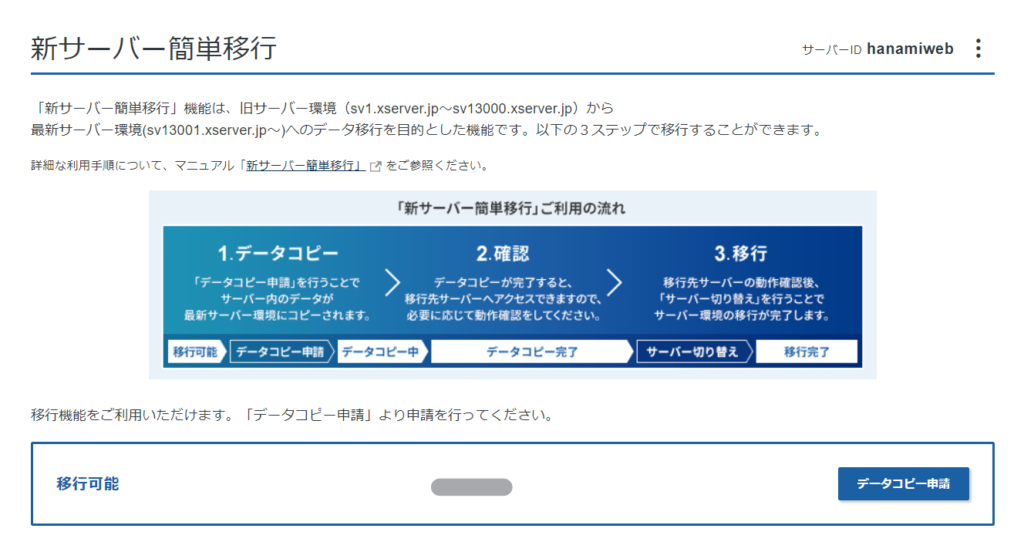
Data copy request
On the next screen, apply for data transfer to the new xserver server.
Since the domain was managed by DNS records, a notification was displayed.
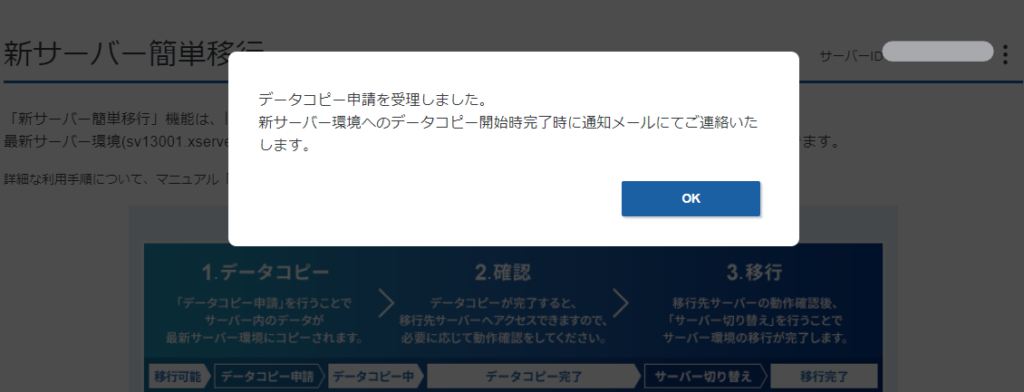
Click [Data Copy Request] and wait for the data copy to complete.

Once the data copy request has been accepted, wait for the completion email.
Data copying completed in about 2 hours
After about two hours, I received an email informing me that the data transfer was complete.
- Change the hosts file and check the new server data
- Complete the server migration
- If you have DNS settings, change them to the IP address of the new server.
- If you have configured email settings, change the email server settings.
Check the operation with the hosts file
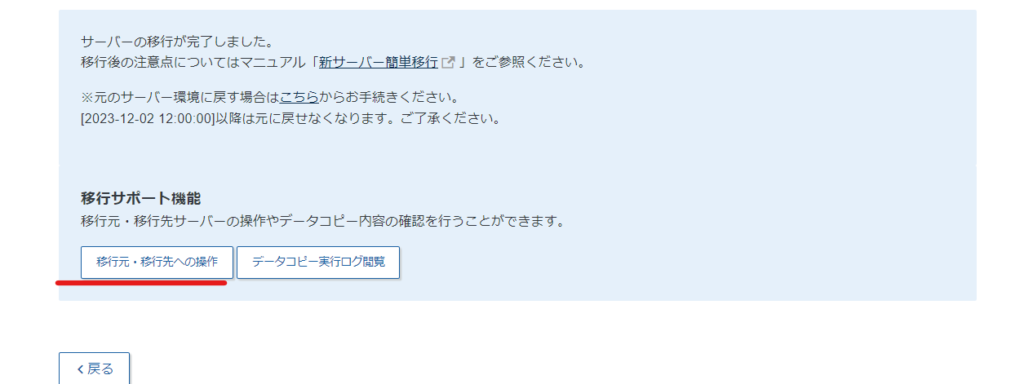
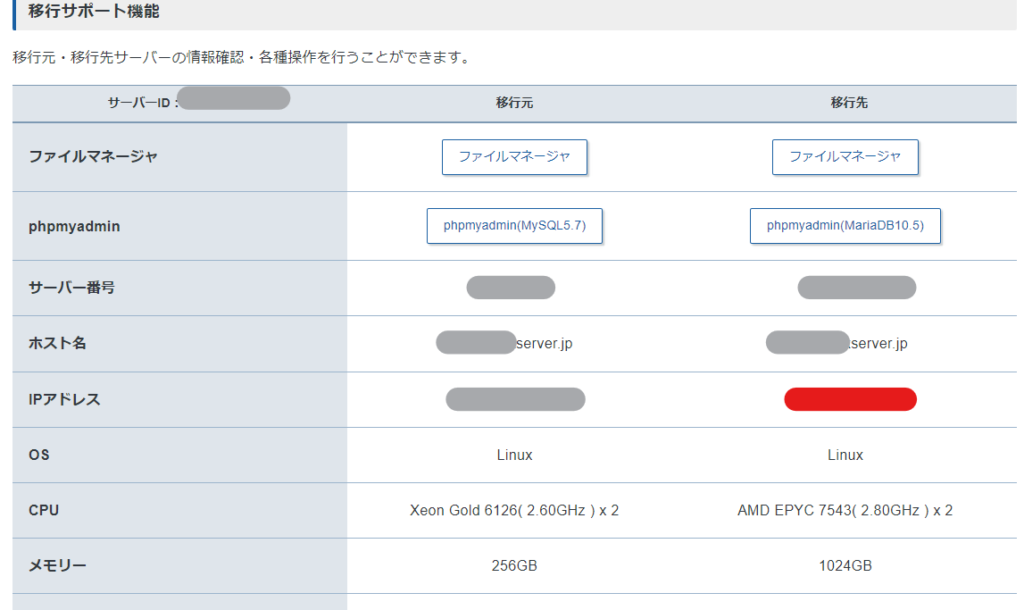
In the case of WordPress, you cannot check the operation unless you change the hosts file. Click [Operations for source and destination] to check the IP address of the new server.
The red line is the IP address of the new server.
Perform data migration
Once you have confirmed that it works, you can complete the migration to the new server.
(Important) If you have configured DNS
If the domain you are managing has DNS settings, the IP address will change, so change the IP address. As with normal server migration, it will take about an hour for the changes to take effect.
(Important) Email settings
If you have set up email reception, the email server will change, and you will not be able to receive emails unless you change it.

We are available on weekends and holidays!
Please contact us if you have any problems with your website!

- Unable to log in to WordPress
Malware infection?
- The homepage suddenly stopped displaying!
- A PHP error is occurring.
We also offer support on weekends and holidays for those who need assistance.
If you are in a hurry, please call us now at 03-6694-7024.
Latest Articles
Timing and Process for Renewing Your Recruitment Website | Key Points to Review to Increase the Number of Applications
7 Key Points for Creating a Recruitment Website | How to Create a Recruitment Site That Job Seekers Will Choose
What is the average cost of a recruitment website? A thorough explanation of pricing by production method.