How to create a website using WordPress/How to use plugins/No-code construction blog
I tried out the Lolipop server trial!
At HanamiWEB Online School,
●Ask questions in real-time in the virtual study room!
●Ask as many questions as you want via chat!
●E-learning materials that you can learn as much as you want, 24 hours a day!
All included for just 2,500 yen/month!
I work on servers for various clients for WordPress lessons and website renewals, and Lolipop is just as common as xserver.
In order to build a test site in the same environment as our customers, we decided to sign up for a trial version of Lolipop for the first time! If you are planning to sign up for a Lolipop server, please use this as a reference.
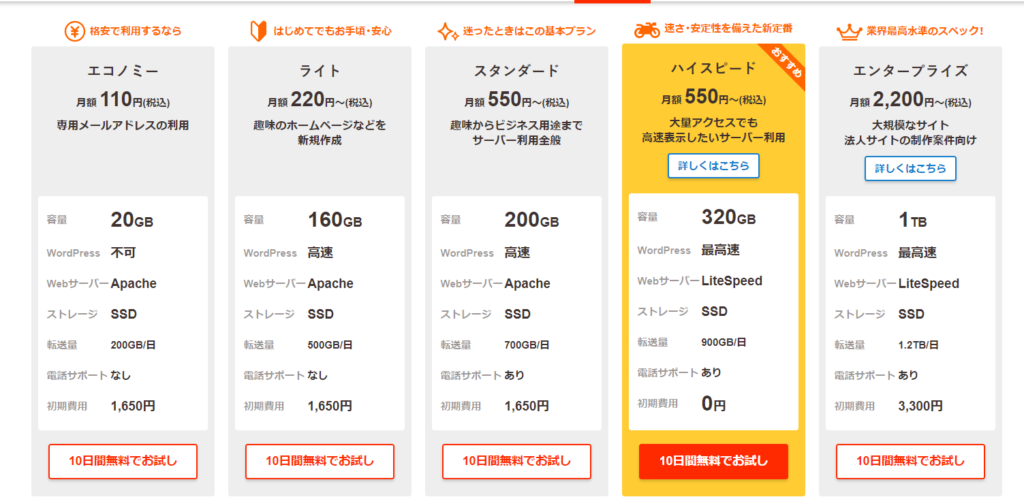
Lollipop Prices
Lollipops are cheap.
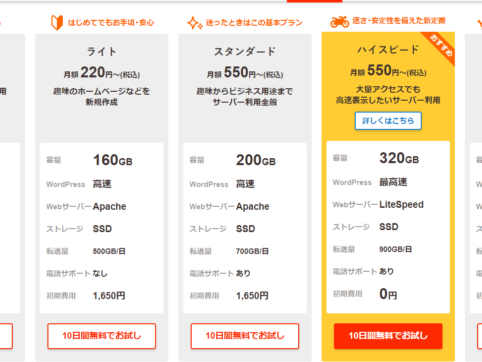
320G for 550 yen!
Transfer volume is 900G/day
I'll sign up for a 10 day trial now!
What other servers are popular besides Lolipop?
If you want to know about popular servers other than Lolipop, please check out the article below!
Try Lollipop for free for 10 days
Decide on the initial domain for Lolipop
First, you need to decide on an initial domain, which is a free domain issued by the Lolipop server.
It seems you can change the ending of the domain.
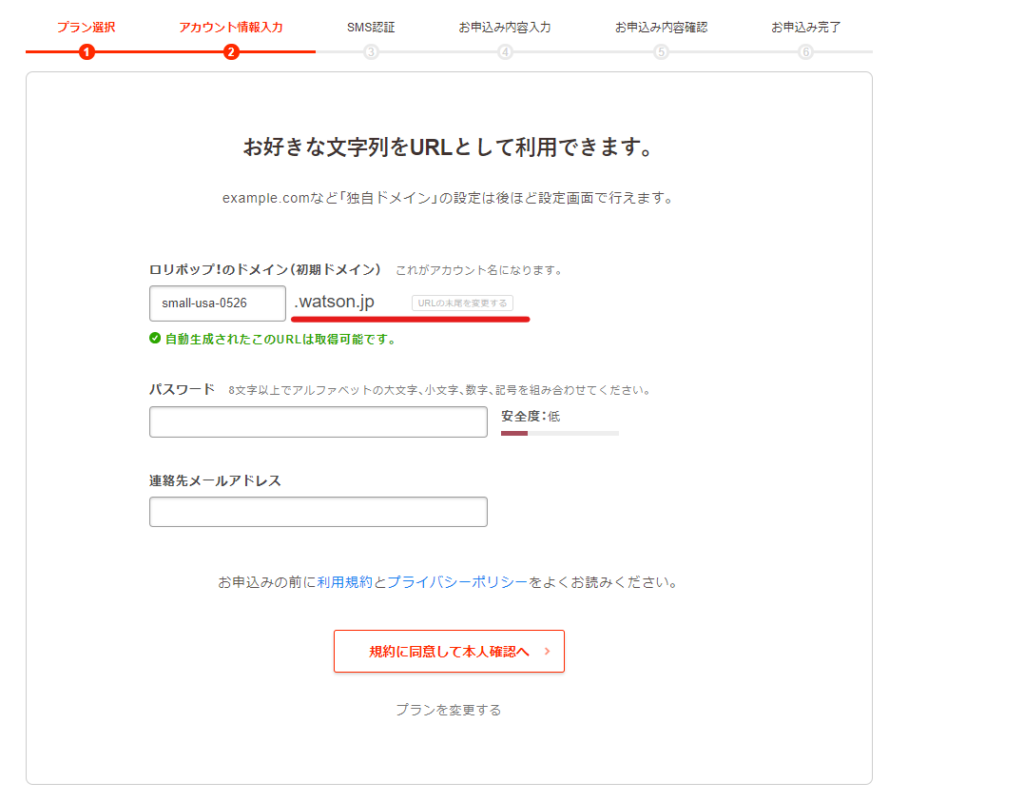
Let's choose a cool domain!

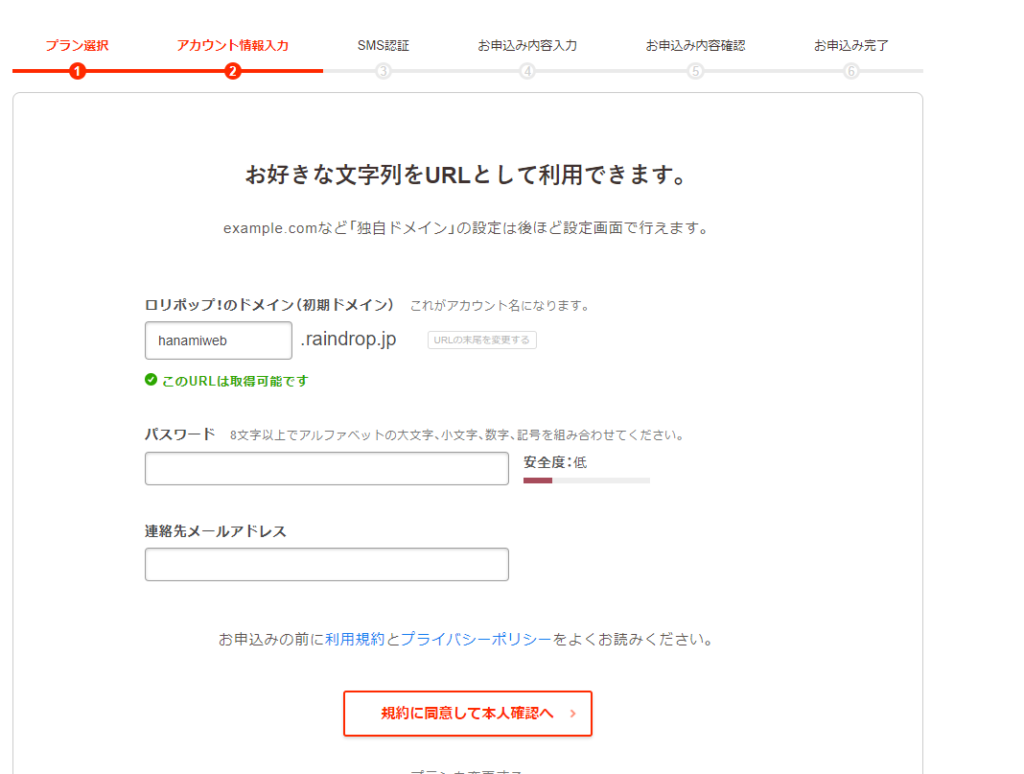
There is such a wide variety!

If it says "This URL is available," then it's OK.
Then choose a password and proceed to the next step.
Identification
Verify your identity via mobile phone.
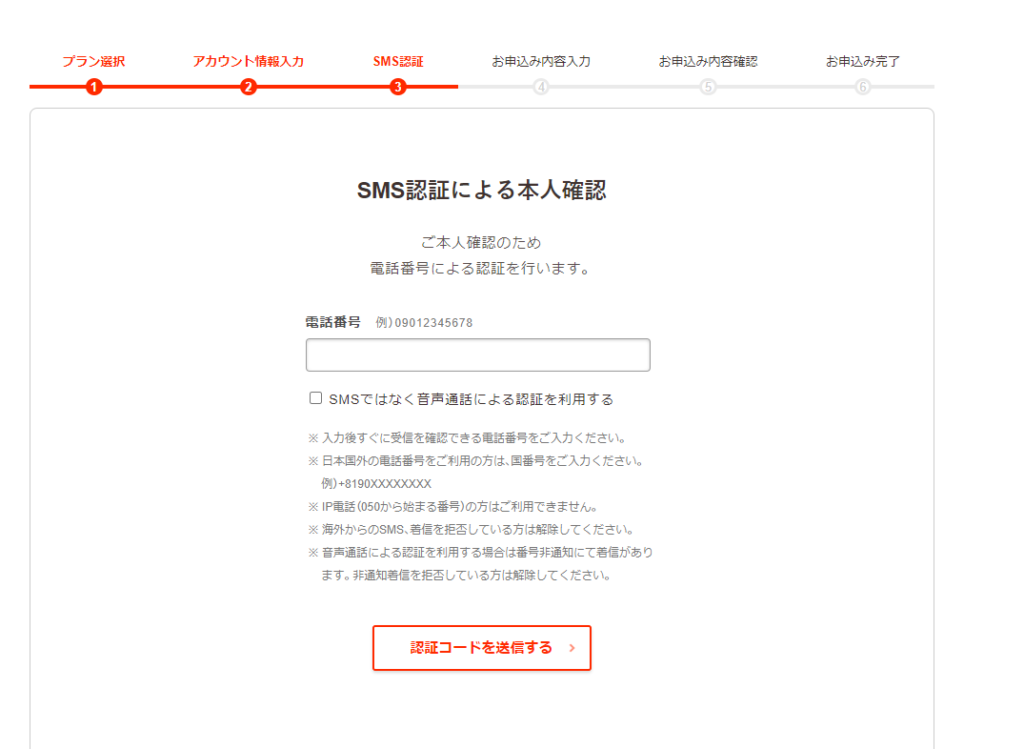
Enter the authentication code.

Enter contract information
Enter your contract information to register for Lolipop.

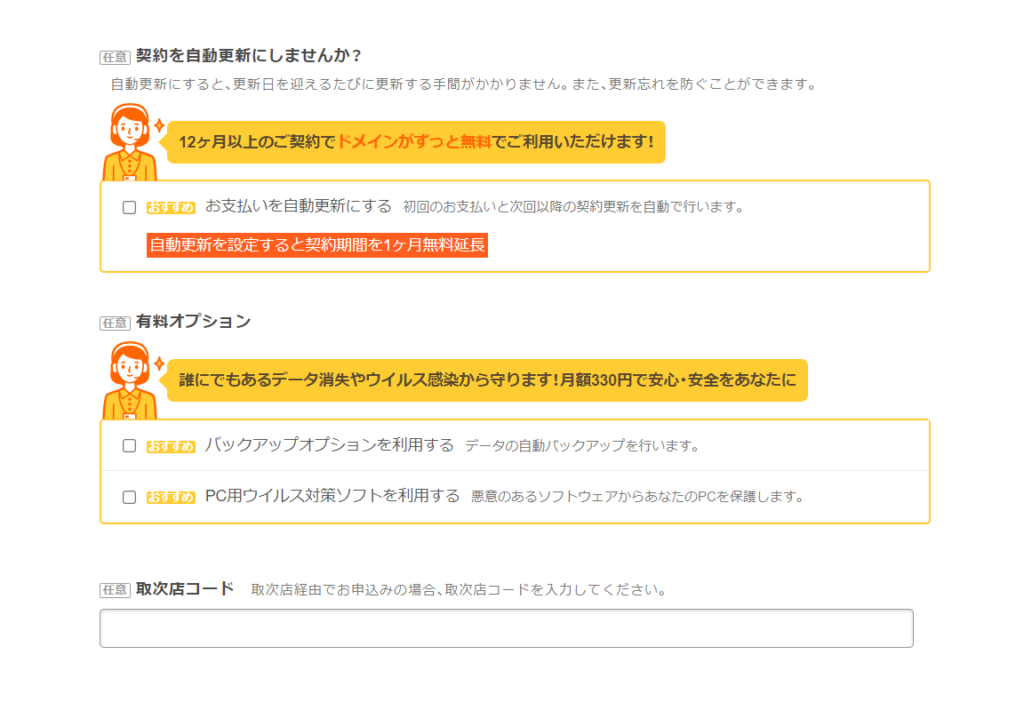
Charged option
If you set up automatic renewal and sign a contract for 12 months or more, you can get your own domain for free! If you are starting full-scale operation, it is more economical to set up a one-year payment plan!
The backup option will back up your server for 330 yen (tax included) per month. If you are worried, we recommend that you apply for it!
If you also sign up for computer antivirus software at the same time, an additional 550 yen (tax included) will be charged per month.
This is to protect your PC in case your site becomes infected with a virus, but it is an unnecessary option for those who use separate security software.
Start your free Lollipop trial
Once you have confirmed the details of your registration, click [Start free trial] to complete your registration.
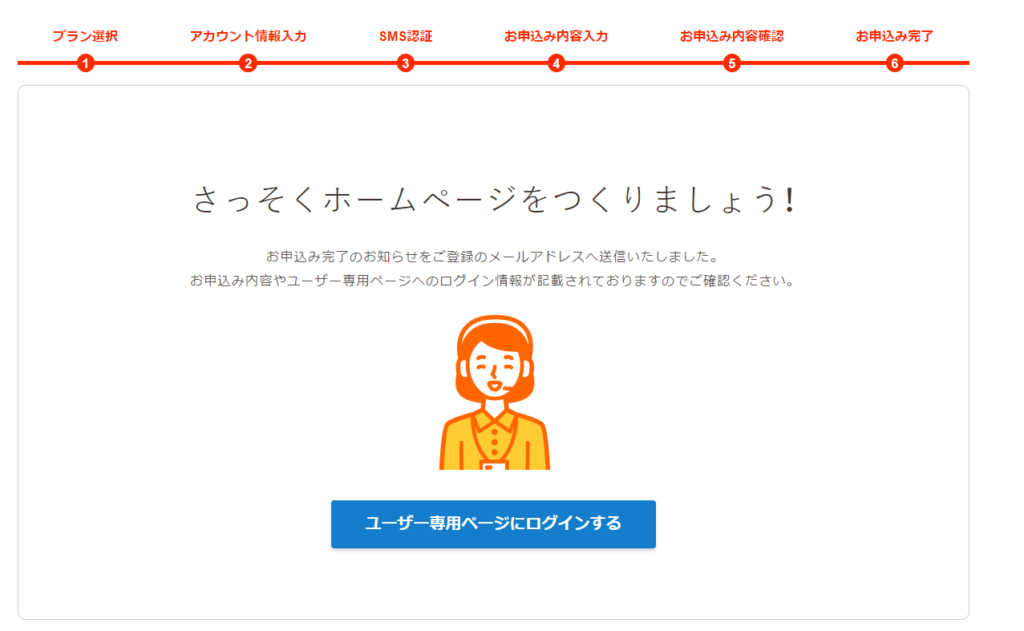
Registration completion email arrives
You will receive a registration completion email from Lolipop.
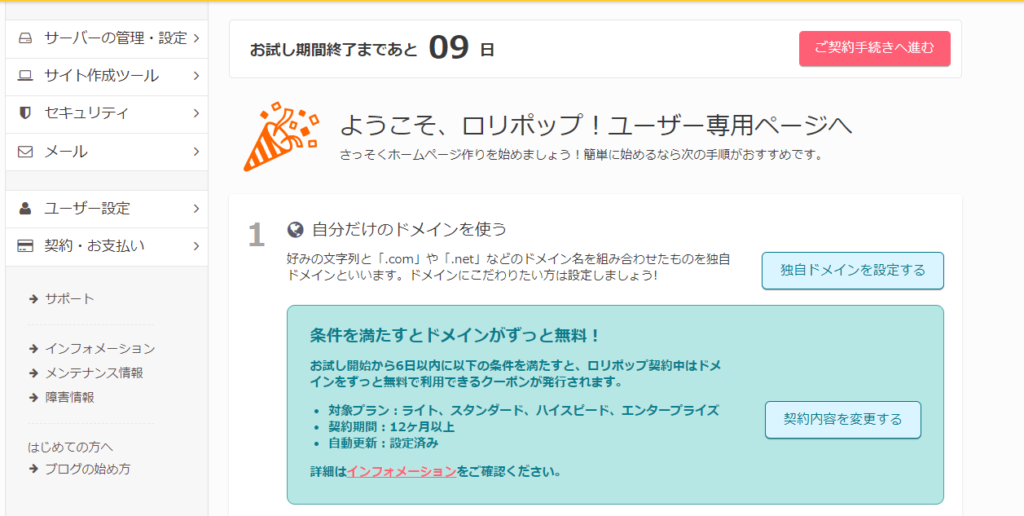
From the user-only page, log in to the administration panel with the domain and password you obtained through Lolipop.

Lolipop My Page Login Completed
I have successfully logged in to my Lolipop page.
Try accessing the Lolipop domain you have acquired.
Immediately after registering, I tried accessing the Lolipop domain that I had acquired initially.

Install WordPress now
Since the goal this time was to build a test site with Lolipop, we did not acquire our own domain, but instead installed WordPress on a domain issued for free.
Install from 【Easy WordPress Installation】.
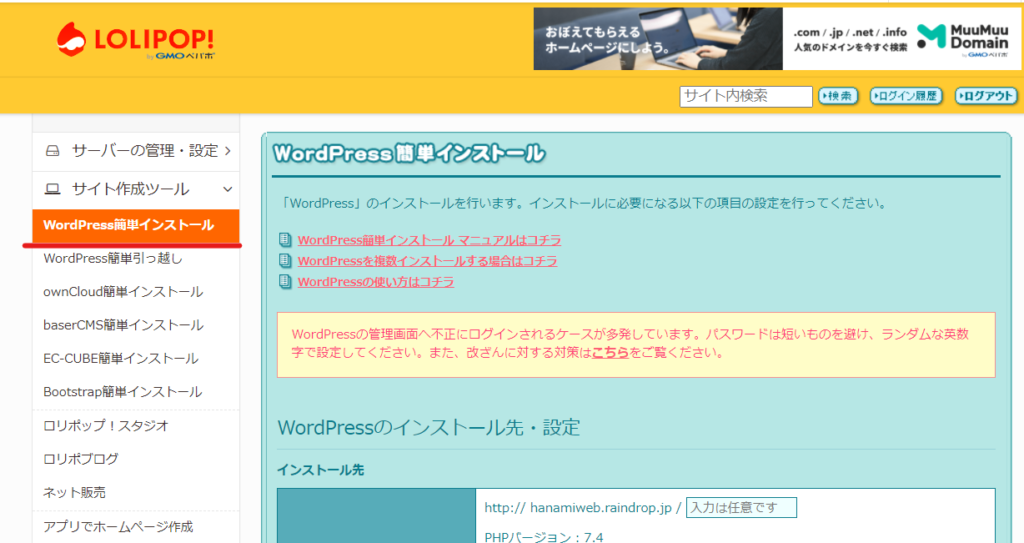
Enter required information
- Site URL - This is the URL that will display the top page, so you do not need to enter anything in the [Optional] field.
- Database used - You can also create a new one automatically.
- Site Title – Enter the title of your WordPress site. You can change it later, so it’s okay to use a temporary title.
- Username – This is the username you use to log in to WordPress. It cannot be changed later.
- Password – This is the password you use to log in to WordPress.
- Email address – This is the email address where you will receive notifications about WordPress updates.
- Privacy: Unless you have a special reason, you do not need to uncheck this box.
After setting the above, press the [Confirm input details] button.

Entry example

WordPress installation confirmation screen
This is the Lolipop WordPress installation confirmation screen.
Since the information is automatically generated from a database, we recommend that you record it as a screenshot or text data.
If there are no errors, click [Install].

WordPress installation complete
WordPress installation was completed successfully on Lolipop.
To log in to the administration screen, click on the URL listed in [Administrator Page URL].Save this page in your bookmarks so you can access it easily next time!

WordPress site is ready
When I accessed the initial domain I obtained with Lolipop, the site was created!

SSL Settings
I acquired the domain through Lolipop, but I could not find the SSL settings item in the Lolipop server administration panel.

When I connected to the Lolipop domain I had acquired from an address starting with https://, I found an SSL site with a lock symbol.
Lolipop's initial domains were automatically SSL-enabled!
SSL for WordPress
Finally, I would like to introduce how to set up SSL for WordPress.
Settings > General Settings
Open.

Change to https
Change the site address and WordPress address to https and save.

Log in again
You will be asked to log in again. At this time, you will notice a lock symbol in the address bar!

This completes the SSL conversion of WordPress!
What to do after installing WordPress?
After installing WordPress, you can start building by configuring the initial settings!
We have a video tutorial on how to set up the WordPress for free on the WordPress Online School site!
We look forward to your participation!
Released as soon as the next morning! Weekends and holidays are also available!
Super rush website creation plan
We offer a rush website creation plan for those who need a website in a hurry!
We can publish your content as soon as the next morning, even on weekends and holidays! If you have any questions, please check the details below!
Latest Articles


