How to create a website using WordPress/How to use plugins/No-code construction blog


We will explain in more detail than anywhere else how to set up Wordfence, a plugin that can enhance the security of WordPress!
At HanamiWEB Online School,
●Ask questions in real-time in the virtual study room!
●Ask as many questions as you want via chat!
●E-learning materials that you can learn as much as you want, 24 hours a day!
All included for just 2,500 yen/month!
Something everyone wonders about.
Is WordPress secure? What settings are required?
To be honest, there is no right answer that says you will be safe if you do this. No matter how careful you are, you may be attacked. Please be aware that there is an unavoidable risk as long as you store information on the web.
I couldn't find a detailed explanation about the world-famous security plugin "Wordfence," so I'll do my own research and explain it here!
What can you do with Wordfence?
Simply install the plugin and basic security features will be enabled.
Block malicious access
Explaining how to set up Wordfence!
Installing the Wordfence plugin
Appearance > Plugins > Add New Plugin
Search for [Wordfence]. The one on the left is the Wordfence plugin that you will install.
Please install and activate it.

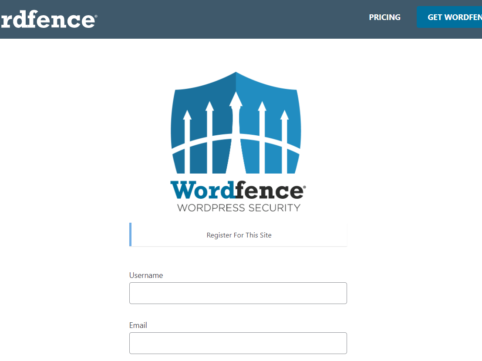
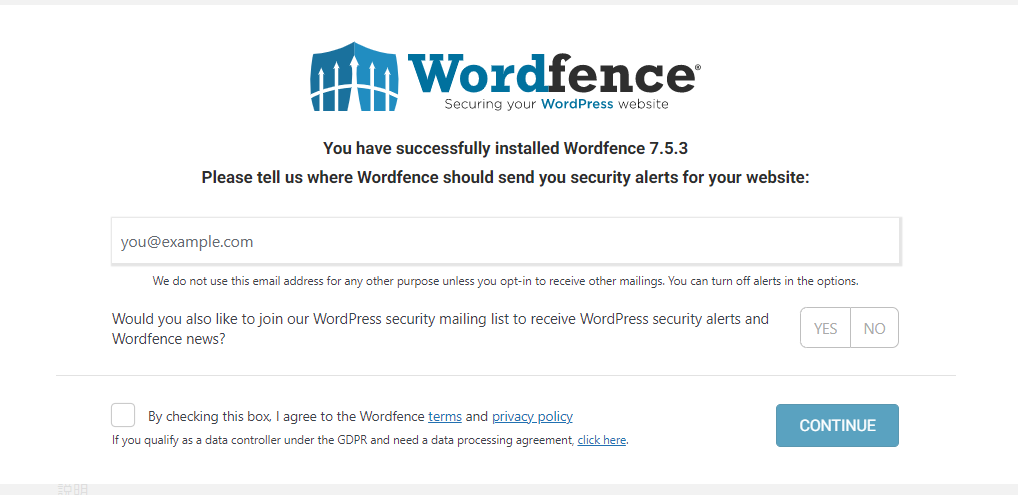
Register an email address to send security alerts
When you enable Wordfence, you will be taken to a screen where you can register the email address to which you want to receive security alerts.
If you would like to receive email newsletters, select YES for “Would you also like to join our WordPress security mailing list to receive WordPress security alerts and Wordfence news?”, check the terms of use, and click the [CONTINUE] button.
Guidance for the paid version
After that, you will be guided to the paid version. You will be asked to enter a license key, but since we will be using it for free, click [No Thanks].

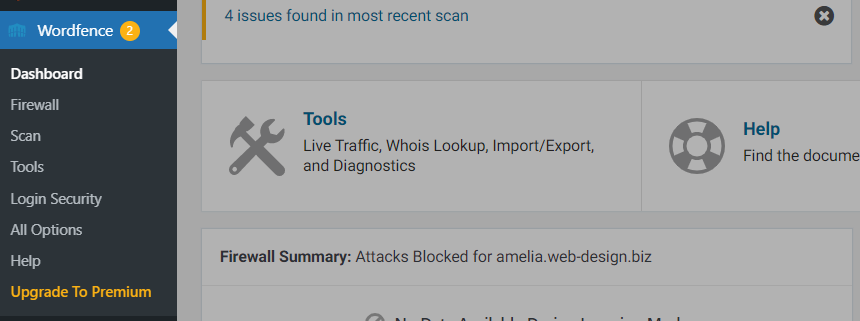
Wordfence installation complete
[Wordfence] will be added to the left sidebar of the dashboard.
Firewall
While simply enabling Wordfence will block common malicious access, there is a risk that a vulnerable plugin, vulnerable theme, or WordPress itself may execute vulnerable PHP code before the Wordfence plugin is loaded.
The Wordfence plugin will automatically change your PHP configuration so that the firewall works first.
Depending on your server settings, there may be restrictions on changing the .htaccess file, user.ini file, and php.ini file. Before Wordfence changes the above files, it will request a backup. Follow the instructions to make a backup and activate the protection.
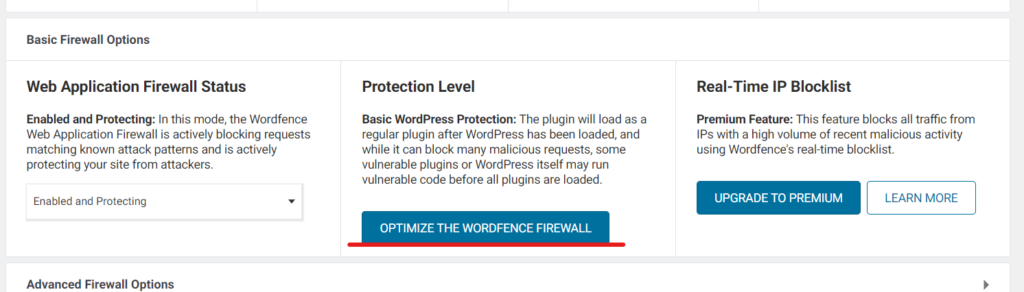
Optimizing your firewall settings
After about a week has passed since you enabled the Wordfence plugin, you will see a notification in your dashboard.

Or Wordfence > Firewall > All Firewall Options
Open.
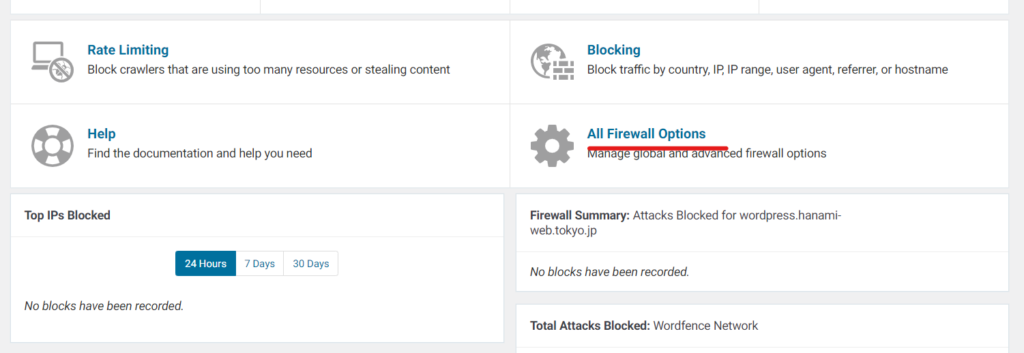
Click [OPTIMIZE THE WORDFENCE FIREWALL] to optimize.
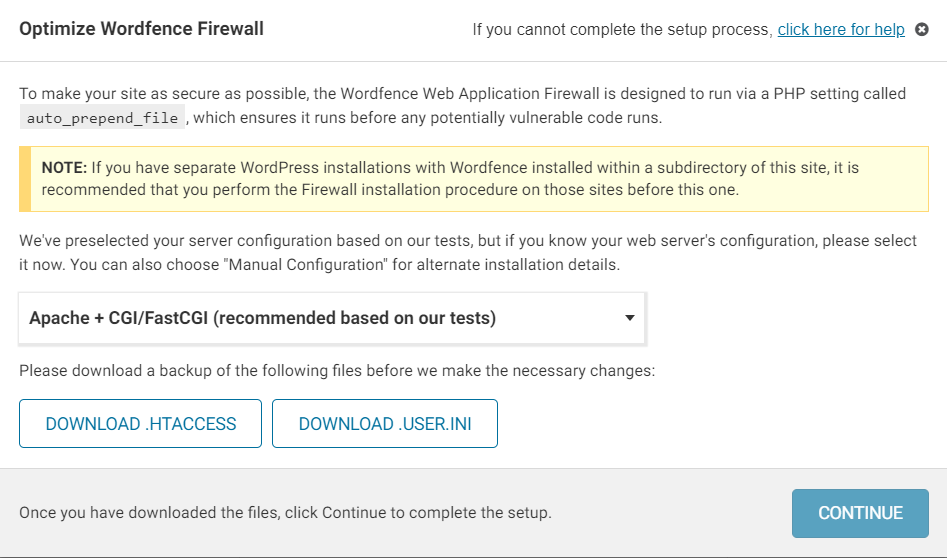
Click the two buttons, [DOWNLOAD .HTACCESS] and [DOWNLOAD .USER.INI], and be sure to back up your files before clicking [CONTINUE].
In the unlikely event that an issue occurs with the site after clicking CONTINUE, you can restore it to normal by uploading the downloaded file via FTP (file manager).
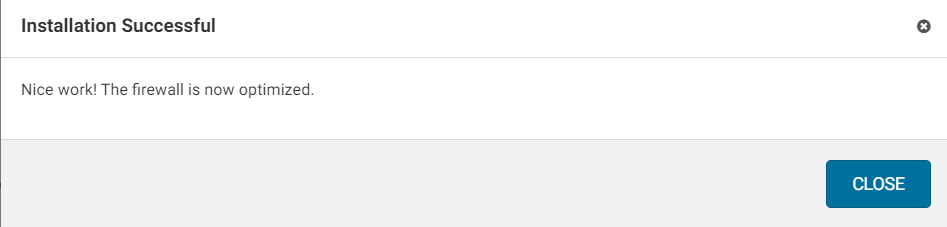
This completes the automatic optimization of your firewall.
Blocking specific IP addresses
Wordfence > Firewall > Blocking
When you use
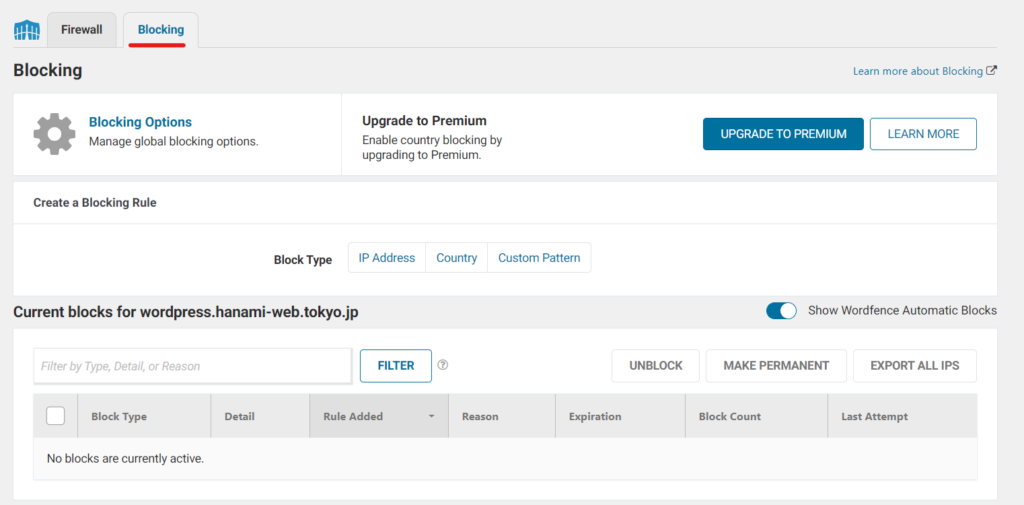
- IP address
- Specific countries
You can block the following.
Security Scan
Scan all files on WordPress
- Malicious Code
- back door
- Hacker-injected shell
- Malicious URLs
- Existing infection patterns
By performing this scan regularly, you can operate your website with peace of mind.
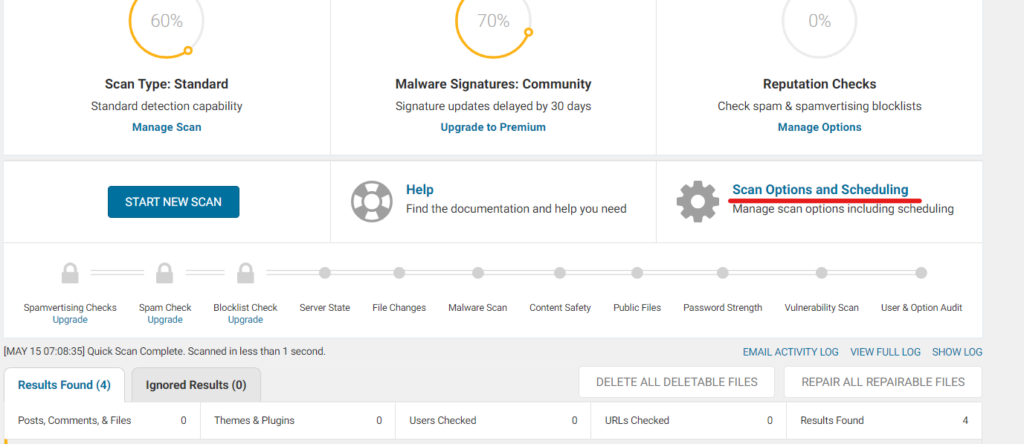
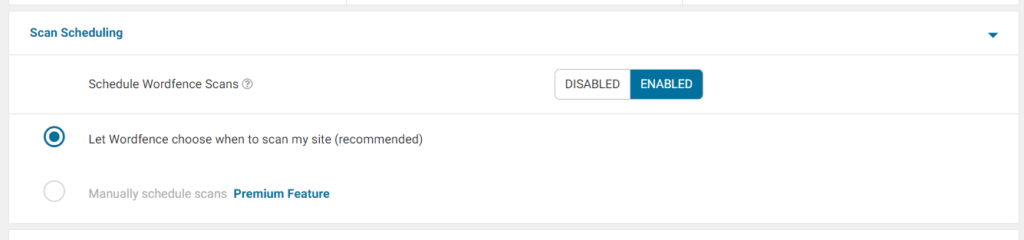
Scheduled scanning is enabled by default.
Click [Scan Options and Schefuling]. If you want to manually scan now, click [START NEW SCAN].
In the free version, Wordfence automatically scans your sites, so you can’t choose when it does so.
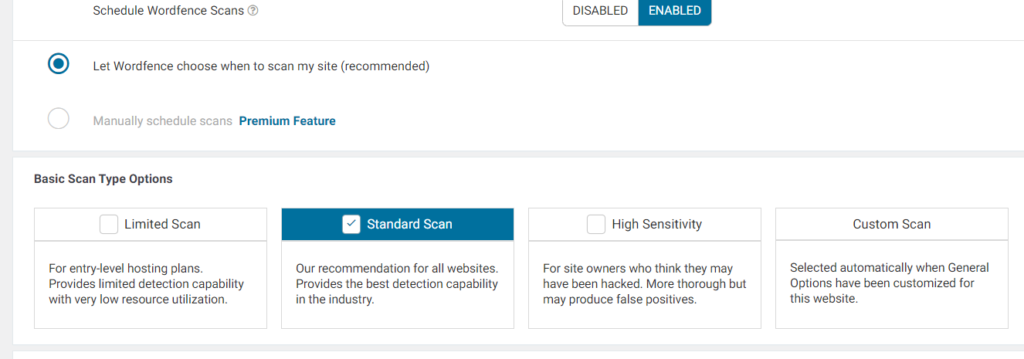
- Limited Scan - Set the lightweight version when there are limitations due to server specifications, etc.
- Standard Scan - This setting is fine for normal scans.
- High Sensitivity - Scan more rigorously if you suspect you are under malicious attack
- Custom Scan - Select here to customize your scan
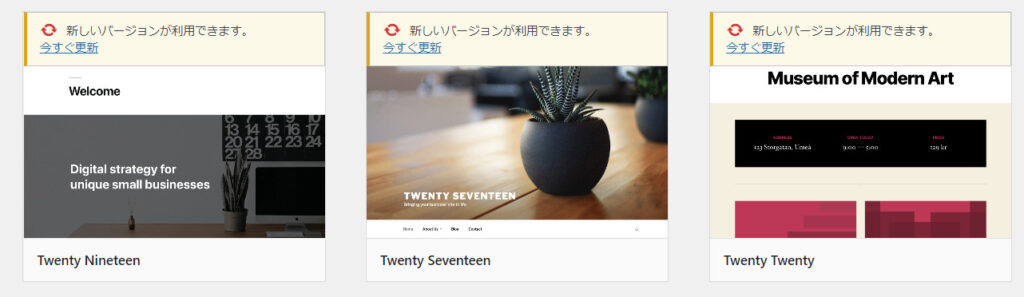
Test site scan results
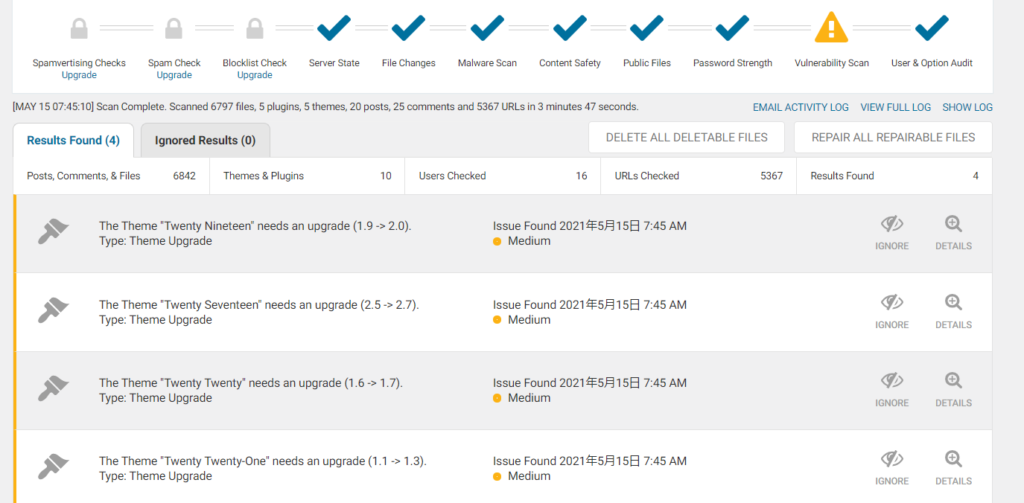
This is a message to update the theme. When I went to Appearance > Themes, I saw that it was indeed a test site, so I left the update unattended.
Introducing the tool features
Wordfence > Tools
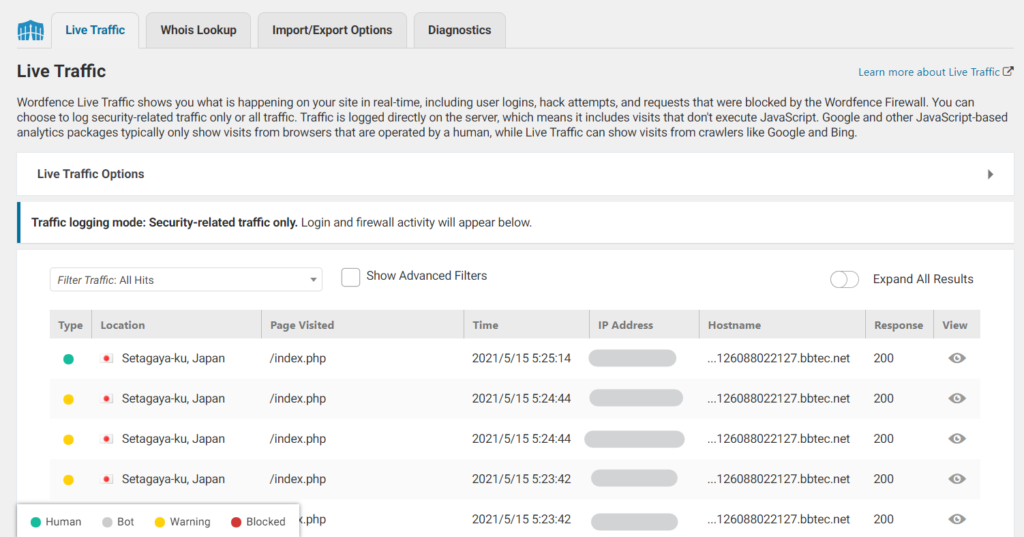
access log
- User login
- block
- Hacking Attempts
You can check the logs here.
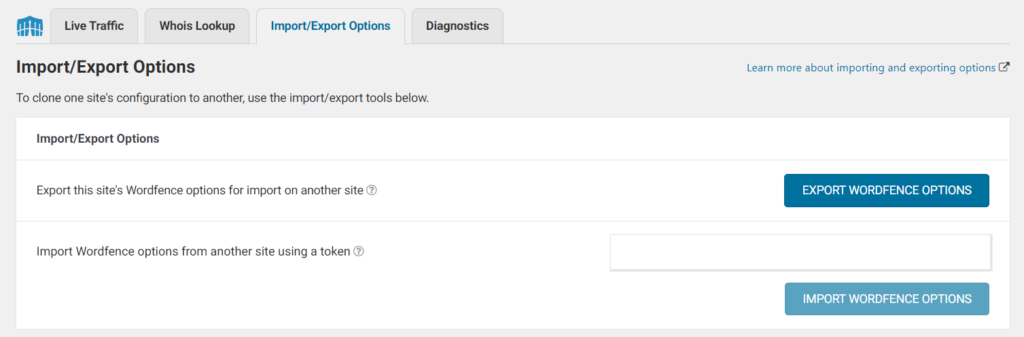
Import/Export Wordfence Settings
Used to import and export Wordfence settings.
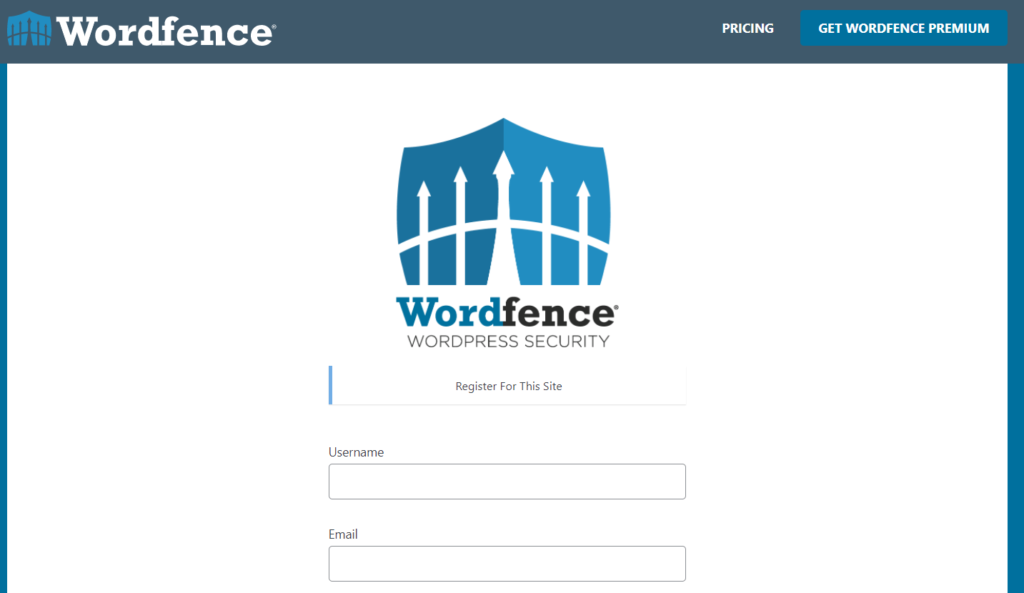
Register your site in Wordfence Central
Sign up for a free membership to Wordfence Central.
You will receive an email to verify your email address, so click on the URL in the email.
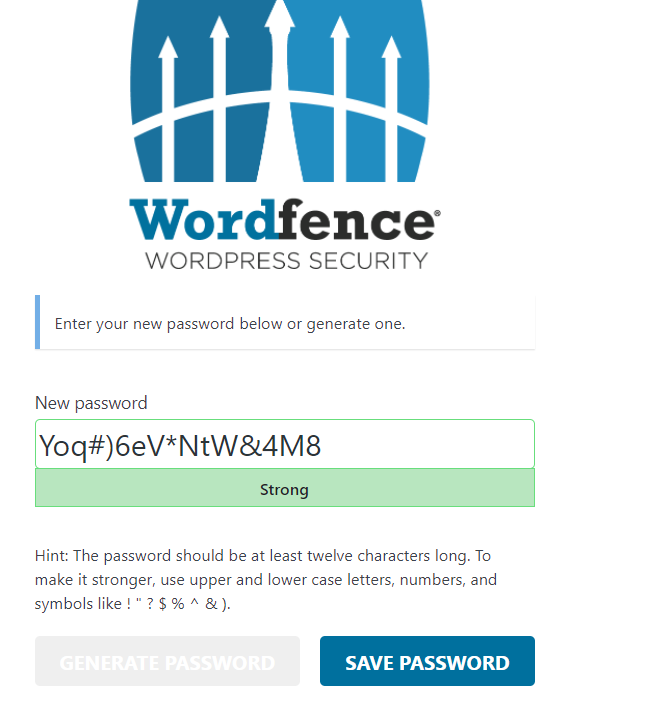
Enter your password and register.
Registration complete! Next, register your site to Wordfence Central.
Register your site in Wordfence Central
You can also register via Wordfence central, but this time I will show you how to register via the plugin that you are currently setting up.
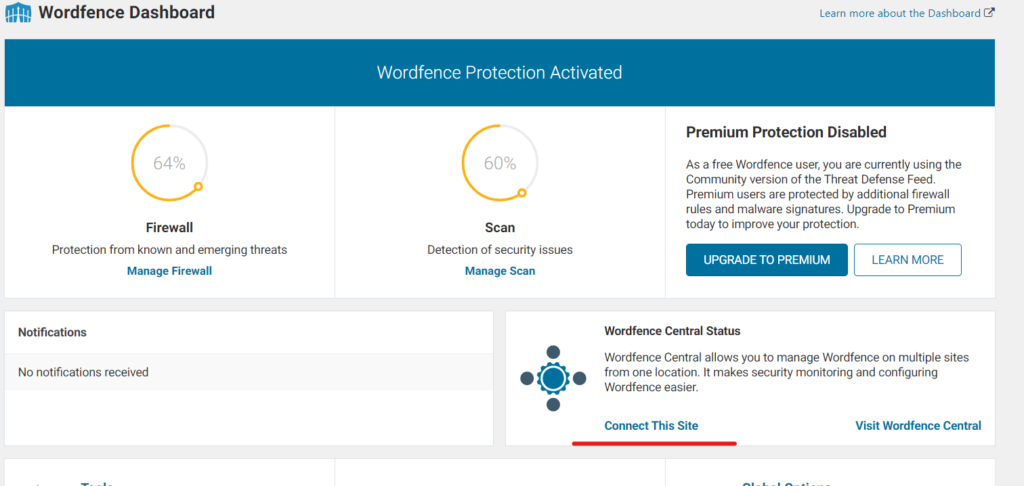
Go to Wordfence > dashboard and click [Connect This Site].
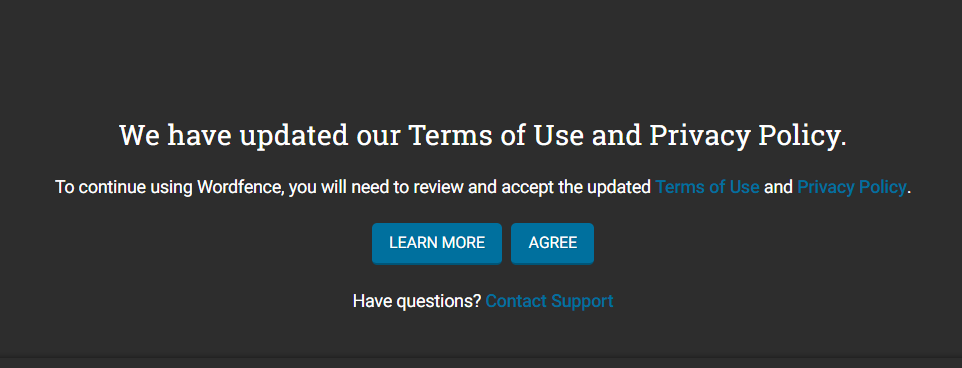
Click [AGREE].
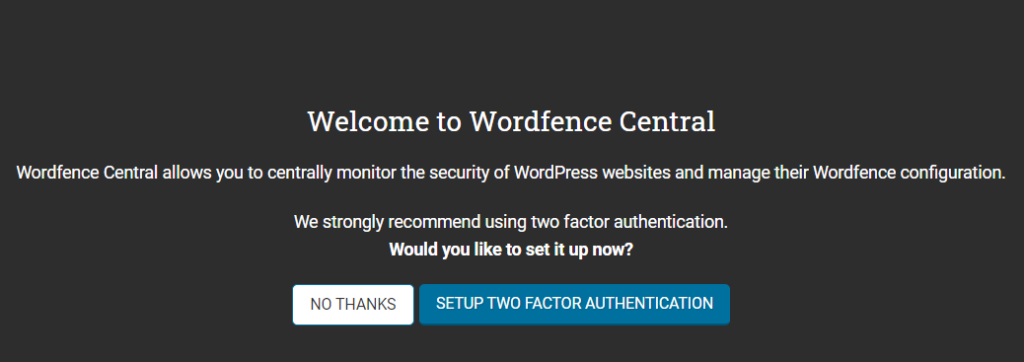
The screen has changed to the one below.
I have received instructions on how to set up two-step authentication, so I will continue to strengthen my login settings!
Click on [SESTUP TWO FACTOR AUTHENTICATION]
Two-factor authentication for your site
Two-factor authentication on a site is the most effective way to prevent unauthorized logins to your site.
- Install the Google Authenticator app on your smartphone
- Scan the QR code issued by Wordfence
The following steps are required.
Google Authenticator App
I learned for the first time that there is something called the Google Authenticator app.
Search for it on your smartphone and install the app.
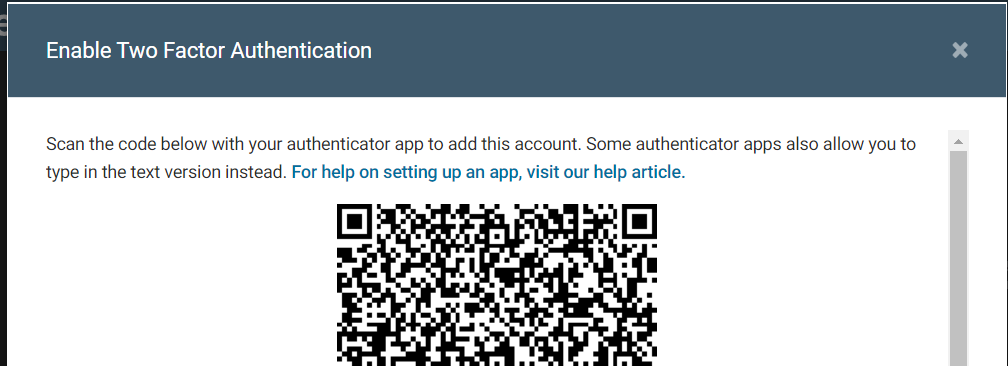
Scan the QR code with the Google Authenticator app
Scan the QR code issued by the Google Authenticator app's QR code reader.
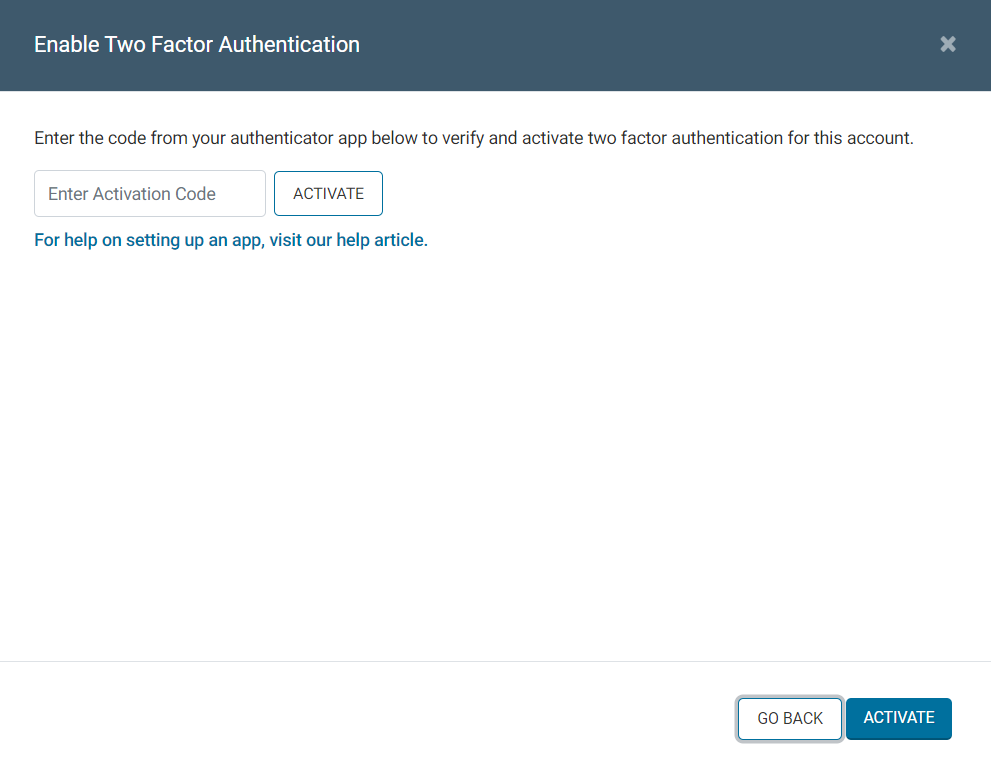
Enter the code issued by the Google Authenticator app
A 6-digit number will be issued, so enter it and click [ACTIVATE].
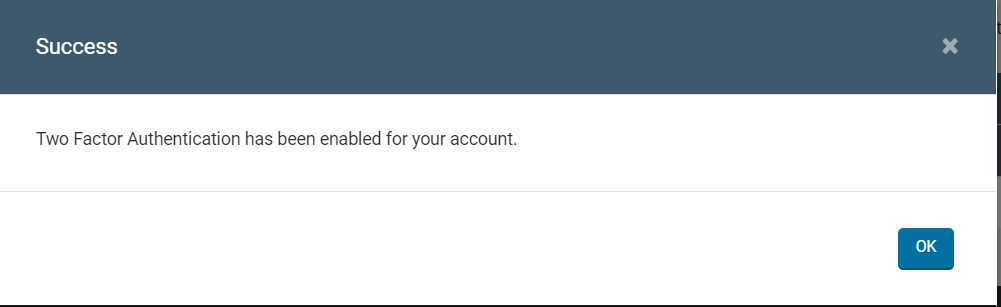
If successful, the following screen will be displayed.
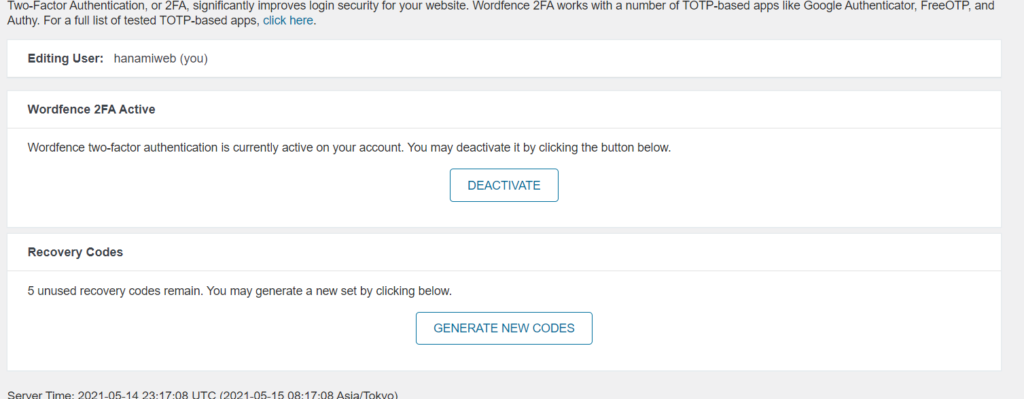
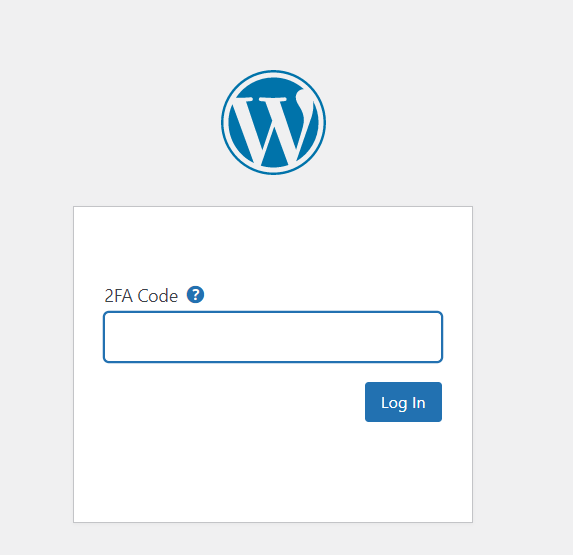
Check from the website
Wordfence > Login Security
If you access the following screen and enter it, two-step authentication is enabled.
If not, a QR code should be displayed, so please authenticate using the same procedure.
How to check if two-step authentication is enabled
Open an incognito window in chrome and log in to wordpress.
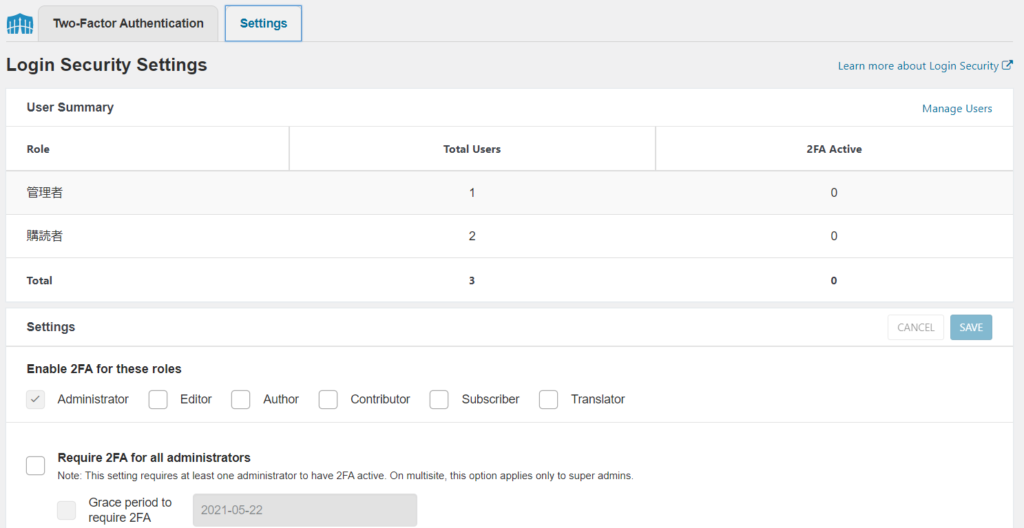
Users who require 2-step authentication
All administrators who have access to the administration screen will need to use this two-step authentication.
We will pick out and introduce only the necessary settings.
Allow remembering device for 30 days
Check this box if you want to remember your login information on the device for 30 days.
Require 2FA for XML-RPC call authentication
Enabled by default to prevent logins without 2FA via xmlrpc.php
Allowlisted IP addresses that bypass 2FA
If you register your IP address here, you can pass the two-step authentication. If you think it's a hassle to authenticate with your smartphone every time, don't worry!
Enable reCAPTCHA on the login and user registration pages
When the default user logs inreCAPTCHAThis function may not be reflected if the user login is generated by other plugins or themes.
What to do if your WordPress site is compromised
In the unlikely event that your system is invaded, we also offer a service that will restore it neatly using $490.
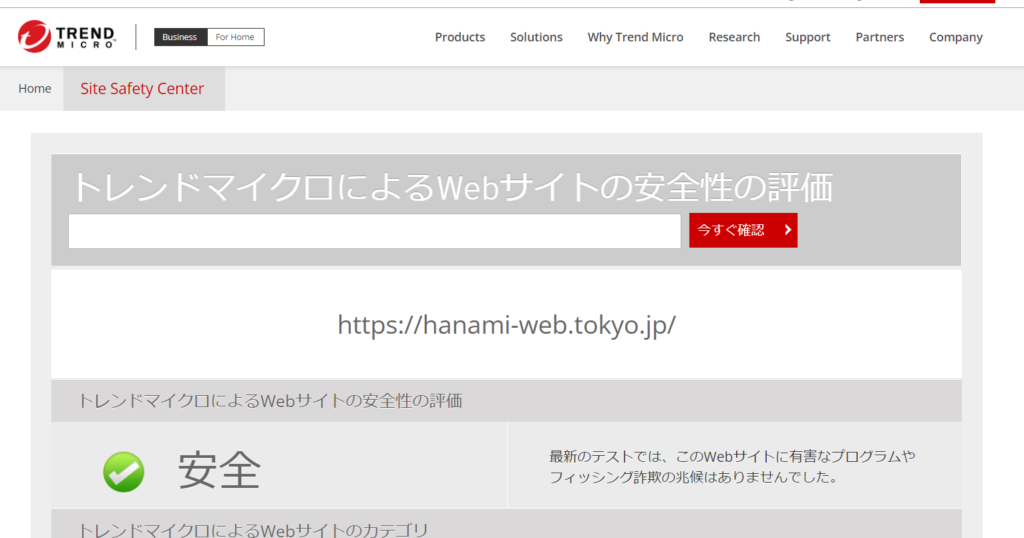
Free tool to check the security status of your website
Trend Micro website security evaluation test online tool
Virus Total Online Diagnostic Tool

Automatic Security Features
I have written a detailed article about the notification [Appears to have been discarded] that is displayed by WordFence's automatic scanning function, so please take a look at that as well.
summary
Above is an explanation of the basic settings of Wordfence. Let's strengthen the security of your WordPress site with Wordfence!
HanamiWEB accepts consultations regarding WordPress via LINE. Feel free to add us as a friend and send us a message ♪
Released as soon as the next morning! Weekends and holidays are also available!
Super rush website creation plan
We offer a rush website creation plan for those who need a website in a hurry!
We can publish your content as soon as the next morning, even on weekends and holidays! If you have any questions, please check the details below!

Latest Articles


Error message: Allowed memory size of 268435456 bytes exhausted (tried to allocate 14684160 bytes) Error: On Lollipop

Explaining the Meta Pixel feature of the paid version of the WordPress booking system plugin Amelia (9.x and later)