How to create a website using WordPress/How to use plugins/No-code construction blog


This article explains how to create groups (membership) using the LMS plugin LearnDash.
At HanamiWEB Online School,
●Ask questions in real-time in the virtual study room!
●Ask as many questions as you want via chat!
●E-learning materials that you can learn as much as you want, 24 hours a day!
All included for just 2,500 yen/month!
We explain LearnDash, a paid LMS (Learning management system) plugin that allows you to build an e-learning system using WordPress.
This time, we will explain how to create a user group (membership).
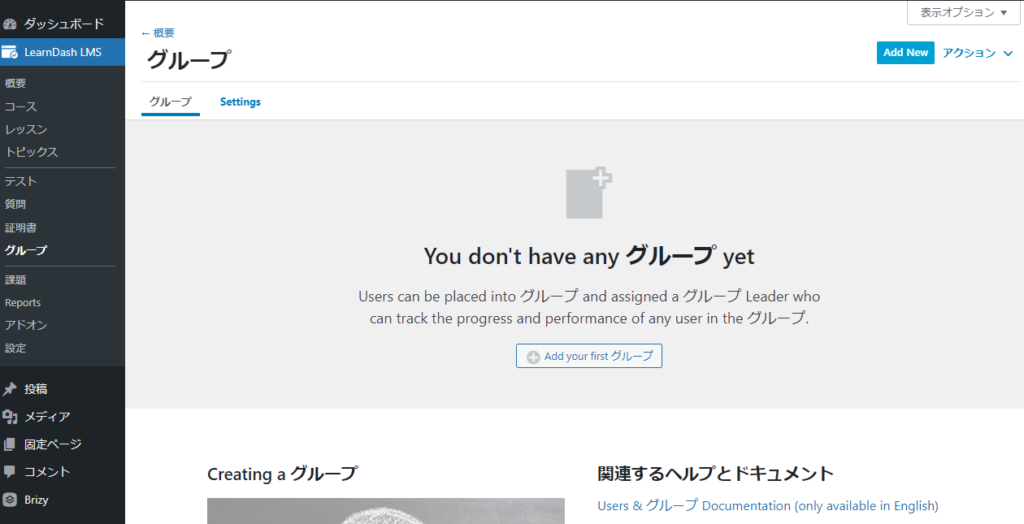
How to create a group
- LearnDash LMS
- group
- Add New
Create a group in
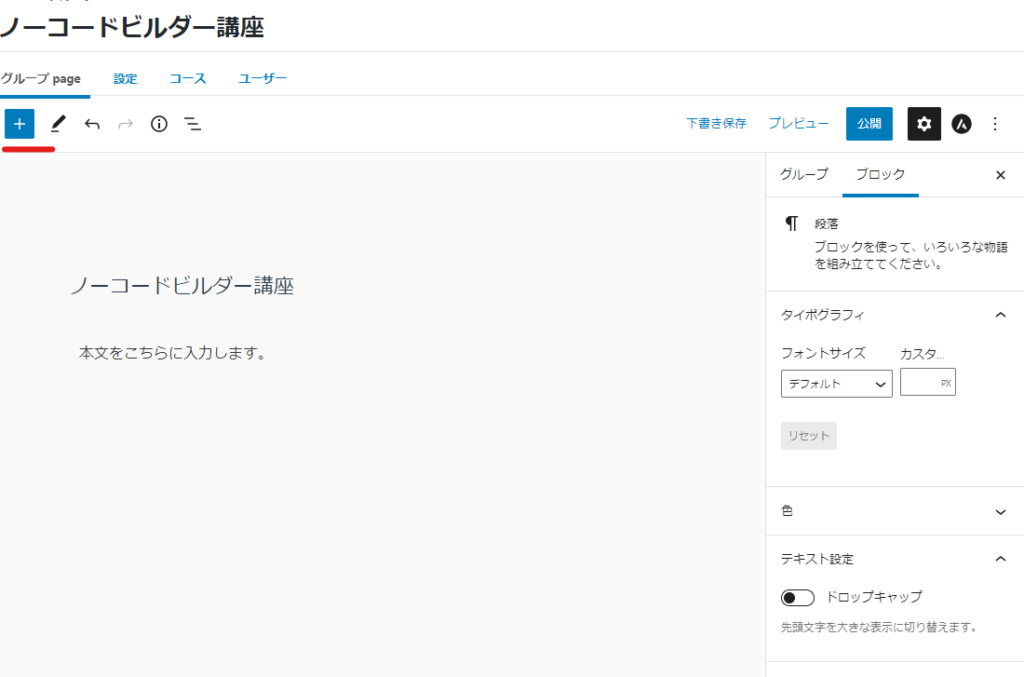
Create a group page
Create an introduction page for joining the group page.
Group Title
First, enter a title.

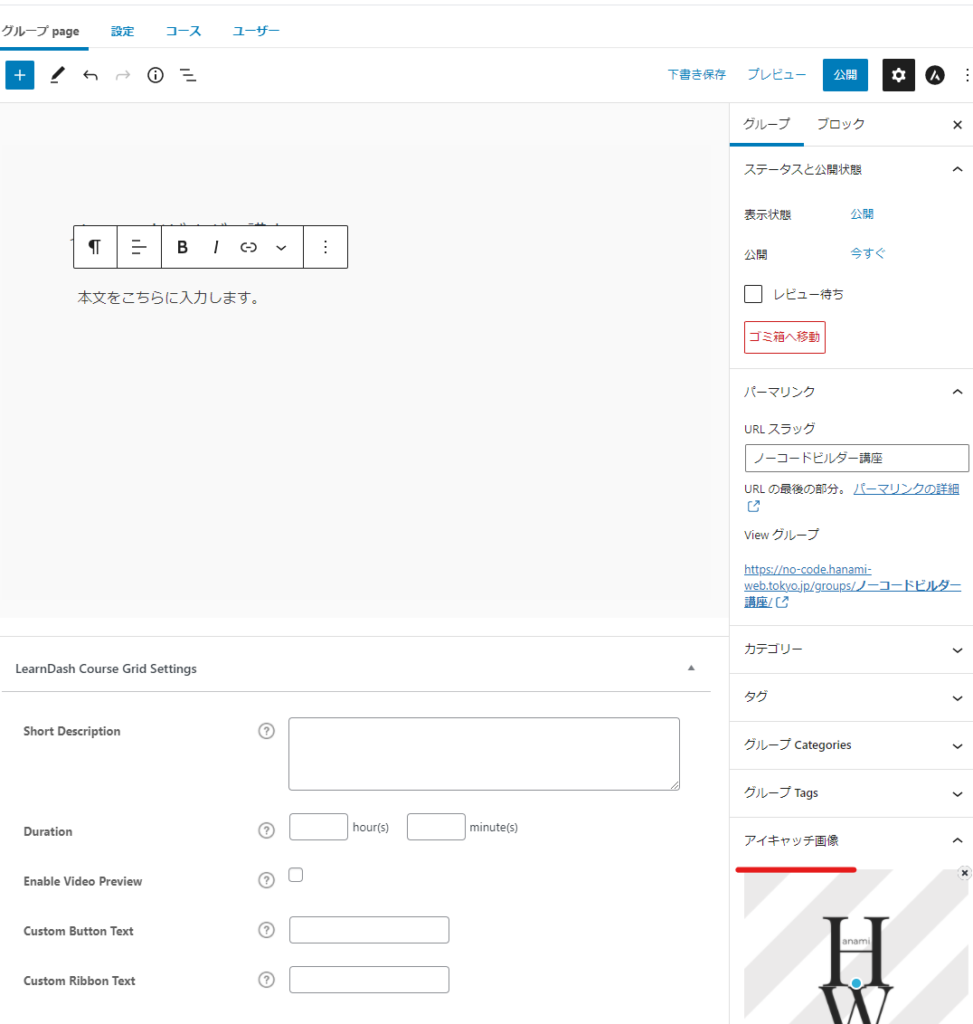
Group Content
Use WordPress features to create content.
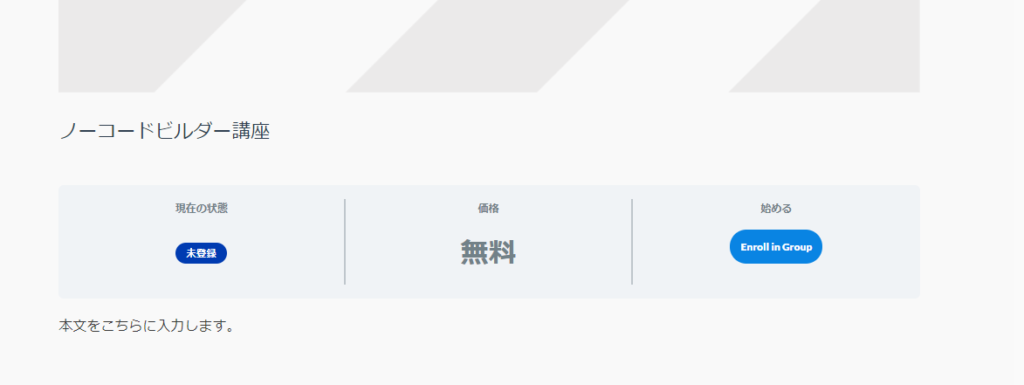
Use blocks to set up things like purchase buttons.
The payment button block will display a join button.
Group eye-catching image
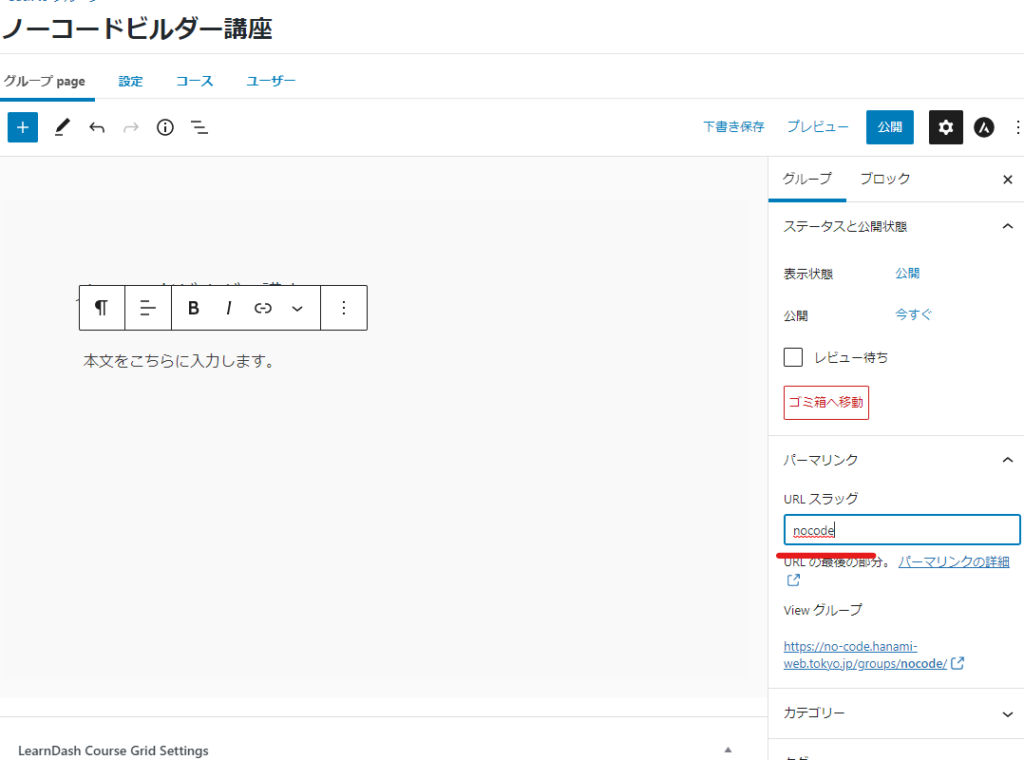
Change group URL
Change the URL in the permalink settings.
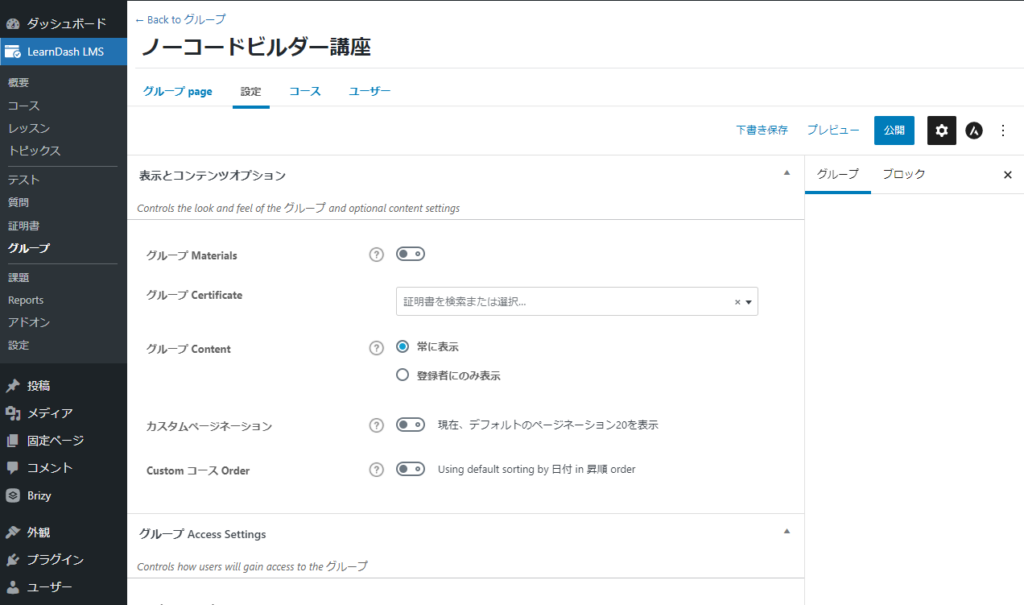
Group visibility and content settings
Switch to the Settings tab.
- Group Materials - You can create group materials. You can enter them in a text editor, so you can also set images, videos, URLs, etc.
- Group Certificate – You can set up a certificate that will be issued to a group once they have completed all the courses assigned to them.
- Group Content - You can set whether the list of courses is visible to everyone (always visible) or restricted to registered users only.
- Custom Pagination – Set the number of content to display per page.
- Custom Course Order - You have control over the order of your courses.
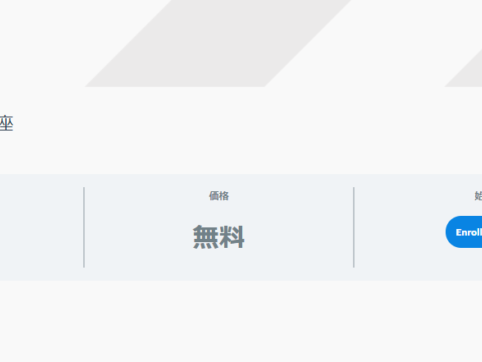
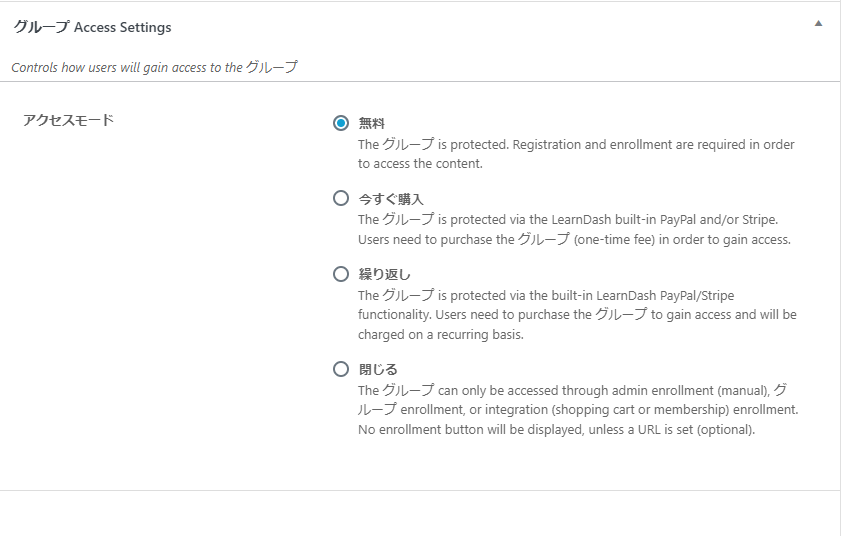
Group Access Control and Pricing
- free
- Buy Now - One-time purchase
- Repeated – Subscription sales format
- Close - Set this if you want to restrict user addition to manual mode
Add a course to a group
Switch to the Courses tab.
Add the courses you want to include in the group to the right.
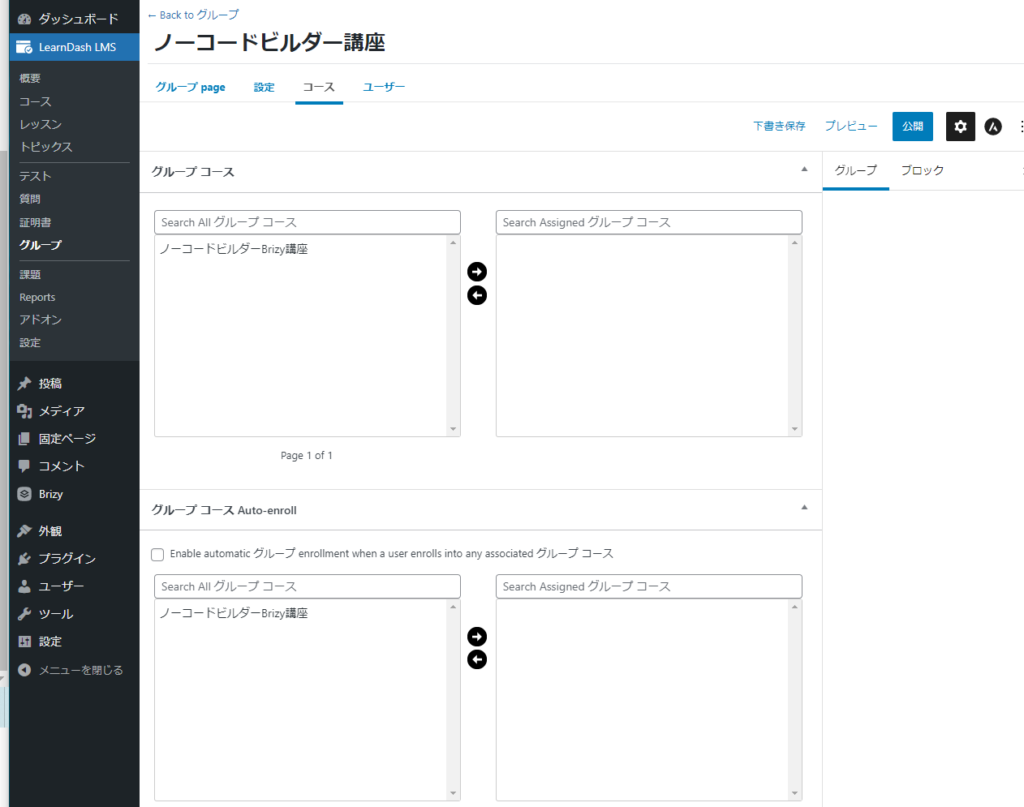
I found the group course auto-enrollment difficult to understand, so I'd like to add some additional information.
If you check Enable..., you will be automatically registered to take all courses.

If you uncheck this box, you will be able to make detailed settings regarding which groups you will be automatically enrolled in when you register for a course.
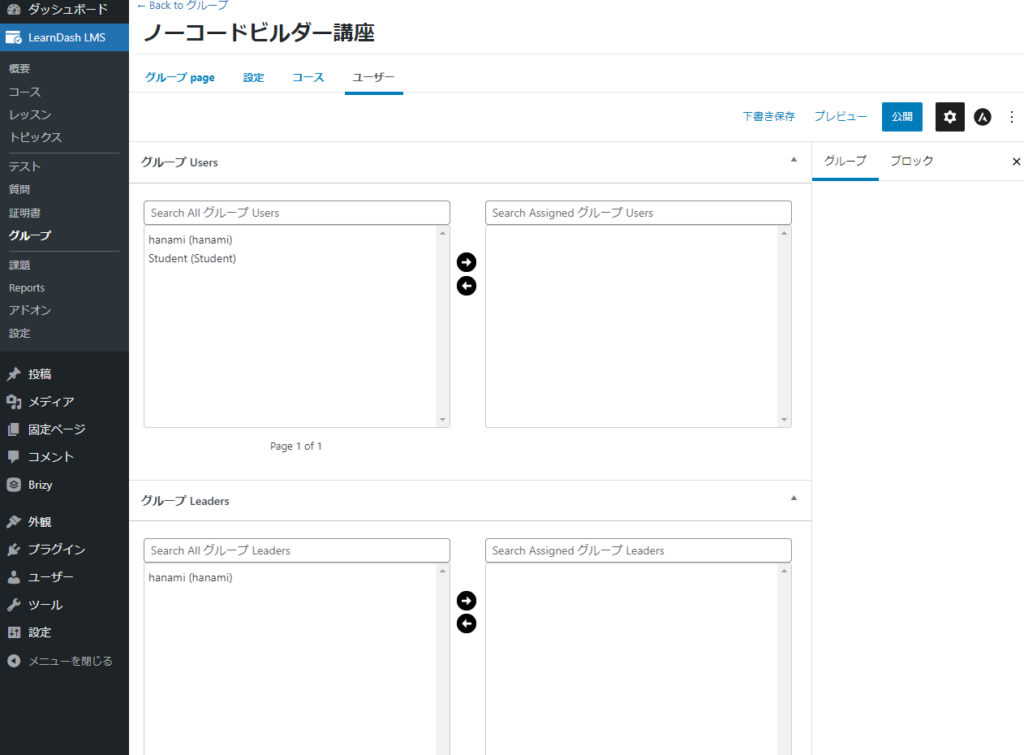
User Setting
Switch tabs to Users.
You can view a list of users who are members of a group, or you can add users manually.
You can also set up group leaders, users with higher privileges who can manage groups and the courses that groups can take.
Released as soon as the next morning! Weekends and holidays are also available!
Super rush website creation plan
We offer a rush website creation plan for those who need a website in a hurry!
We can publish your content as soon as the next morning, even on weekends and holidays! If you have any questions, please check the details below!

Latest Articles

How to Enhance EEAT with WordPress | Settings and Design Improvements Necessary for AI-Driven Traffic


[2026 Latest] How to check the number of visits from generated AI using GA4's exploration function

Error message: Allowed memory size of 268435456 bytes exhausted (tried to allocate 14684160 bytes) Error: On Lollipop