How to create a website using WordPress/How to use plugins/No-code construction blog


Connect your PaidMembership plug-in to Discord for seamless community building!
At HanamiWEB Online School,
●Ask questions in real-time in the virtual study room!
●Ask as many questions as you want via chat!
●E-learning materials that you can learn as much as you want, 24 hours a day!
All included for just 2,500 yen/month!
[PaidMembership Prp]Free version of the plugin and free add-onsConnect Paid Memberships Pro to Discord] We'll show you how to automatically add subscribers to Discord!
Overall flow
It's complicated, so I'll start with a brief overview of the setup:
- Create an application with Discord Developer...Get ClientID/SecretID
- Enter ClientID/SecretID to Paid Membership Pro
- Get Redirection URL from Paid Membership Pro
- Enter Redirection URL in Discord Developer
- Create a BOT with Discord Developer...Get a Bot Token
- Enter Bot Token into Paid Membership Pro
- Launch Developer Tools in Discord
- Enter ServerID into Paid Membership Pro
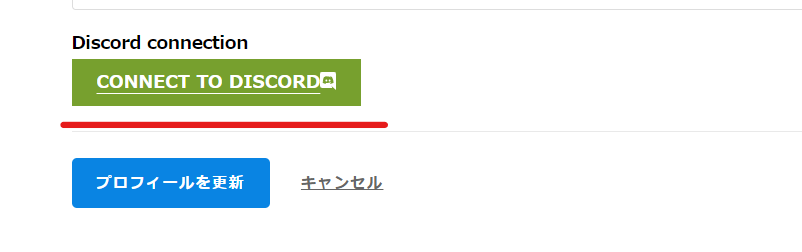
Paid Membership Pro and Discord connection completeOnce connected, you'll see a Discord Connect button on your user information page.
You can also connect to specific rooms on Discord, so we'll show you how to connect to rooms in the second half of this article.
Discord Developer Page
Visit the Discord Developer Application page.
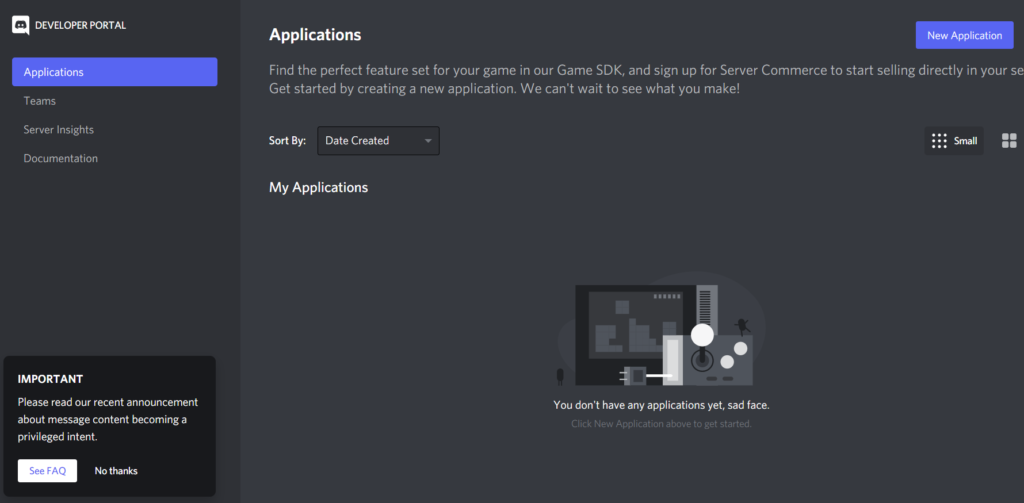
Create a new application
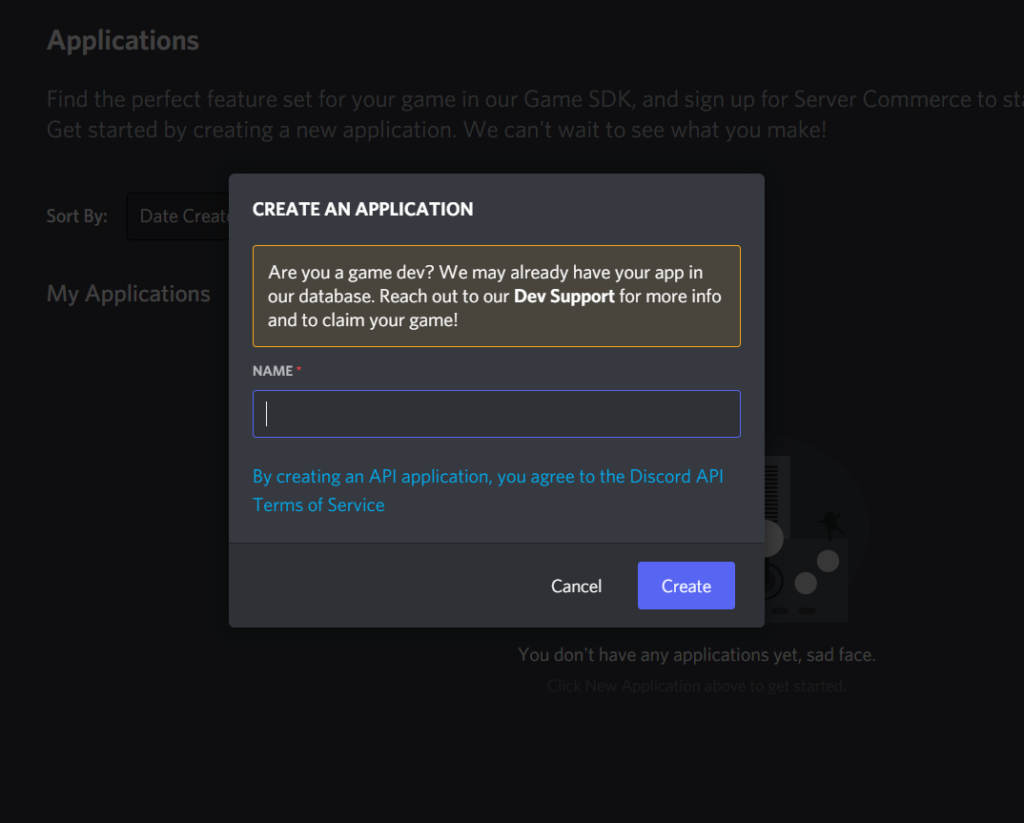
Click the [Create New Application] button to create a new application.
- Enter the app name (Japanese is possible)
- Create button
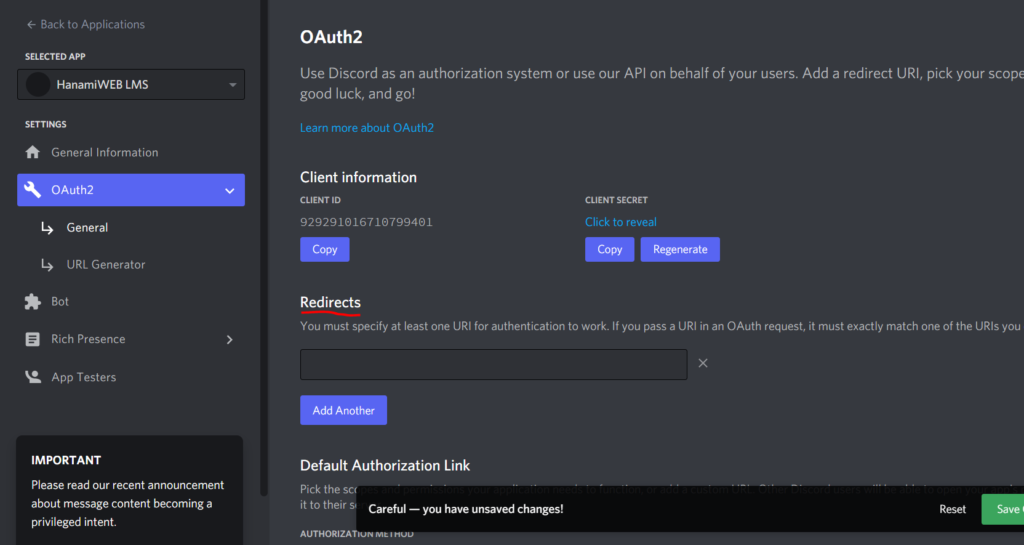
Client ID and secret key
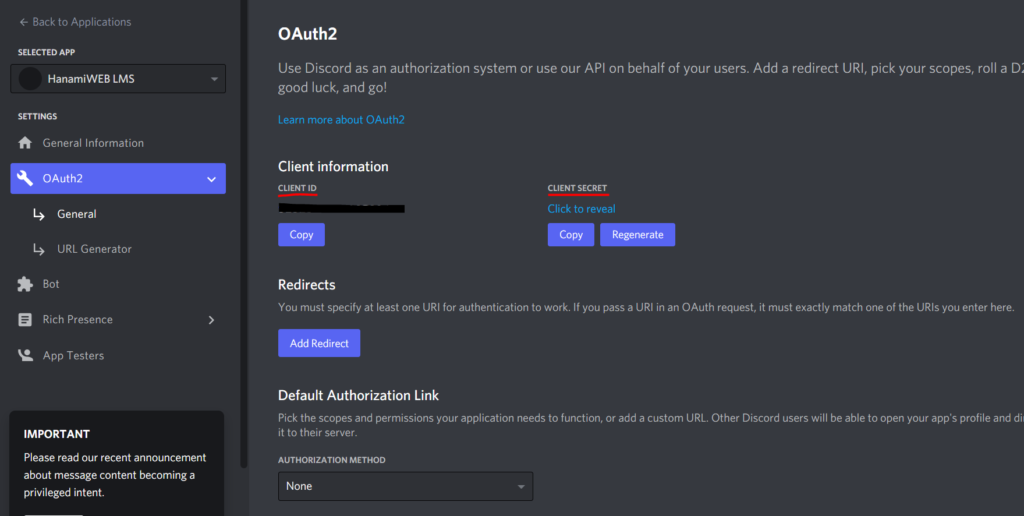
Next, click the OAuth2 tab and check the client ID and secret key to enter into the Paid Membership Pro plugin installed in WordPress.
- CLIENT
- CLIENT SECRET
Copy in order
Enter into WP
- membership
- Application Details
- Client ID/Client Secret
Paste it in
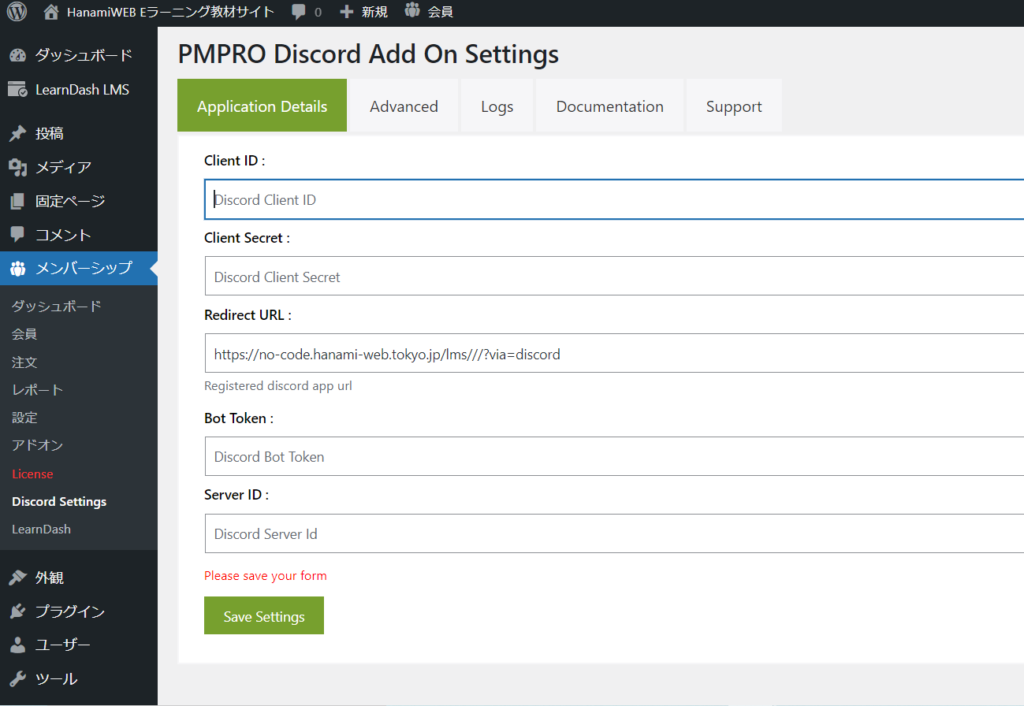
Enter Redirection
Copy the Redirection URL listed in WP.
Once you have pasted it into the Redirects section, click the [Save Change] button at the bottom.
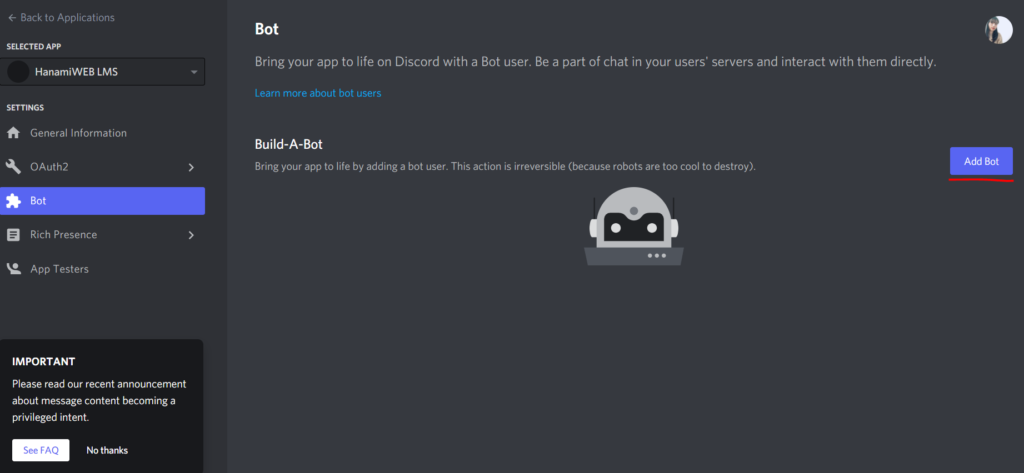
Creating a new BOT
Next, create the BOT.
- Go to the BOT tab
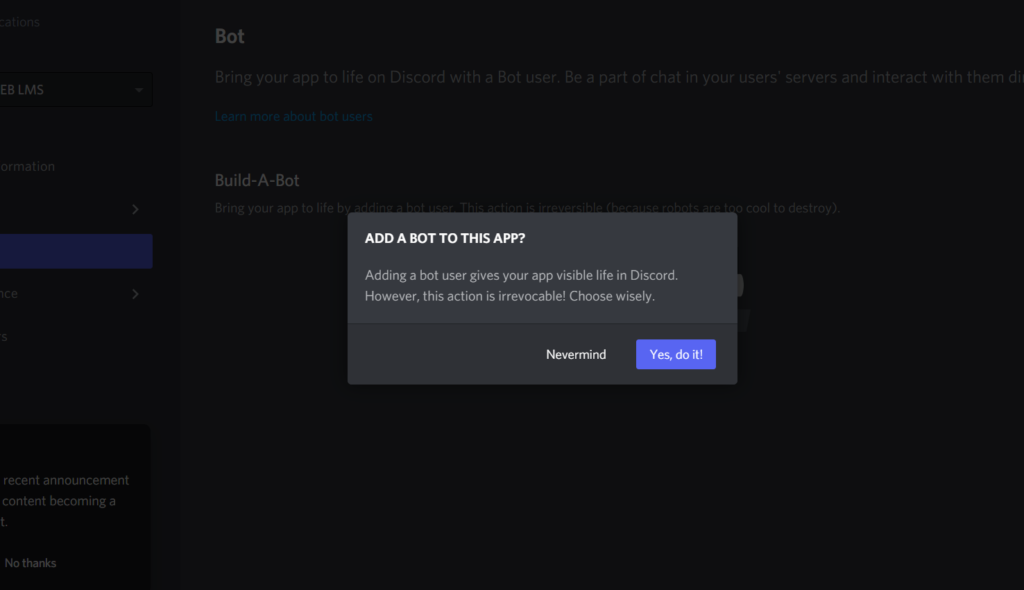
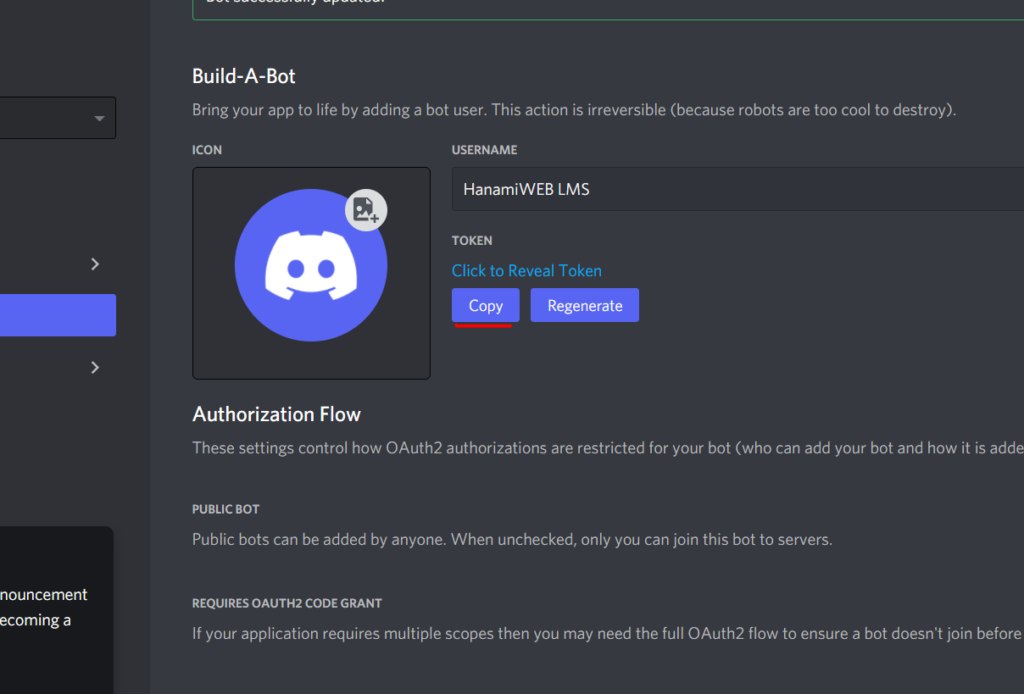
- Click the [Add Bot] button on Build-A-Bot.
【Yes do it】
Turn off Public BOT
To make this a members-only bot, turn off Public Bot and click [Save Changed] to save the changes.
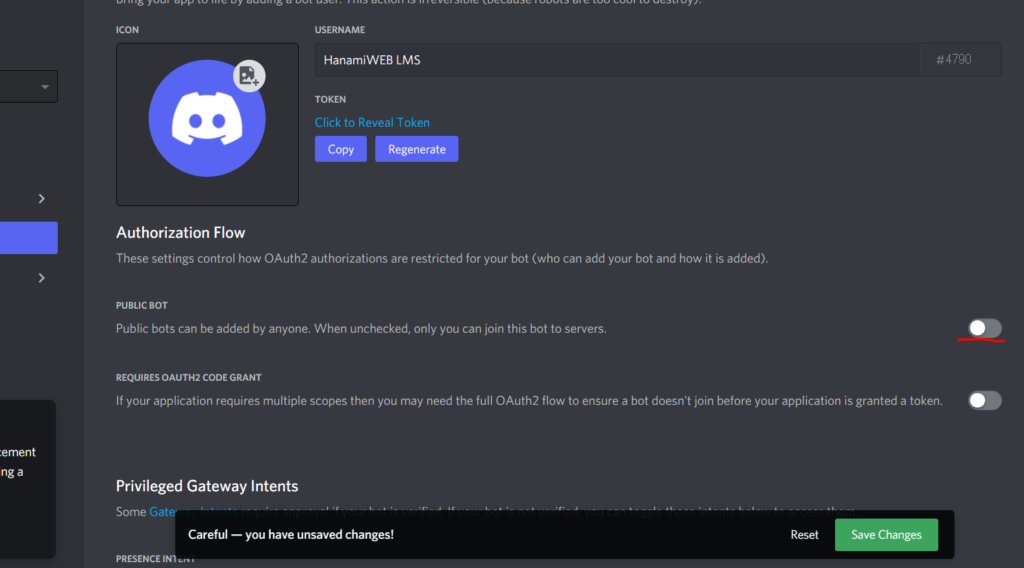
Copy BOT Token
Copy the BOT token and paste it into WordPress.
Paste into Paid Membership Pro
Paste in the BOT Token.
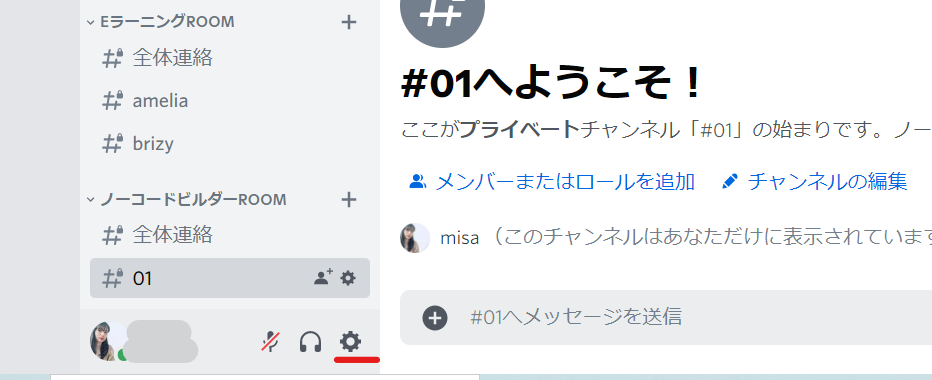
Check the server ID
Open Discord and click the gear to open Settings.
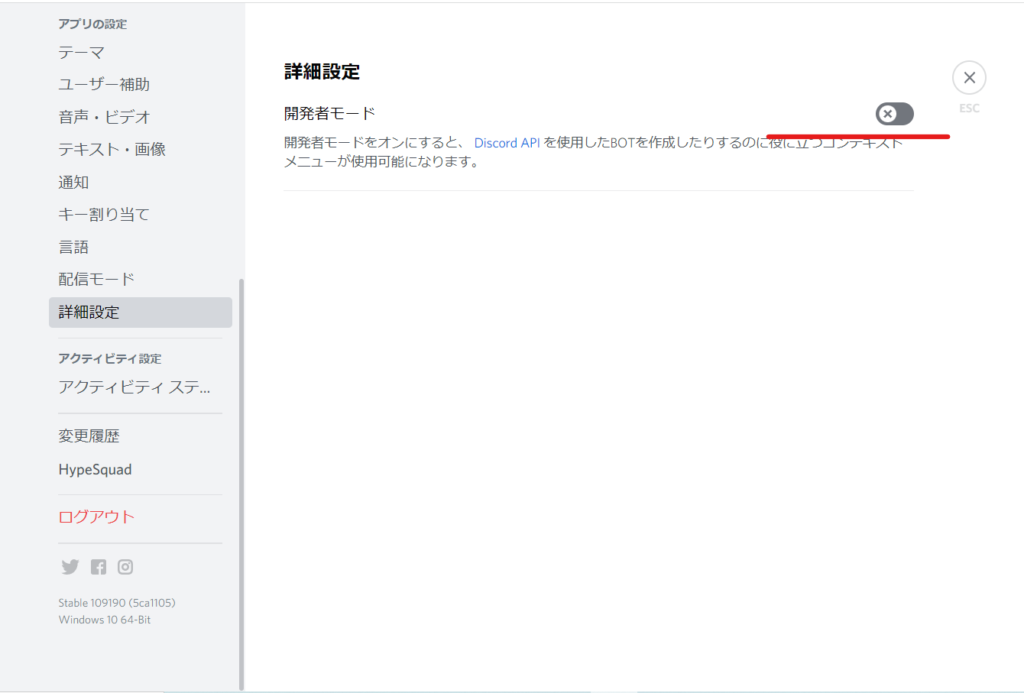
Turn on developer mode
- Advanced Setting
- Developer Mode
- ON
to.
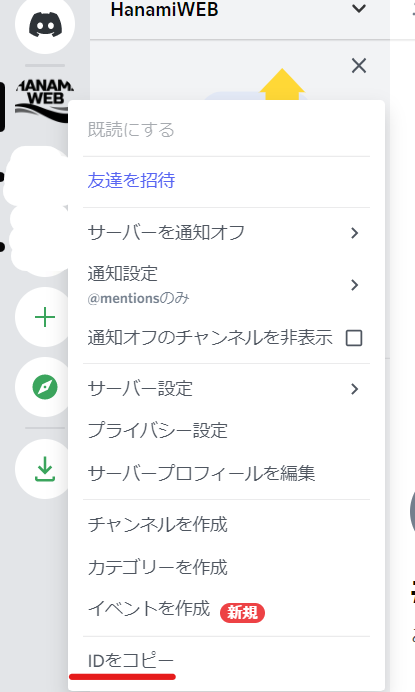
Server ID Copy
After that, right-click on the Discord community you want to connect to and you will see a space to copy the server ID.
Copy
Paste in Paid Membership Pro
Paste it in the Server ID field
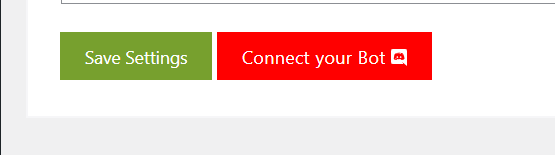
connection
Click the [Connect your bot] button.
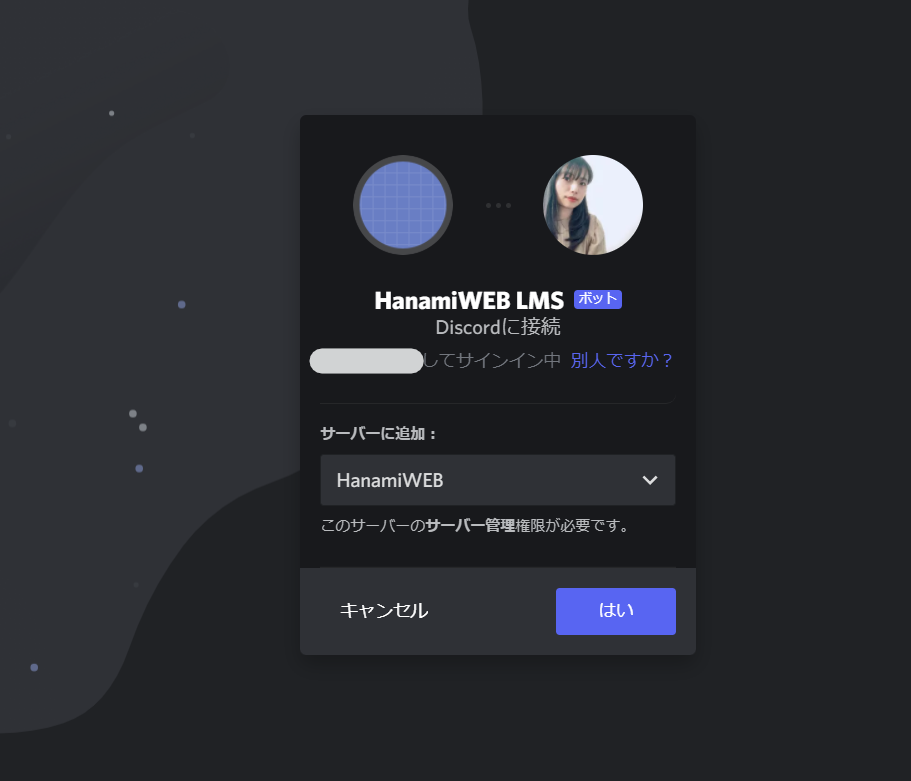
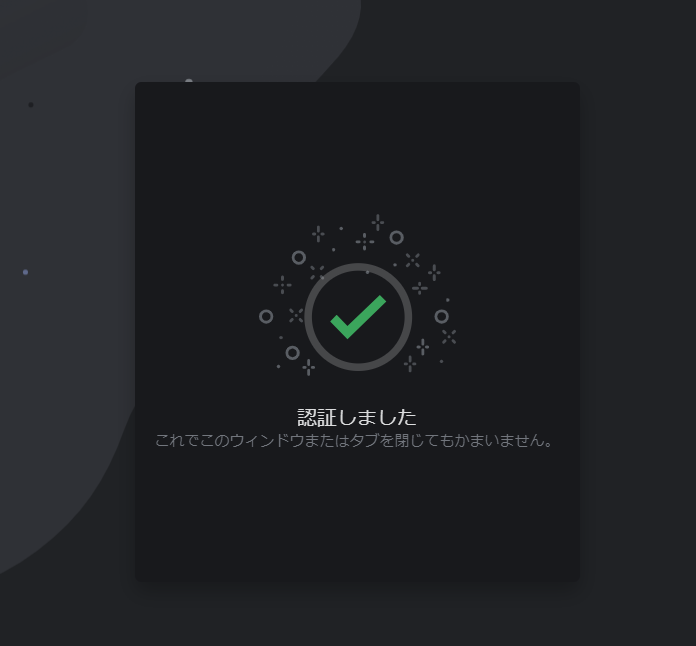
Continue with authentication and it will be OK when it is completed.
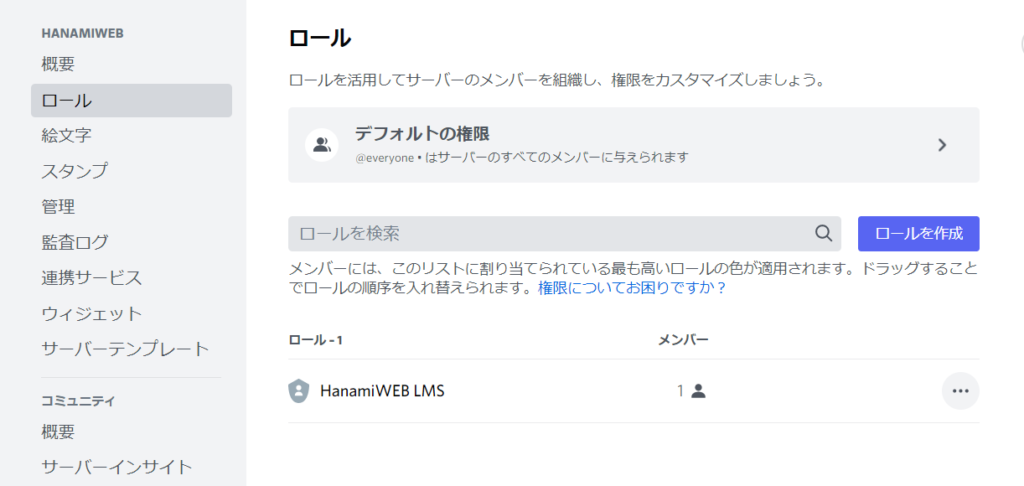
Change the BOT's authority to a higher level
Open your server settings.

Give TOP level permissions
Currently there is only one, but if you have multiple, please bring the BOT you created this time to the top.
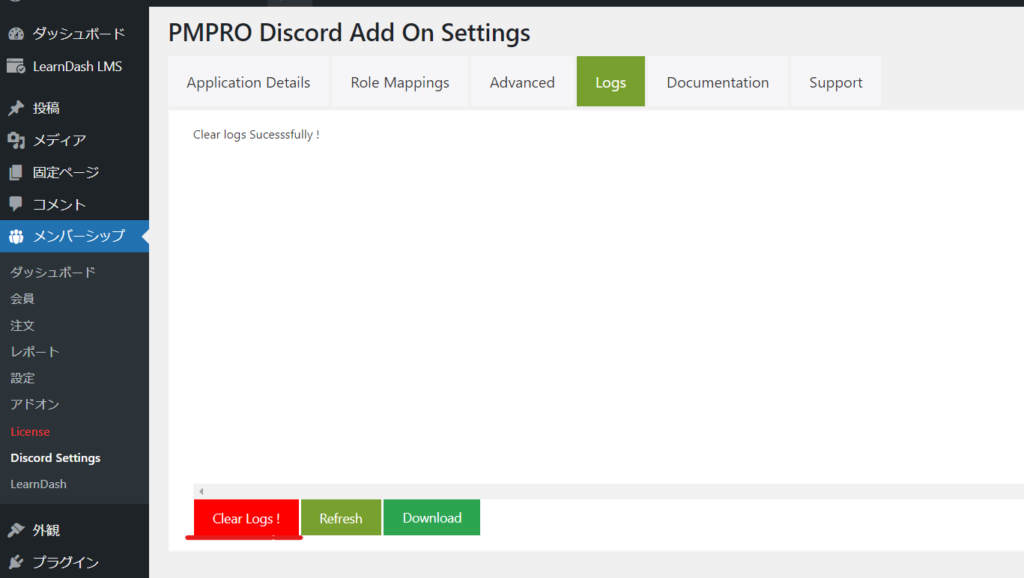
Check the log
Check the log on Paid Membership Pro to make sure the connection is successful.
Click [Clear Logs!] and if the following display appears, it's OK.
Add a connection button to the user's My Page
Once Paid Membership Pro and Discord are connected, a Discord connection button will appear in the user information section of your My Page.
Allocate membership to rooms
This time, I would like to create private rooms for each member who subscribes, and create a place where members can freely interact with each other. With the settings up to this point, users can automatically connect to Discord from their My Page.Manual placement in private roomsHave to.
By using the role permission function, each membership level created in Paid Membership Pro can automatically join private rooms.
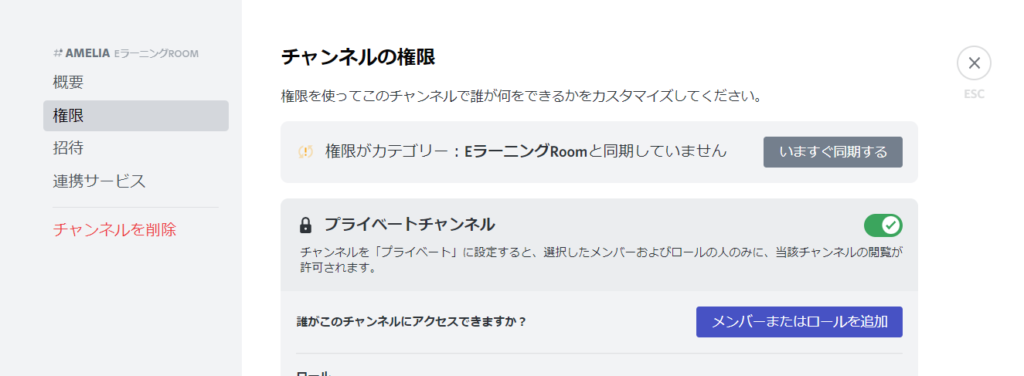
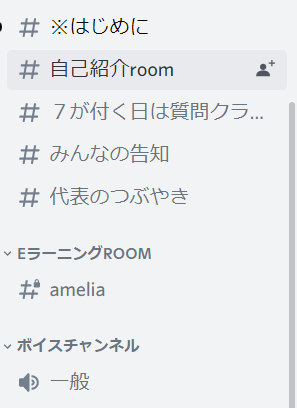
This explanation is based on the assumption that a private room has been created in Discord. In my case, I have set this room to private with a lock.
Create authority
First, create a role in Discord.
Server Settings
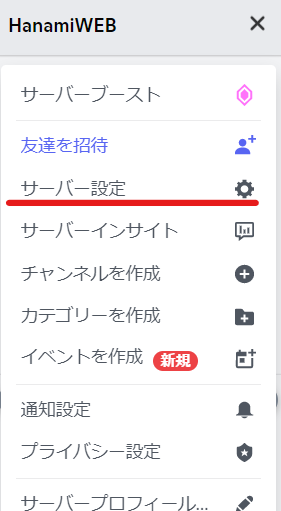
Role Creation

Give it a name
Here, I gave it a name and set a color. I didn't change any permissions.

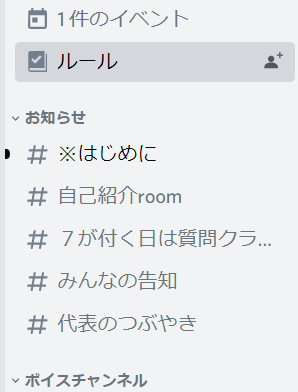
Display confirmation
Click "View Server as Role" to see what the people in the role you just created look like.
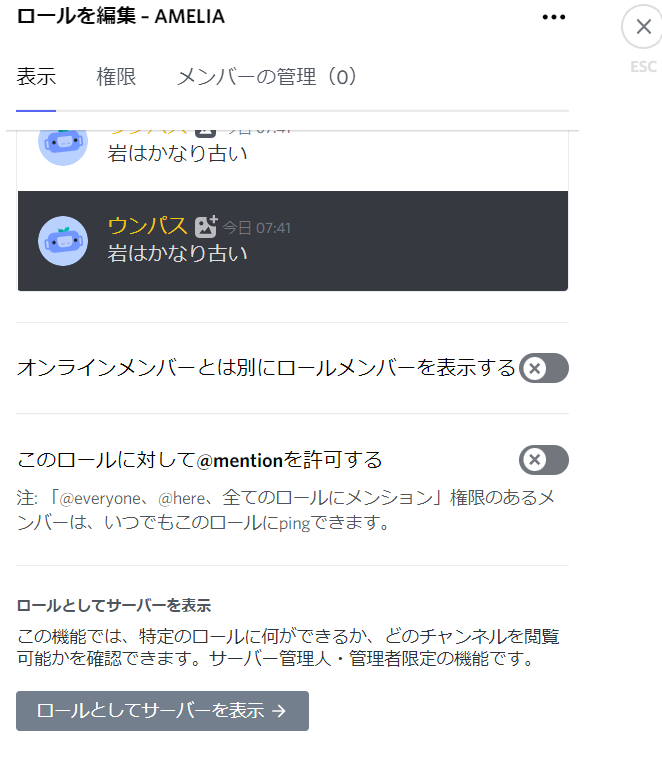
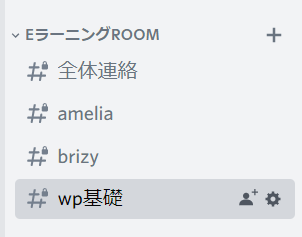
Locked rooms, including Amelia's room, are not visible.
Add role to locked room
Next, assign roles to locked rooms.
Click the gear icon for the room you want to assign permissions to.
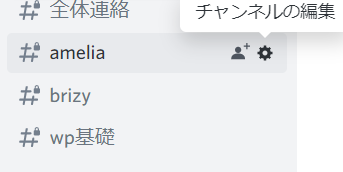
Click on [Permissions]
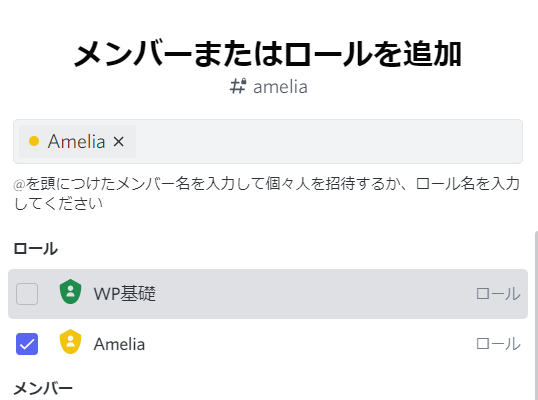
- Add a member or role
Click to add the role you just created.
Check the appearance of the roll
Let's check the display again by viewing the server as a role.
Now added!
Connect WordPress to Discord locked rooms
It's been a long journey, but we've finally reached our final goal: implementing automation that connects users to a specific Discord room once they register as a member on WordPress.
- membership
- Discord Settings
- Role Mapping
and set it up.
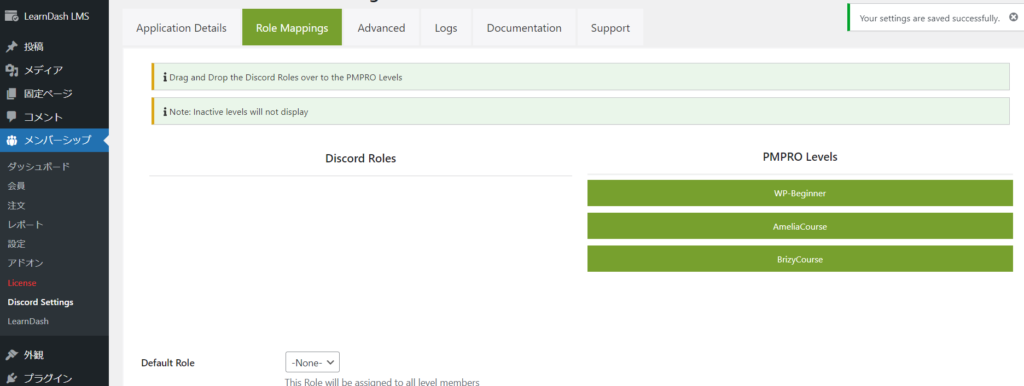
Flash Mapping
Click the red Flash Mapping button to update to the latest version.
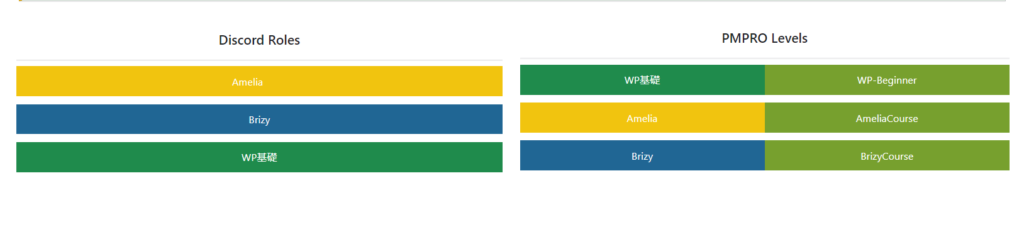
Then, the Discord permissions you just created were displayed.
Next, drag and move the Discord Role to the membership type you created in Paid Membership Pro.
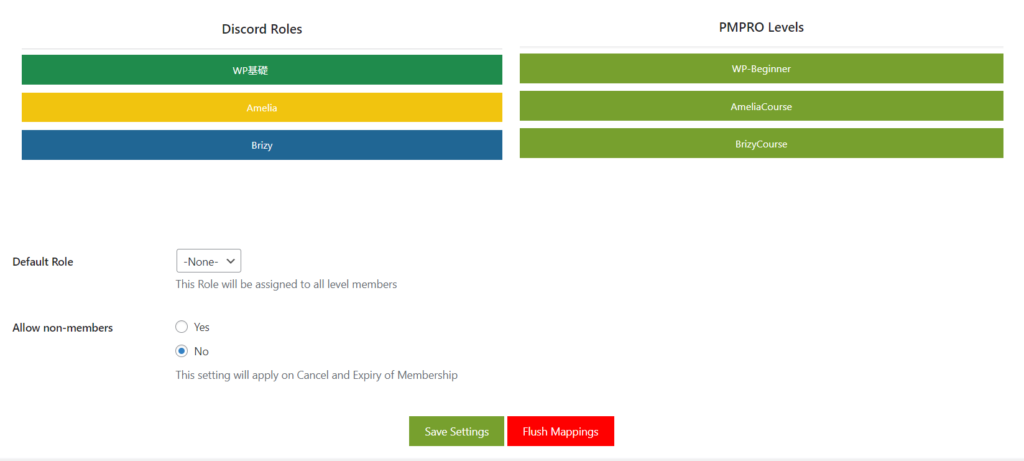
It looks like this. Finally, click the [save change] button to save it and you're done!
summary
I know people who have been using the free Simple Membership plugin in conjunction with Facebook groups, but I discovered that the free version of Paid Membership Pro can be automatically linked to Discord!
This is really amazing.
Released as soon as the next morning! Weekends and holidays are also available!
Super rush website creation plan
We offer a rush website creation plan for those who need a website in a hurry!
We can publish your content as soon as the next morning, even on weekends and holidays! If you have any questions, please check the details below!

Latest Articles
How to Enhance EEAT with WordPress | Settings and Design Improvements Necessary for AI-Driven Traffic
[2026 Latest] How to check the number of visits from generated AI using GA4's exploration function
Error message: Allowed memory size of 268435456 bytes exhausted (tried to allocate 14684160 bytes) Error: On Lollipop