How to create a website using WordPress/How to use plugins/No-code construction blog
Build a matching site with WordPress! Explaining PremiumPress' Microjob theme and basic listing settings
At HanamiWEB Online School,
●Ask questions in real-time in the virtual study room!
●Ask as many questions as you want via chat!
●E-learning materials that you can learn as much as you want, 24 hours a day!
All included for just 2,500 yen/month!
This article explains how to set up the Microjob theme from PREMIUMPRESS, which allows you to build a matching site using WordPress.
This time, we will explain the basic settings for users to list items.
Listing Settings
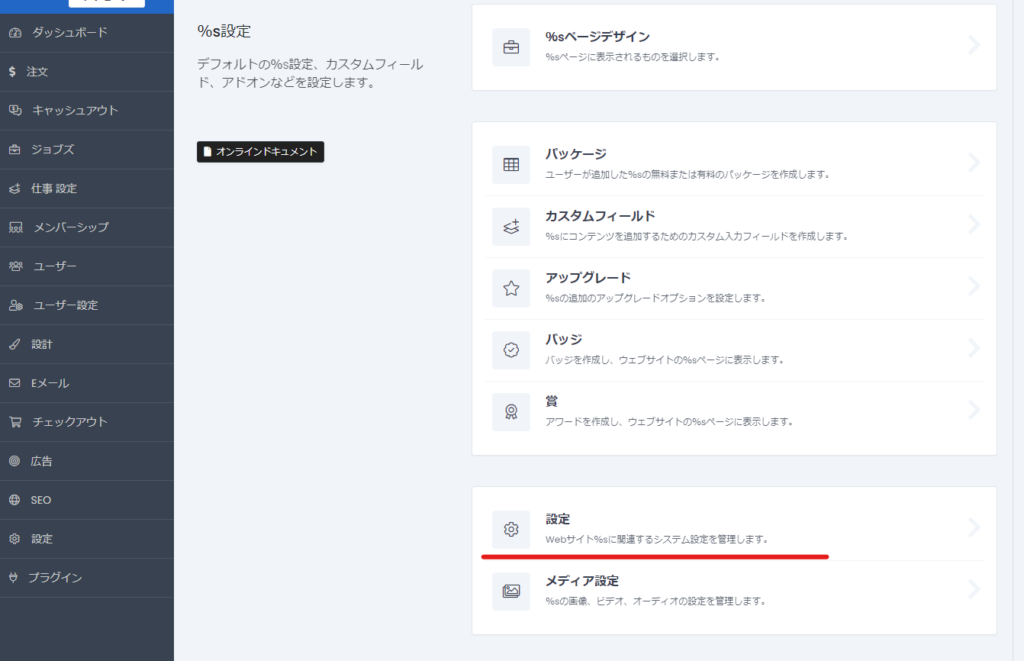
Job settings are made in the [Job Settings] of PREMIUMPRESS.
- Premiumpress
- Work Settings
- setting
This will allow you to configure basic listing settings.
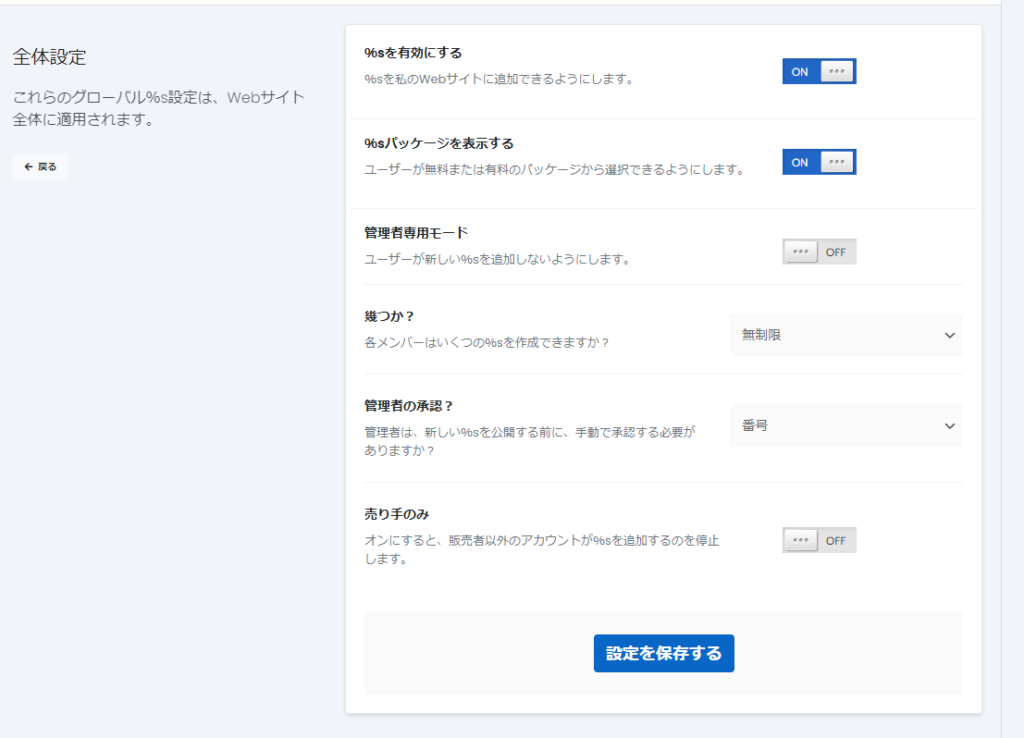
Enable %s
This setting determines whether users are allowed to list items.
If only operators want to list items from the WordPress dashboard, this function can be turned off and users will only be able to purchase.
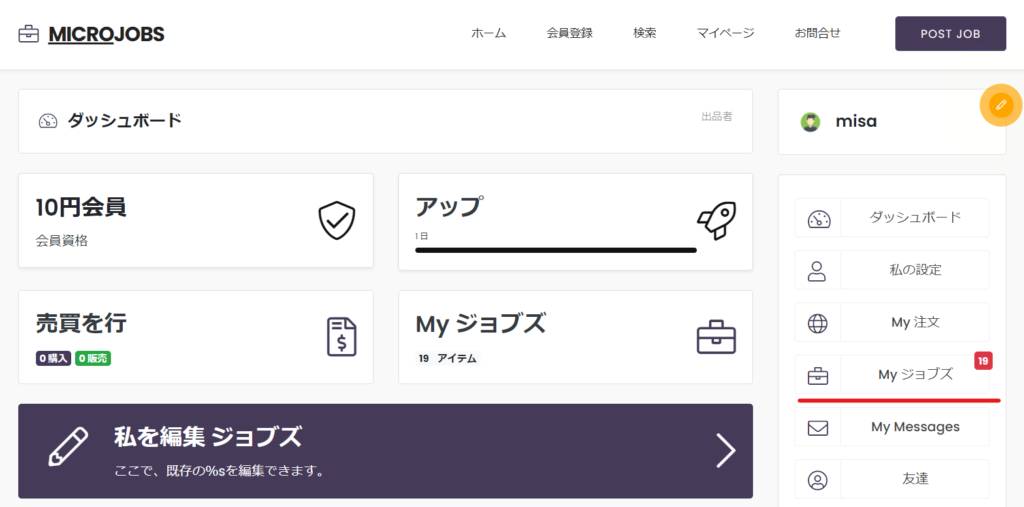
If you turn it OFF, you will no longer be able to list items on your My Page. Below is a screenshot of when it is ON.
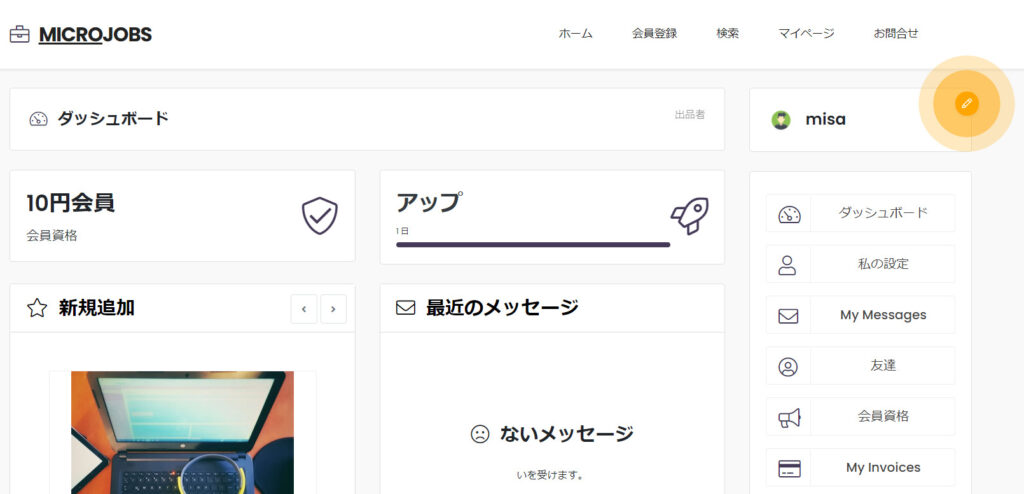
Below is the case when it is OFF. The listing function is disabled.
View %s packages
You can purchase free or paid packages to enable you to list your services.
AdministratorDedicated Mode
In this mode, only administrators can list services.
How many?
Limit the number of items a user can sell. You can choose
- Just one
- Unlimited
It can be one or the other.
Administrator Approval
This setting requires administrator approval before a service can be made public.
PREMIUMPRESS Jobs contains a list of currently listed services, but the administrator must approve the service each time by accessing the details page of the currently listed service through editing.
Sellers only
On the user dashboard there is a place to choose whether to be a member (writer) or a seller.
Turn this setting ON if you want to create a system where only people who are listed as sellers can sell items.
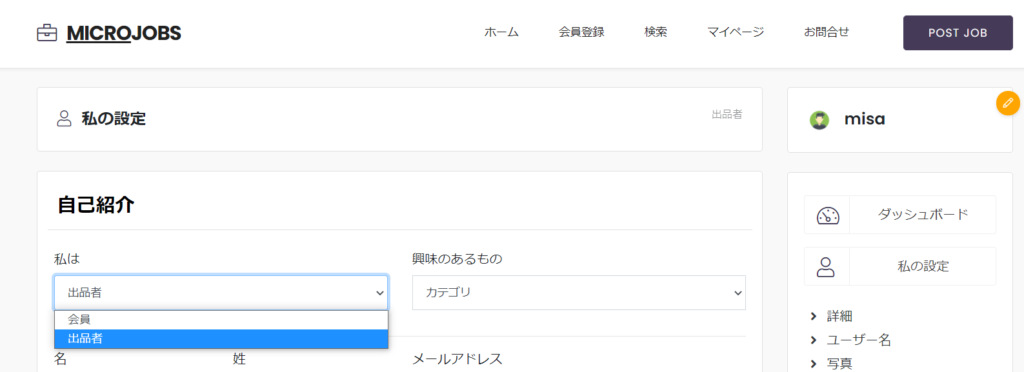
If you turn on Seller Only, the jobs section will only be displayed on the dashboard of users who are set as sellers.

Creating a Package
The listing package settings are very detailed, so we have explained them in detail in a separate article.
Jobs page settings
Next, you will set up the listing screen when listing your service.

(Add listing) User listing page
Users list their services through an add listing page like this one, and the settings that control this page are the Job Page Settings.
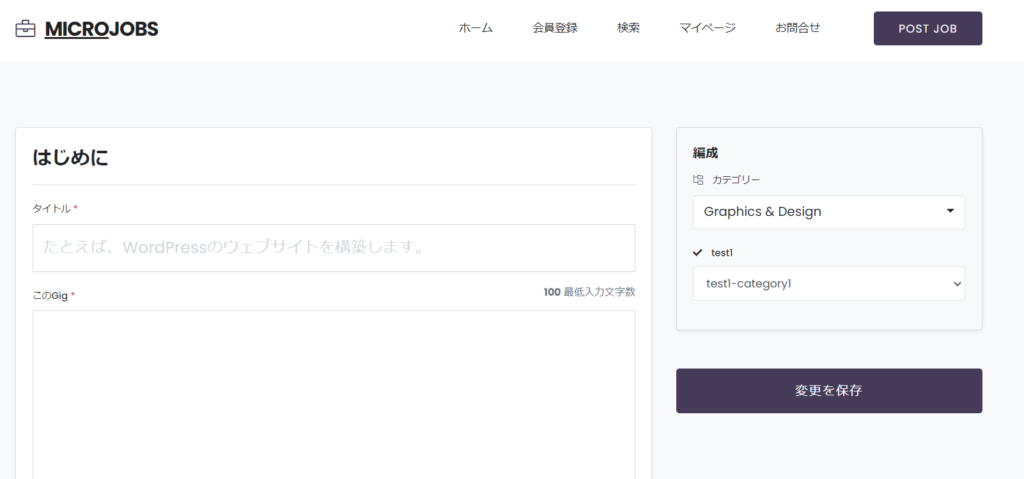
Category Selection
This setting requires you to select a category before listing.
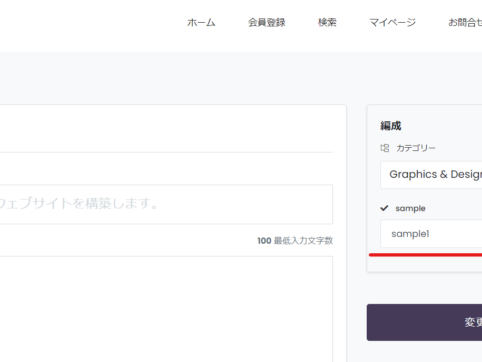
Title length
Enter the maximum amount of text allowed in the title.
For example, if you want to set it to 100 characters or less, set it to [100].

Length of description
Below that, in the Gig section, you can set the minimum number of characters of text that must be entered.

Location Box
This setting determines whether or not to output the location information.
Change category
You can control category changes after listing.
Multiple Categories
It allows you to select multiple categories.
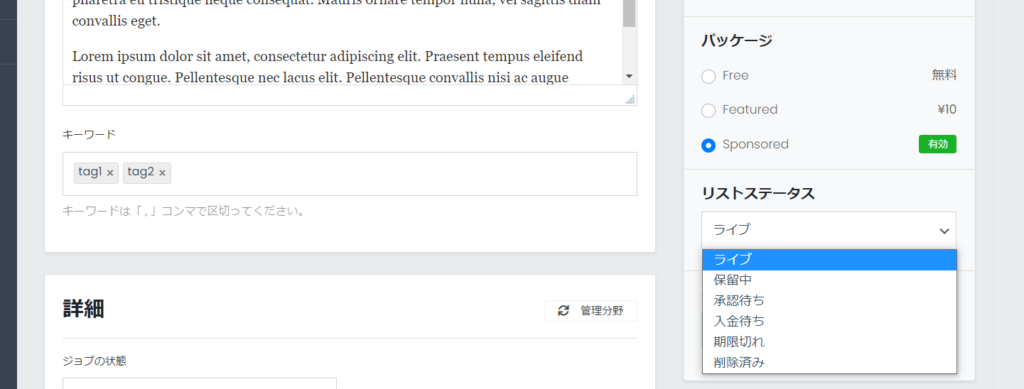
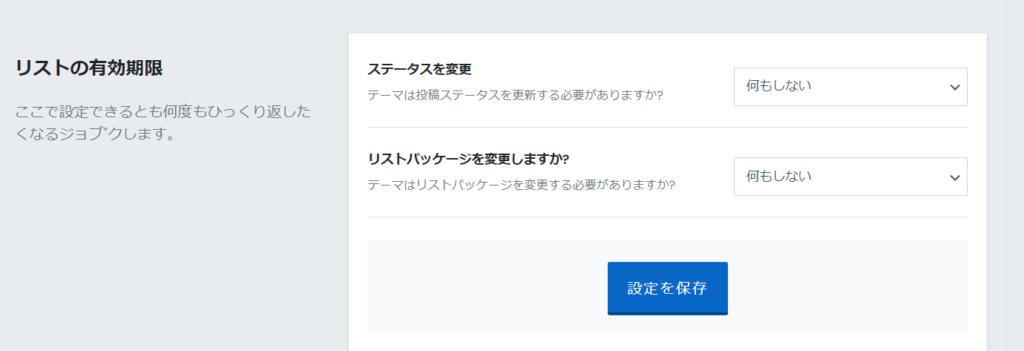
Bulk change list status
This is the setting when the listing service expires.
Released as soon as the next morning! Weekends and holidays are also available!
Super rush website creation plan
We offer a rush website creation plan for those who need a website in a hurry!
We can publish your content as soon as the next morning, even on weekends and holidays! If you have any questions, please check the details below!
Latest Articles
