How to create a website using WordPress/How to use plugins/No-code construction blog


")
How to create a matching homepage using WordPress! Plugin [HivePress] Seller settings
At HanamiWEB Online School,
●Ask questions in real-time in the virtual study room!
●Ask as many questions as you want via chat!
●E-learning materials that you can learn as much as you want, 24 hours a day!
All included for just 2,500 yen/month!
This article explains how to set up HivePress, a free plugin that allows you to build a matching site with WordPress. This time, we will be setting up sellers, also known as vendors.
Setting location
- HivePress
- setting
- vendor
Configure the settings in the area.
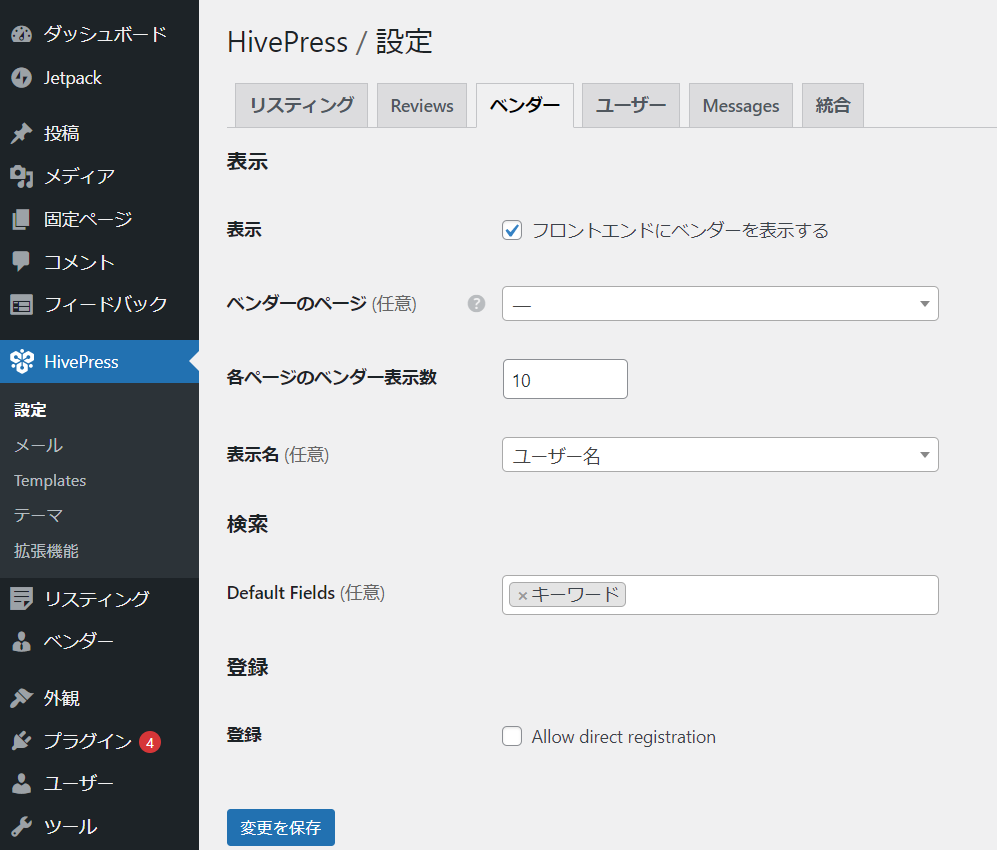
Vendor Display Settings
I created and configured one static page to display a list of vendors.
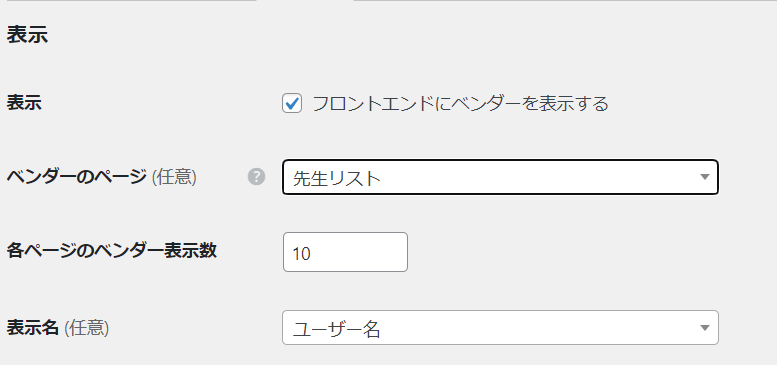
- Display – Check to display the vendor on the front end
- Vendor Page - Create a static page and associate it as the vendor page
- Number to display – Set the number to display per page
- Display Name - Username
Set the following:
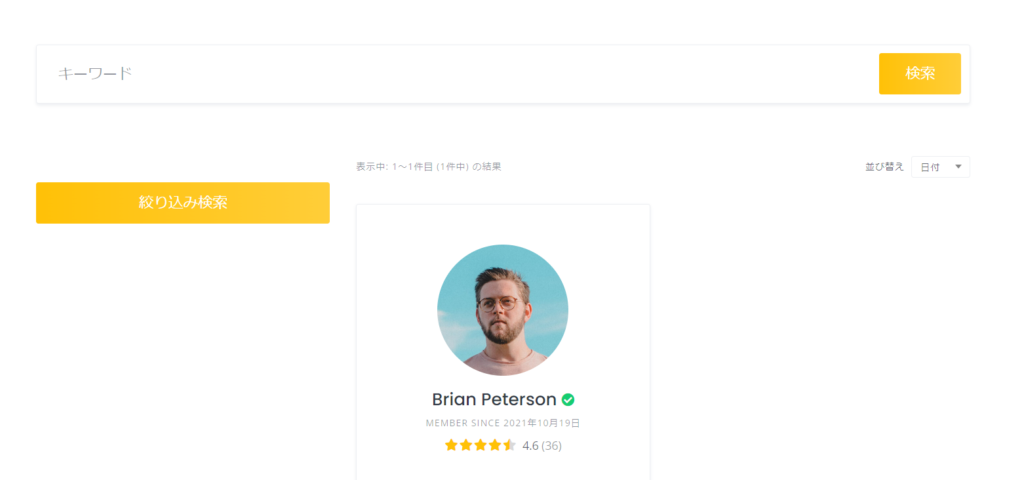
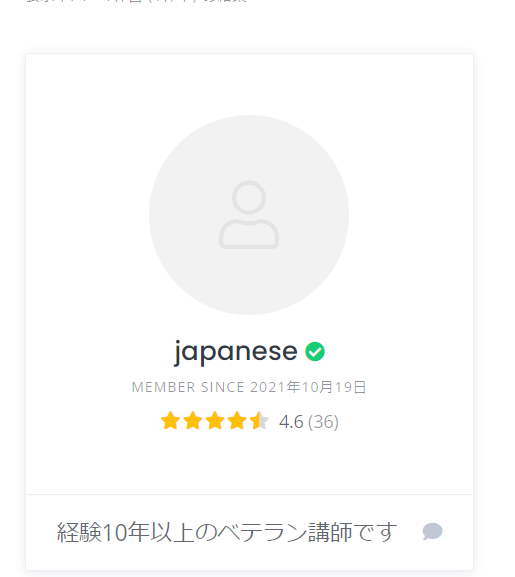
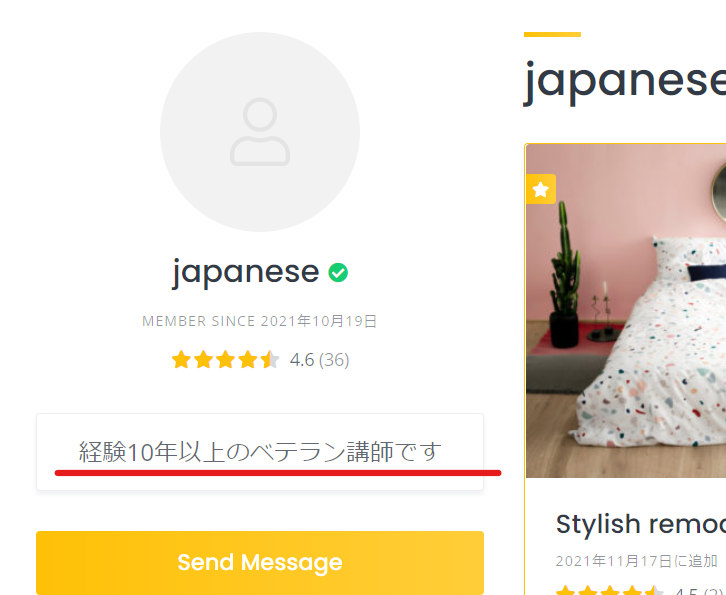
There is only one person registered as a vendor, but he is displayed in this manner.
If you do not want to output the list page, uncheck Show vendors on front end under Display to prevent the automatic output of the list page.
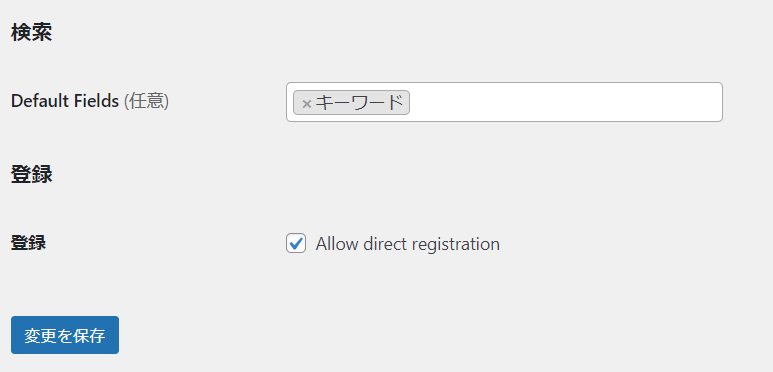
Search & Register
Next, there are search and registration settings. By default, only keyword search is included.
If you want to register as a vendor when registering as a user, check Allow direct registration.
Adding custom fields to vendor registration
As a vendor, you can add custom fields that you want your customers to fill out before listing your products.
- vendor
- attribute
It will be.
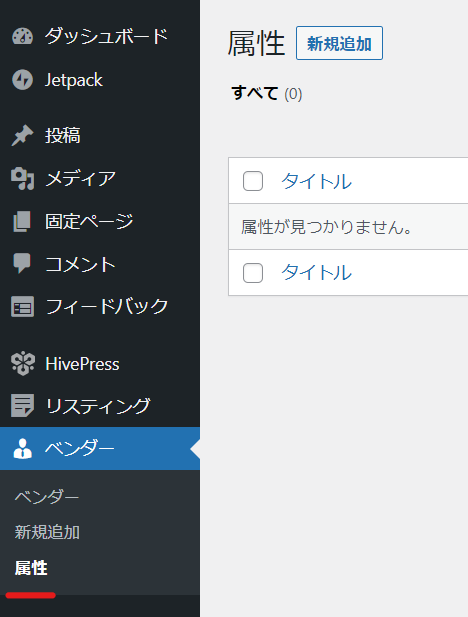
Add Vendor Custom Fields
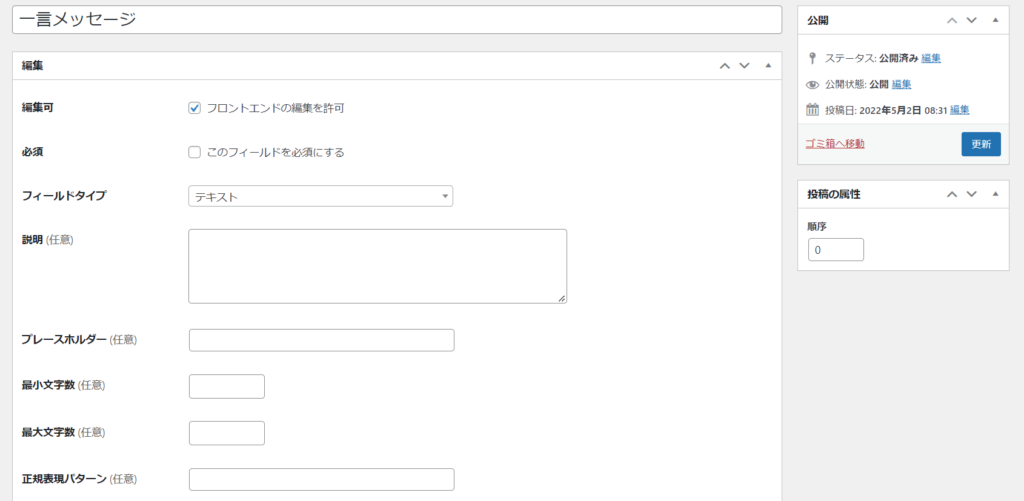
Click Add New to add a new custom field. For example, let's set up a message input field.
- Editable - Check Editable
- Required - Check if you want to make the field required
- Field Type - This time we are adding a single line text input field.
- Description – You can enter a description for this field.
- Placeholder - Gray placeholders allow you to display sample text at the beginning
- Minimum number of characters - You can set the minimum number of characters you want users to enter
- Maximum number of characters - You can set the maximum number of characters that can be entered
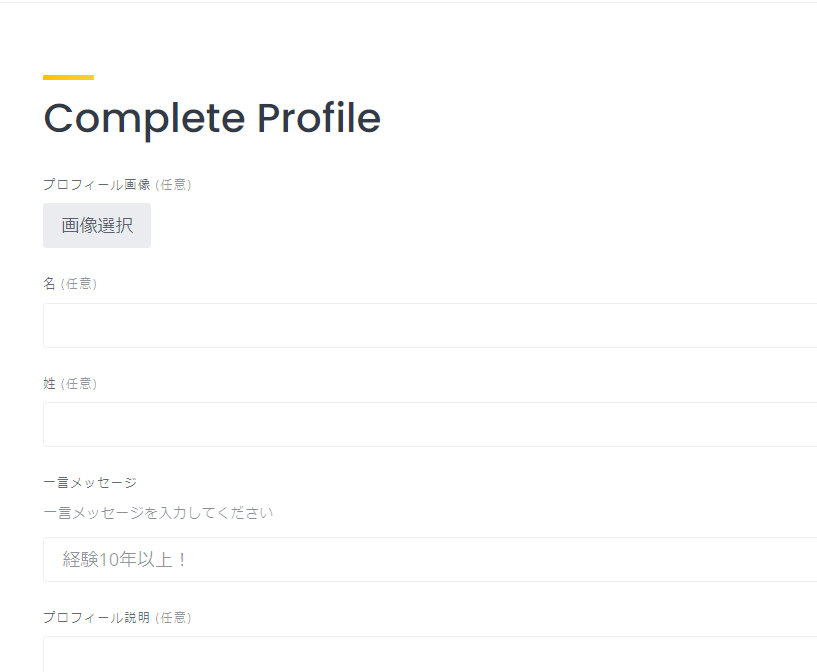
If there are required fields, you will not be able to list the service unless you complete the required fields before listing it.
When you try to list an item, you will be redirected to the profile entry field.
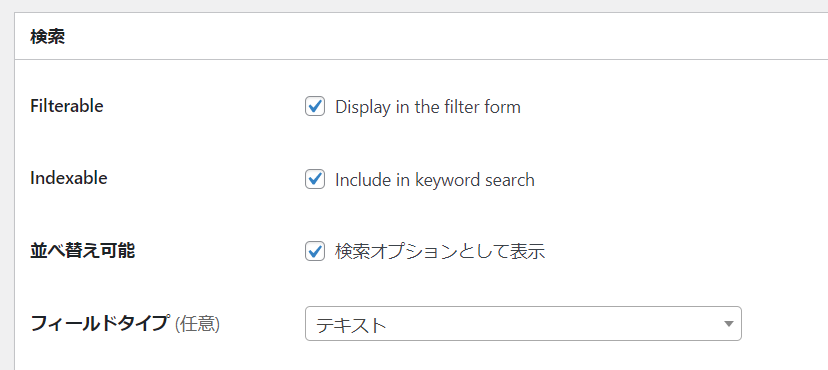
Search settings
- Filterable - Check this if you want to add it to the search items.
- Indexable - Check this box if you want to add it to keyword searches.
- Sorting - Check if you want to display this as a search option
- Field Type - Select the type of field you want to display on the search screen.
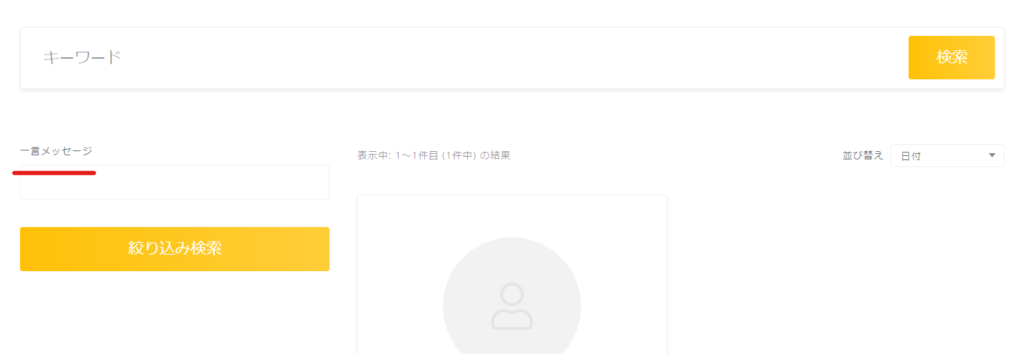
It will be added to the sidebar of your vendor listing page.
Custom attribute front-side output settings
It is also possible to set custom attributes entered by the user to be output on the front side.
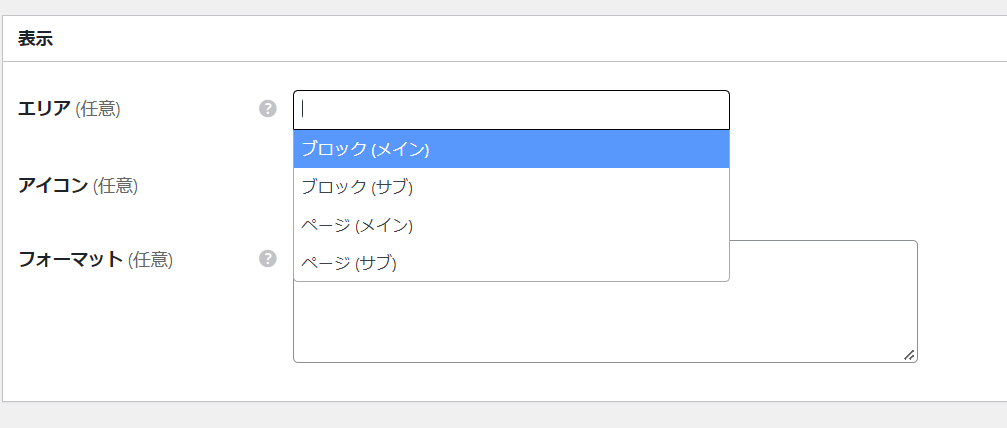
Block (Main)
Block (Sub)
Page (Main)
Page (sub)
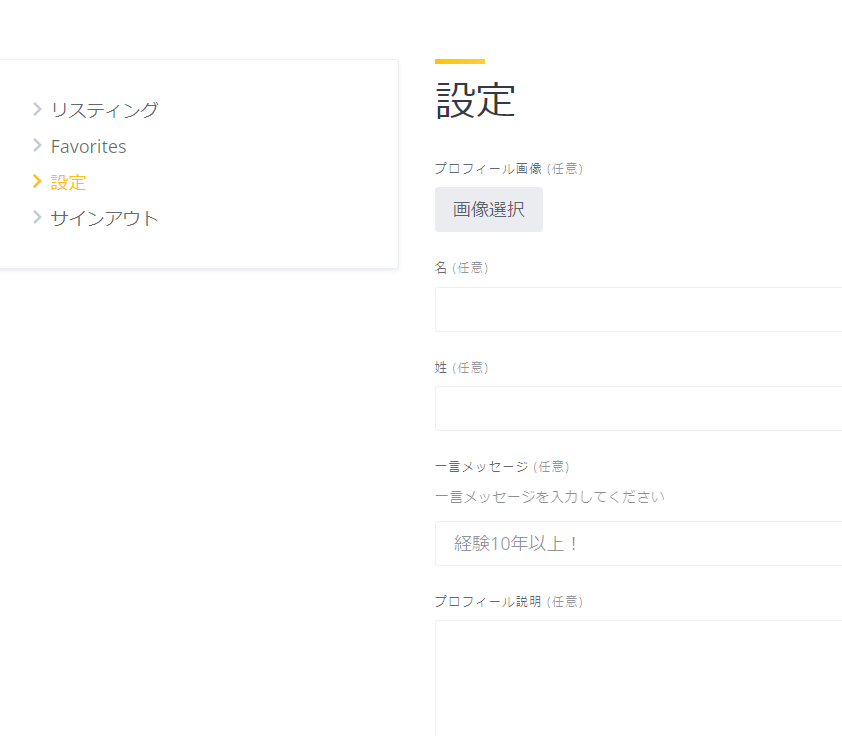
Add to user's My Page settings
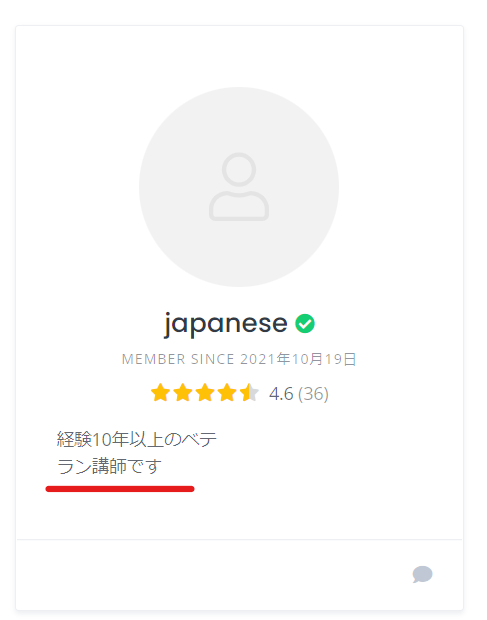
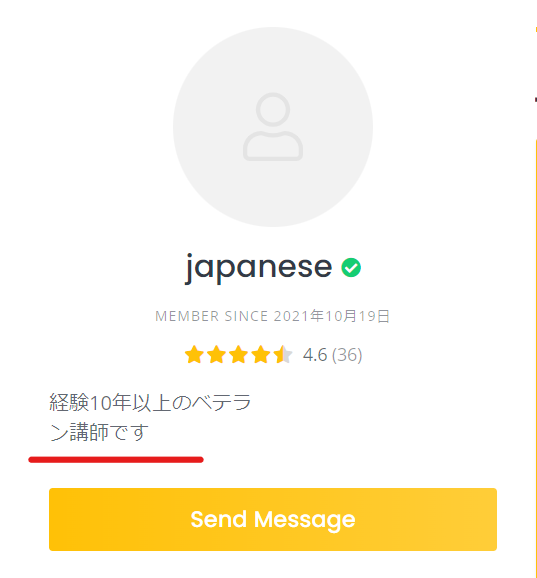
The vendor attributes you add here will be displayed in the settings of the user's My Page.

We are available on weekends and holidays!
Please contact us if you have any problems with your website!

- Unable to log in to WordPress
Malware infection?
- The homepage suddenly stopped displaying!
- A PHP error is occurring.
We also offer support on weekends and holidays for those who need assistance.
If you are in a hurry, please call us now at 03-6694-7024.
Latest Articles
Timing and Process for Renewing Your Recruitment Website | Key Points to Review to Increase the Number of Applications
7 Key Points for Creating a Recruitment Website | How to Create a Recruitment Site That Job Seekers Will Choose
What is the average cost of a recruitment website? A thorough explanation of pricing by production method.
5 Benefits of Creating a Recruitment Website with WordPress | Explaining Why It's Easy for the Person in Charge to Update