How to create a website using WordPress/How to use plugins/No-code construction blog
Video explanation of notification settings for the paid version of the WordPress reservation system plugin Amelia!
At HanamiWEB Online School,
●Ask questions in real-time in the virtual study room!
●Ask as many questions as you want via chat!
●E-learning materials that you can learn as much as you want, 24 hours a day!
All included for just 2,500 yen/month!
WordPress booking system pluginAmelia(Links to the Amelia official website) This video explains how to set up notifications for the paid version.
Video explanation of notification settings for the paid version of the WordPress reservation system plugin Amelia!
How to set up notifications (illustrated)
Now, we will explain how to set up notifications using the paid version of the Amelia WordPress reservation system plugin!
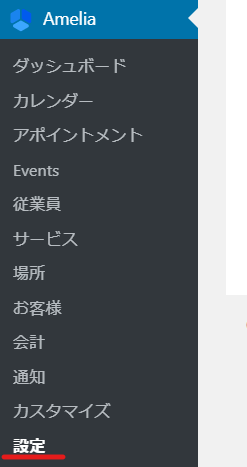
First, click [Amelia] > [Settings].
Click [View notification settings].
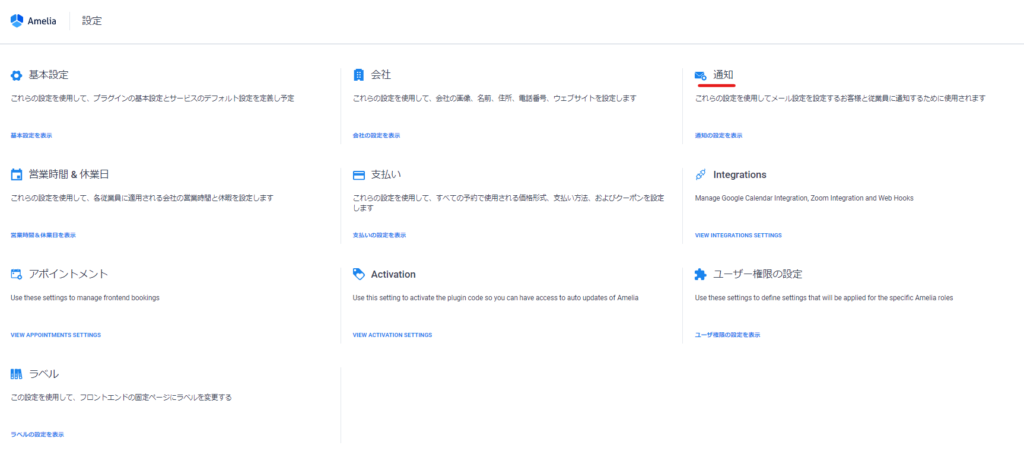
First, let’s explain the settings at the top.
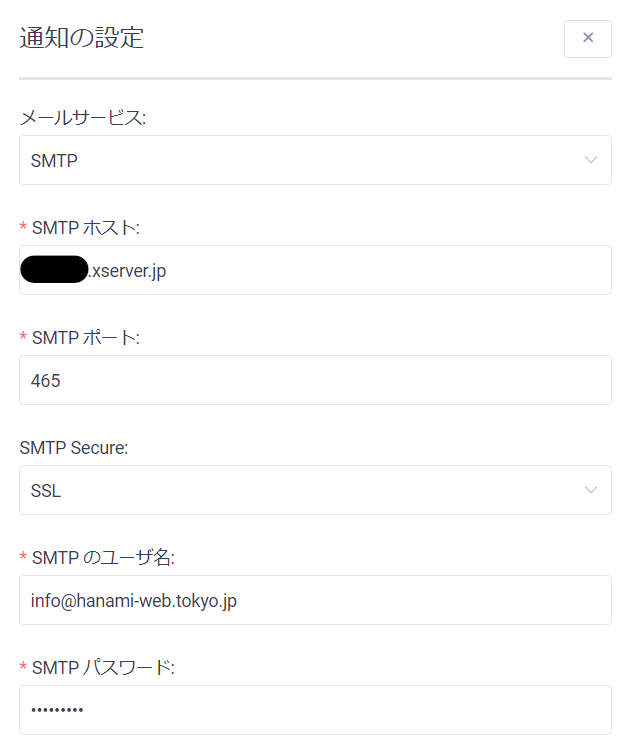
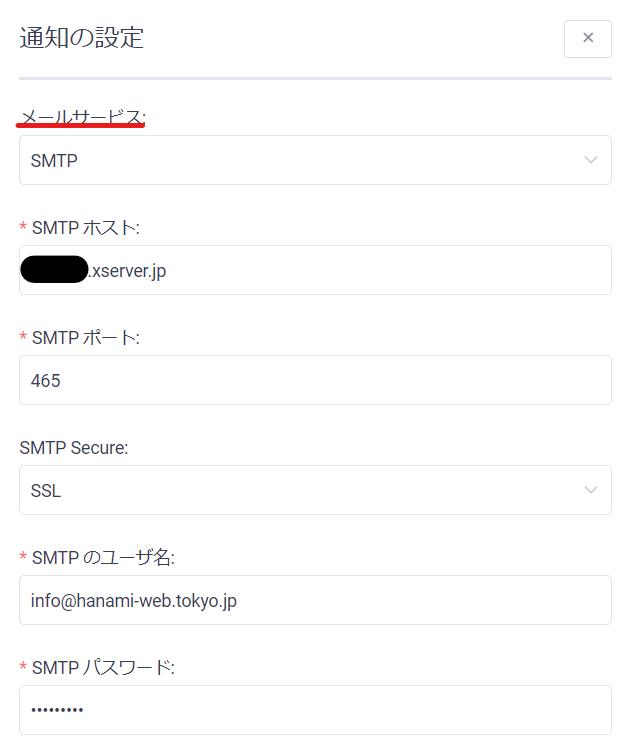
Email Services
In the mail service
- PHP Mail
- WP Mail
- SMTP
- Mailgun
You can choose.
PHP Mail
We highly recommend changing your mail service settings to SMTP or Mailgun, as emails sent with PHP Mail are usually flagged as spam by mail servers and may take longer to send.
WP Mail
Uses the WP Mail WordPress functionality for sending emails. This is the best option to use if you use a third-party plugin for sending emails.
In the latest version as of July 2020, it is not possible to check the log of emails automatically sent from Amelia. If you want to use another plugin to check the email log, set it up in WP Mail.
What is WP Mail?
WordPress has a built-in mechanism for sending emails, and it uses PHPMailer for this purpose.
When you install WordPress, do you receive emails such as notifications sent to the administrator depending on the plugin? Even if you don't make detailed settings, you can send and receive emails by entering your email address.
However, if you continue to use it this way, your emails may be treated as spam, and in rare cases, you may not be able to send emails at all.
So, we will use a plugin. A famous plugin is [WP Mail SMTP by WPForms].
When sending emails using your own domain, you can set up the SMTP of the server you have subscribed to, so that the emails will be sent correctly via the server's SMTP.
Even if you use free software such as Gmail, there are also SMTP settings for Gmail.
I would like to record email logs, so I recommend [Post SMTP]
Unless you upgrade to the paid version of WP Mail SMTP by WPForms, you cannot check the log of emails sent from WordPress.Post SMTPYou can check your email sending logs for free.
Emails sent from Amelia are not recorded on the Amelia dashboard or on the server. Therefore, by using a plugin that can manage the log of emails sent from WordPress, you can check whether the email was sent properly.
How to set up SMTP
For both "WP Mail SMTP by WPForms" and "Post SMTP", the SMTP setup method is the same as the method explained when using Amelia SMTP.
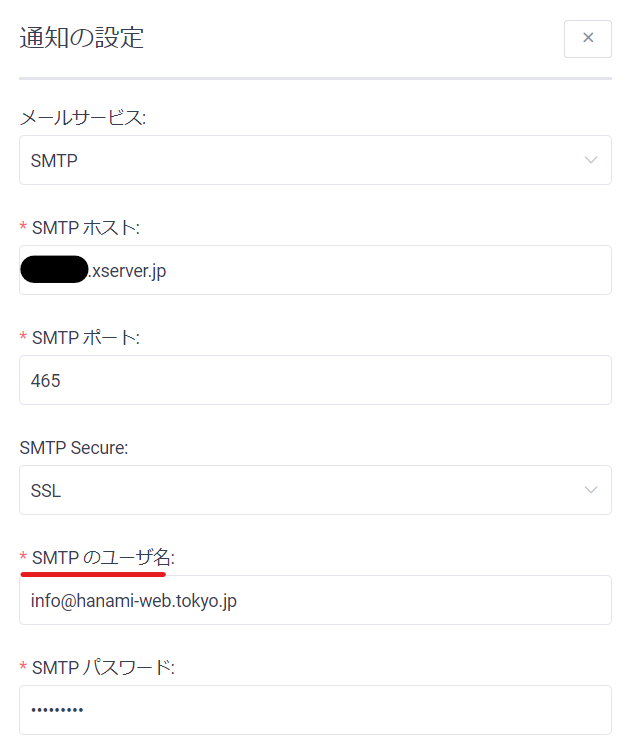
SMTP
If you want to send and receive emails using your own domain email address set up on the server, select this option. Below, we will explain how to set up Xserver and Gmail.
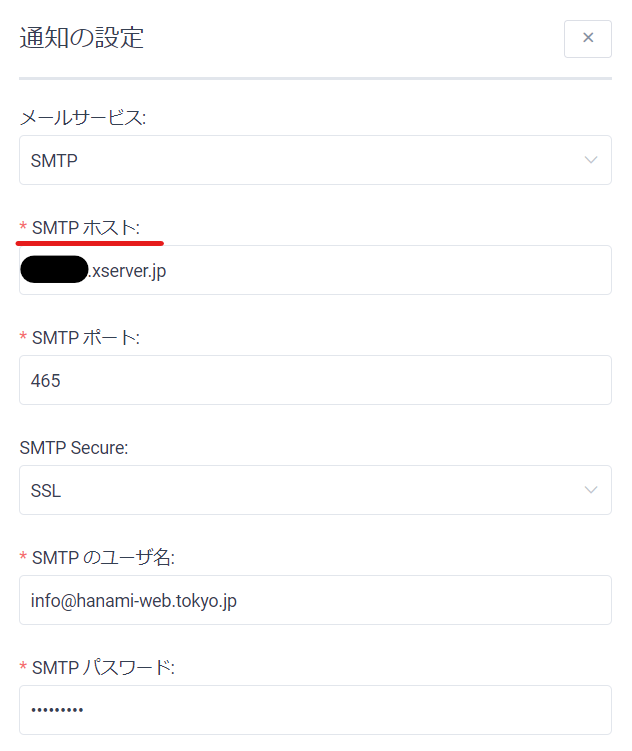
SMTP host
Enter the SMTP host name specified on the server.
- In the case of xserver, it is written in the email settings. For example, ●●.xserver.jp
- For Gmail, use smtp.gmail.com
SMTP Port
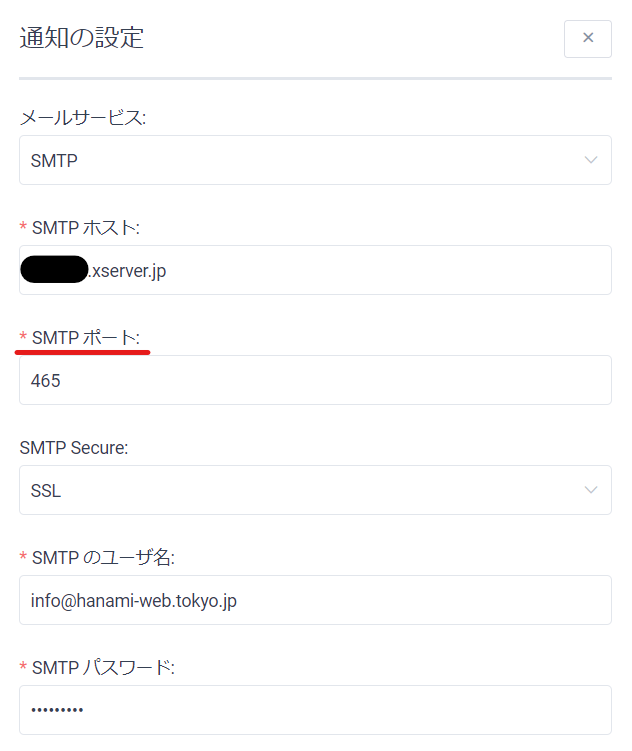
The SMTP port is also specified on the server side.
- 465 for xserver
- 465 (SSL) or 587 (TLS) for Gmail
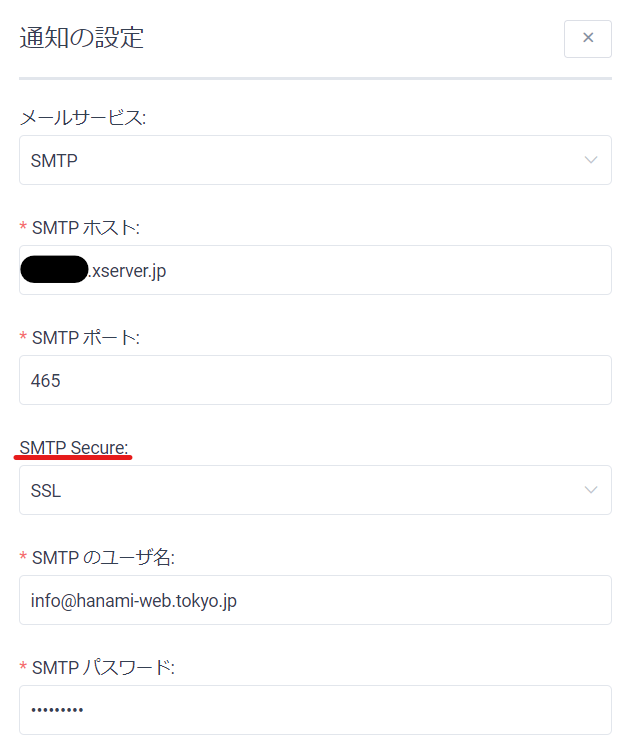
SMTP Secure
Generally, you will want to choose SSL.
SMTP Username
Enter your email address here.
SMTP password
Enter the password you set for your email.
For Gmail, go to your Gmail account</span><strong><span>[Allow less secure apps]</span></strong><span>You must also turn on the option
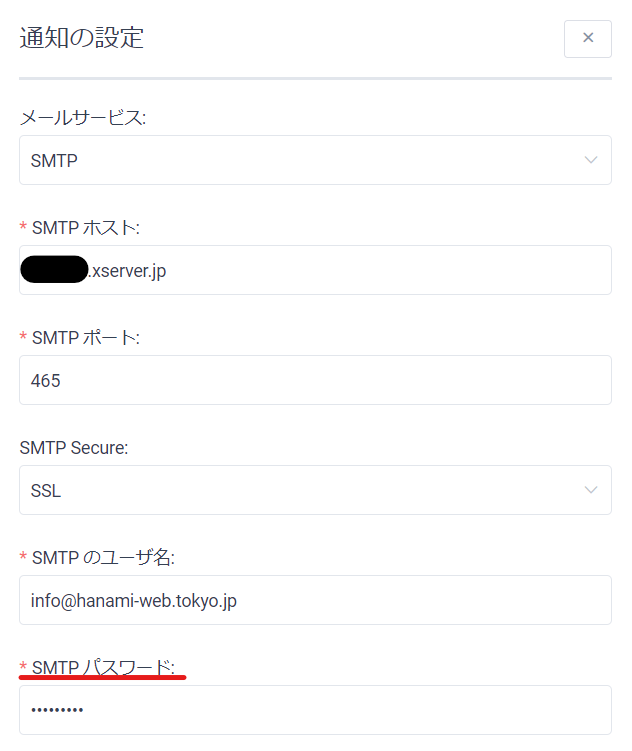
This completes the explanation of the SMTP Mail settings.
Mailgun
A powerful API that makes it easy to send, receive, and track emails.
To configure Mailgun, you'll need to fill in your Mailgun API key and Mailgun domain in the input fields that appear when you select Mailgun as your email service.
For more information on Mailgun, please see the link here.
Continue reading below for more explanation!
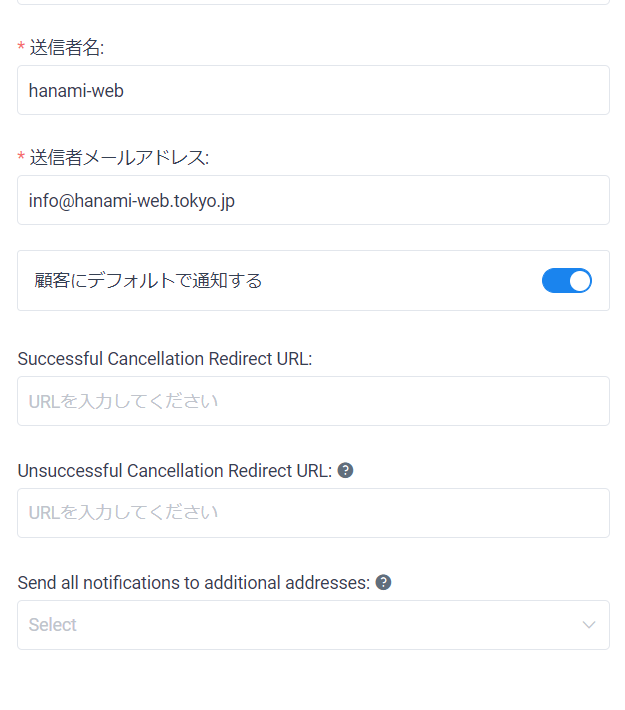
Sender name
Enter the name that will be displayed as the sender name when sending reservation-related emails to customers and employees.
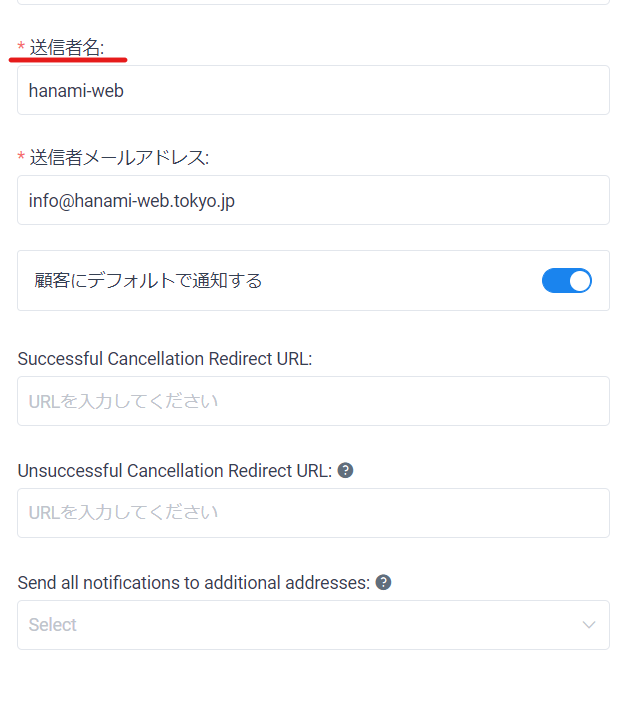
Sender email address
Enter the email address you want to use to send reservation-related emails to your customers and employees.
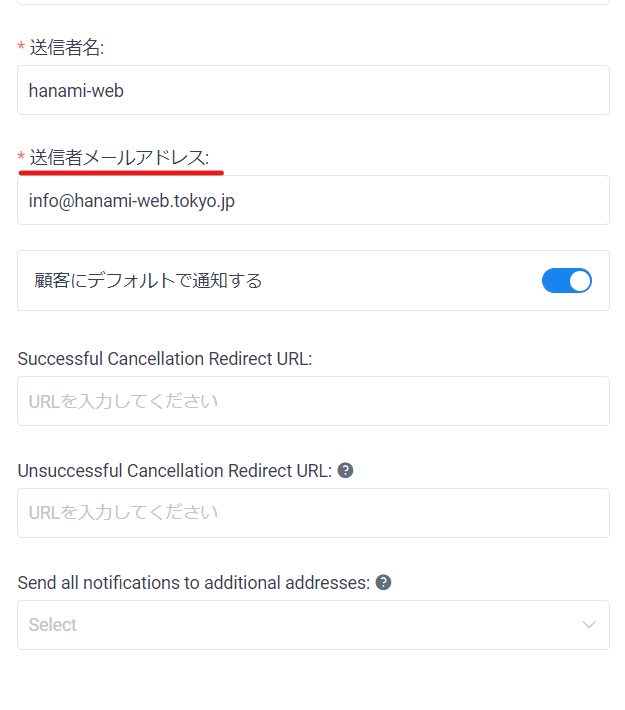
Notify customers by default
Select whether to enable or disable the "Notify customer" checkbox.
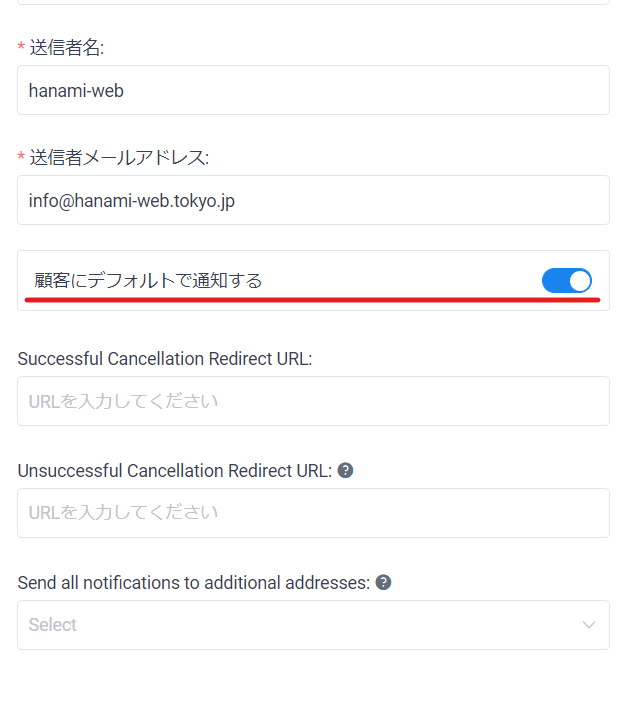
Successful Cancellation Redirect URL
Enter the URL that will be displayed when the customer clicks Cancel by clicking the Cancel URL contained in the email body of the email notification.
There is no need to specify anything in particular.

Unsuccessful Cancellation Redirect URL
Enter the URL that will be displayed if a customer clicks on the cancellation link in the email but is unable to cancel their reservation for some reason.
There is no need to specify anything in particular.

Send all notifications to additional addresses
Enter this if you want to send an email to multiple people. For example, if you want reservation-related emails to be sent to the store manager and manager as well, you can send emails by entering the email addresses of the store manager and manager here. This is the CC email setting.
Please note that all emails will be sent, including those addressed to customers and employees. Because many people receive a lot of emails, they often turn off emails addressed to employees and set the administrator to receive emails addressed to customers.
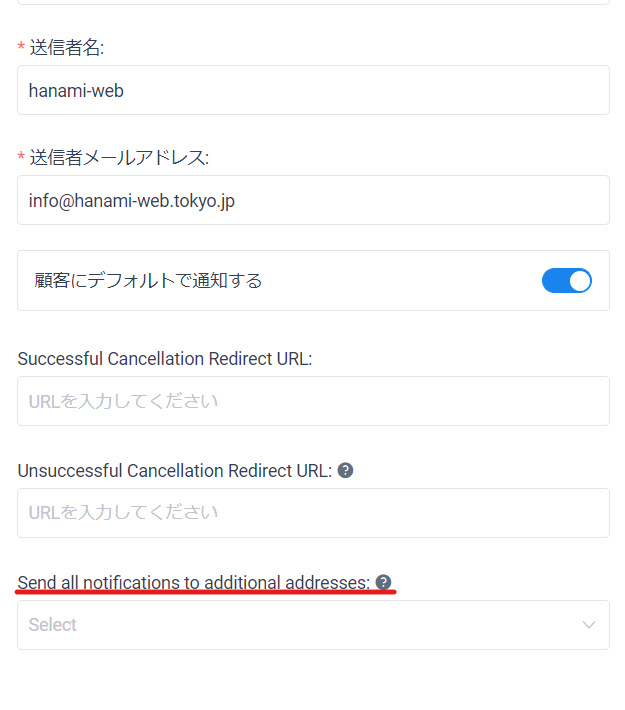
This completes the notification settings. Click the final Save button.
Released as soon as the next morning! Weekends and holidays are also available!
Super rush website creation plan
We offer a rush website creation plan for those who need a website in a hurry!
We can publish your content as soon as the next morning, even on weekends and holidays! If you have any questions, please check the details below!
Latest Articles


