How to create a website using WordPress/How to use plugins/No-code construction blog
A video explaining how to customize the calendar color and custom fields displayed in the paid version of the WordPress reservation system plugin Amelia!
At HanamiWEB Online School,
●Ask questions in real-time in the virtual study room!
●Ask as many questions as you want via chat!
●E-learning materials that you can learn as much as you want, 24 hours a day!
All included for just 2,500 yen/month!
WordPress booking system pluginAmelia(Links to the Amelia official website) There is a video explaining how to customize the displayed calendar color and custom fields of the paid version.
A video explaining how to customize the displayed calendar color and custom fields of the paid version of the WordPress reservation system plugin Amelia!
How to customize Amelia display calendar color and custom fields (illustration)
We will explain the customization items that can be done with the paid version of the Amelia reservation management system plugin for WordPress. This will include the color of the front-end display calendar, and the custom field settings to increase the number of items to be entered when making a reservation.
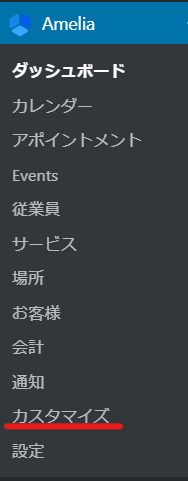
Make the settings in [Amelia] > [Customize].
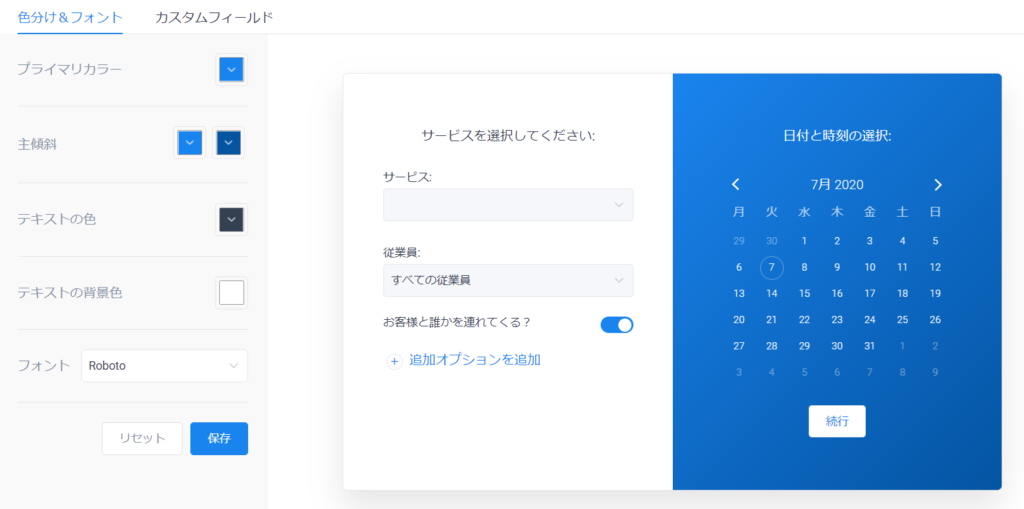
Customize the calendar display color
What can be customized?
- Primary Color
- Major Inclination - Calendar Background Color
- Text Color
- Text background color - Preview continue background color
- Font: Roboto/Lato
I'll change the primary color to yellow and the text color to red to see what changes it makes!
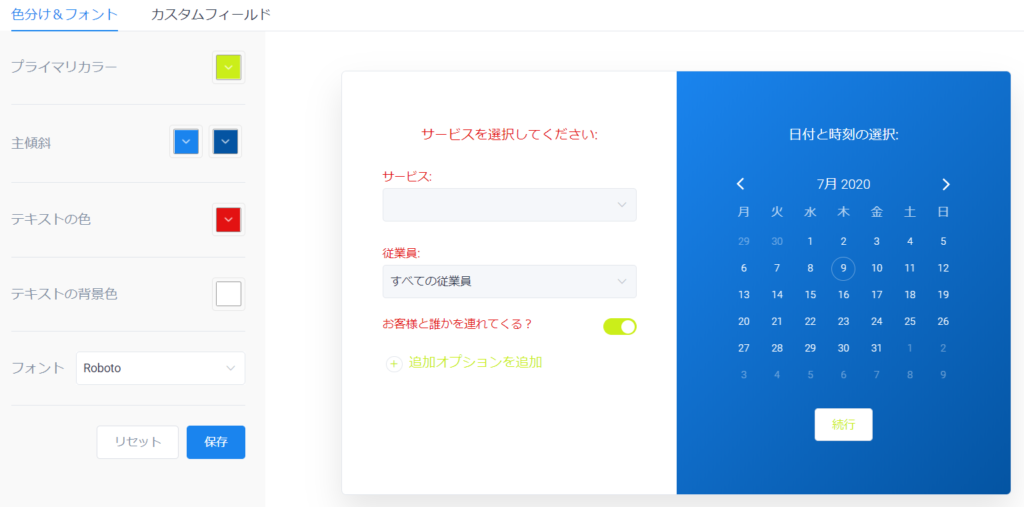
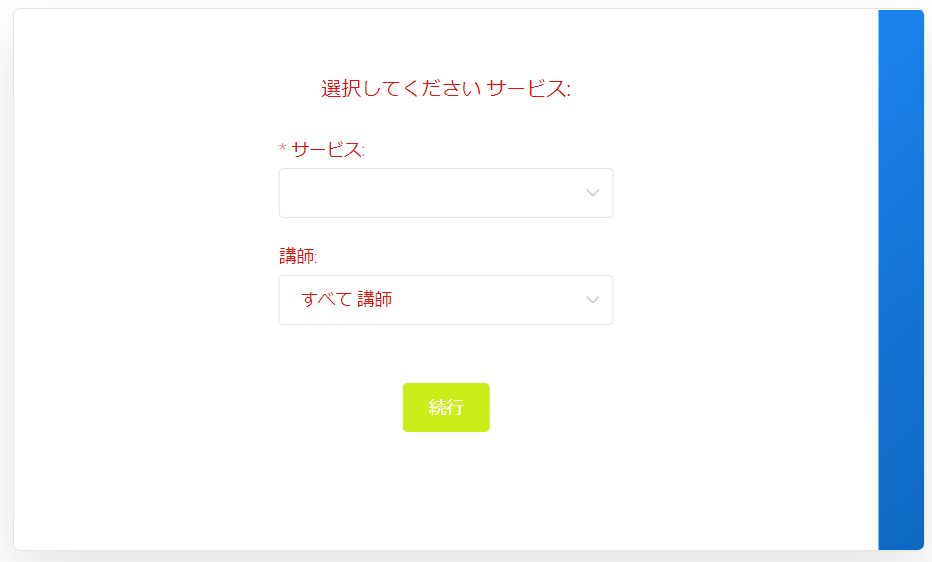
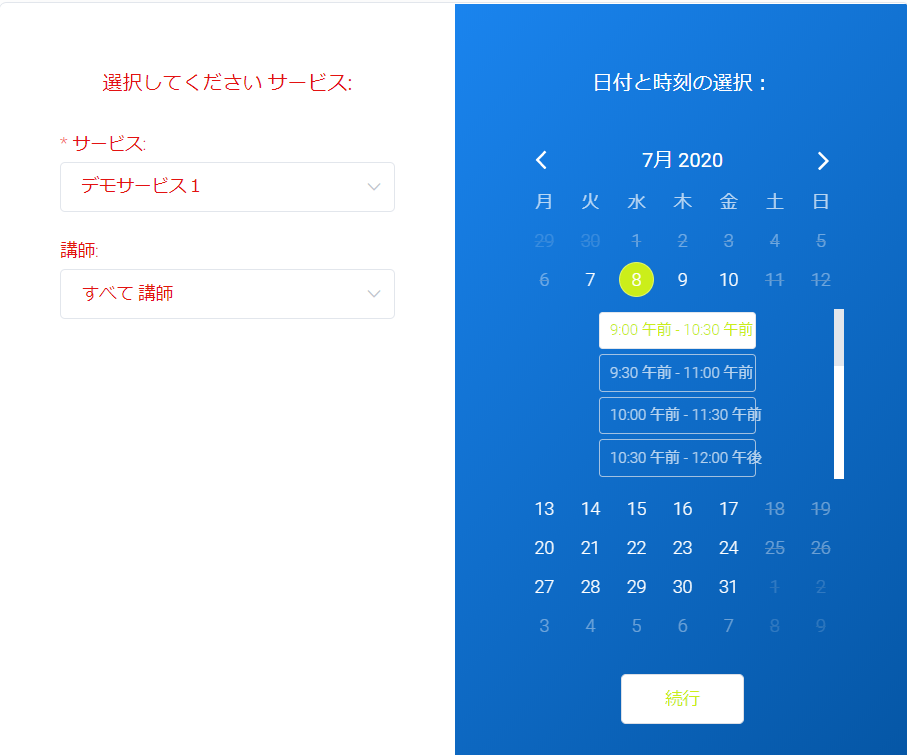
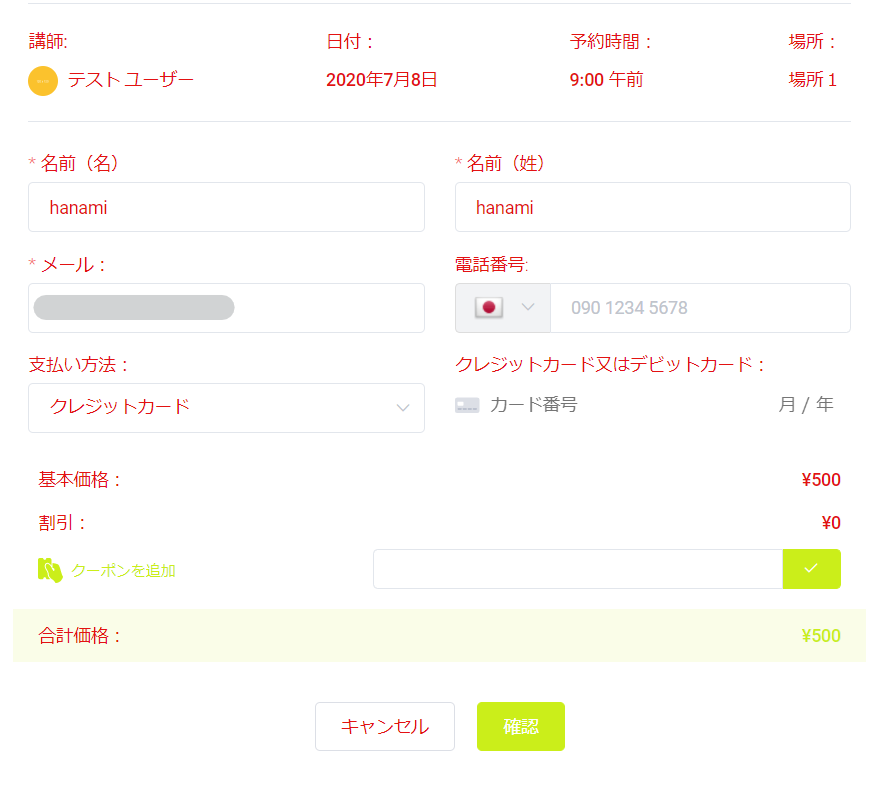
I think you can imagine the text color, but the primary color is difficult. Please use this as a reference!
There are some very beautiful gradient color samples on the website itmeo!
Add custom fields to be filled in at time of booking
Still, by default
- name
- email address
- telephone number
Here's how to customize the reservation form that is only available on the website. Items that can be added are
- text
- Text Range
- Text Content
- Selection box
- Checkbox
- Radio button
- Attachment
It will be.

How to use custom fields
Click the [Add custom field] button.

Select the field you want to use

Label settings/display settings
For example, if you are entering your name in the name entry field, you would display [Name] and then display the text entry area. Enter the part of this [Name] you want to display in [Label].
Select the service or event you want to use the custom field you created when booking.
If you do not select anything in Service/Event, the form items will not change.
Finally, all you have to do is check the box to make it a required field.

For custom fields that have selection options, set the selection options in Options.

Example of custom field display
You can add it below your email address and phone number.
- Text - Enter a single line of text
- Text Range - Multi-line text entry
- Text Content - A text display area without an input field
- Selection Box - A drop-down selection
- Checkboxes - Multiple selection options
- Radio Buttons - Single selectable option
- Attachment - File upload item
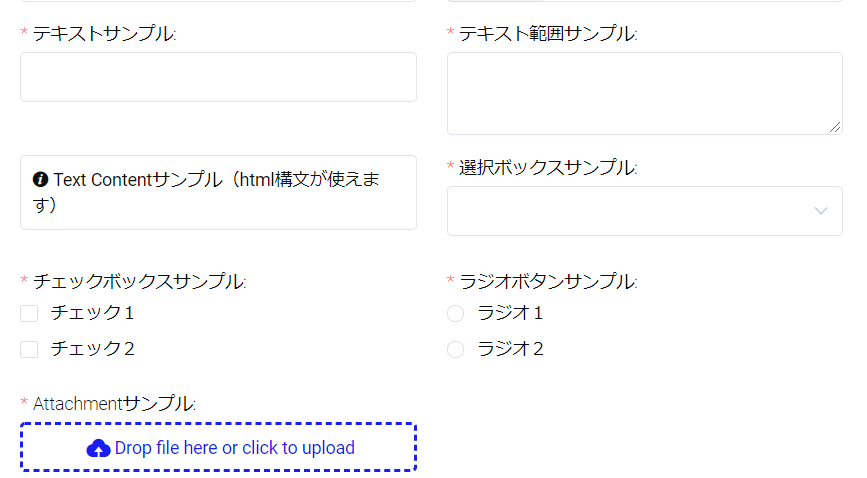
When using Attachment
In the [Amelia] > [Settings] > [Basic Settings] section, there is a section called [Attachment upload path].
If left empty, files will be added to the WordPress media when uploaded.
By creating a specific file on the server and setting its path (URL), it becomes possible to manage the files that customers upload separately.

Receive custom field values via email
The important thing here is to receive a notification email when you add a custom field. It depends on your preference, but the general flow is to send a copy of the input to the customer in an automatic reply email and notify the administrator of the input. The values of the added custom fields that you have entered can be checked at any time on the dashboard.
Mail Settings
[Amelia]>[Notifications]
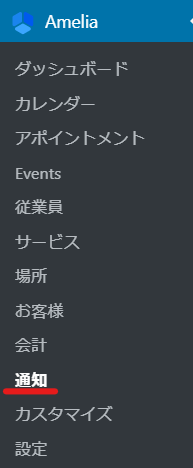
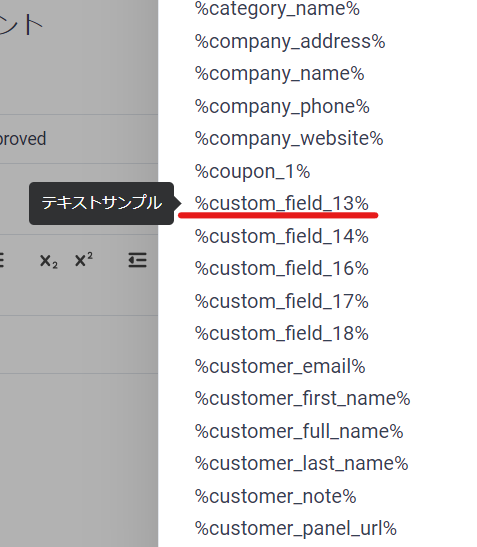
Email placeholder selection
Click on the part underlined in red.

[%custom_field_13%] This is the email placeholder for the additional custom field text item. The numbers vary depending on each custom field.
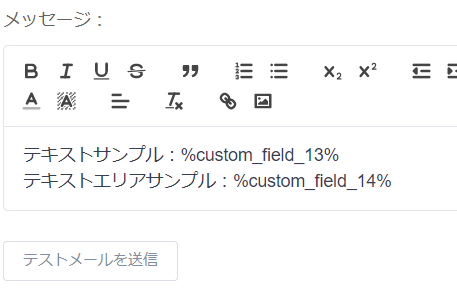
You can display an email placeholder in your email by entering it into the body of the email.
Since it is not possible to create different email text for each service, if there are no values for custom fields depending on the service, you will need to be creative with the email text.
Check your custom fields on the dashboard
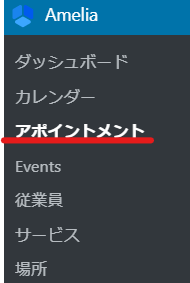
[Amelia] > [Appointment]
Go to the reservation list page
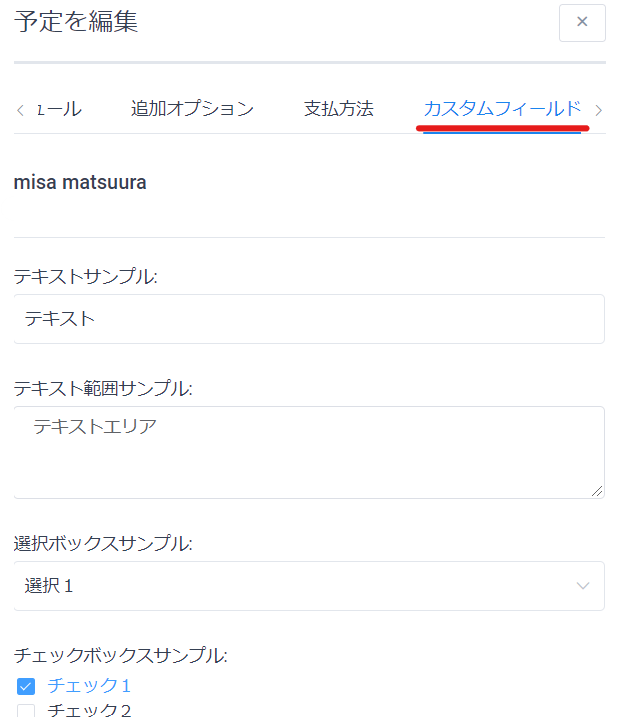
Click [Edit] from the reservation list.

You can check the field values entered in the [Custom Field] section.
This is the end of the explanation of custom fields! Thank you for your hard work!
Released as soon as the next morning! Weekends and holidays are also available!
Super rush website creation plan
We offer a rush website creation plan for those who need a website in a hurry!
We can publish your content as soon as the next morning, even on weekends and holidays! If you have any questions, please check the details below!
Latest Articles


