How to create a website using WordPress/How to use plugins/No-code construction blog


How to install the free WordPress theme Ocean WP
At HanamiWEB Online School,
●Ask questions in real-time in the virtual study room!
●Ask as many questions as you want via chat!
●E-learning materials that you can learn as much as you want, 24 hours a day!
All included for just 2,500 yen/month!
The theme is called OceanWP and is made overseas, but the settings screen is in Japanese and there are many things you can do with it, so I think it's very easy to use.
In this article, we will explain how to install the OceanWP theme.
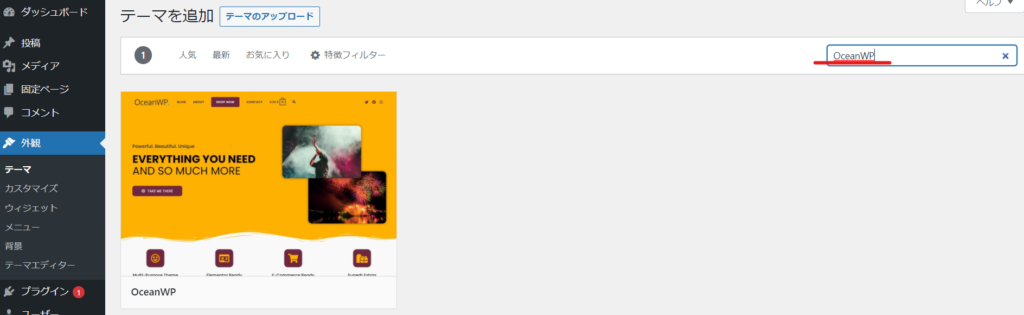
OceanWP Theme Search
[Appearance] > [Theme] > [Add New]
Click here. You should see [OceanWP] in the list.
If you can't find it, try searching by entering [OceanWP] in the keyword search.
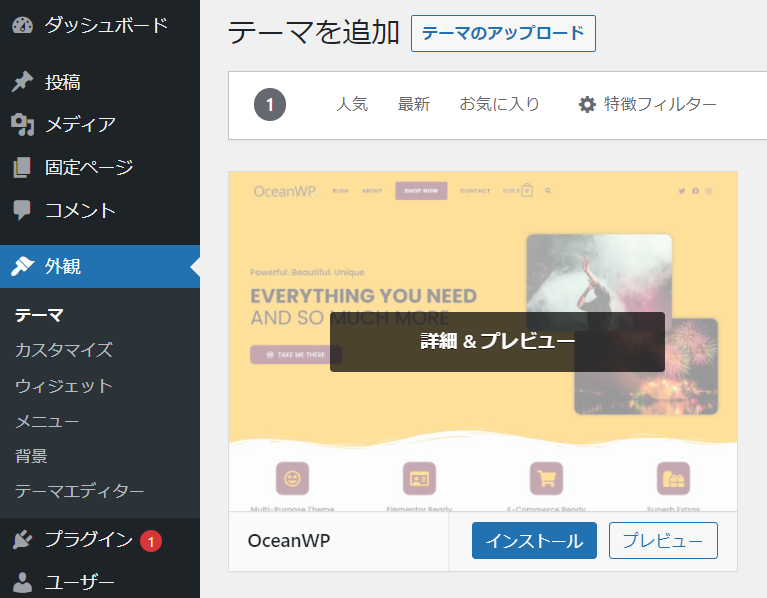
Install OceanWP theme
When you hover your mouse over the app, the install button will appear, so click on it.
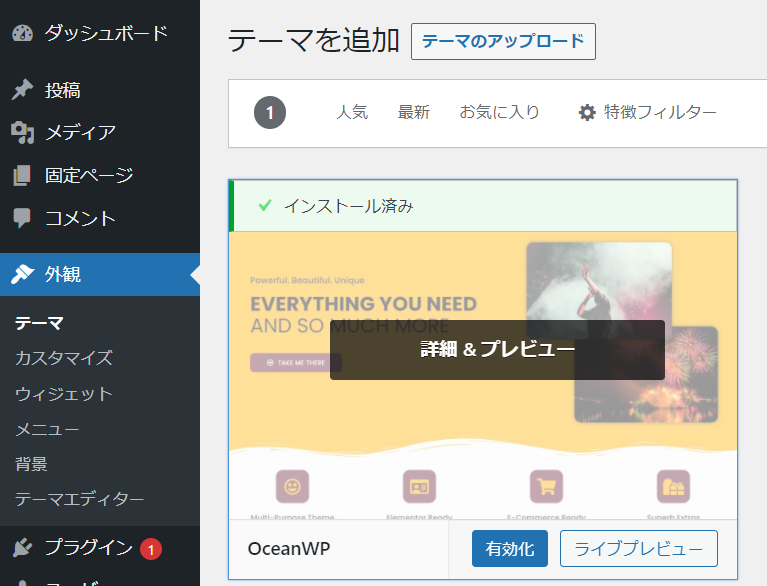
Activate OceanWP theme
Once the installation is complete, the button will change to [Activate], so click on it.
Download OceanWP child theme from the official website
OeanWP distributes child themes, so you don't need to create your own.
https://docs.oceanwp.org/article/90-sample-child-theme
Once you access the URL above, click [DOWNLOAD SAMPLE CHILD THEME] to download the OceanWP child theme.
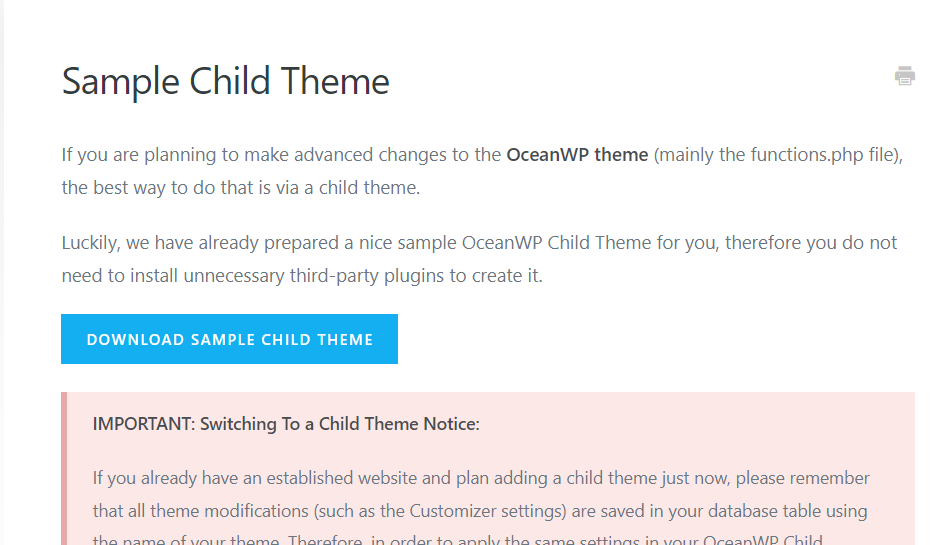
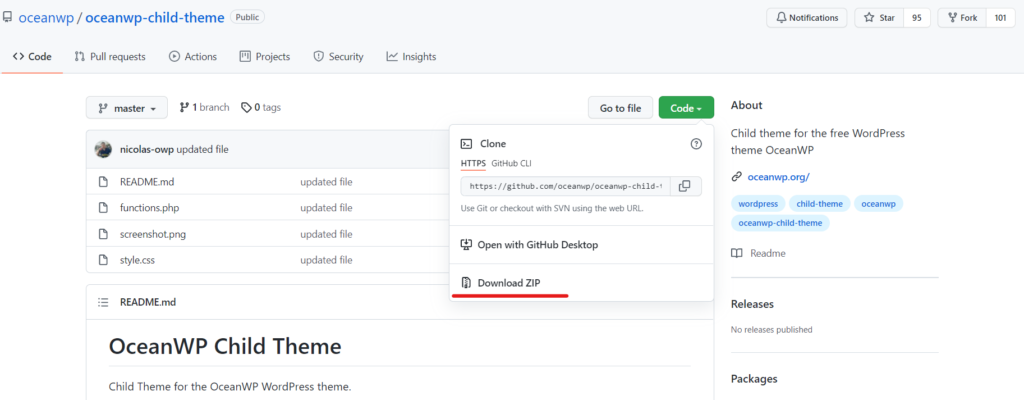
You will be redirected to a site called git. Click on the green button [code] and an option for [Download ZIP] will appear. Click on thisDownload zip fileTo do.
Installing a child theme in WordPress
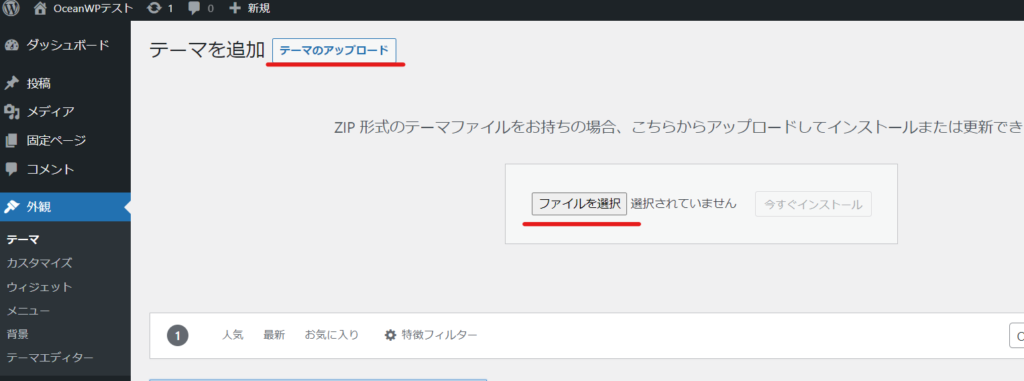
Earlier we easily installed OceanWP by searching for a theme, but this time we will install the theme by uploading the downloaded zip file.
Click [Upload Theme] and select the zip file you downloaded earlier from [Choose File].
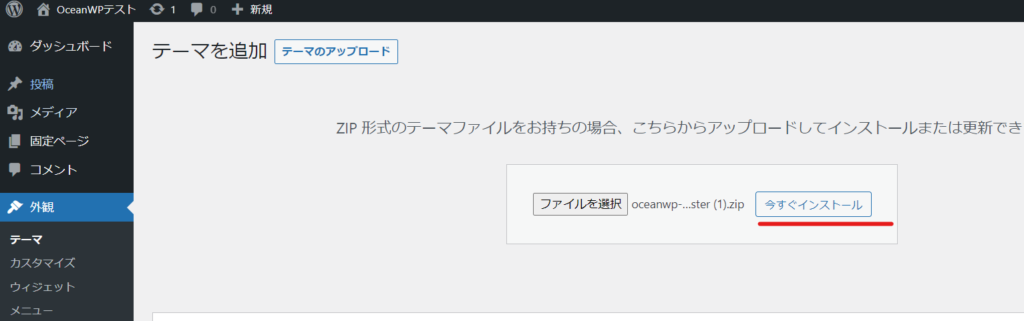
Once you have selected the file, you will be able to click the [Install] button.
Click [Install] to install.
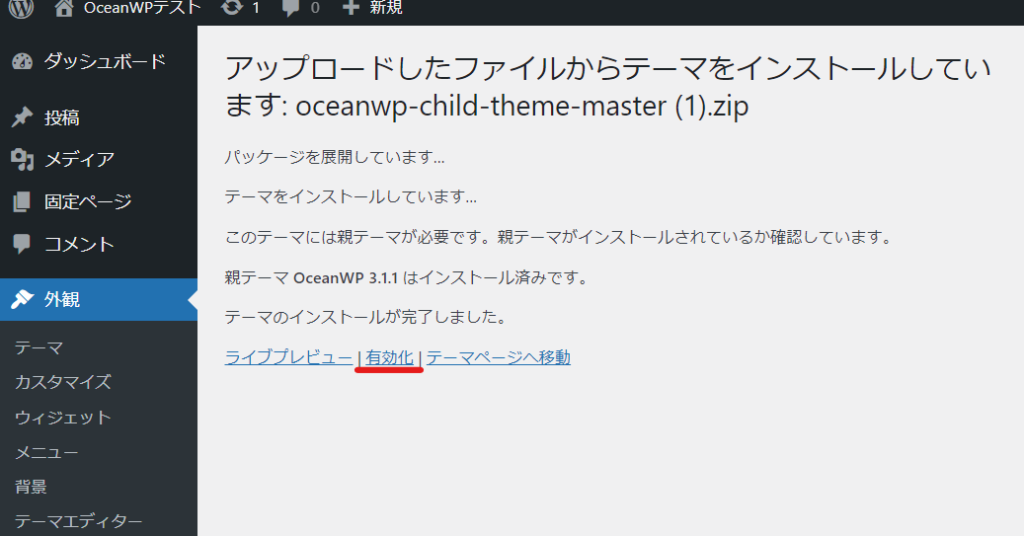
If the screen below appears and the text [Enabled] appears, then the activation was successful.
Click the [Activate] text to switch to activating the child theme.
WordPress Theme Settings
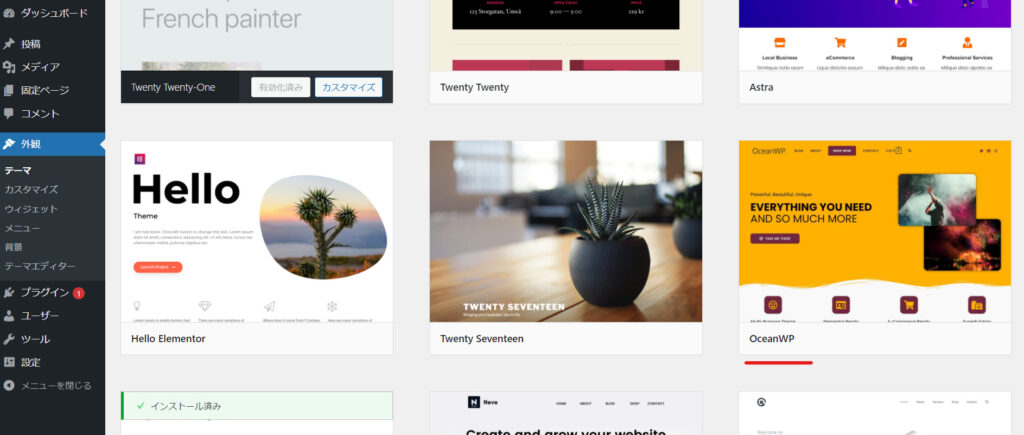
Go to Appearance > Themes again.
- Shark Images - OceanWP child theme
- Yellow Images – OceanWP parent theme
- Other - WordPress default theme
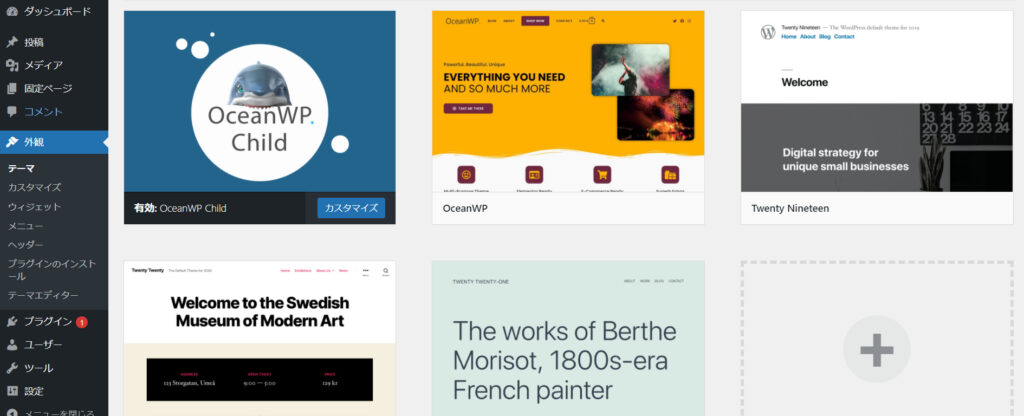
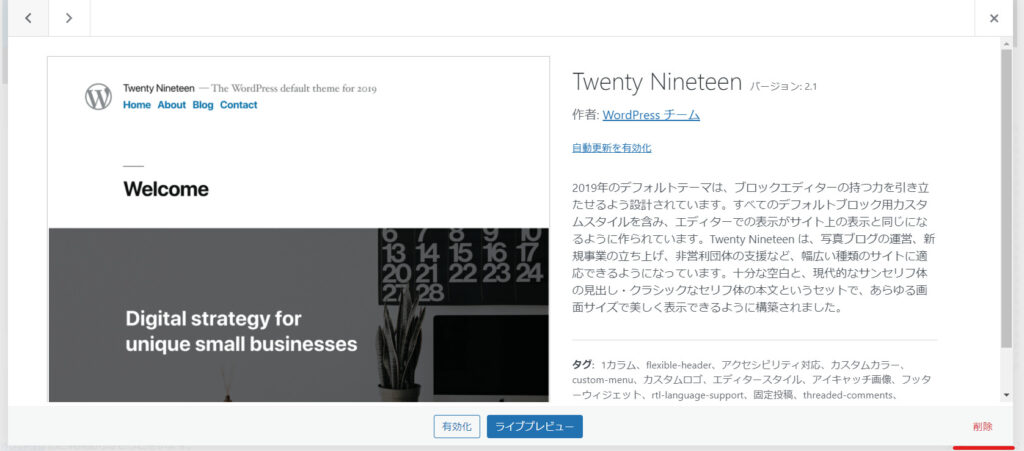
Delete the themes you are not using.
When you click on the image of the theme you want to delete, the word [Delete] will appear in red in the bottom right corner of the screen that appears, so click [Delete] to delete it.
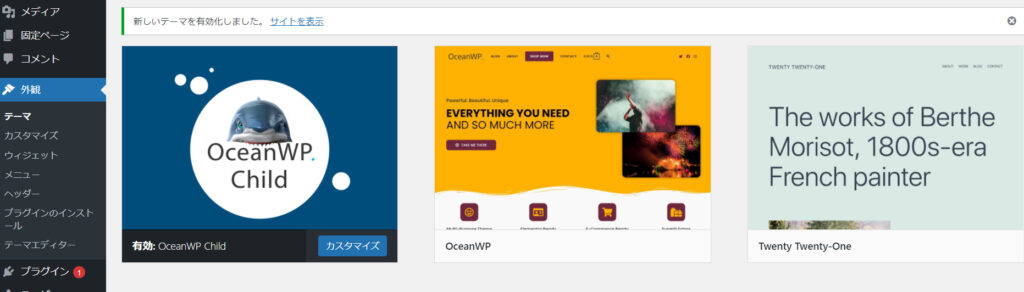
Parent theme, child theme, and one default theme
This is the state I left it in.
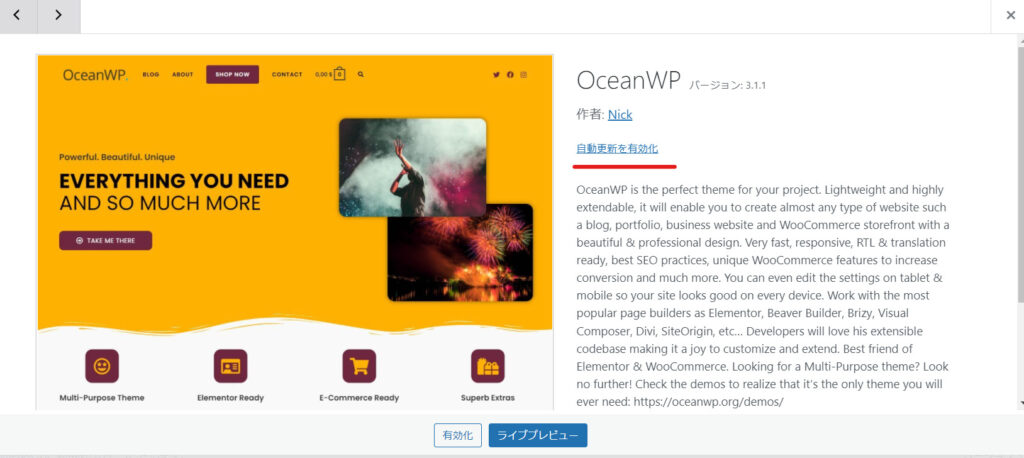
Theme auto update settings
To increase the security of your WordPress installation, make sure to keep your themes up to date.
Theme auto update settingswill do.
This time, automatic update settings can be made as follows:Yellow OceanWP parent theme, two WordPress default themesIt will be.
Child themes do not update automatically, so there are no settings available.
If you click on the screenshot of the theme for which you want to set up automatic updates, you will see the text [Enable automatic updates], so simply click on it.
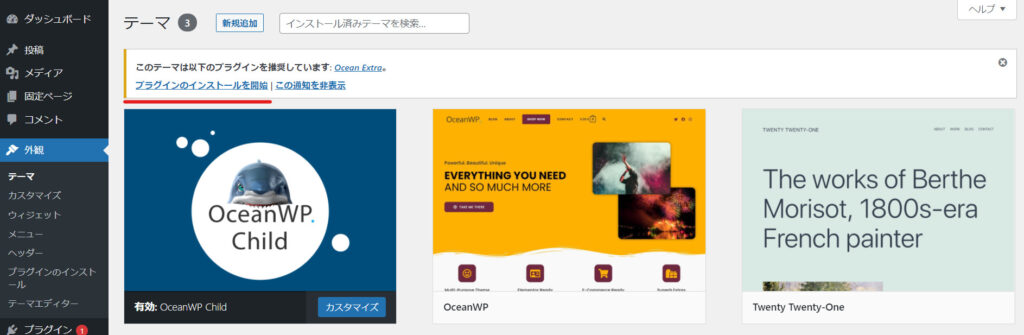
OceanWP Must-Have Plugins
OceanWP has a feature that allows you to customize it on a page-by-page basis. To use this feature, you need to install a required plugin.
When you install the theme, you will see a message at the top of the dashboard asking you to install Ocean Extra.
[Start installing the plugin]
Click.
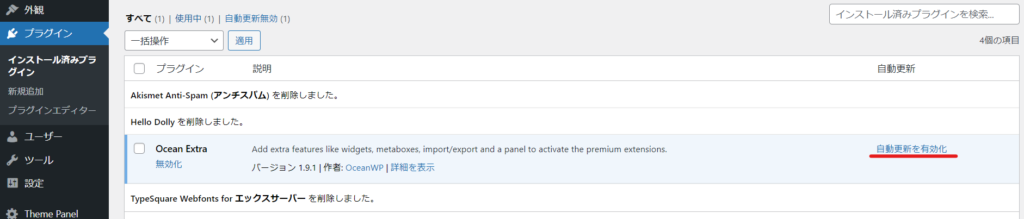
Click on the [Install] text.

It is included when you click [Plugins] > [Installed Plugins].
For this plugin, too, click the [Enable automatic updates] text to set it up so that it always stays up to date.
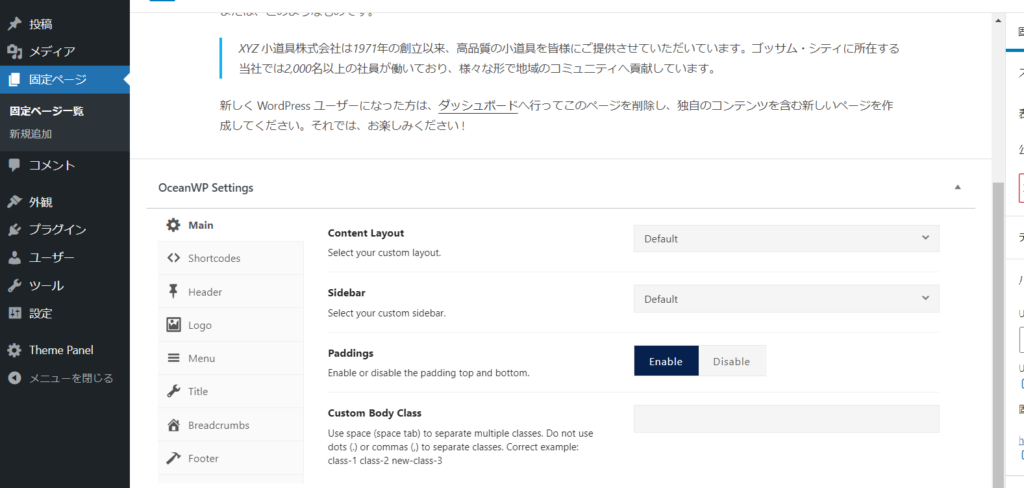
What changes when you install Ocean Extra is that the following settings are added to the editing screen for static pages and post pages.
- Page width setting
- No sidebar setting
- Tile and hide
In addition to bulk settings, it is also possible to make detailed customizations on a page-by-page basis.
summary
This concludes the explanation of how to install the OceanWP theme.
The first step is to install the theme. Make sure you set this up properly and prepare the base before proceeding with building your WordPress site!
Released as soon as the next morning! Weekends and holidays are also available!
Super rush website creation plan
We offer a rush website creation plan for those who need a website in a hurry!
We can publish your content as soon as the next morning, even on weekends and holidays! If you have any questions, please check the details below!

Latest Articles
How to Enhance EEAT with WordPress | Settings and Design Improvements Necessary for AI-Driven Traffic
[2026 Latest] How to check the number of visits from generated AI using GA4's exploration function
Error message: Allowed memory size of 268435456 bytes exhausted (tried to allocate 14684160 bytes) Error: On Lollipop