How to create a website using WordPress/How to use plugins/No-code construction blog


How to Create a Staging Site and Upgrade Your WordPress Site with the WPvivid Plugin
At HanamiWEB Online School,
●Ask questions in real-time in the virtual study room!
●Ask as many questions as you want via chat!
●E-learning materials that you can learn as much as you want, 24 hours a day!
All included for just 2,500 yen/month!
This time, we will introduce the process of creating a staging site before updating WordPress itself and plugins, updating on the staging site, and then reflecting the updates on the live site.
WPvivid's staging feature is a pro version feature.
Click here to learn how to purchase the pro version and how to apply your license!
Maintain your WordPress site safely in a staging environment! I purchased WP vivid Pro!
Current site
This time, we will be trying out publishing a site from staging to production using WPvivid.
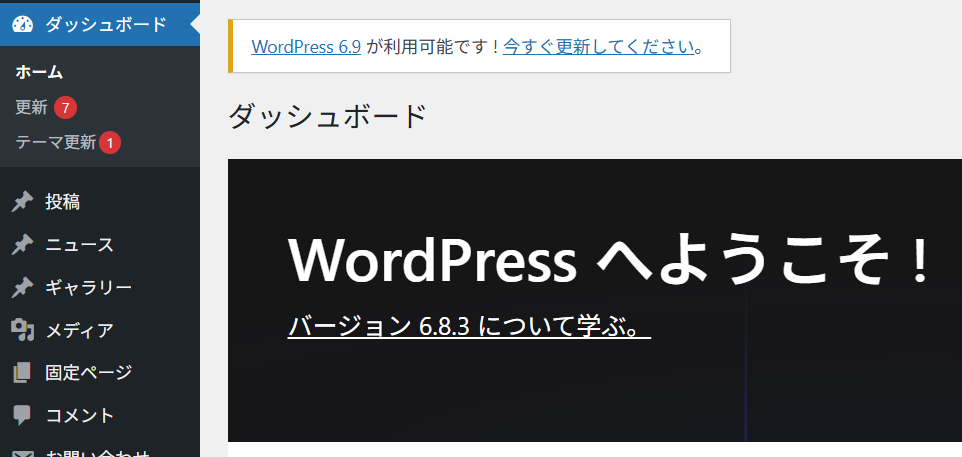
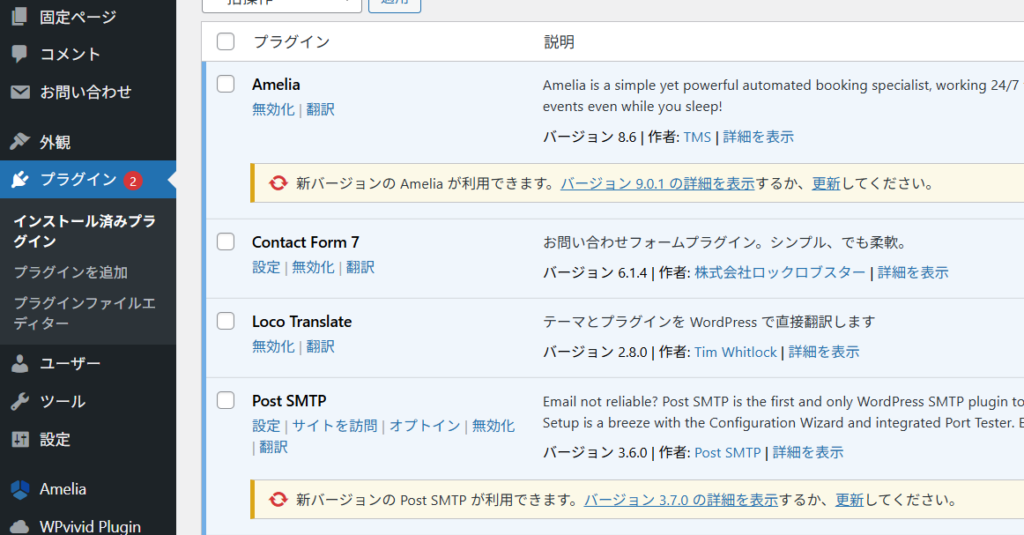
The WordPress main body has been upgraded to version 6.9, and there have been some updates to themes and plugins.
Video explanation of how to create a WPvivid staging site
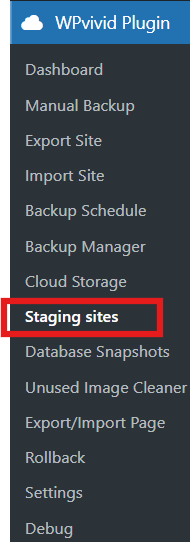
Creating a new staging site with WPvivid
First, click on Staging sites in the WPvivid Plugin.
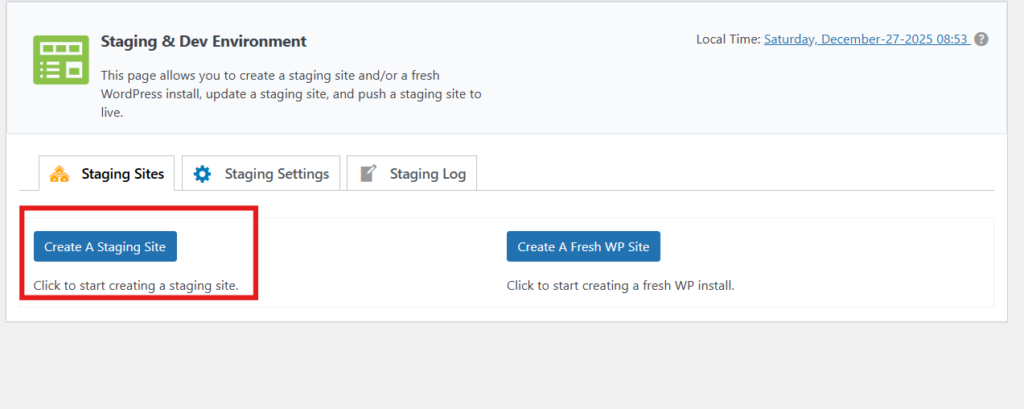
Click the Create A Staging Site button
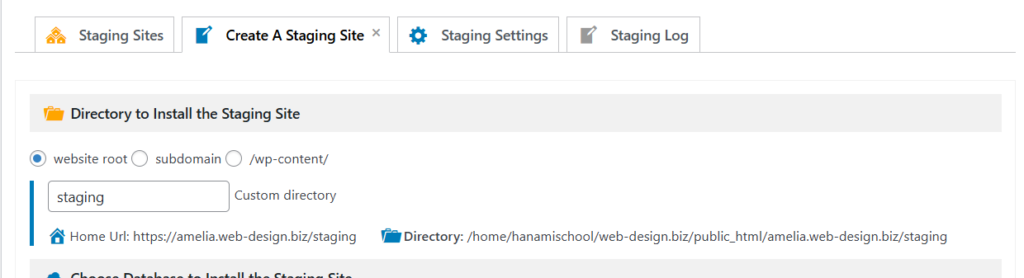
Directory to Install the Staging Site
- website root - subdirectories
- subdomain - Specify a subdomain you have created
- /wp-content/ - added to the wp-content hierarchy
This time, select website root and create a subdirectory.
The URL of the test site is https://amelia.web-design.biz/,
The staging site will be installed in the directory https://amelia.web-design.biz/staging.
Choose Database to Install the Staging Site
Select the database.
Install the staging site to the live site's database (Easy setup)
Check this box and proceed.

Choose What to Copy to The Staging Site
Select the items you want to replicate to your staging site.
In this case, there are no files other than WordPress, so I unchecked Exclude Additional Filed/Floders.

Staging site creation
After checking the detailed settings of WPvivid Staging Pro, enter a clear comment in the comments and click Create Now.

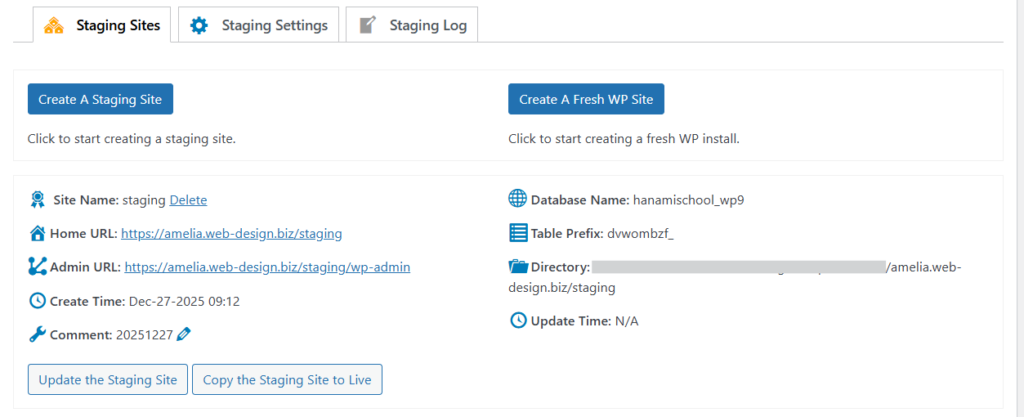
Staging site completed
Log in to the admin page of your staging site using the Admin URL.
Since it is a clone, the login information will be the same as the public site.
WPvivid: One-click staging site creation
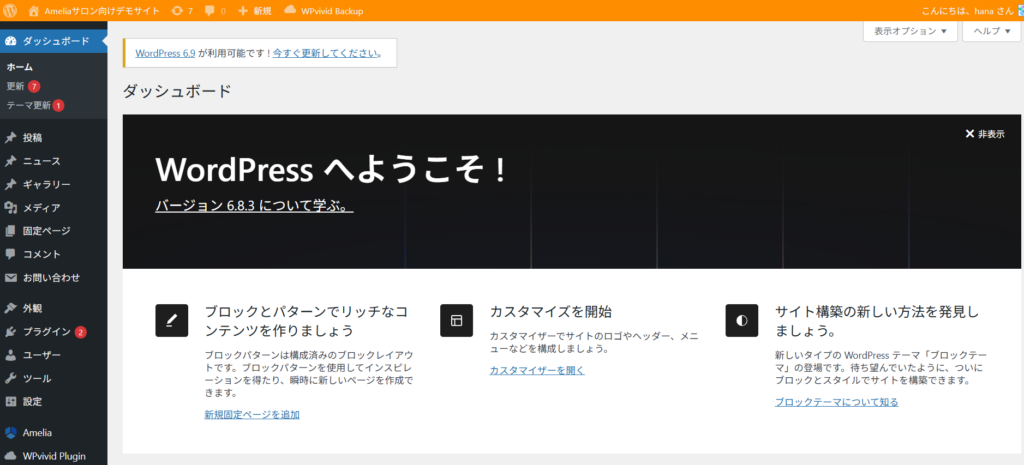
This is the staging site after logging in.
The exact same site has been created.
We will update the plugin on this staging site.
Staging site update complete
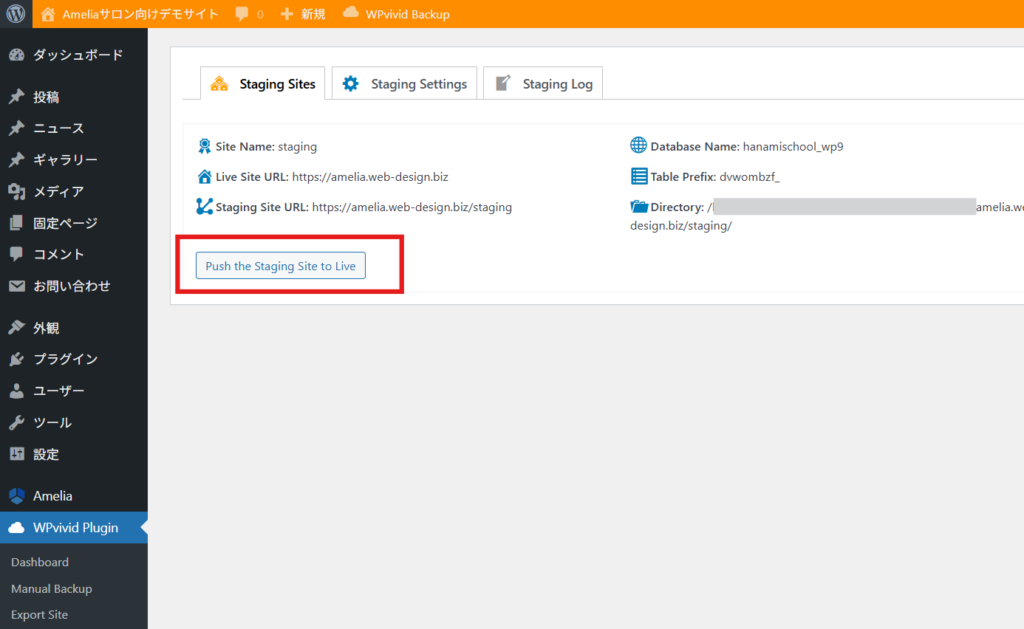
Pushing the staging site to production
On your staging site, go to WPvivid Plugins > Staging Sites.
On the staging site, there is a button called “Push the Staging Site to Live,” so click on it.
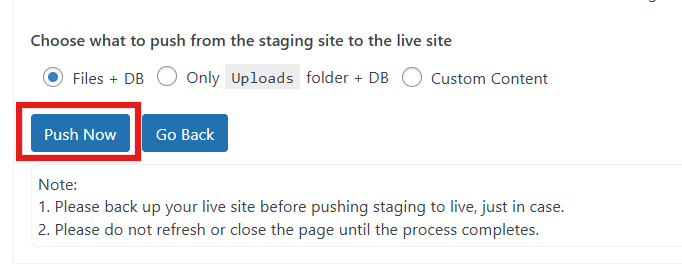
With FILES + DB checked, click the [Push Now] button.
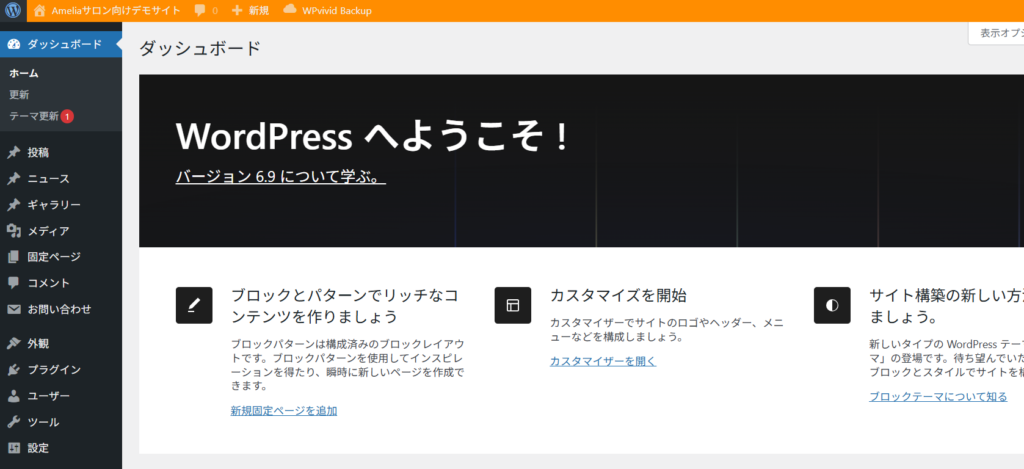
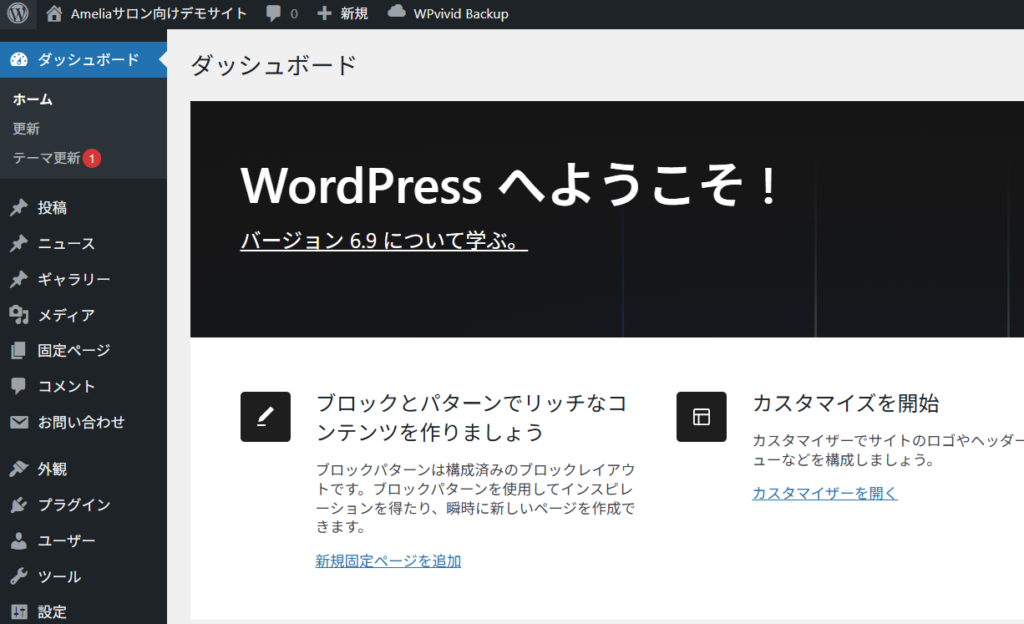
Successfully reflected in the production environment
It may be difficult to see, but this is the administration screen for the live site.
The changes made on the staging site have been reflected, and all updates to WordPress itself and plugins have been completed!
Why use a staging environment?
If you suddenly upgrade your production site, unexpected errors may occur.
By migrating production data to a staging environment and performing the upgrade in the staging environment, you can avoid the risk of an error occurring that makes it impossible to recover the site, such as by deciding not to upgrade for now if an error occurs.
To operate your WordPress site with peace of mind, be sure to try out WPvivid's staging feature!
Delete WPvivid Staging Site
Finally, you can go to Staging sites on your live site and delete any staging sites you don't use.
Now that the work is done, I think it's best to delete it now!

Released as soon as the next morning! Weekends and holidays are also available!
Super rush website creation plan
We offer a rush website creation plan for those who need a website in a hurry!
We can publish your content as soon as the next morning, even on weekends and holidays! If you have any questions, please check the details below!

Latest Articles

How to Enhance EEAT with WordPress | Settings and Design Improvements Necessary for AI-Driven Traffic


[2026 Latest] How to check the number of visits from generated AI using GA4's exploration function

Error message: Allowed memory size of 268435456 bytes exhausted (tried to allocate 14684160 bytes) Error: On Lollipop