WordPressを使ったホームページの作り方/プラグインの使い方/ノーコード構築ブログ


2021年最新版 Twitterログイン 用APIキー発行
HanamiWEBオンラインスクールでは
●バーチャル自習室でのリアルタイム質問!
●チャットで質問し放題!
●24時間学び放題のEラーニング教材!
全部ついて 2,500円/月!
Twitterログイン 用にAPIキーの発行が必要だったので発行手順を解説します!
Facebookログイン APIキー発行 / googleログイン APIキー発行は別記事でまとめています。
では、早速Twitterログイン 用のAPIキー発行方法をご紹介します!
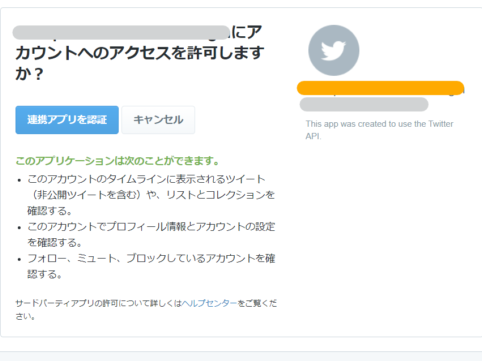
Twitterログイン Create an app
右端にある【Create an app】ボタンをクリックします。

【Apply】ボタンをクリックします。
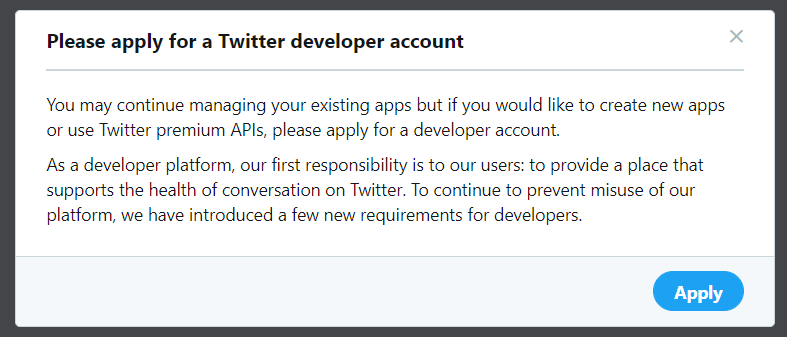
google翻訳にお世話になった所
Twitter開発者として登録を済ませないとAPIキーは発行できないようです。
まずは、開発者登録の手順を紹介します。
Twitterログイン 利用の為の開発者申請
該当するものをクリックします。私は以下のように解釈しました
- Professional - 開発者
- Hobbyist - 個人利用者
- Academic - 教育関係者
Hobbyistを選択して、Exploring the APIを選択してみました。
【Get Started】をクリックします。

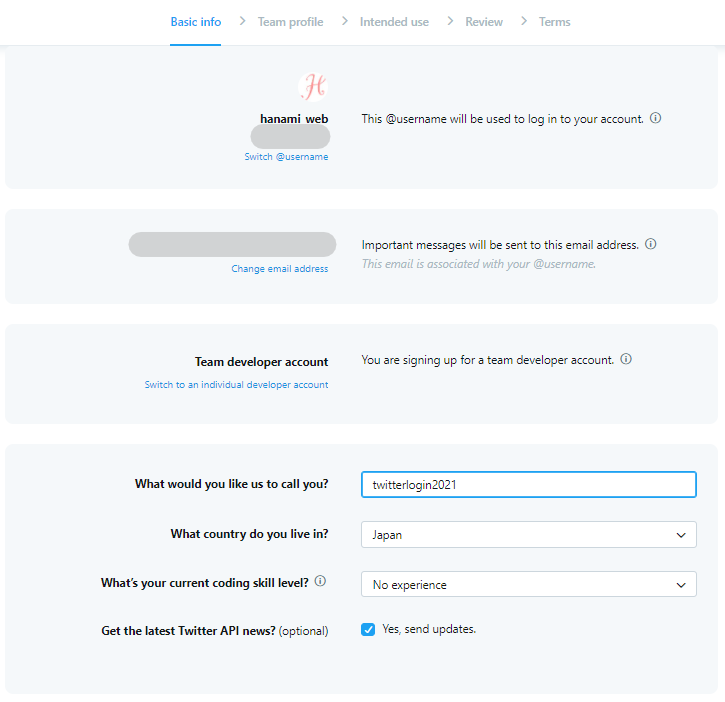
開発者申請Basic info入力
基本情報を以下のように設定しました。
入力をしたら【next】ボタンを押します。
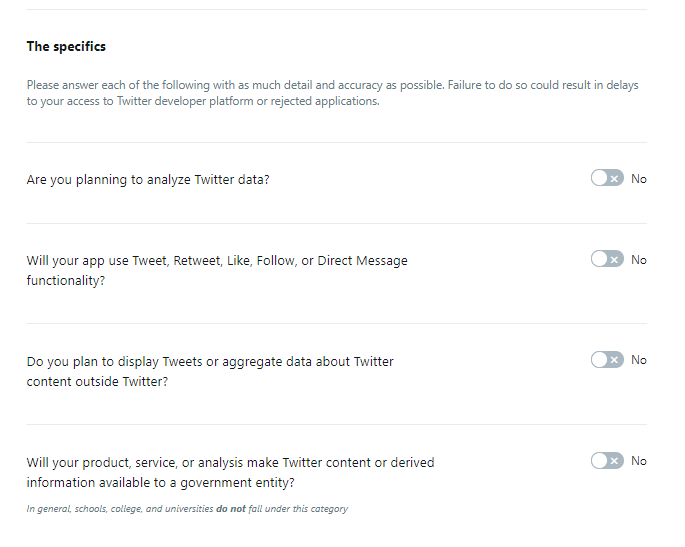
開発者申請 Include use入力
APIの利用方法を英語で答えます。google翻訳を使いながら入力をすれば大丈夫です。
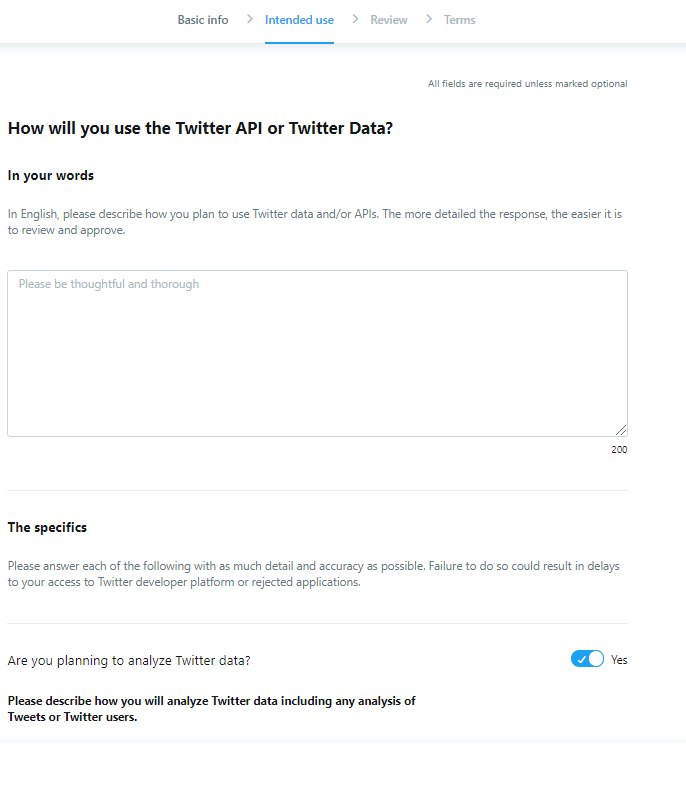
ログインの機能だけ実装したいので、以下は全てNOに設定をしました。
開発者申請確認
Reviewの箇所で入力した内容を確認して、問題が無ければ【Next】ボタンをクリックします。

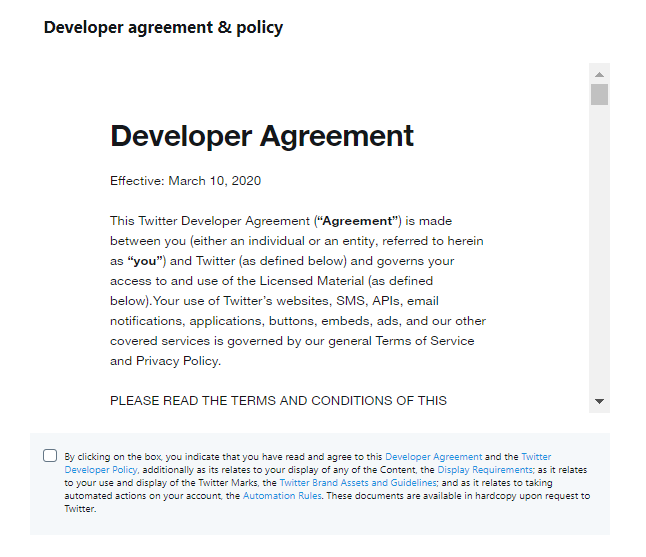
開発者利用規約
同意して【Submit application】をクリックして申請します。
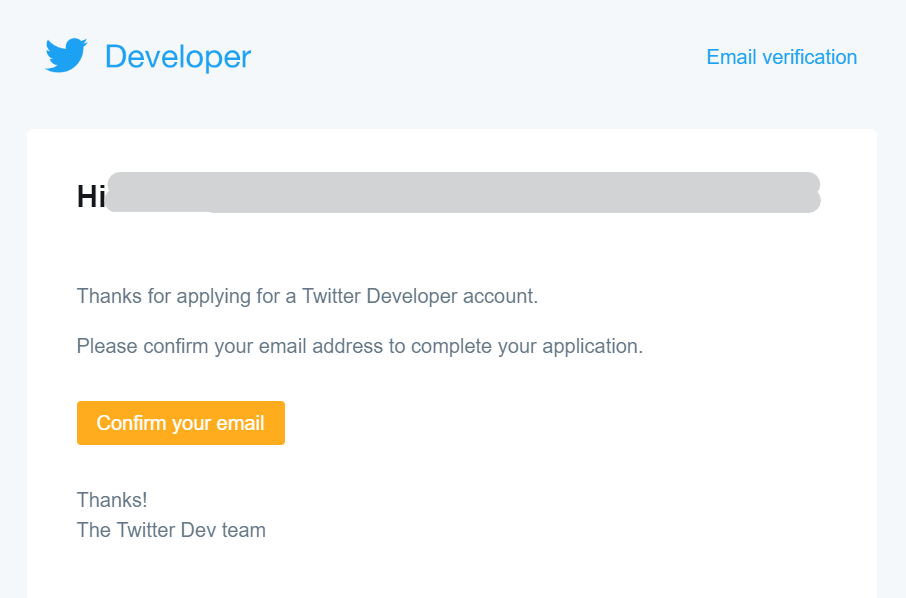
開発者申請完了
このような画面が出ますので、Twitter APIで登録したメールアドレスを確認します。

開発者メール認証へ進む
Twitterログイン API申請のメール認証を行います。【Confirm your email】をクリックします。
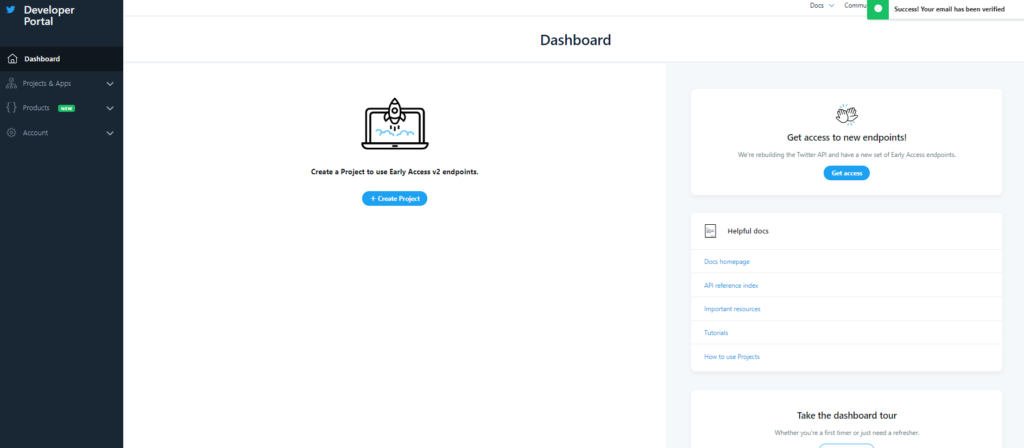
開発者申請完了
メール認証が完了すると以下のような画面が開かれました。
Twitterログイン APIキー発行
長い道のりでした。ようやく、API発行まで到着です。
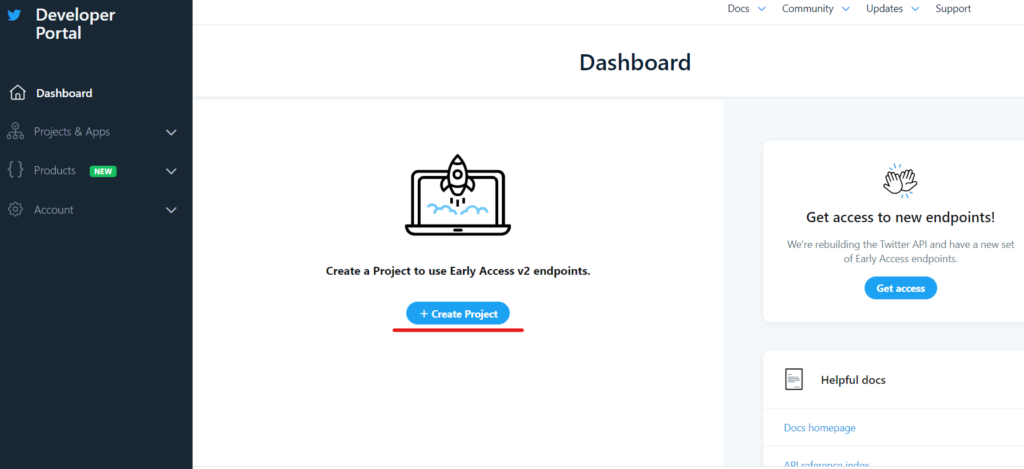
Create Project
Twitterログイン用に新しいプロジェクトを立ち上げるので、【Create Project】をクリックします。
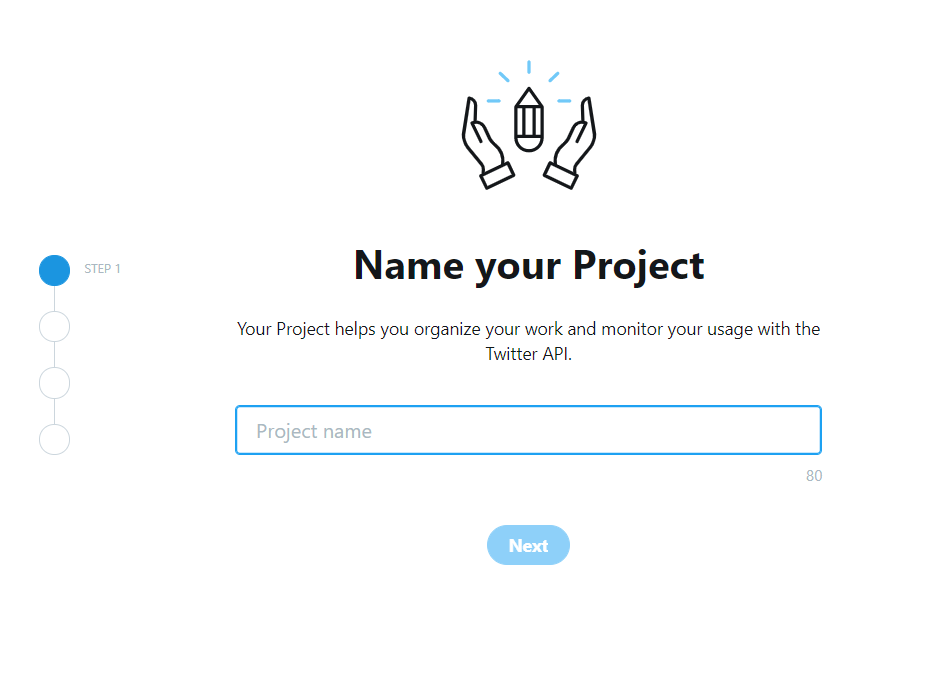
プロジェクト名
今回のTwitterログイン用にプロジェクト名を入力します。
プロジェクトの質問事項
ここでは、またhobbyistにしておきました。

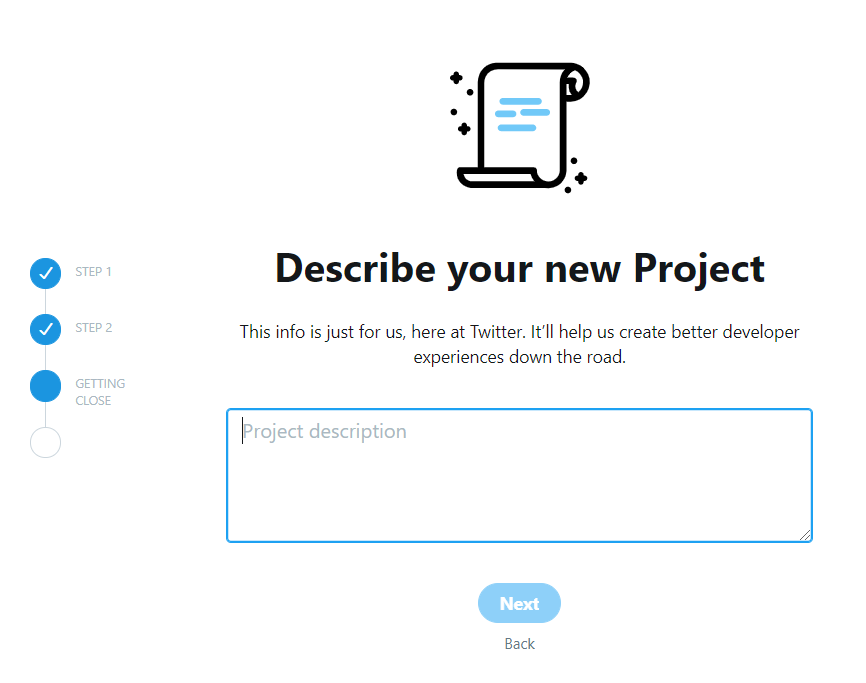
プロジェクト概要入力
google翻訳を使いながら、twitterログイン プロジェクトの概要を入力します。
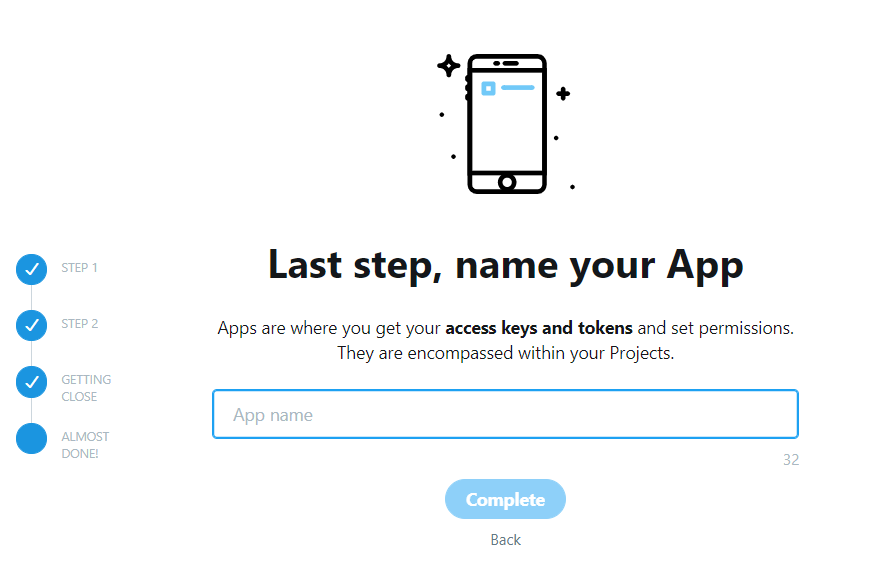
App nameを入力
Twitterログイン用のApp名を入力します。アクセスキーやトークンを発行する為に必要という事なので、念のため英数字文字列にしてみます。
最後に【Complete】ボタンをクリック
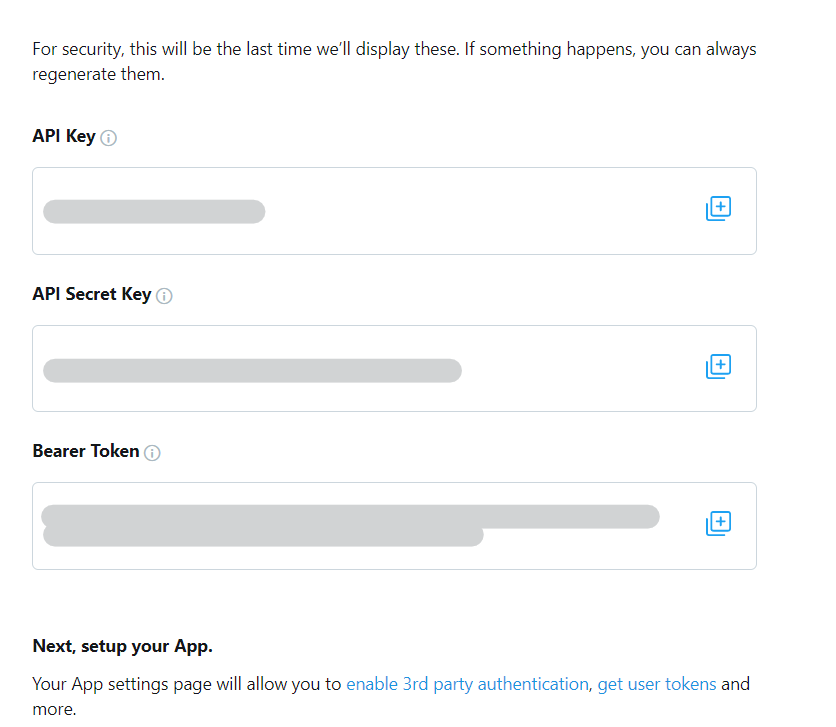
Twitterログイン APIキー発行!
ようやくTwitterログイン の為のAPIキー、シークレットキー、トークンが発行されました。
Twitterログイン Callback URL設定
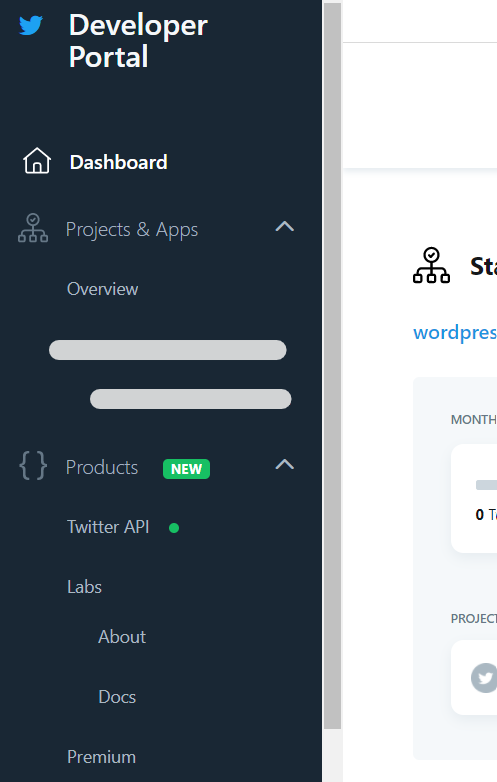
作成したAppの詳細ページへ移行
一度ダッシュボードに戻り、左サイトバーにある作成したApp名をクリックします。
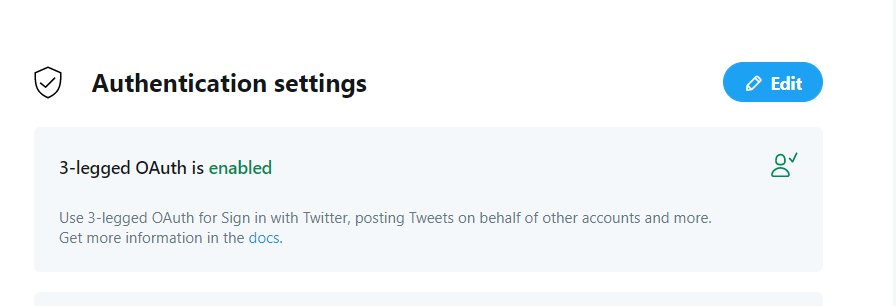
Authentication settingsを編集
Authentication settingsの【Edit】ボタンをクリックして編集します。
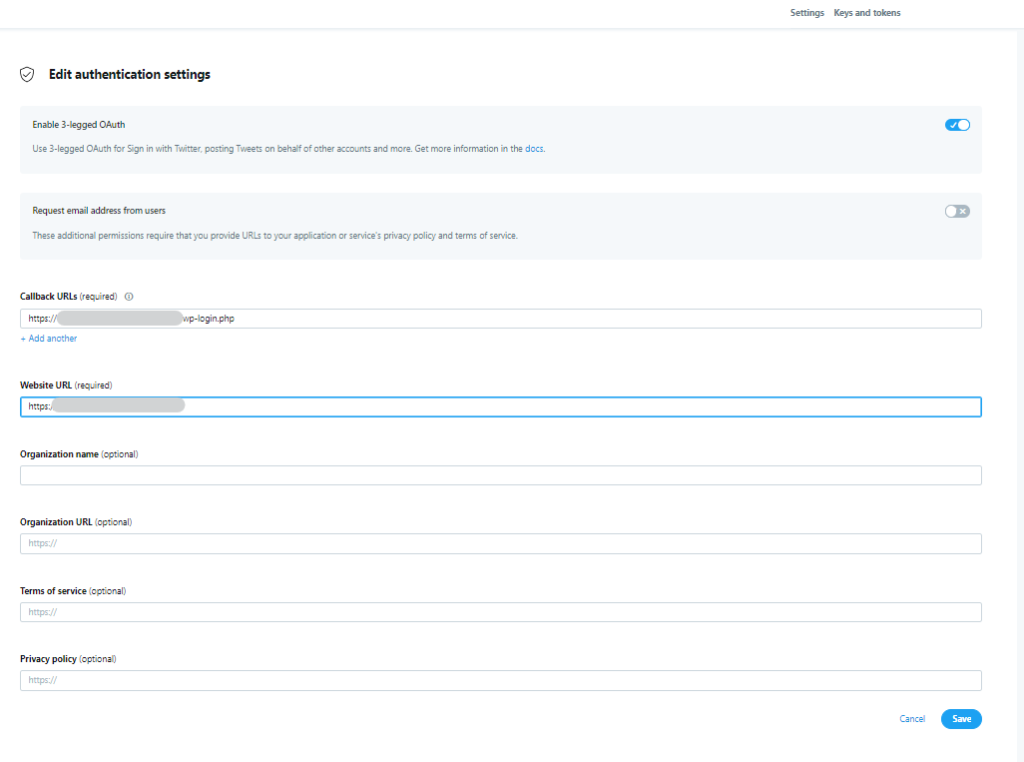
コールバック・使用するサイトURLを入力
まずは、Enable 3-legged OAuth をONにして
- Callback URLs (required)
- Website URL (required)
この2種類を入力して【Save】します。
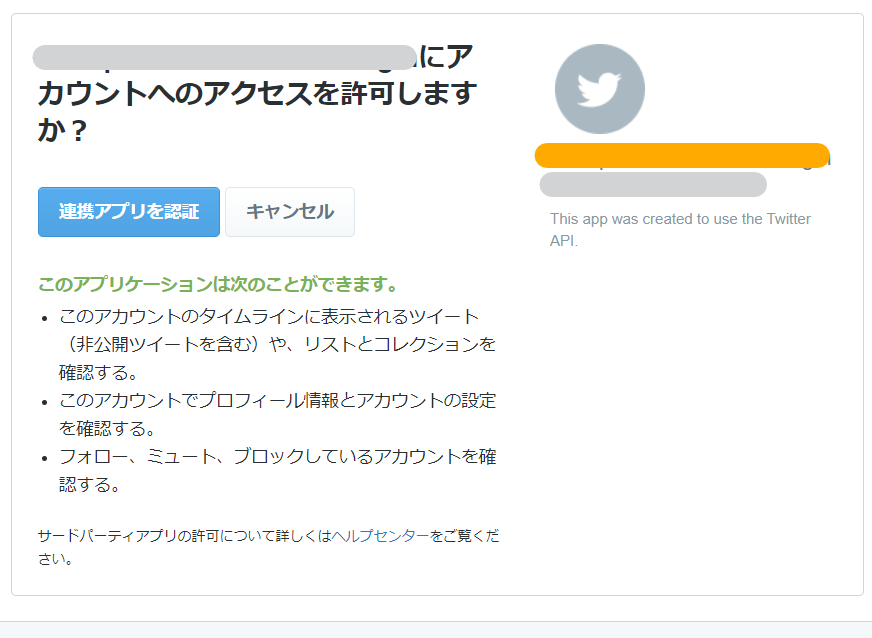
Twitterログイン 実装完了!
実際にログインを試してみると、立ち上がりました!!!!
Twitterログイン APIキー設定をしてみて
登録が英語なので、翻訳をしながら進みました。
登録の所でhobbyistで登録を進めたのは、事業者情報などの詳細入力があったので、個人で登録をした方がスムーズにいくと分かったので個人登録にしました。
すぐに仕様が変わるので、2021年5月現在の解説になります。
Twitterログイン APIキー発行手順 / googleログイン APIキー発行手順 もそれぞれ解説しています!
最短翌朝公開!土日祝も対応します!
超お急ぎホームページ制作プラン
超お急ぎでホームページを必要としている方向けの、ホームページ超お急ぎ制作プラン行っております!
最短翌朝公開、土日祝も対応します!お困りの方は是非、以下のバナーより詳細をご確認ください!
新着記事